

Two-Toned Hemnes Glass Cabinet Makeover for Bathroom
Two-toned Hemnes cabinet makeover with glass doors. {Beautiful bathroom storage!} Over the years I haven't made a ton of updates to ou...
Two-toned Hemnes cabinet makeover with glass doors. {Beautiful bathroom storage!} Over the years I haven't made a ton of updates to ou...

Replacing our farmhouse style decor and furniture without spending a ton of money! It's inevitable that your design preferences will cha...

How to fix furniture damage and painting mistakes. Recently I painted our dining room buffet and had SO many issues during the ...

You don't need to stain or paint worn out furniture to give it new life! Sometimes you don't want to do ALL the work on old ...

How to paint furniture the easy way...no sanding needed! You do not have to sand furniture before painting. If your piece is ...

What can you spray paint? Just about anything! Yes, you can (almost always) use spray paint on that item you're wondering about. :) Tr...
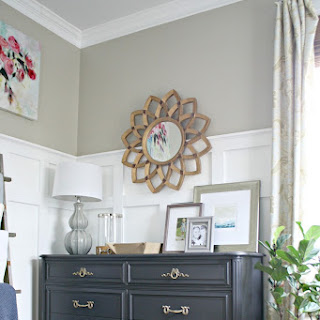
How to make furniture look more expensive with a few coats of black paint! I recently finished up a quick painting project and was so happy ...
Using a paint sprayer for detailed furniture painting. I broke out the paint sprayer for the first time in YEARS and painted a det...

How to turn the small Tarva dresser from IKEA into a beautiful bedroom nightstand! I searched for the perfect nightstands for our ...

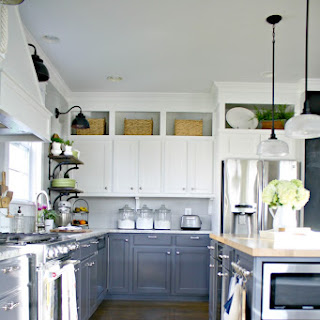
A detailed tutorial on how to paint your kitchen cabinets with a spray gun for a durable finish! If you've ever considered painting you...