
Adding a wall in the basement game room
January 08, 2021
Share this
We just finished up one of our biggest projects so far in this house...and I
didn't take ANY progress pictures! WHAT. We hired most of it out and even
though it took almost two months to complete, I didn't take any pics along the
way.
I guess because it's just a wall? But it's made a big difference in our
basement! I have plenty of after pics to share with you at least.
We have a large basement -- it's one of the main reasons we
decided to buy and finish this home! This floor plan is really everything we
ever wanted or needed! We have so much space to work with in our basement, and
it's been FUN to figure out how to use and build out those spaces.
There's a spot down there that we've deemed the "game room" -- mostly for the
kids to play or play video games. I shared some of this space a couple years
ago when I had
this fun art made
for our son:

This space not far from our family room down there though, so as soon as we
moved in we wondered if we should have had that walled off. You know...a space
for the kids and a space for the adults?
We decided to live with it for awhile to see if it was something we wanted to
do. In November we decided to go ahead with it and we are THRILLED with how it
turned out.
Remember this
wall of game and toy storage
I created a couple years ago?:


This post may contain affiliate links for
your convenience.
See my policies and disclosure page for more information.
It functions so well and looks great!
To the right of that wall is where we put the new one up to close things off a
bit. We ordered double glass doors that open into our son's space:

They ended up frosting them by accident (we were going to see if we wanted
them to stay glass or I was going to
frost them using this method) but we love how it looks.
We had the wall built and then drywalled. I primed and painted the walls and
the doors. I had planned to paint the doors black, but we like them in white
for now. I still have to caulk the trim and do a few paint touch ups, but
otherwise it's done!
It took a couple months to get this done -- contractors are always crazy busy
at the end of the year. And anything to do with drywall takes a bit because of
the taping, mudding and sanding.

We are so pleased with it! It's not solid wood, but looks like it. It really
is beautiful.
We're going for a more modern vibe down here compared to the rest of the
house, and this is a perfect transitional/modern design if you're looking for
that.
Bonus was that it was incredibly easy to put together:

It's the largest piece of furniture we've purchased from Ikea and the
quickest assembly!
I've wanted these
Studio McGee ottomans
for at least a year...and they had two in stock the other day. I used my
Christmas gift cards to grab them up:

I picked out chairs from IKEA for the table, but our son really wanted these
from At Home instead. He's been super into this little makeover so we went
with his choice. They are SO much more comfortable (the seat is
cushioned):

It was actually a smart choice! The closed backs are a great balance to the
open table. He's good. ;)
I plan to add some fun vinyl "game room" lettering for the doors soon. I tried
three different art pieces on both sides of the doors, but we all agreed it
was too busy. So those walls will be empty for now. I love the simple decor
here!

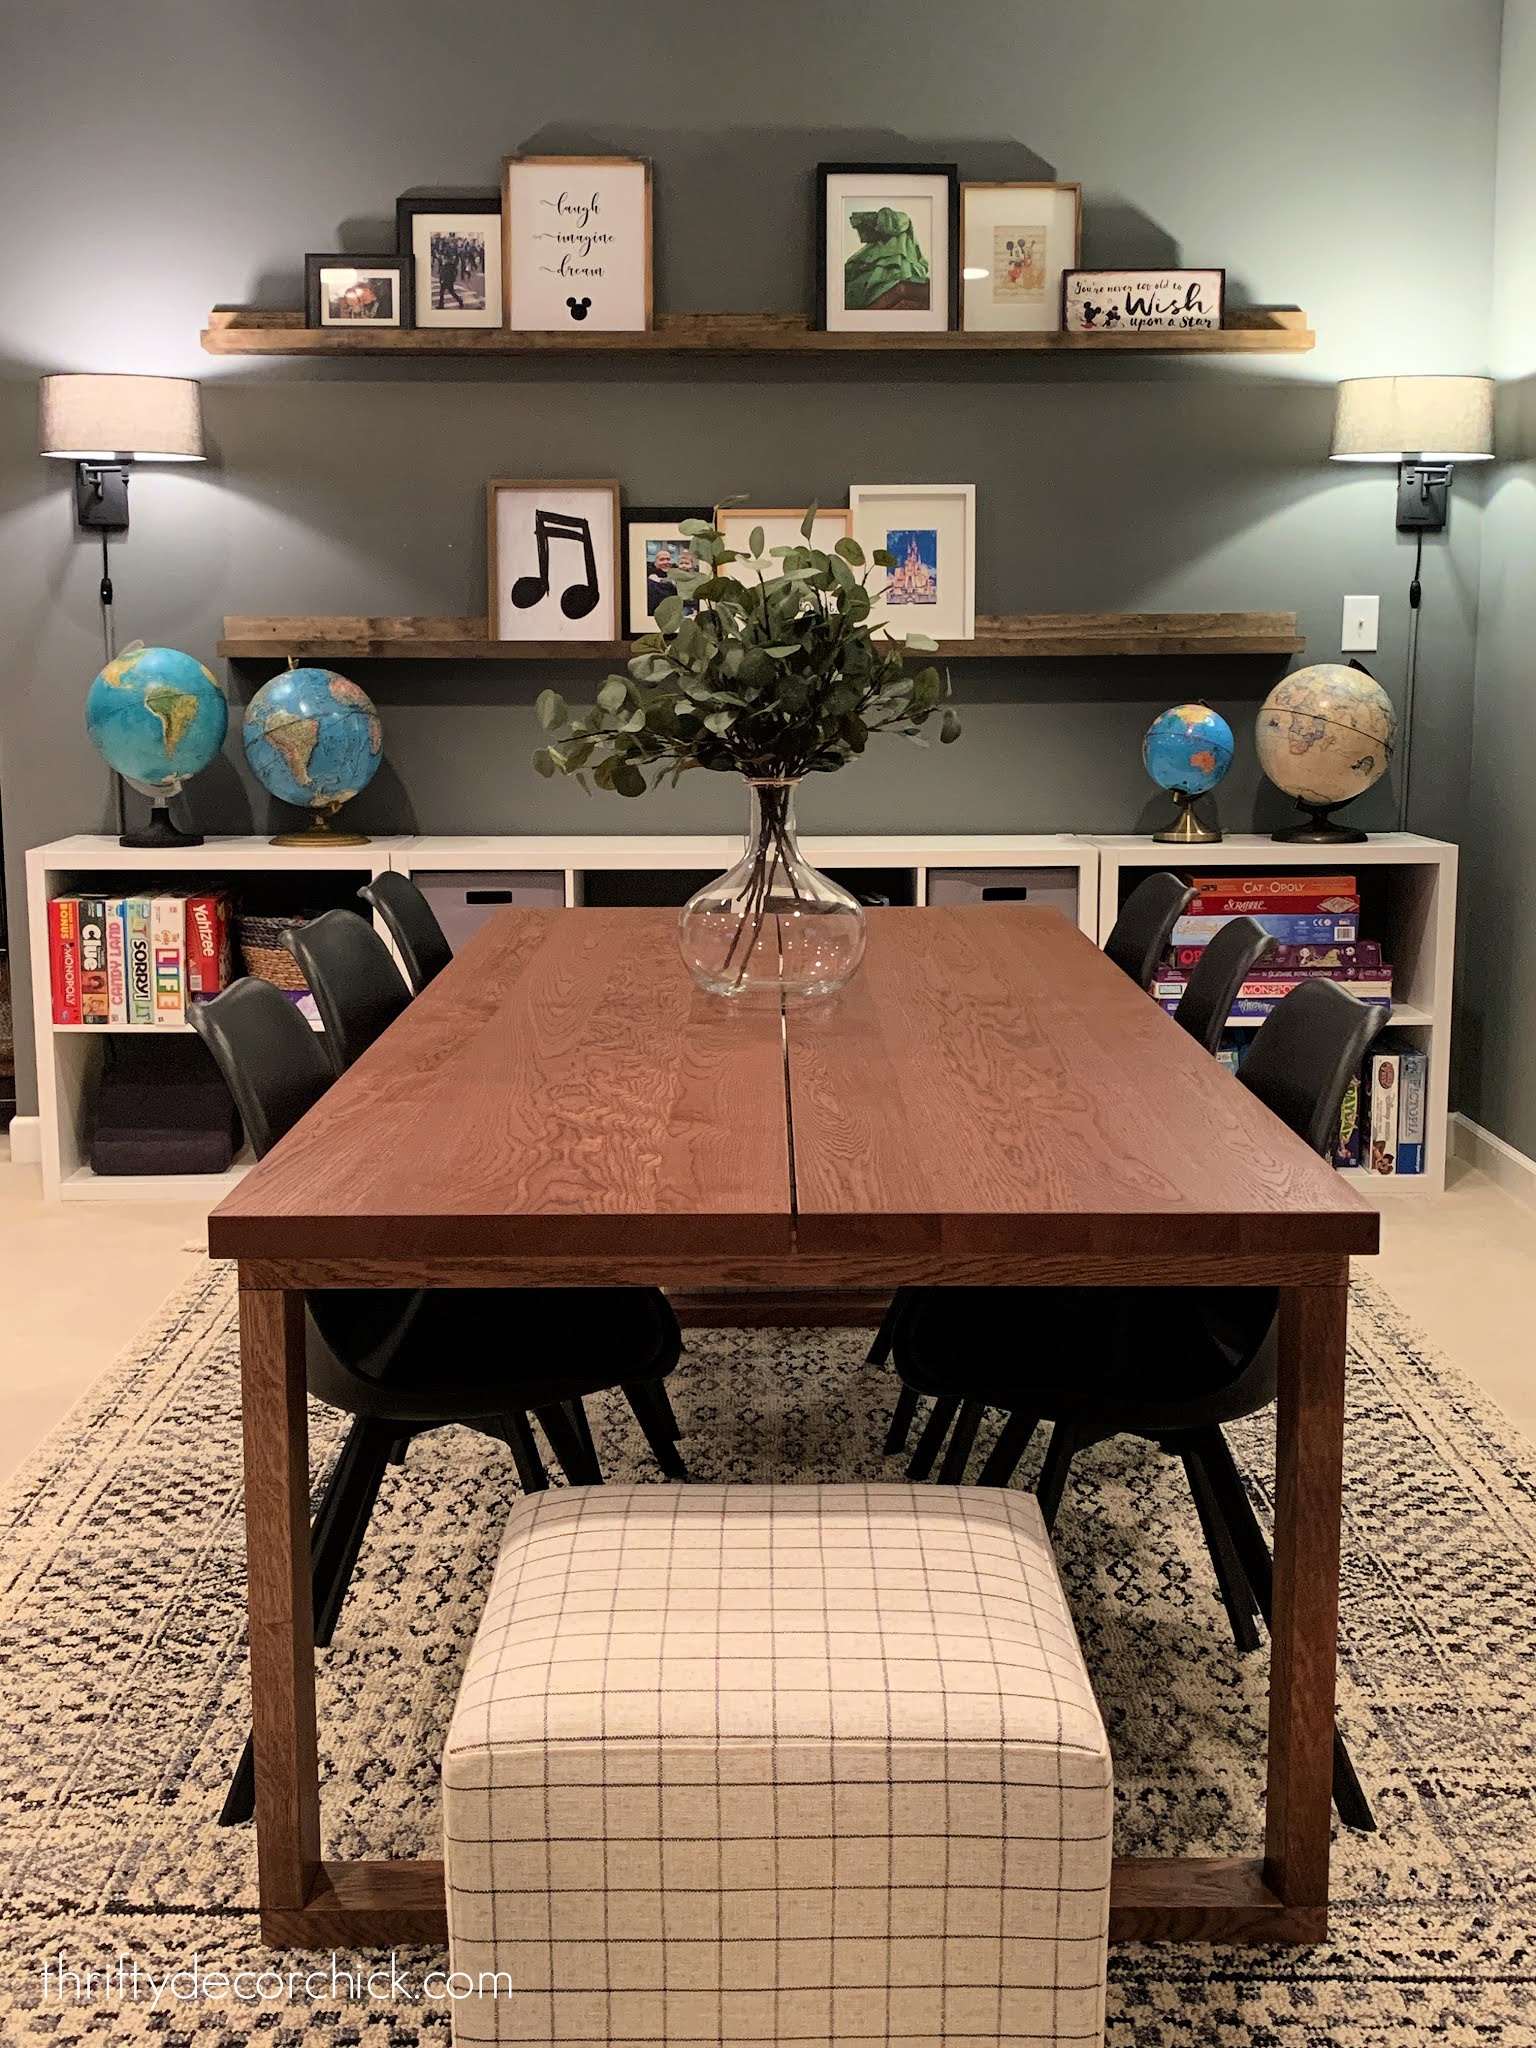
Here's a similar angle now:

You can see how I made
those long picture ledges here. They are such an easy and inexpensive way to fill a wall!:

Our son wants me to show you his "new" space behind those doors sometime. :)
I can tell he's getting more into the design of things and it makes me
happy!
You can find that
blue and cream rug here! I'll link to the rest of the items at the bottom of the post.
I almost painted the base of the table black, but I think the chairs are
plenty. We've already used this table a TON in just a few weeks for pizza
nights, Lego assembly and puzzles.
It's such a wonderful addition down here:

Here's a before of the wall with just the cubbies:

And here's that view now!:
This was the first big "construction" project we've added in this house and
it feels like it should have always been like this. I love open floor plans,
but this one was a little too open. I never regret waiting things out
to see how we use a space! Have you added a wall in your home?
Here are the sources if you're interested:
Morbylanga table from Ikea
Sally black chairs from At Home
Globes are mostly vintage finds
Art is a mix of personal photos, Hobby Lobby and Etsy prints
Sconces are from Ikea
See more of
our home here.
To shop items in our home,
click here!
Never miss a post by signing up to
get posts via email.
Gorgeous!
ReplyDeleteLove it..such a great space!
ReplyDelete