
Built In Ikea Kallax Closet Storage {Budget Friendly Hack}
September 14, 2021
Share this
How to create tons of storage for bulky items in the closet! These cubby units hold a TON and look great.
I've been planning my closet makeover for some time now...and my plans for the space have changed more times than I can count!
They have continued to change in real time as I've been working on it, but that's part of the fun for me.
Planning the organization, in your main closet especially, is something you really don't want to mess up. It's a lot more detailed and expensive than a smaller closet.
Our recent coat closet makeover inspired me to get moving on this one. I was just so tired of the constant clutter and mess in my "hers" closet.
We didn't pay extra for melamine or custom shelving when we built our house four years ago -- as much as I HATE wire shelving, I knew it would take me awhile to figure out the layout I wanted.
Paying for anything more felt like a waste of money at the time. I'm REALLY glad we waited...because now it's coming together just as I had hoped. I'll have a spot for EVERYTHING.
I started off my closet redo with this corner. It was the biggest thorn in my side, just because it was so cluttered:

This post may contain affiliate links for your convenience.
See my policies and disclosure page for more information.
As you can see, I had a lot of tall hanging storage available. Problem is, I don't need that much for dresses and long items.
Instead I used it for the much needed dresser instead -- that part was very functional.
I had an idea to create a home base for most of my folded clothes and it's working beautifully!
First up, I needed to remove all of the wire shelving in that corner.

You'll need to take those metal pins out first -- don't try to attempt removing the shelving with that still intact! You'll end up with giant holes in your walls.
Once you get them pulled out a bit they come out very easily. You can pull them out by hand sometimes as well.
Once the pin is out, you can remove the plastic brackets that hold the wire shelving up:

Repeat this 485 times.
You'll be left with Swiss cheese walls full of holes:

These holes are larger than your average nail, so you'll want to use my tutorial for filling large holes in the wall to get those covered up.
By the way, I don't fill every hole. If it will be covered permanently then I don't fill them. (Unless it's abnormally large.)
Next up, I had to ensure my new closet units would fit right up against the walls. This is key to getting a more custom, built in look...no matter what room you're working in.
I used my oscillating tool to cut into the baseboards where the storage units would end:

And then used this method to easily remove the baseboards in that nook.
I knew I wanted some bling in here...that back wall isn't huge so I could do something fun. Enter my easy go-to for accent walls...wallpaper of course!
I found this pink metallic peel and stick wallpaper at Target and thought it would add the perfect amount of drama:

You can see more about installing peel and stick wallpaper here! I love it. It will go perfectly with the new light I picked out for in here! I'm so excited to get that up.
When you purchase wallpaper, make sure you grab more than enough of what you'll need, and look to confirm that they are the same lot number:

Like tile and flooring, different lot numbers can have slight differences that you may notice right up against each other.
Then it was time for ALL the storage!! I was inspired by a wall of cubby units that my friend Carli used in her son's closet makeover. I shared her project with a bunch of other gorgeous closets here.
I was so excited to get these put together...

I picked the nine cube IKEA Kallax shelf...but not just one, TWO of them to stack in the little corner nook of my closet.
I was so excited, I didn't even take a picture of the progress, but I hung two of these bins on the wall. I say hung, because you need to make sure and secure them to the walls with the brackets they provide.
I grabbed some pretty rattan baskets from IKEA for the cubbies, but quickly realized they would be awful...at least with clothes. I love the look, but little bits of the wicker would get into and caught on the clothes.
Instead I opted for these simple navy storage bins from Target:

They slide so much easier and are much cleaner for the clothes.
The Kallax cubes are 13 x 13 x 15 inches (deep), so keep that in mind when you're looking into storage bins or baskets!
I filled most of the 18 cubby units with all of my bulkier clothes that take up more space, like hoodies and sweaters: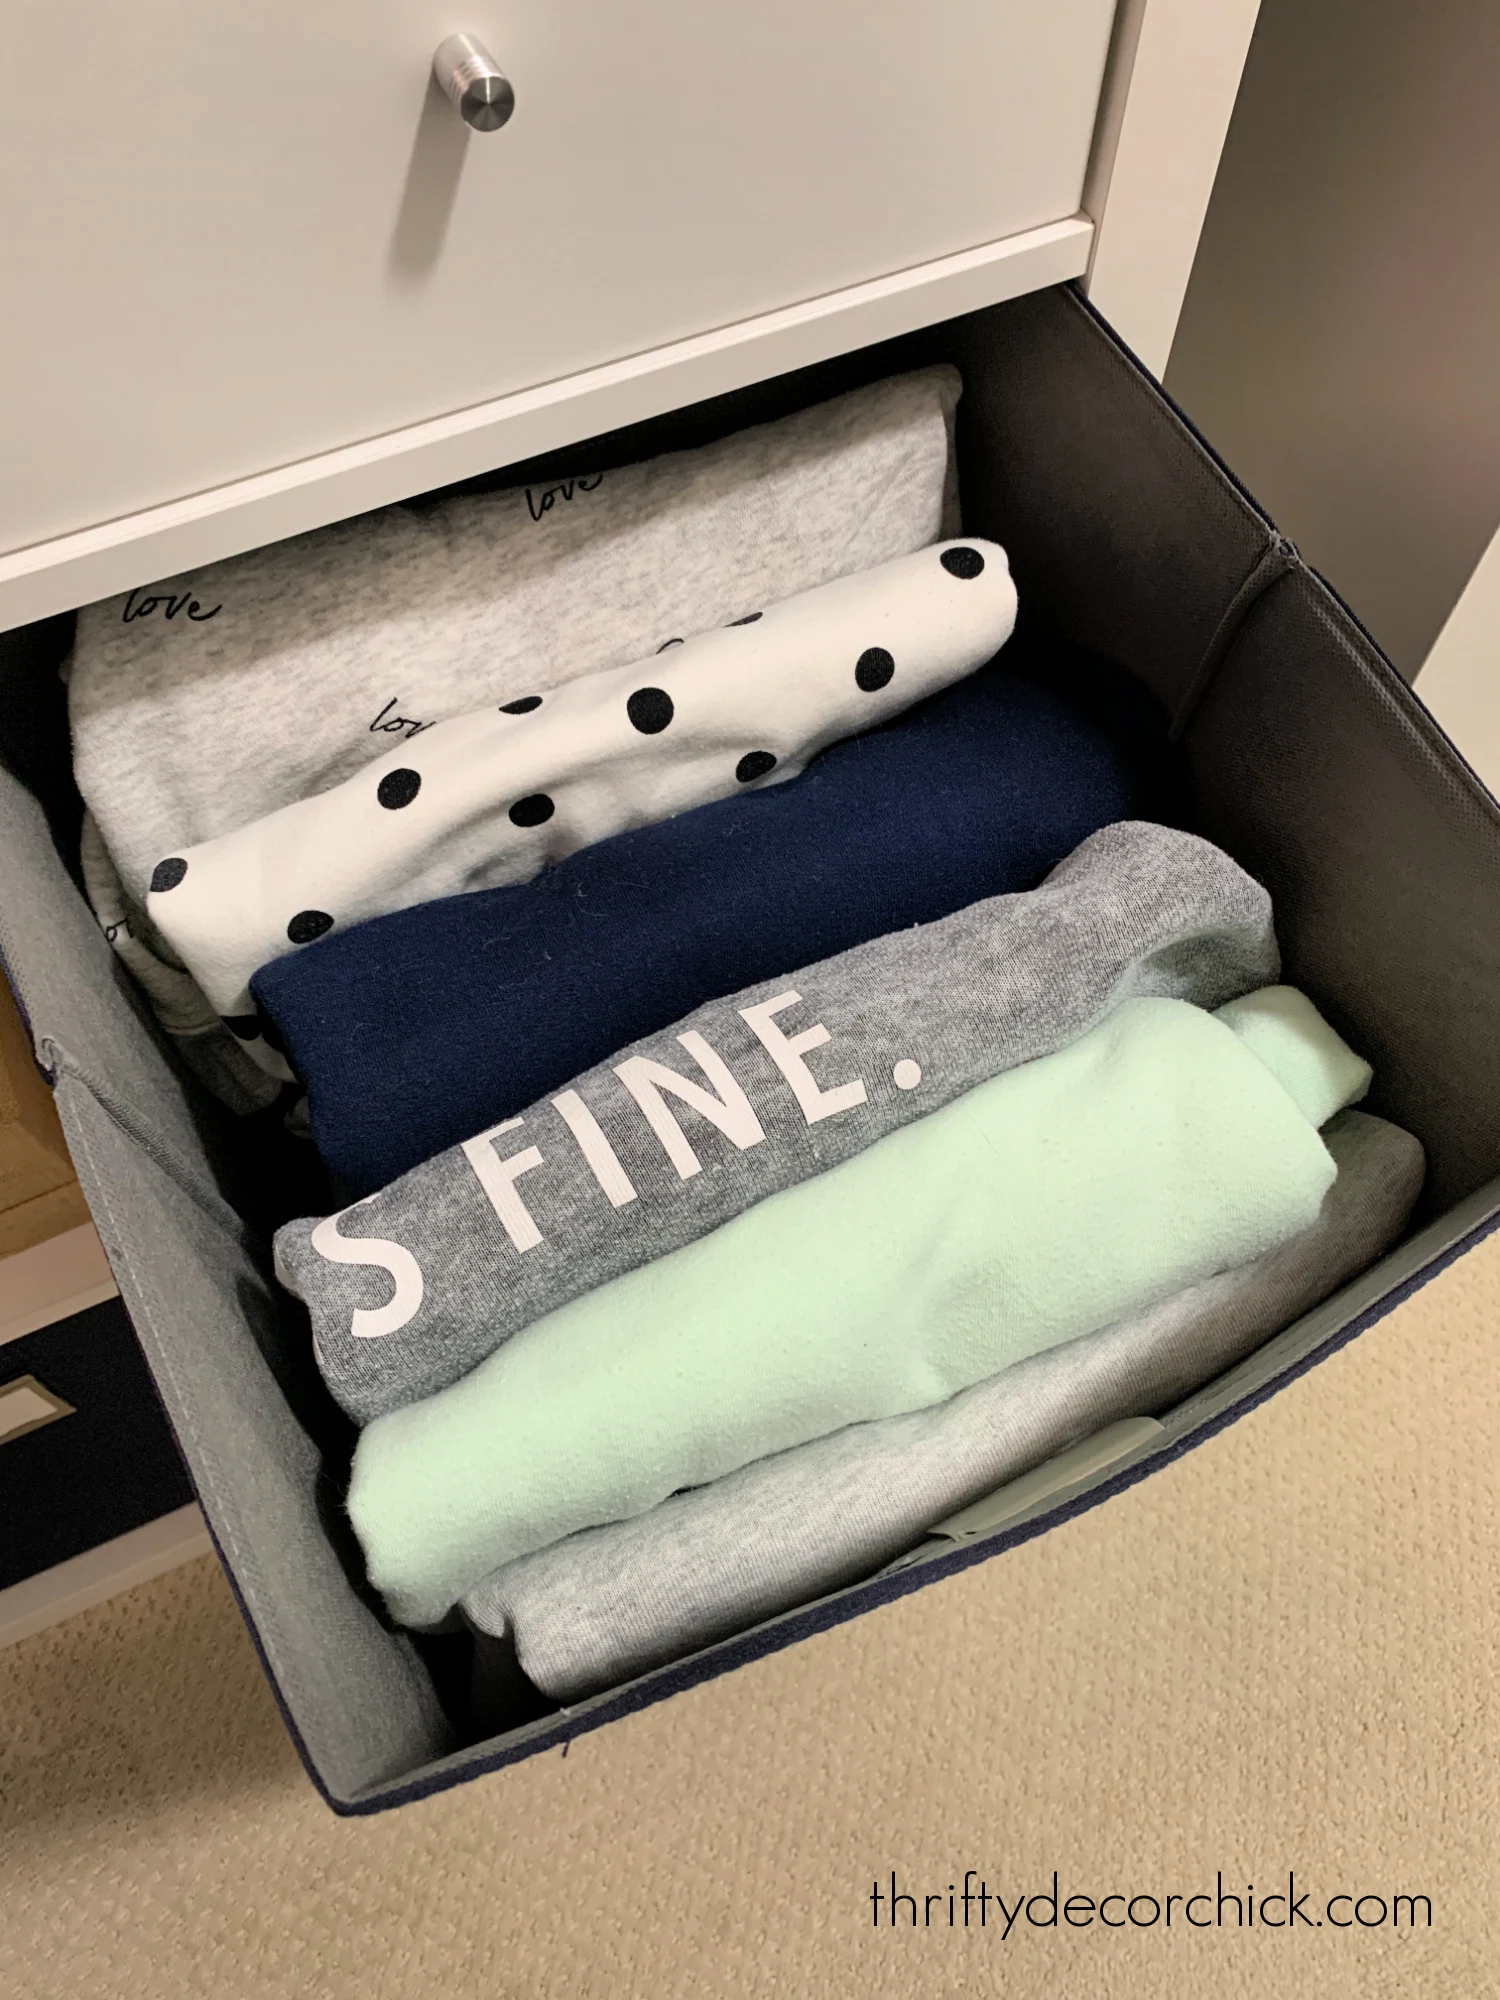

Most I placed in the bins, but some I have folded and stacked on the shelves as well.
I utilized all of this new storage space to organize my less used clothing like seasonal items -- things like themed Halloween, fall and Christmas clothes. Since I don't have many and don't wear those often, they went to the top of the unit.
I also have some Disney shirts and sweaters I only wear on our trips, so those went into the top bins as well.
These clip on cubby bins labels are awesome and easily slide on the fronts:

I haven't labeled them just yet -- I want to wait until I get the entire closet done.
I can't even tell you how nice it was to get all of this sorted!:

Aren't those little drawers awesome? They are drawer inserts for the Kallax units.
They are perfect for little things like socks or jewelry:

I love that I have a few empty spots to work with. The organizing part is my favorite!
But where was all of that bulky clothing before it went into the bins you ask?
Well...nicely folded and placed on the wire shelves of course:

Ha! Nope.
Actually, I snapped this photo after I took the hoodies and sweatshirts off the shelf, so it looked way worse before.
This was how most of my folded clothes were "organized" for the past four years. It obviously wasn't working!
Now it's all perfectly sorted, organized and easily accessible:

I always strive to incorporate both form and function when working on a space. This little nook is the perfect example of both!
I hope to make one more tweak to this spot, but IKEA is out of one of the items I'd like to use. I may have to DIY a solution instead.
Here's the before of this corner again to remind you of where I started:
Say it with me...no. more. wire. shelves! What a glorious day. 😁
They are such an easy way to create custom closet storage!
These Kallax units would be perfect for organizing SO many items!:
- You could use them as a bookcase in the office or family room.
- They would be great in a playroom for toys and stuffed animals.
- The Kallax has tons of storage for supplies in a craft room.
- Turn the tall unit on its side and create a bench with cubby storage for the entryway or mud room.
Of course that corner was just the beginning...this redo got way bigger than I planned. But it's turning out SO GOOD and I can't wait to show you more progress soon!
So far I've spent $240 for the Kallax units on this side of the room. The two cubby units were $80 each and the drawer inserts were $20.
Have you used these Kallax units anywhere in your home? They would also work great inside a standard bedroom closet, with hanging rods attached on either side.
I used a similar, smaller version of these shelves for the wall of game storage in our basement:

Never miss a post by signing up to get posts via email.
I love this! Ikea for the win again. Pinning to try in our new home. Thanks for sharing.
ReplyDeleteGood job! I've been trying to work out how to DIY customize my closet. It's a nice big area, but like you I just did perfunctory rods etc. until I knew what the room wanted. The Kallax cubbies are great for sweaters and other fold-ables, and I looove how you stacked them and added the drawers. I wish there was an Ikea closer to me.
ReplyDeleteGreat idea!!!! Love it thank you for sharing
ReplyDeleteWhere did you get the glass shelf inserts?
ReplyDeleteThose are from IKEA as well.
Delete