
Easy Hack to Hang Art Perfectly Straight
June 30, 2023
Share this
Hang art easily with this painter's tape hack!
If you've ever struggled hanging art or mirrors with more than one hook on the back, this helpful little trick is for you!
We've all been there -- if you don't get the holes drilled perfectly in the wall, everything is wonky.
This is especially helpful on larger items that have a long expanse between the hooks, longer than a typical 24 inch level.
It's also nice when you're trying to hang heavy items like mirrors. Lifting it over and over to find that your holes aren't perfectly spaced is a major pain:
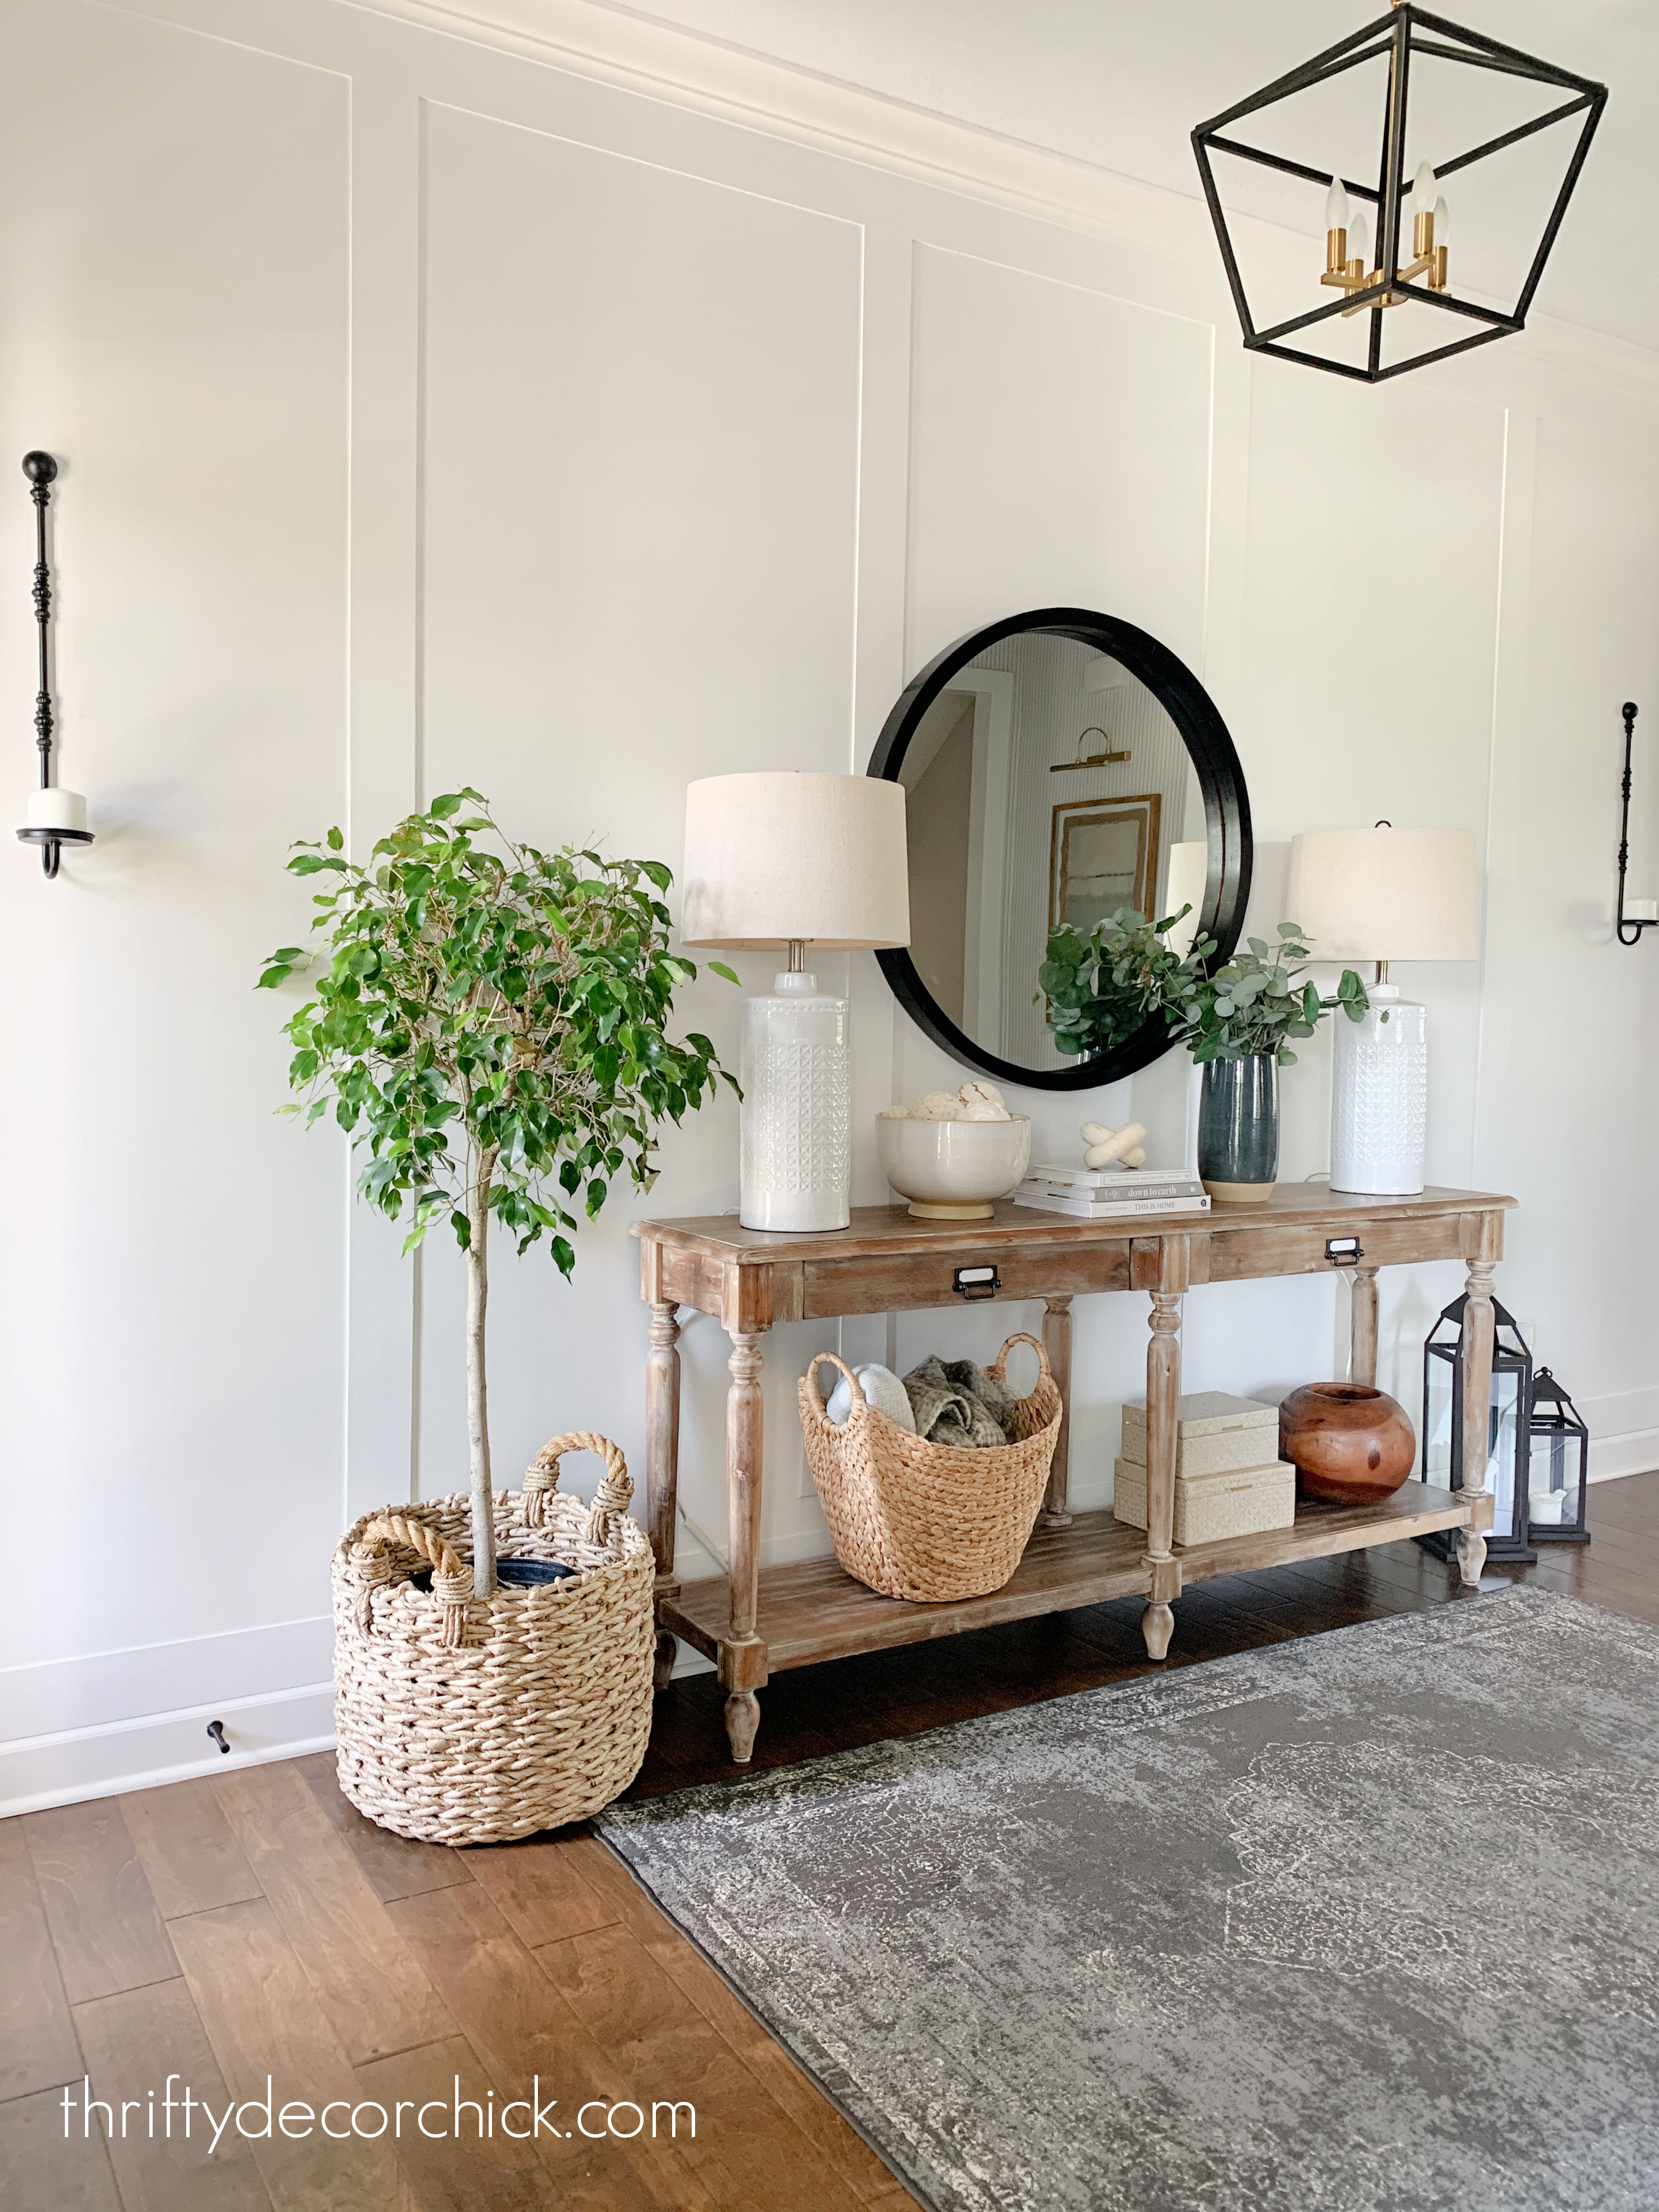
 |
| Find the pair of lamps here (love them!). The mirror is from IKEA. |
I first used this easy art hanging trick years ago when I was remodeling our son's bathroom. I purchased these IKEA mirrors for the bathroom renovation:

This post may contain affiliate links for your convenience.
I may earn a small commission when you make a purchase through links.
See my policies and disclosure page for more information.
They are the Stockholm mirrors and are so pretty! I still hope to use one of these again in our current home!
They are quite large so the holes on the back were far apart. You can use a level, but most are 24 inches or shorter. Even though we have a four foot level, I found this trick to be much more precise than measuring and trying to transfer that measurement onto the wall.
Because I was drilling into tile I wanted this to be as exact as possible. This little hack is pretty easy.
You'll need to grab some painter's tape (or any masking tape) and place it across the holes on the back of your art or mirror:

This post may contain affiliate links for your convenience.
See my policies and disclosure page for more information.
Make sure the tape is placed at the same spot on each side. (Meaning the same distance from the top of the tape.) Then I poked a hole through the painter's tape:

You can also mark it with a pen for a really precise measurement.
Next, peel off your tape and place it where you want on the wall. You'll still need a level for this part, but the good thing is almost any level will work. You don't need a super long one to check how level your tape is.
Hold it against the tape to check. Adjust the tape accordingly:

Then you just drill, using your marks as a guide!
Side note -- you can find that beautiful cement-looking tile here.
If you're drilling right into drywall or wood, you'll just need a screw or nail for lighter art, or anchors for heavier items. These screw in anchors save a ton of time!
On this particular project, I had to drill into tile, which is always nerve-racking! When drilling into tile you need to use a bit specifically for this job -- this tile and glass drill bit set is what I have.
I like that they include four different sizes:

It takes awhile to get through the tile -- you'll need some patience and a fully charged drill. ;)

Then you can insert your anchors or screws and hang your item! Take care and be patient when screwing into tile, even after the hole has been added.
Again, I've always measured with tape or a level but I found this to be much more precise. I wasn't going to mess around with this tile!:

Have you used this hanging trick? I'm a fan for sure! I've used it so many times over the years.
**You can see this full bathroom reveal here. It's one of my favorite room makeovers ever!:

Never miss a post by signing up to get posts via email.
That's a fantastic trick. However, when we buy art from HomeGoods or Target, very often the pre-installed hooks are not even (the last one I purchased they were off by about 3/4 of an inch). Any ideas for making this work on those situations?
ReplyDeleteUse picture wire through each loop and then you only have to use one nail/screw. Not sure if I would do that for heavy items, however.
DeleteMake a paper template for each frame, tape the templates on the wall using a level, and then transfer the hook locations with a push pin or small nail. The Ook ReadyNails work really well for this method.
DeleteThanks for the tip--I will have to remember that for sure! And I'm so excited to get a sneak peek at that tile, I can't wait for the reveal :)
ReplyDeleteThat's awesome, I absolutely love that tip!! Looking good, can't wait for the reveal!
ReplyDeleteSO simple, yet brilliant! I can't tell you how many times I've messed up hanging a picture..
ReplyDelete-Kristen
www.pugsandpearls.com
Great idea! I'll definitely be using this when hanging some shelves in the near future!
ReplyDeletexx Bry Jaimea || bryjaimea.com
That is such a genius trick!! Thank you for sharing that, hanging pictures well anything really is a challenge for me so this is great. AND OMY I can't wait to see that reveal, its looking amazing and that tile *all the heart eyes*
ReplyDeleteLooooove your new mirror with that tile! I saw this trick on your Insta stories and tried it out yesterday when hanging shelves. They came out *perfectly* level! This trick is BOSS! My husband was super impressed! :)
ReplyDeleteThat's brilliant! I'll be using this next time I have to hang something for sure!
ReplyDeleteThank you for sharing this trick with us.
ReplyDeleteWhat a champion idea,especially for heavy items.I have to have hubs help hanging most anything anymore since my shoulder replacement as can't extend right arm or raise it high enuf, dbl darn but it is as it is. This is such a great trick and so much more accurate, thanks so much for sharing. Enjoy your week
ReplyDeleteLove those mirrors, didn't see them when we were at San Diego IKEA last June but we only had one hour there. We don't have an IKEA in Grand Junction, closest one I know of is Denver and am not driving over those mountains just to go to IKEA. Will have to rely on ordering online. We live on western side of Rockies.
ReplyDeleteSounds like you will be enjoying IKEA when it's finally where you live.
those mirrors are incredible, love idea of having them in a bathroom, will look wonderful in your bathroom.
Thank you for sharing! I tried this yesterday with scotch tape, as I didn't have painters tape, and it worked! My mirror looks perfect on the wall!!!
ReplyDeleteDude this is very very clever. Cheers.
ReplyDeleteNo, stick it to the item first. As long as your holes on the back are equal distance from the top, it will hang perfectly.
ReplyDeleteCan you please source the mirror, lamps and other items on your buffet? I’d love to recreate this vignette!
ReplyDelete