How Our Wood Counters Have Held Up Years Later
September 03, 2021
Share this
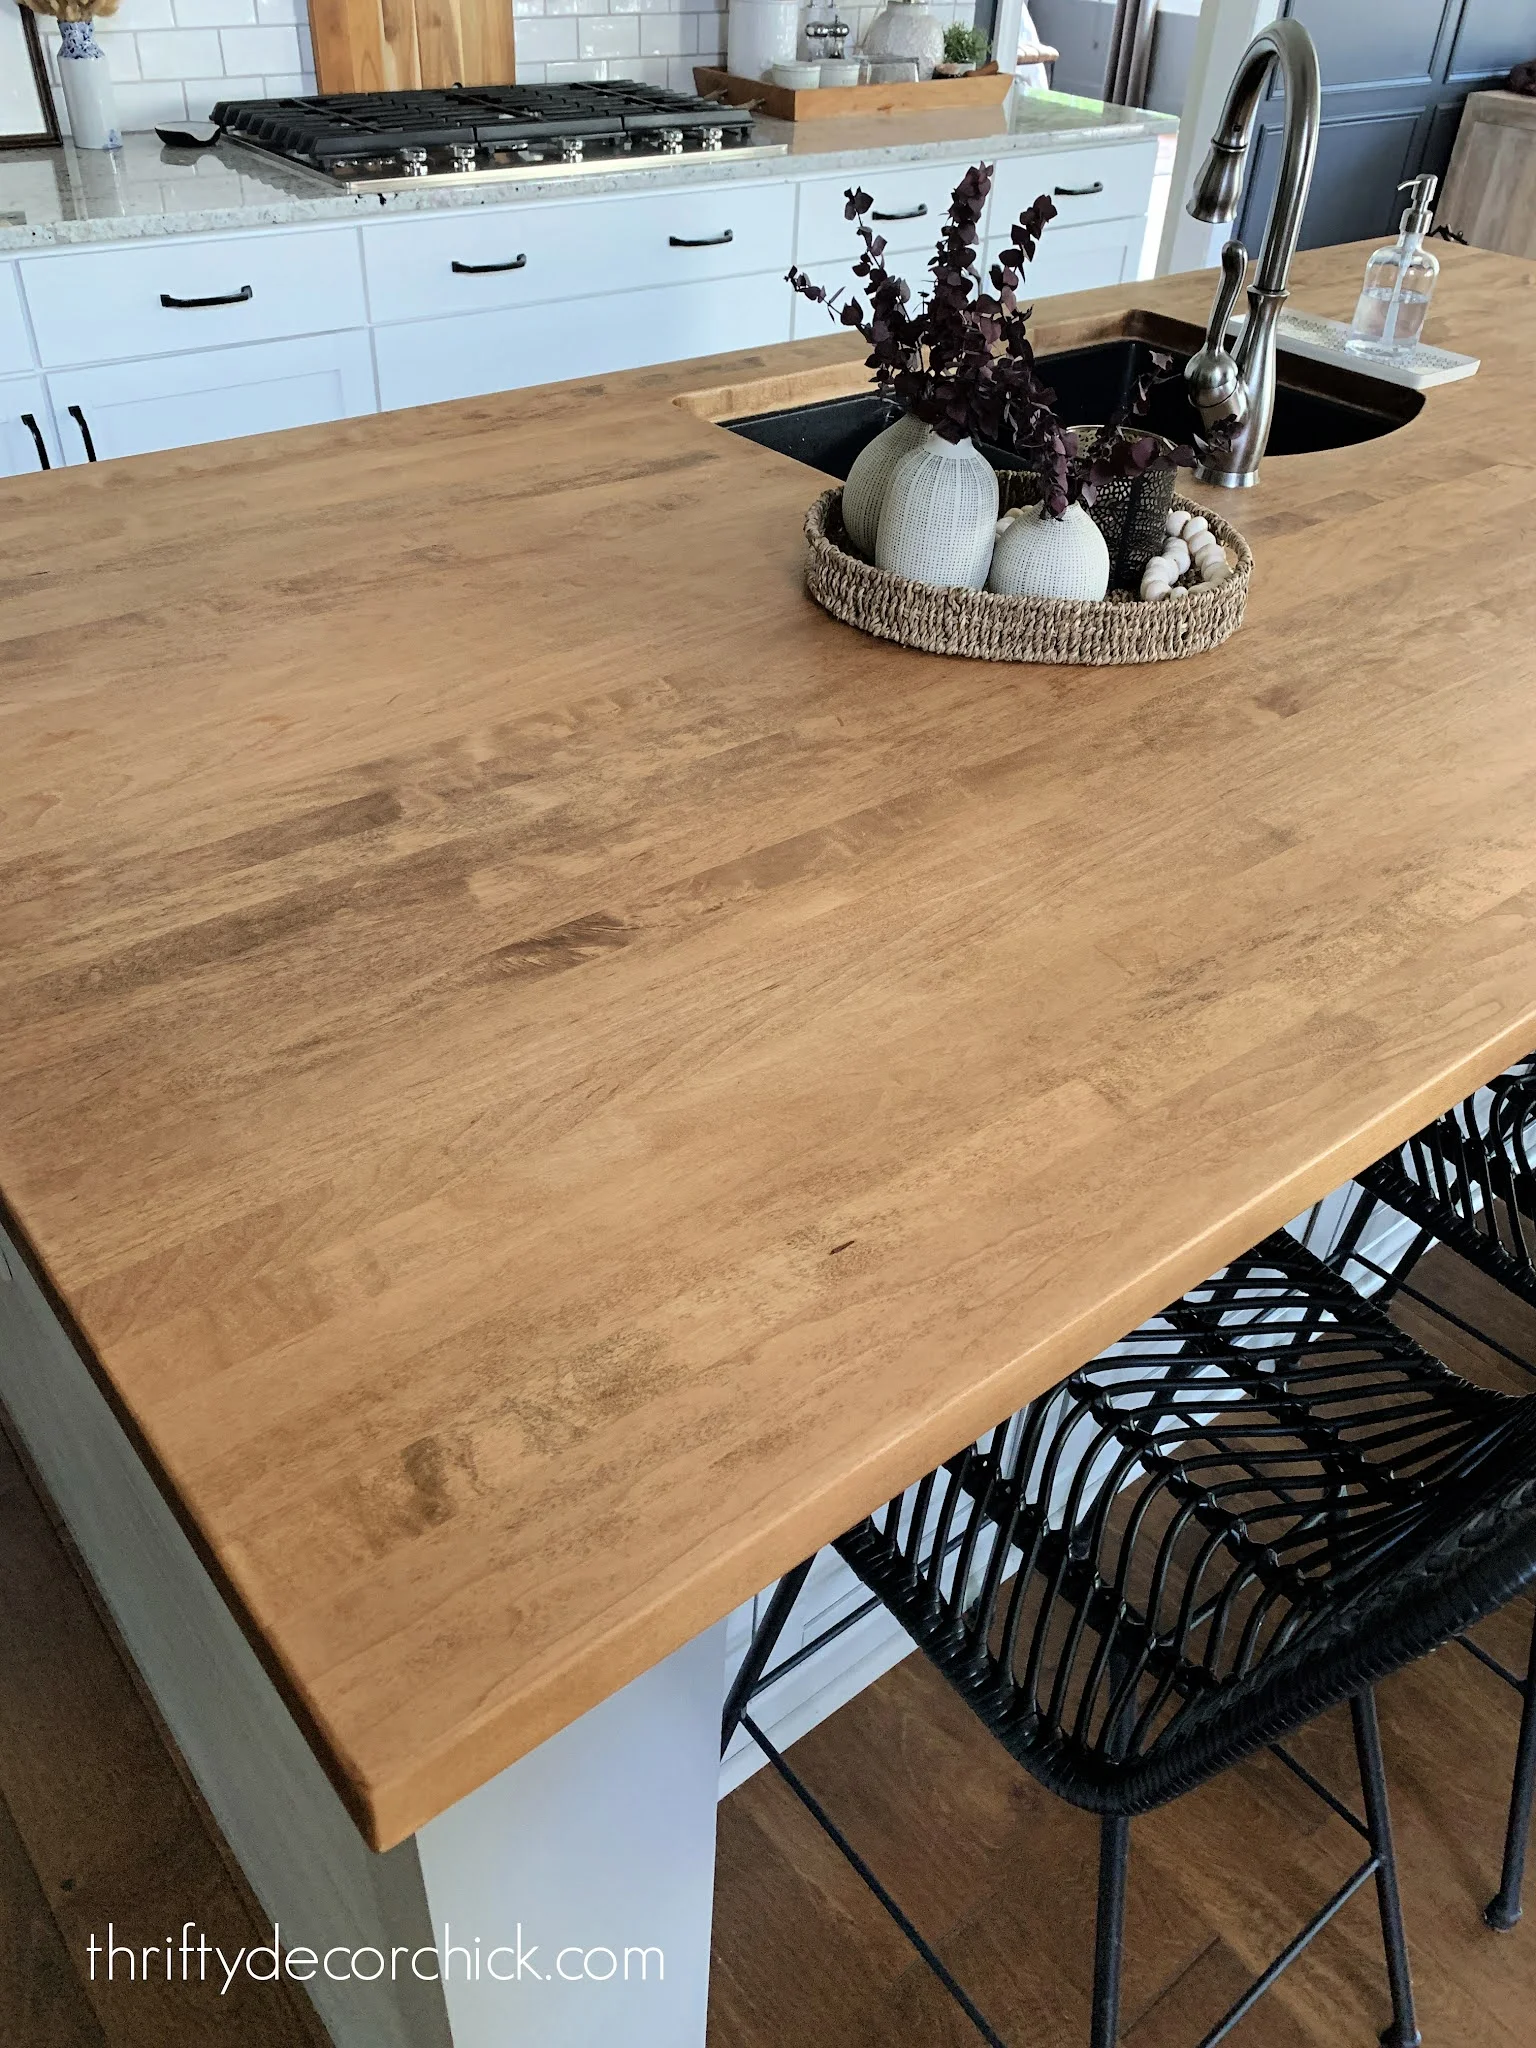
How our wood butcher block countertops have held up over the years. (And how to make them look brand new again!)
It's been nearly four years since we moved in to this house, can you believe
it?
I've shared our wood butcher block counters a lot over the years because I
get SO many questions about them! I can't tell you how often I hear
from readers who are hoping to use wood counters in their kitchen, but a
contractor talks them out of it.
Many will warn that wood counters are too difficult to maintain.
But that's simply not true. Yes, you CAN have wood counters in your kitchen
and keep them looking great!
Our walnut island countertop came unfinished, and when our builder installed
it they asked if I wanted mineral oil applied to protect them. I shared why
the
mineral oil didn't work on our wood counters here.
I immediately went back to my tried and true wood finish...Tung oil.
This is the thing...no coating will last forever on wood. Even
polyurethane will wear down with a lot of use.
Ours were finally showing some wear. It's been a year and a half since I had
recoated the counters with this oil. I try to do it every six months, at the most once a year. Even after
all this time, 90 percent of our island counter still looked GREAT!
But we did have some stains in wood:
This post may contain affiliate links for
your convenience.
See my policies and disclosure page for more information.
They were all on the counter closest to the fridge, so I'm guessing the
stains were from oils from food.
I should mention, I don't expect (or want) our butcher block counter to
be pristine. We don't cut directly on it, but I welcome the
warmth of a slightly worn and distressed wood countertop.
Slightly is the key word. 😁 I'm fine with dings (we really don't
have any), scratches (hardly any) and some darker stains. But because the
finish had worn so much, these were extra noticeable.
Last time I reoiled the countertops
I didn't have to sand
-- if you don't have any major issues there's no need to. Just clean them
well and reapply.
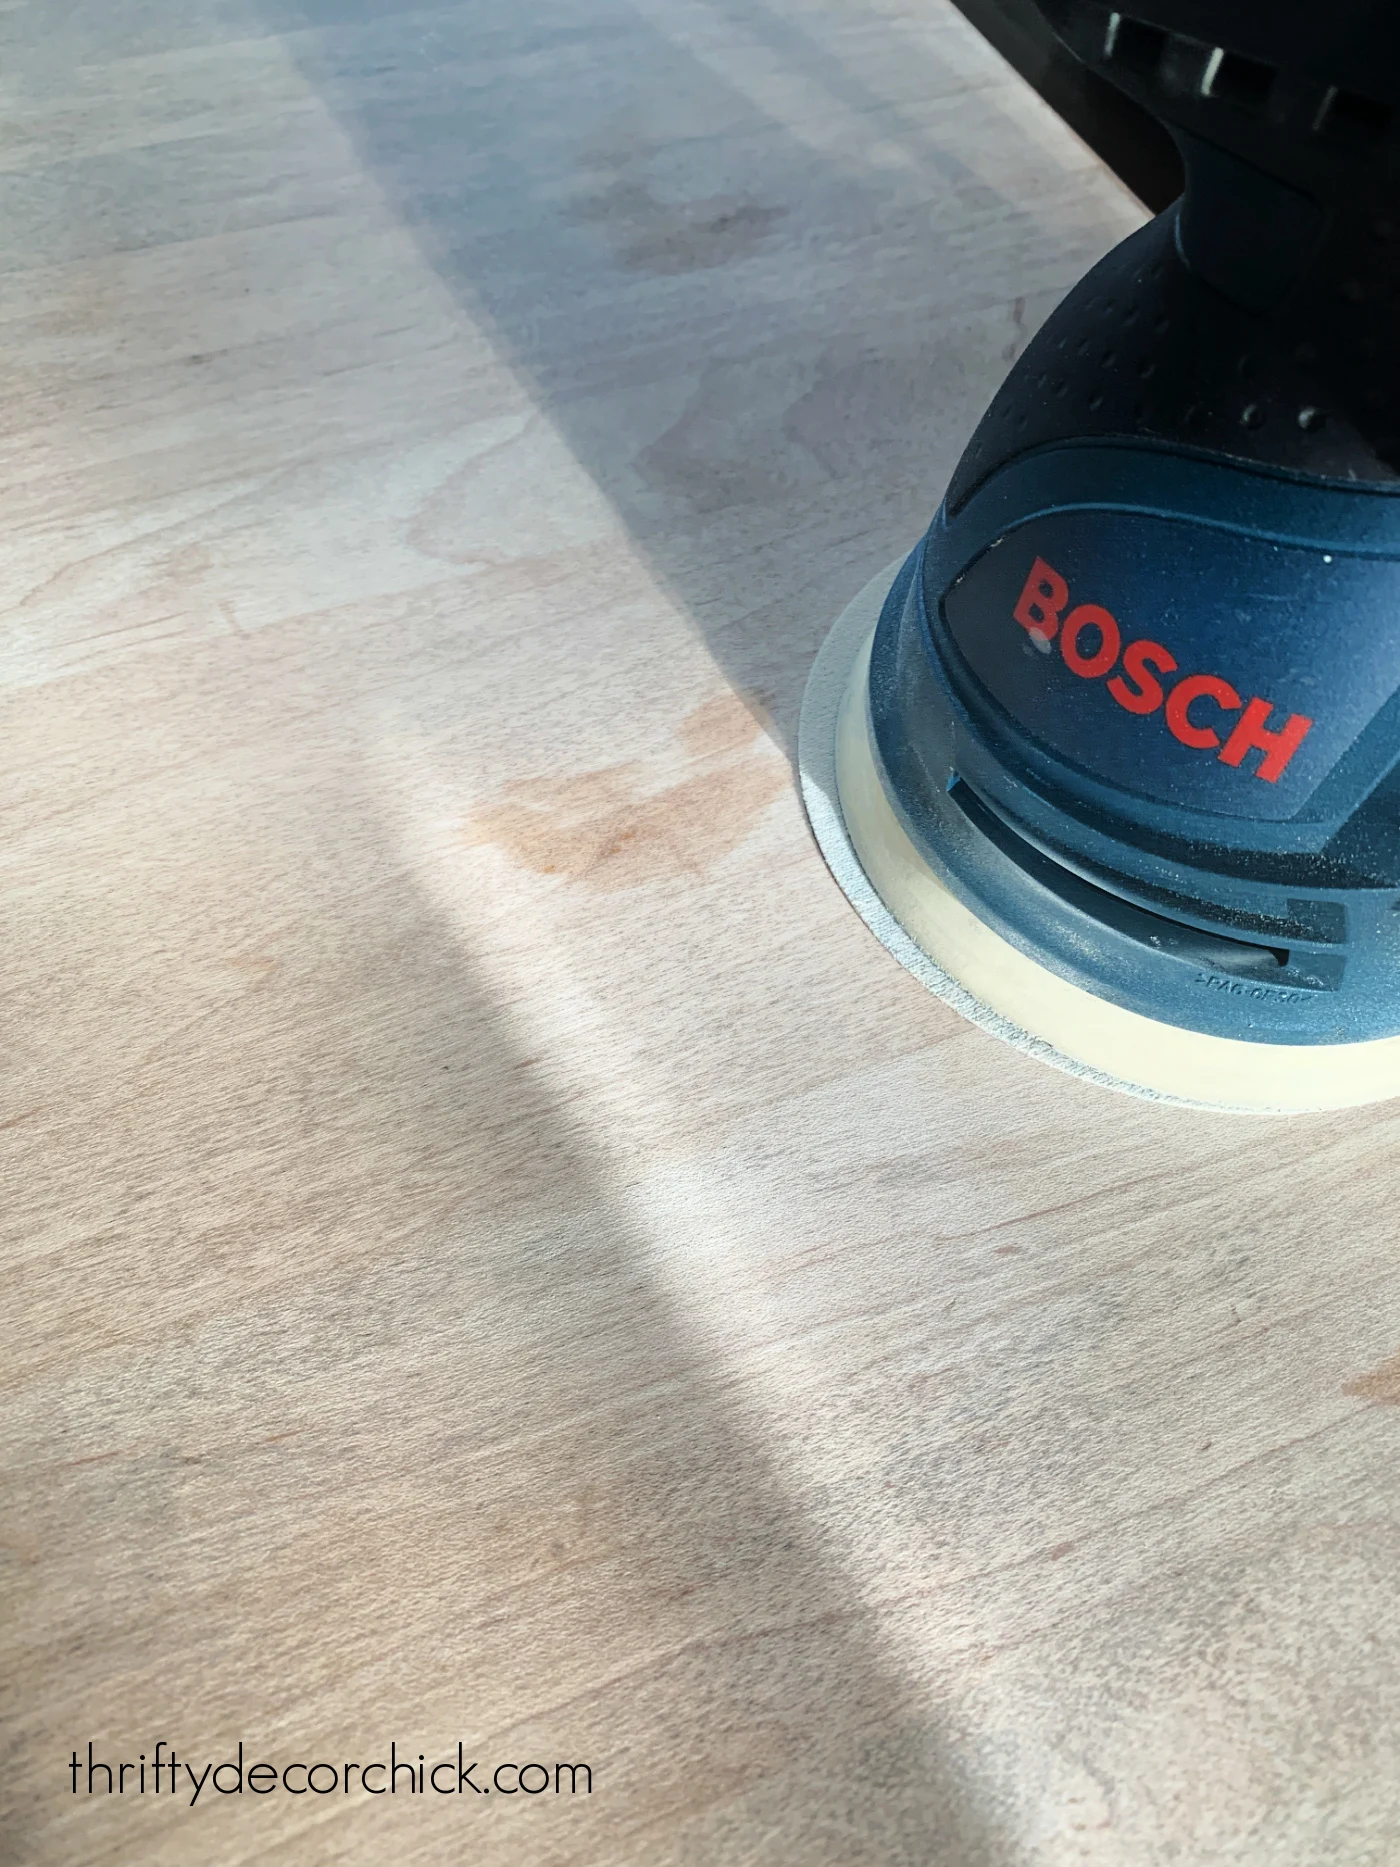
This time I need to do a light sanding first. I
love my Bosch sander:
I used a
fine grit paper (120 grit)
and most of the marks disappeared immediately. There were a couple (pictured
above) that were a bit more stubborn, but I figured the oil would hide them.
(I was right!)
Since I had to sand, I needed to get the fine layer of dust off of the
counters first. A
tack cloth is ideal for this, but if you don't have one, try to avoid using a
soaking wet rag to wipe off the dust. The moisture will raise the wood and
you'll lose the smooth finish you just achieved by sanding.
Sometimes water popping is a good thing, but for just sealing counters you
want to avoid it. Instead, use a slightly damp rag to wipe down the
counters. This will keep the wood from raising.
After sanding and wiping the counters, all you need to do is grab a lint
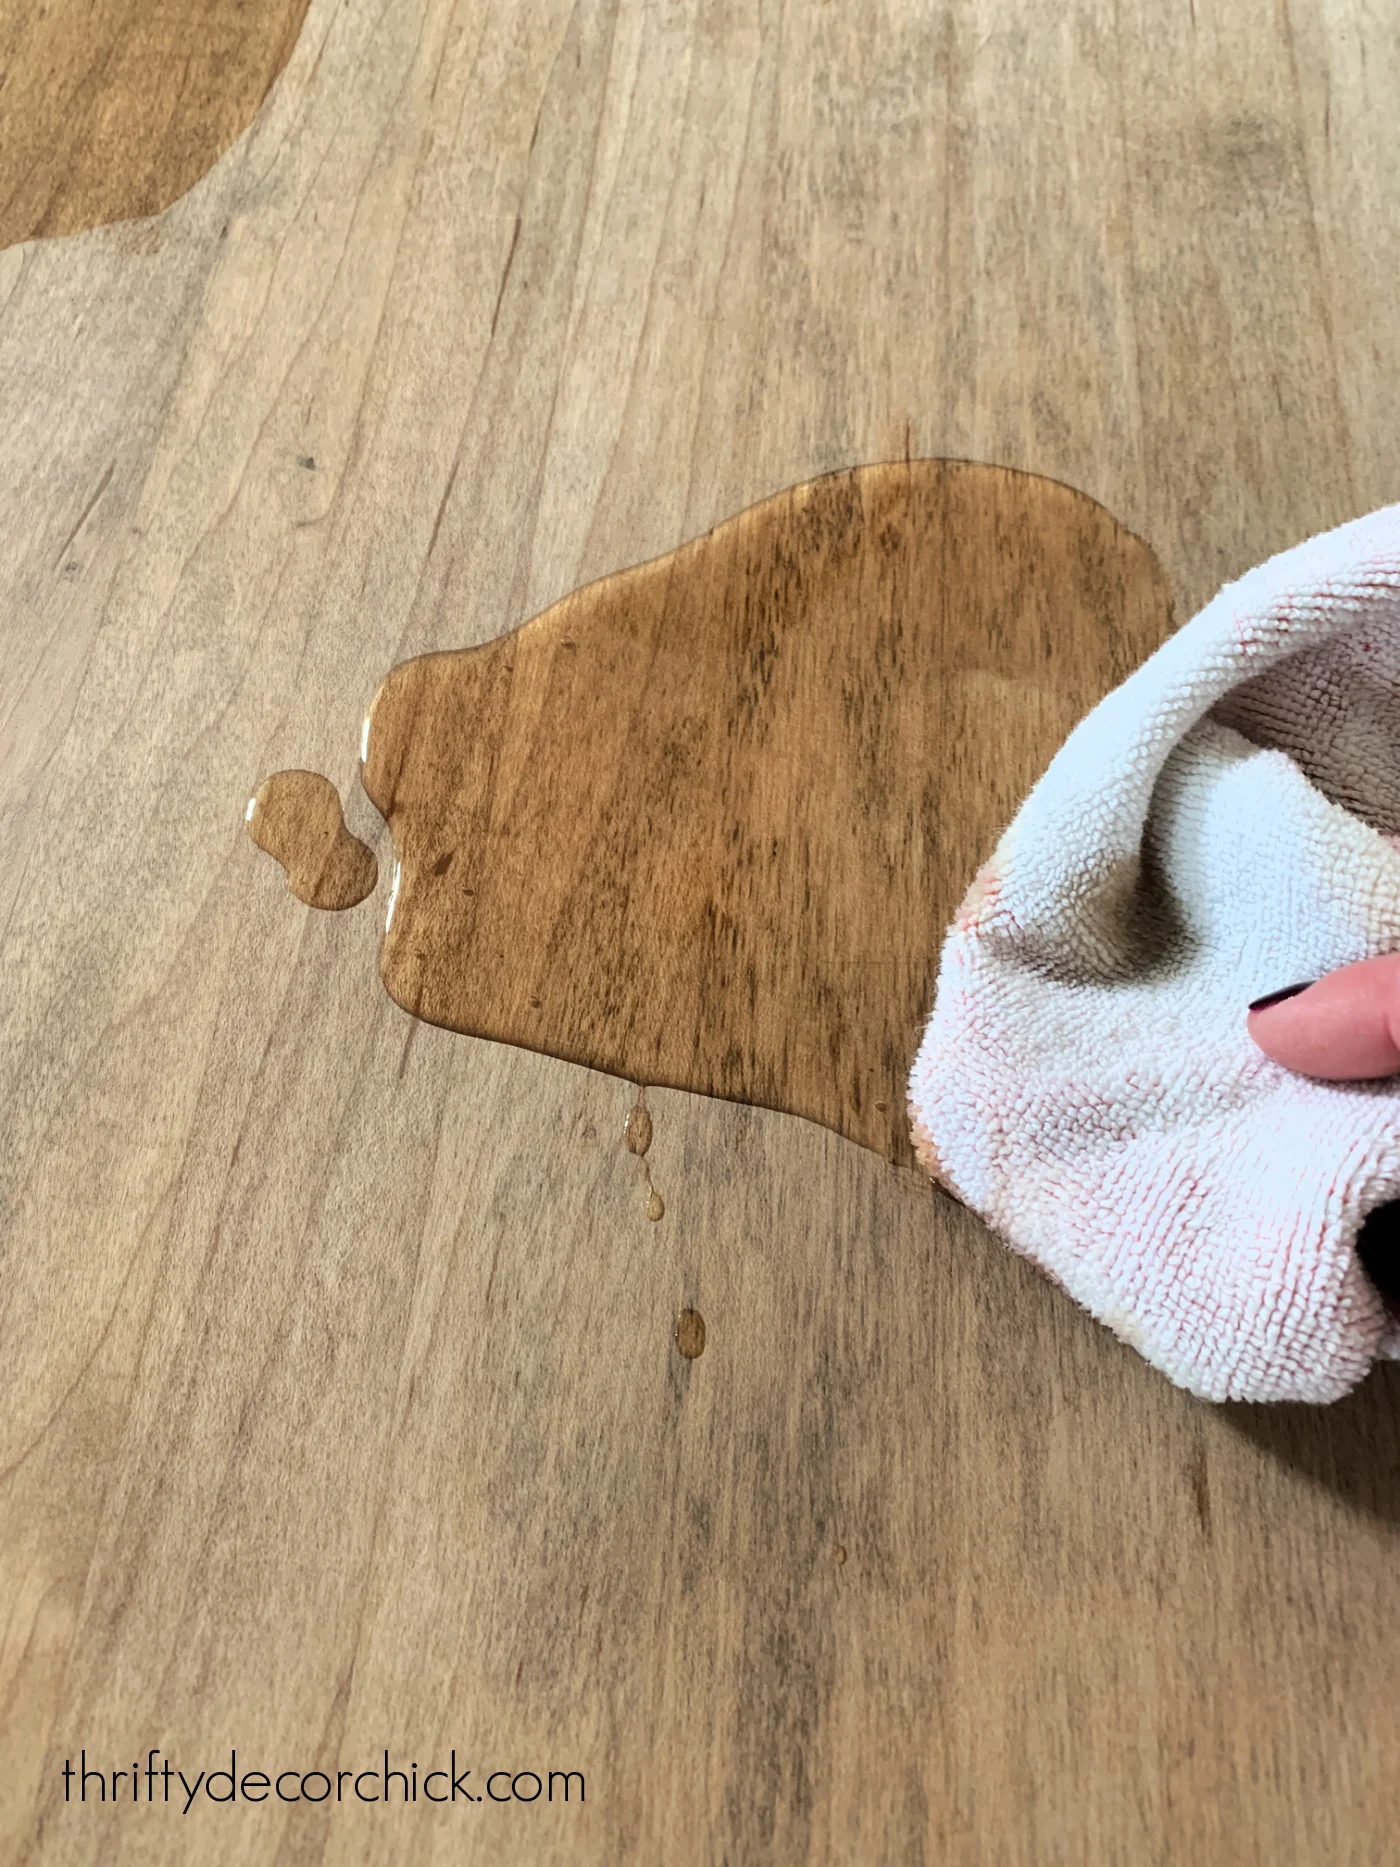
free rag and liberally wipe on your Tung oil. I like to pour it directly on
the counter and then apply:
Unlike stain and spray paint, you can use a heavy hand with Tung oil. Don't
be afraid to use a lot of it! You'll wipe it down to remove the extra
anyway.
Use the light to see where you may need to add more Tung oil -- some spots
in the wood will soak it up faster:
I've used all kinds of Tung oil over the years. My favorite was Formby's but
they were bought by Minwax. I have used
the Minwax oil
as well and like it. This time I used
the Watco brand
because it's what I had on hand.
Isn't it crazy how much the oil warms up the wood?:
After letting it soak in for a bit -- anywhere from 5 to 15 minutes --
you'll want to start removing the excess and buffing the finish with another
clean cloth.
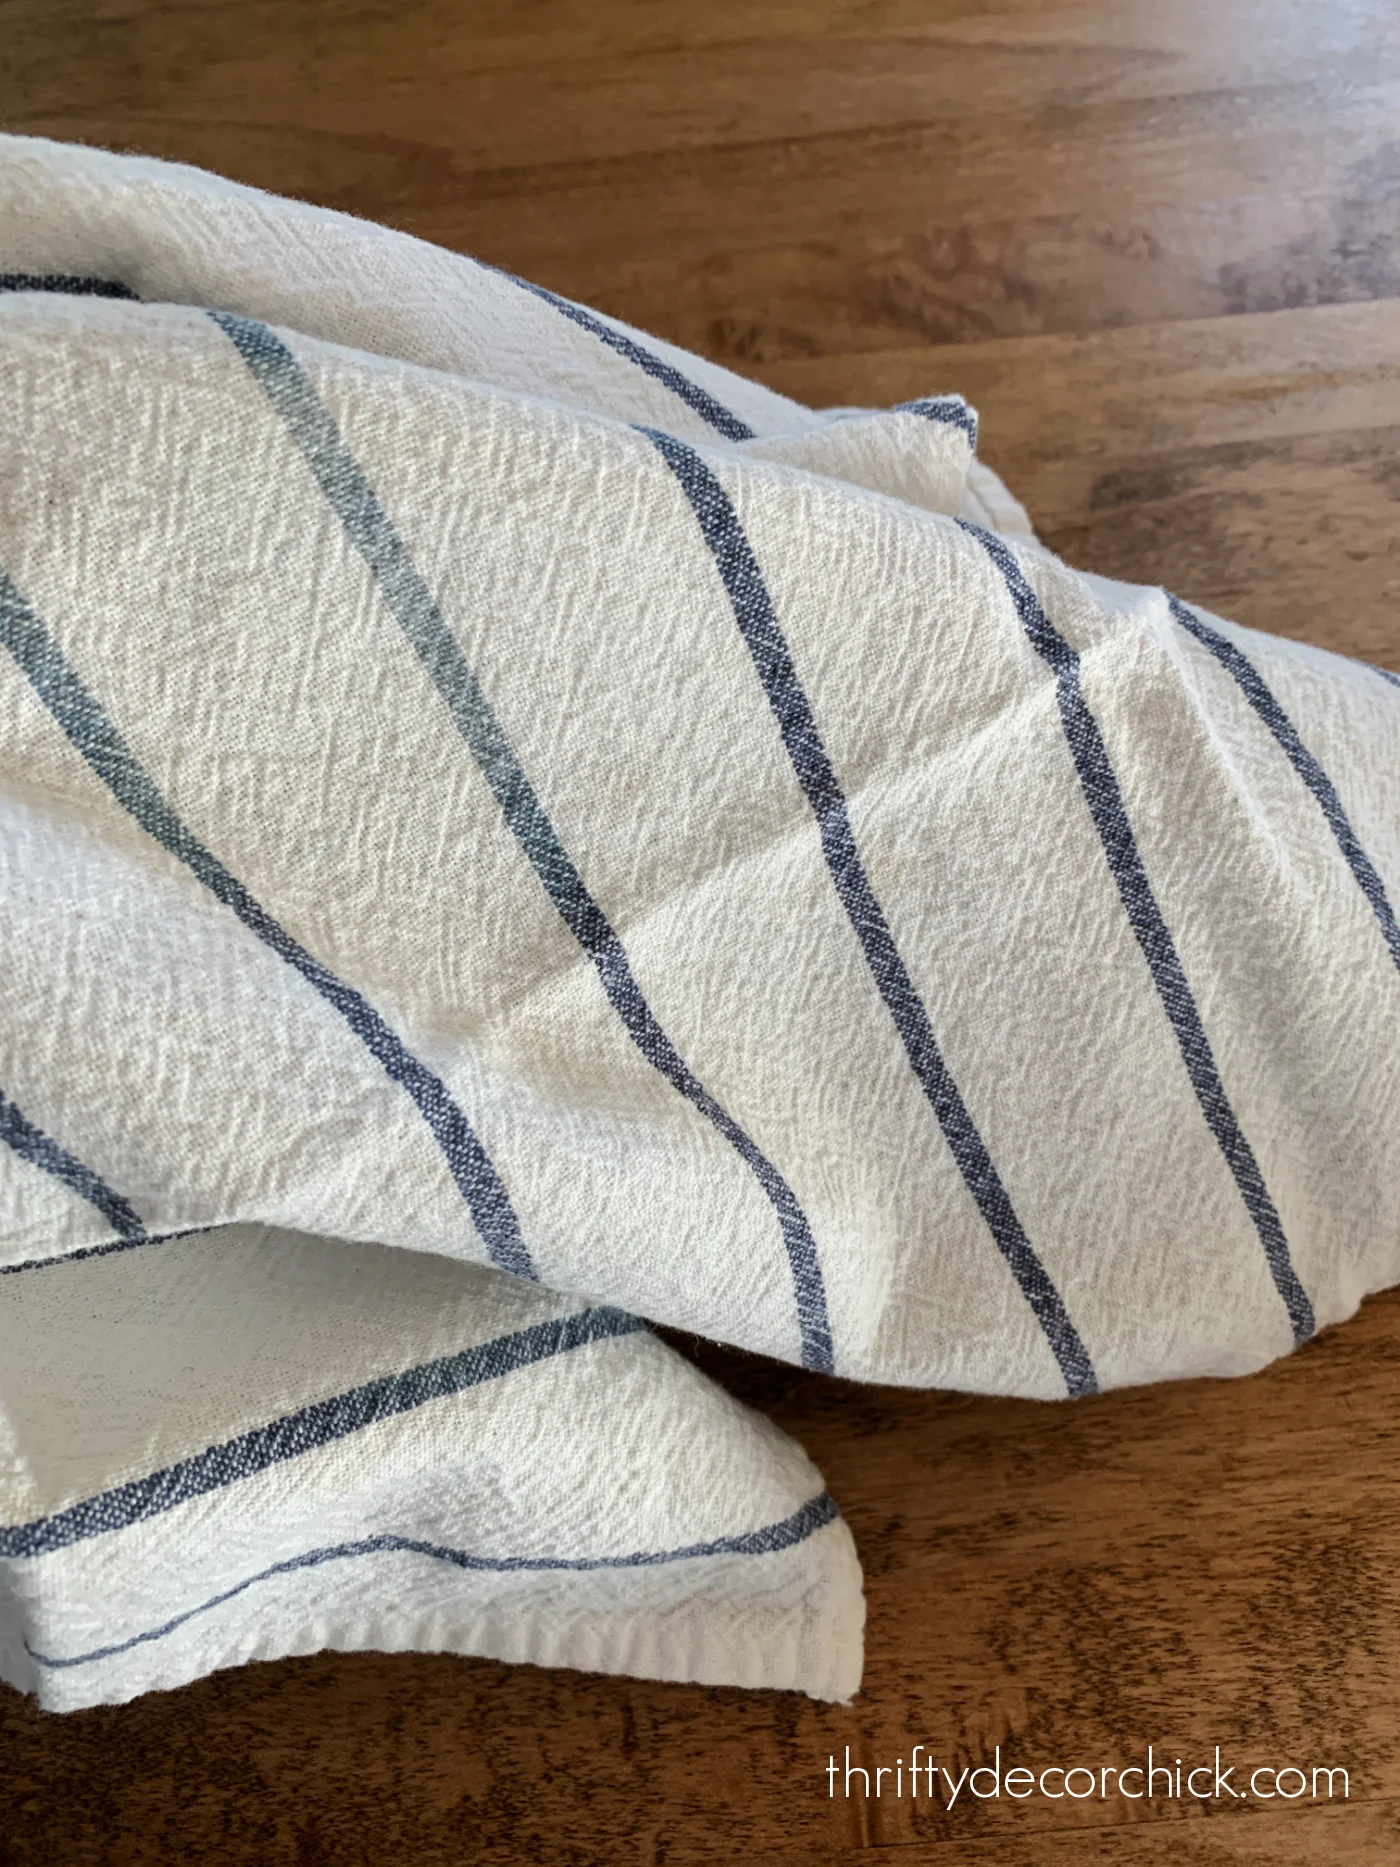
I've found the super inexpensive kitchen towels from IKEA work GREAT! I use
them in the kitchen and once they are stained they go in the rag pile.
They're also great for staining:
If you are oiling a bare countertop for the first time, you'll want to do
numerous coats, at least 12 hours apart.
Once you've done it a few times over years, one coat will be sufficient each
time:
And it won't take nearly as long to fully dry!
I oiled our counters first thing in the morning and by evening I was able to
use the sink no problem:
I cut some of our gorgeous hydrangeas and rinsed them in the sink. 😍
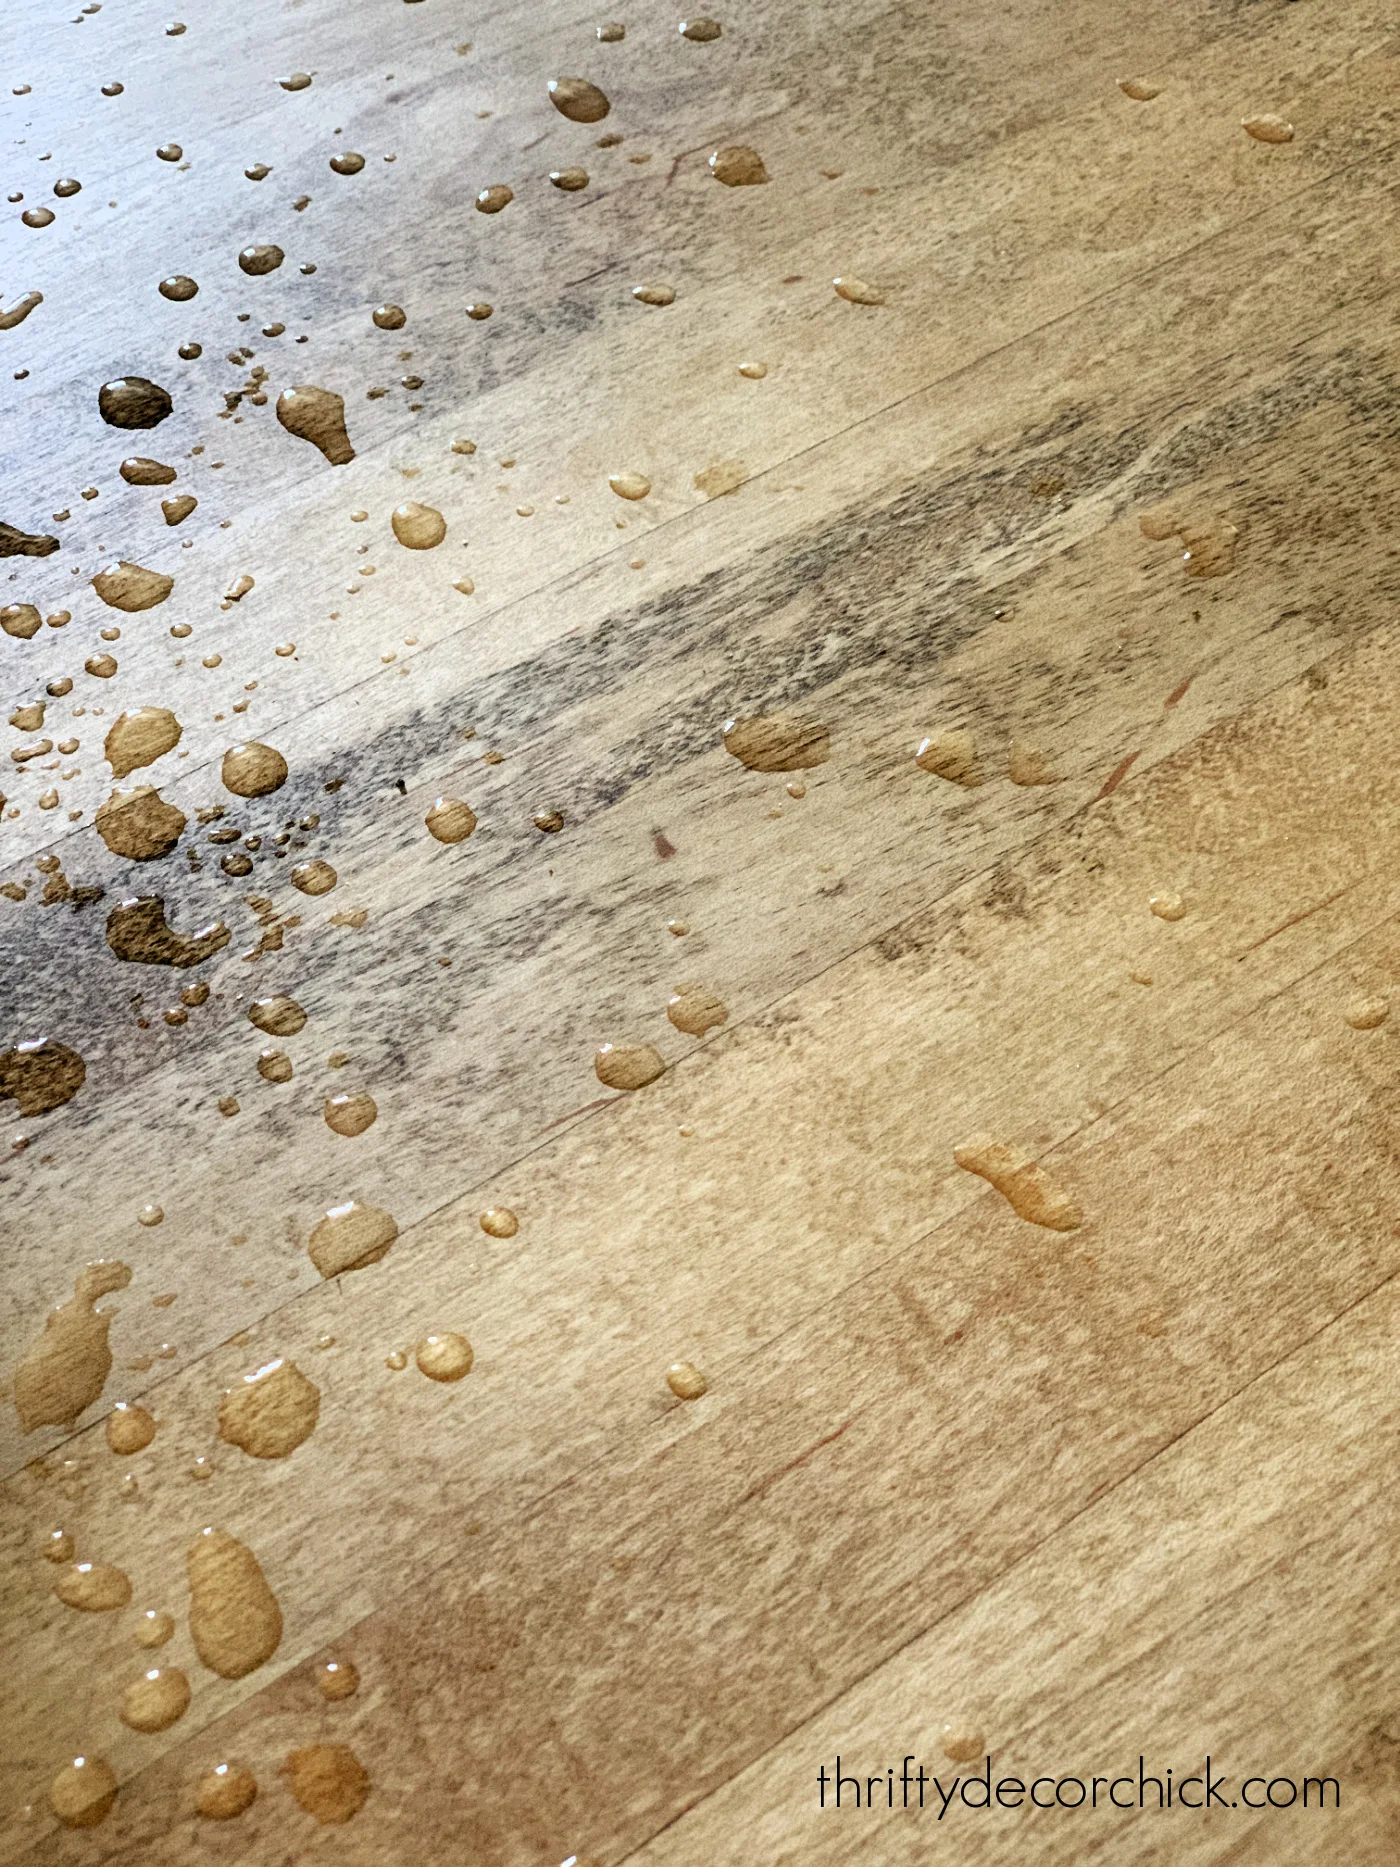
They were dripping everywhere -- this is a visual of how well Tung oil
protects against water. It beads up and doesn't soak in:
I still want to move our faucet handle to the front, over the sink. This is
the only spot that I ever worry about because of the water that drips from
our hands when we turn off the water:
I LOVE it!
Oh, and as you can see, yes you can have an undermount sink in wood
counters.
That wood around the sink has also held up beautifully -- just make sure to
treat that part as you do the rest of the counters.
Here are some helpful wood butcher block countertop posts and tips:
- How to stain and protect bare wood countertops.
- More about reapplying Tung oil to counters.
- How to get the look of wood counters for way less (not recommended for a wet area)
- All your questions about butcher block counters are answered here.
- How to stain butcher block for built ins and bookcases.
- Where you can buy butcher block countertops today.
Never miss a post by signing up to
get posts via email.









Thank you for the post AND the suggestion of having the sink handle face towards the sink to minimize drips! Such a small thing but great idea. It’s those small details that make a difference!
ReplyDeleteAny ideas on how to make those hydrangeas last more than a day or two? Mine look like yours and have I have them all over my yard, but they droop so fast.
ReplyDeleteThank you so much for this post! We are in the middle of a pretty big renovation and are putting butcher block in the laundry room. I love the warmth of the wood but wasn’t sure how to finish it off. This is the so timely:) Thanks!
ReplyDeleteI have same issue with water dripping into puddle directly under kitchen sink faucet. Some homes it has been really bad because the island had a slight unlevel area and then that puddle would run. So I know use a color coordinated(with granite)microfiber cloth folded up several times under the faucet handle to catch the drips. It looks decent and avoids the puddles. Currently have a light grey microfiber cloth to match granite colors so it doesn't look so obvious. Also you can buy a small narrow silicone tray for sponges that you can also use in place of microfiber.
ReplyDeleteI had to laugh when I saw that you used the IKEA dish towels for this. I had done the same. My countertop is Bamboo and we used the IKEA STOCKARYD wood treatment oil (a mixture of tung and other oils) and it has worked beautifully. I regularly wipe the drips from under the faucet handle with the dish cloth, but so far no stains or warping there. Thanks for your great ideas.
ReplyDeleteLooks beautiful!
ReplyDeleteWe also had to fight with our contractor and they even refused to router a hole for our undermount sink.. ugh (thank goodness for my brother, he was able to borrow a router and saved the day!)
We use a different finish, but similar long lasting results. Honestly if we ever move, I'll want butcher block again.
You hit the nail on the head with how it warms up a room. Thanks for sharing your story!