
How to Install a Stone Peel and Stick Tile Backsplash
November 08, 2023
Share this
Tips for installing a DIY peel and stick tile backsplash. No mortar or grout needed with this easy installation method!
You can get a fresh look anywhere you want a tile accent with this easy DIY project!
These peel and stick wall tiles I used on our pantry backsplash were a HUGE timesaver. The adhesive on the back of these faux stone tiles make it easy and quick to install.
This peel and stick tile was the perfect solution in our pantry turned "butler's" pantry makeover!
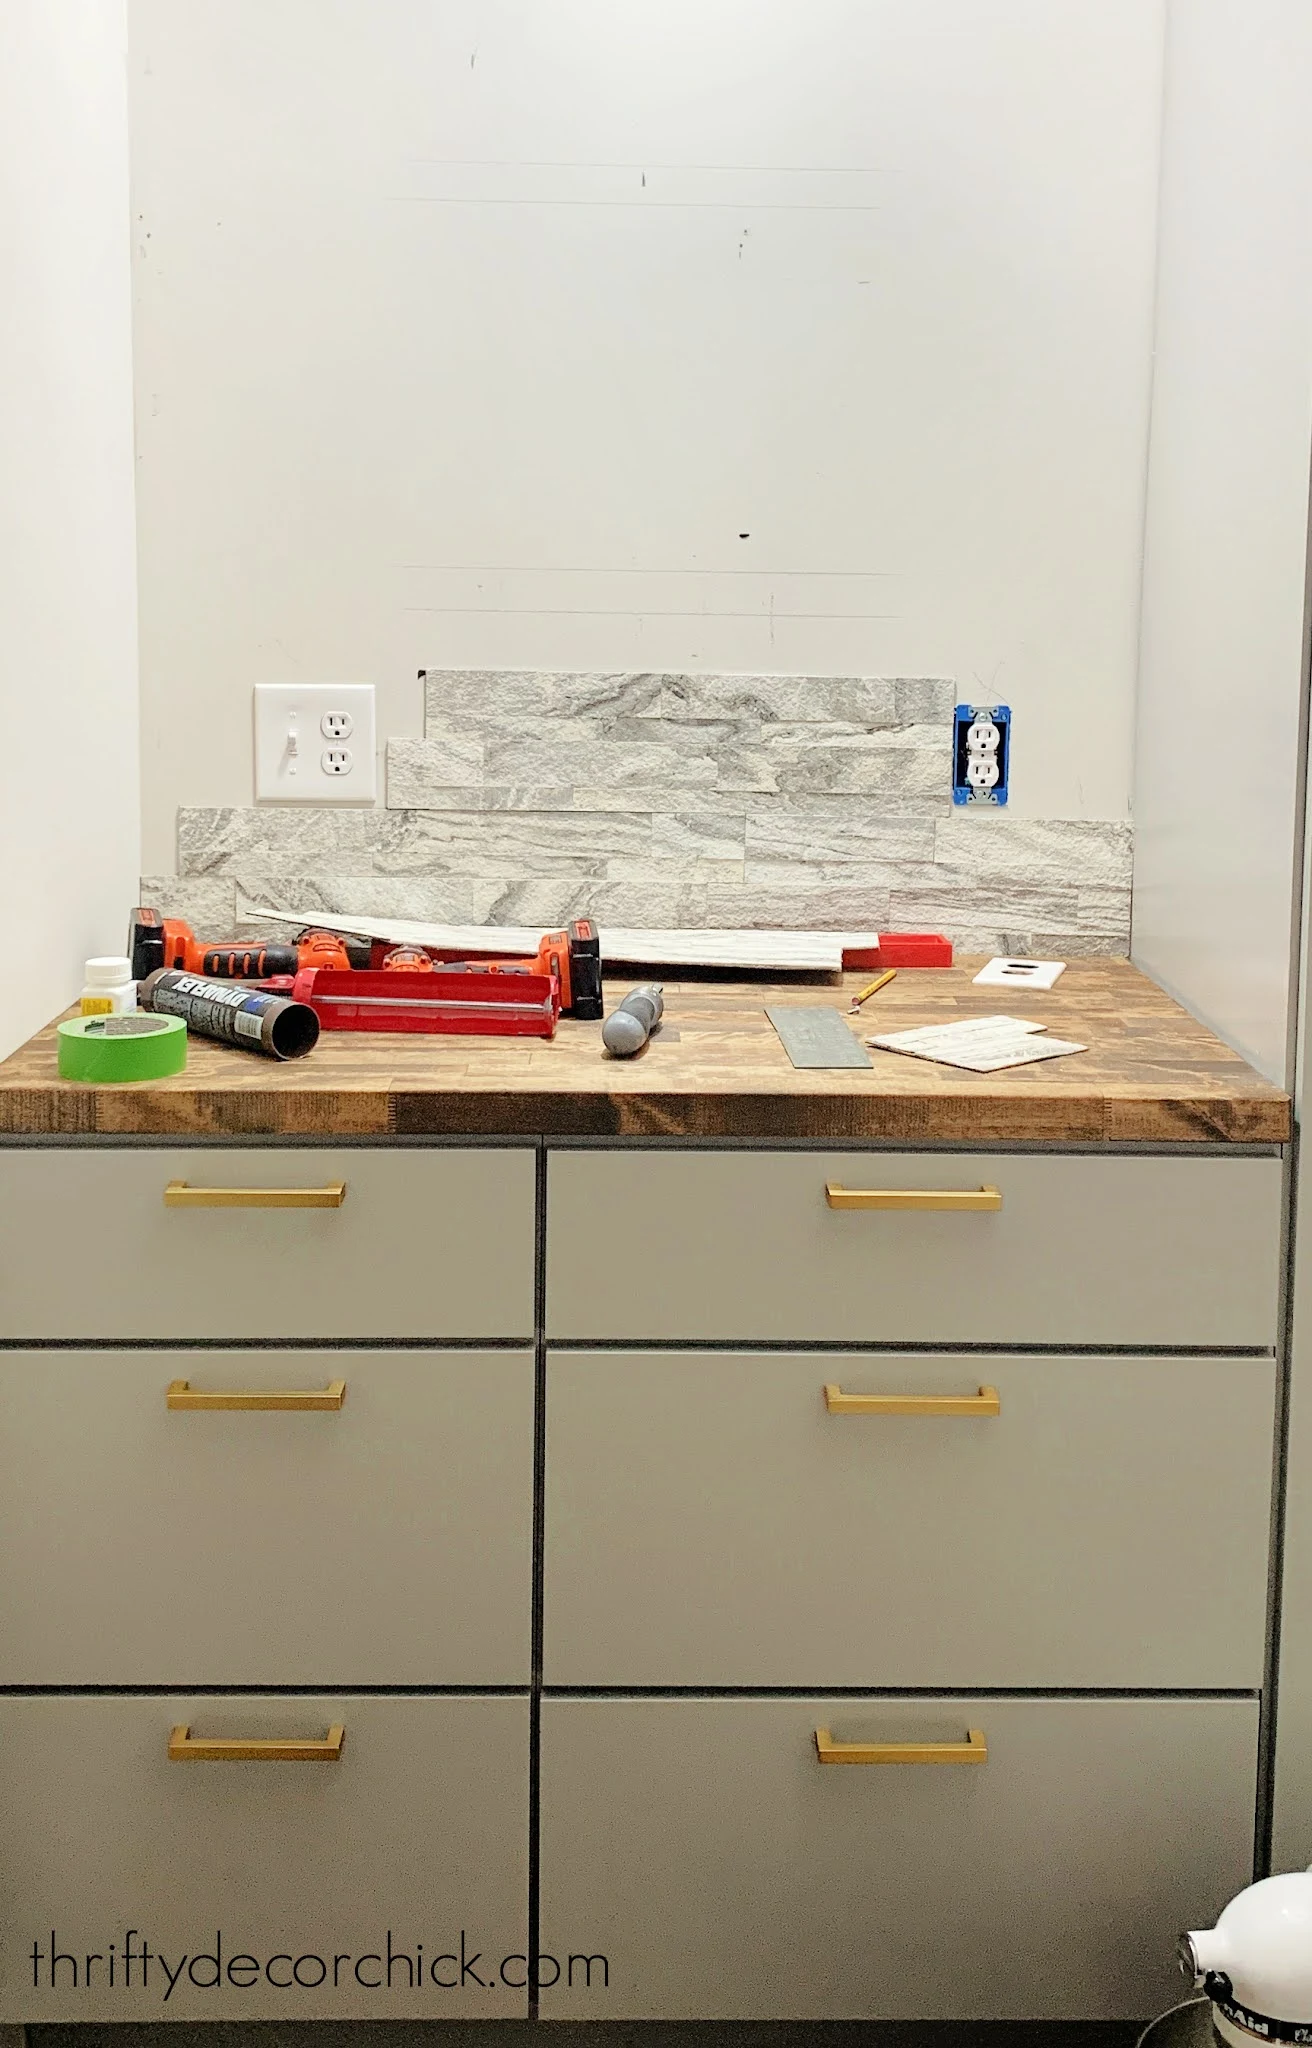
I got the cabinets installed first (check out my tips on installing cabinets here) and then installed the butcher block countertop before starting the tile.
You'll want to know where your counter stops before installing the tile, no matter what kind of tile you're using.
If you read my pantry plan post (say that three times fast), you saw that I was going back and forth between two tile options.
The first were traditional ceramic tiles that I'd have to mortar and grout (or use these awesome sticky tile sheets I showed you!) and one was this peel and stick backsplash tile from SimplInstall:

This post may contain affiliate links for your convenience.
See my policies and disclosure page for more information.
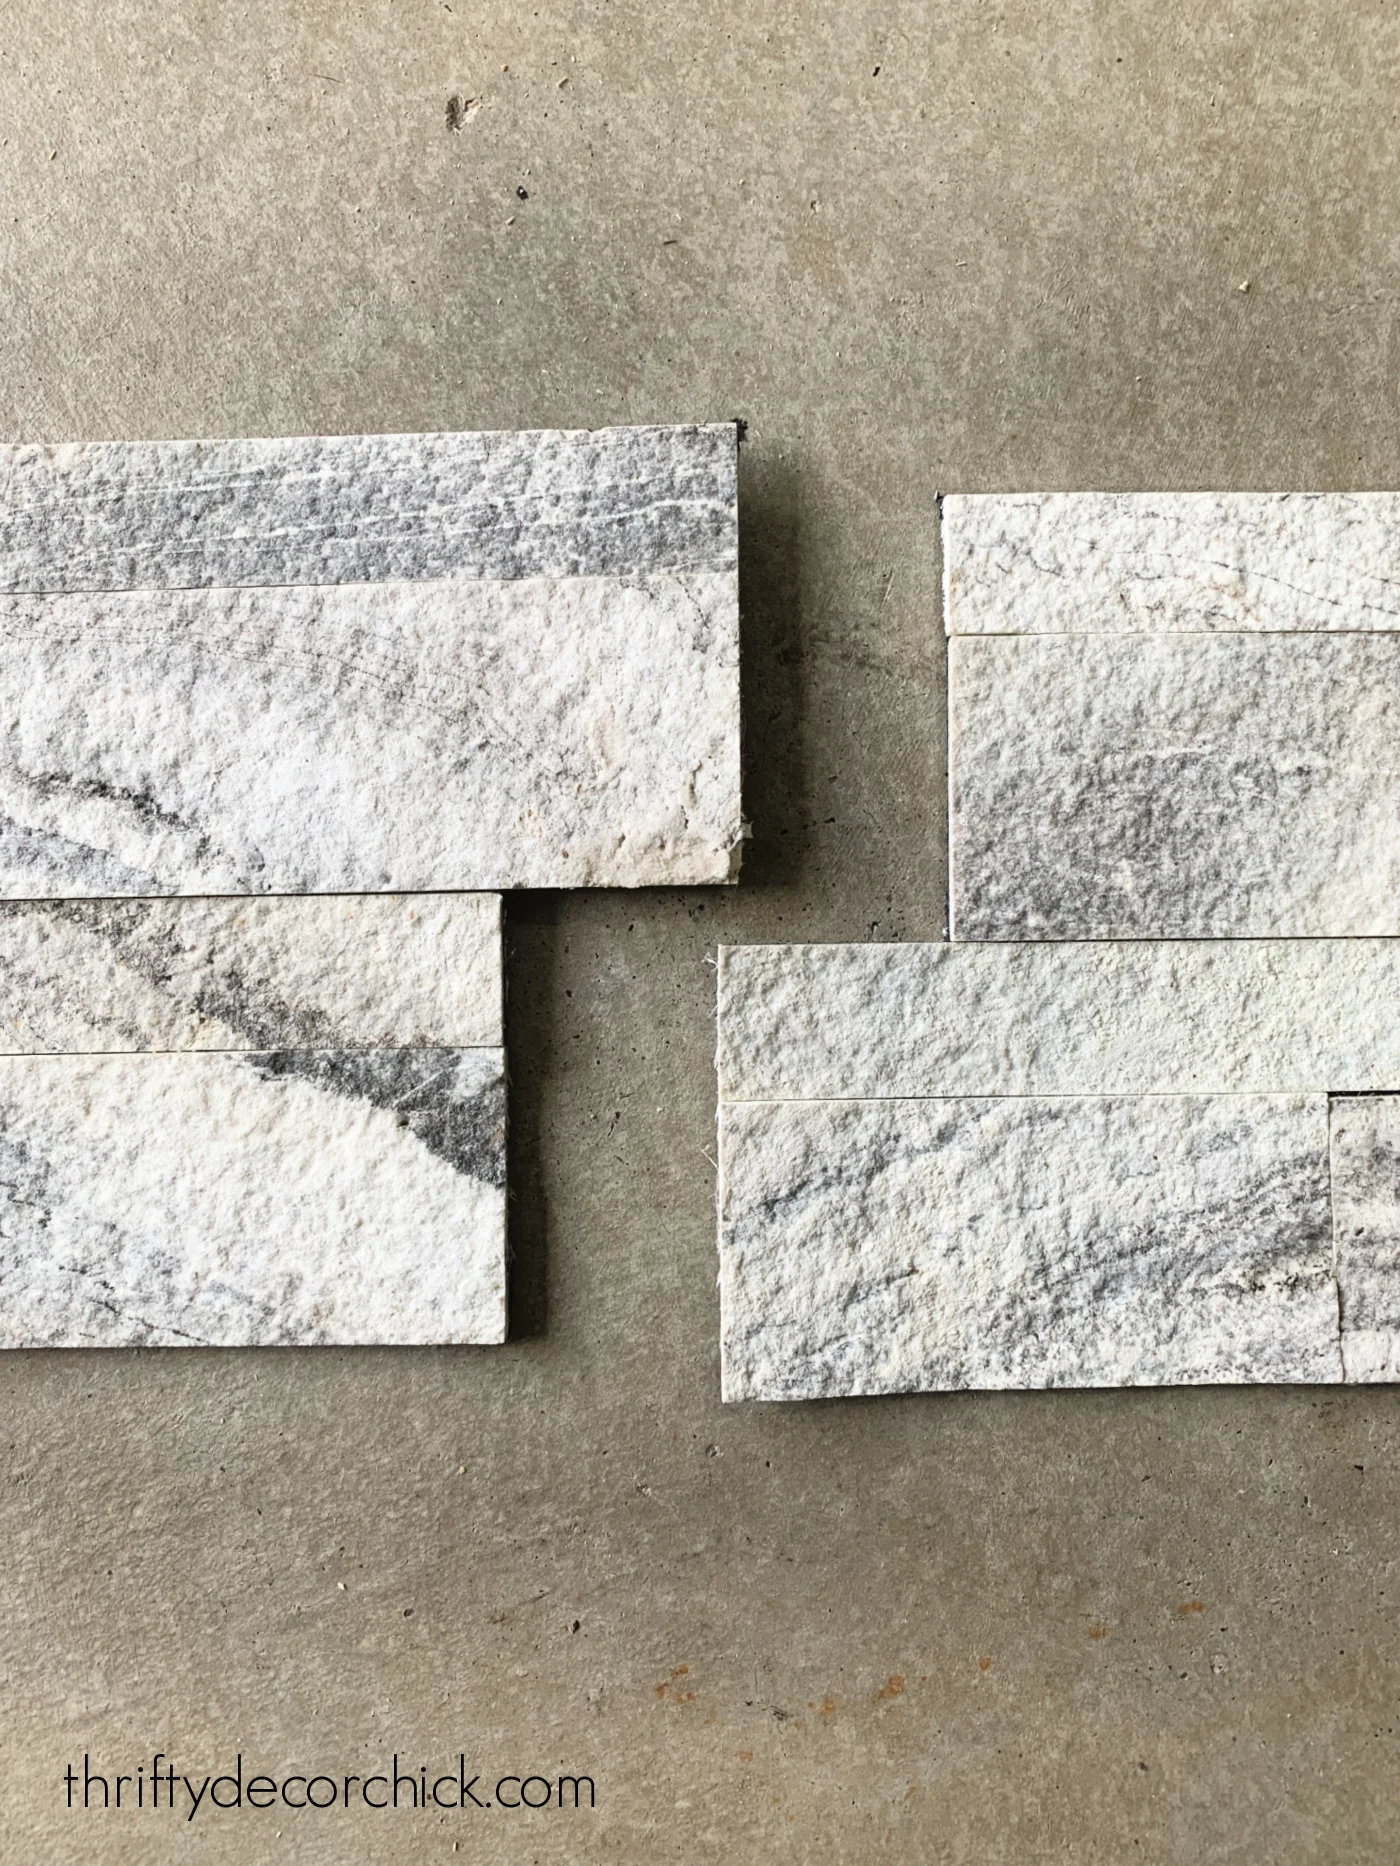
This particular one is called Aspen White Marble and I found it at Floor and Decor. I liked that it had the look of natural stones.
I decided on this one for a few reasons -- the biggest was that the rest of my family HATED the other tile option that I loved. 😂 Whatever.
I love the look of the star tile, but I can see it may look outdated in a few years. This marble/stone looking option will stand the test of time.
It's a little more modern than I usually go, so I was surprised I liked it so much. But I'm so happy I went with it! It's really beautiful, especially when it's all installed.
Of course, another big reason I went with this stuff is the ease of installation. I knew it would be quicker, and NO grout is needed after installation.
Before you install peel and stick tile
Start with a clean, dust free wall before installation. If you're starting with bare drywall and it needs to be primed or painted first, I would let it cure for a few days at the least.
When you start out, use a level to make a straight line on the wall above your first tile. Use this as your guide as you start your first line of tile.
If you're working on a large space, it would be helpful to use a laser level or chalk line to mark your level.
Mark the middle of your wall and start your first tile centered on that spot.
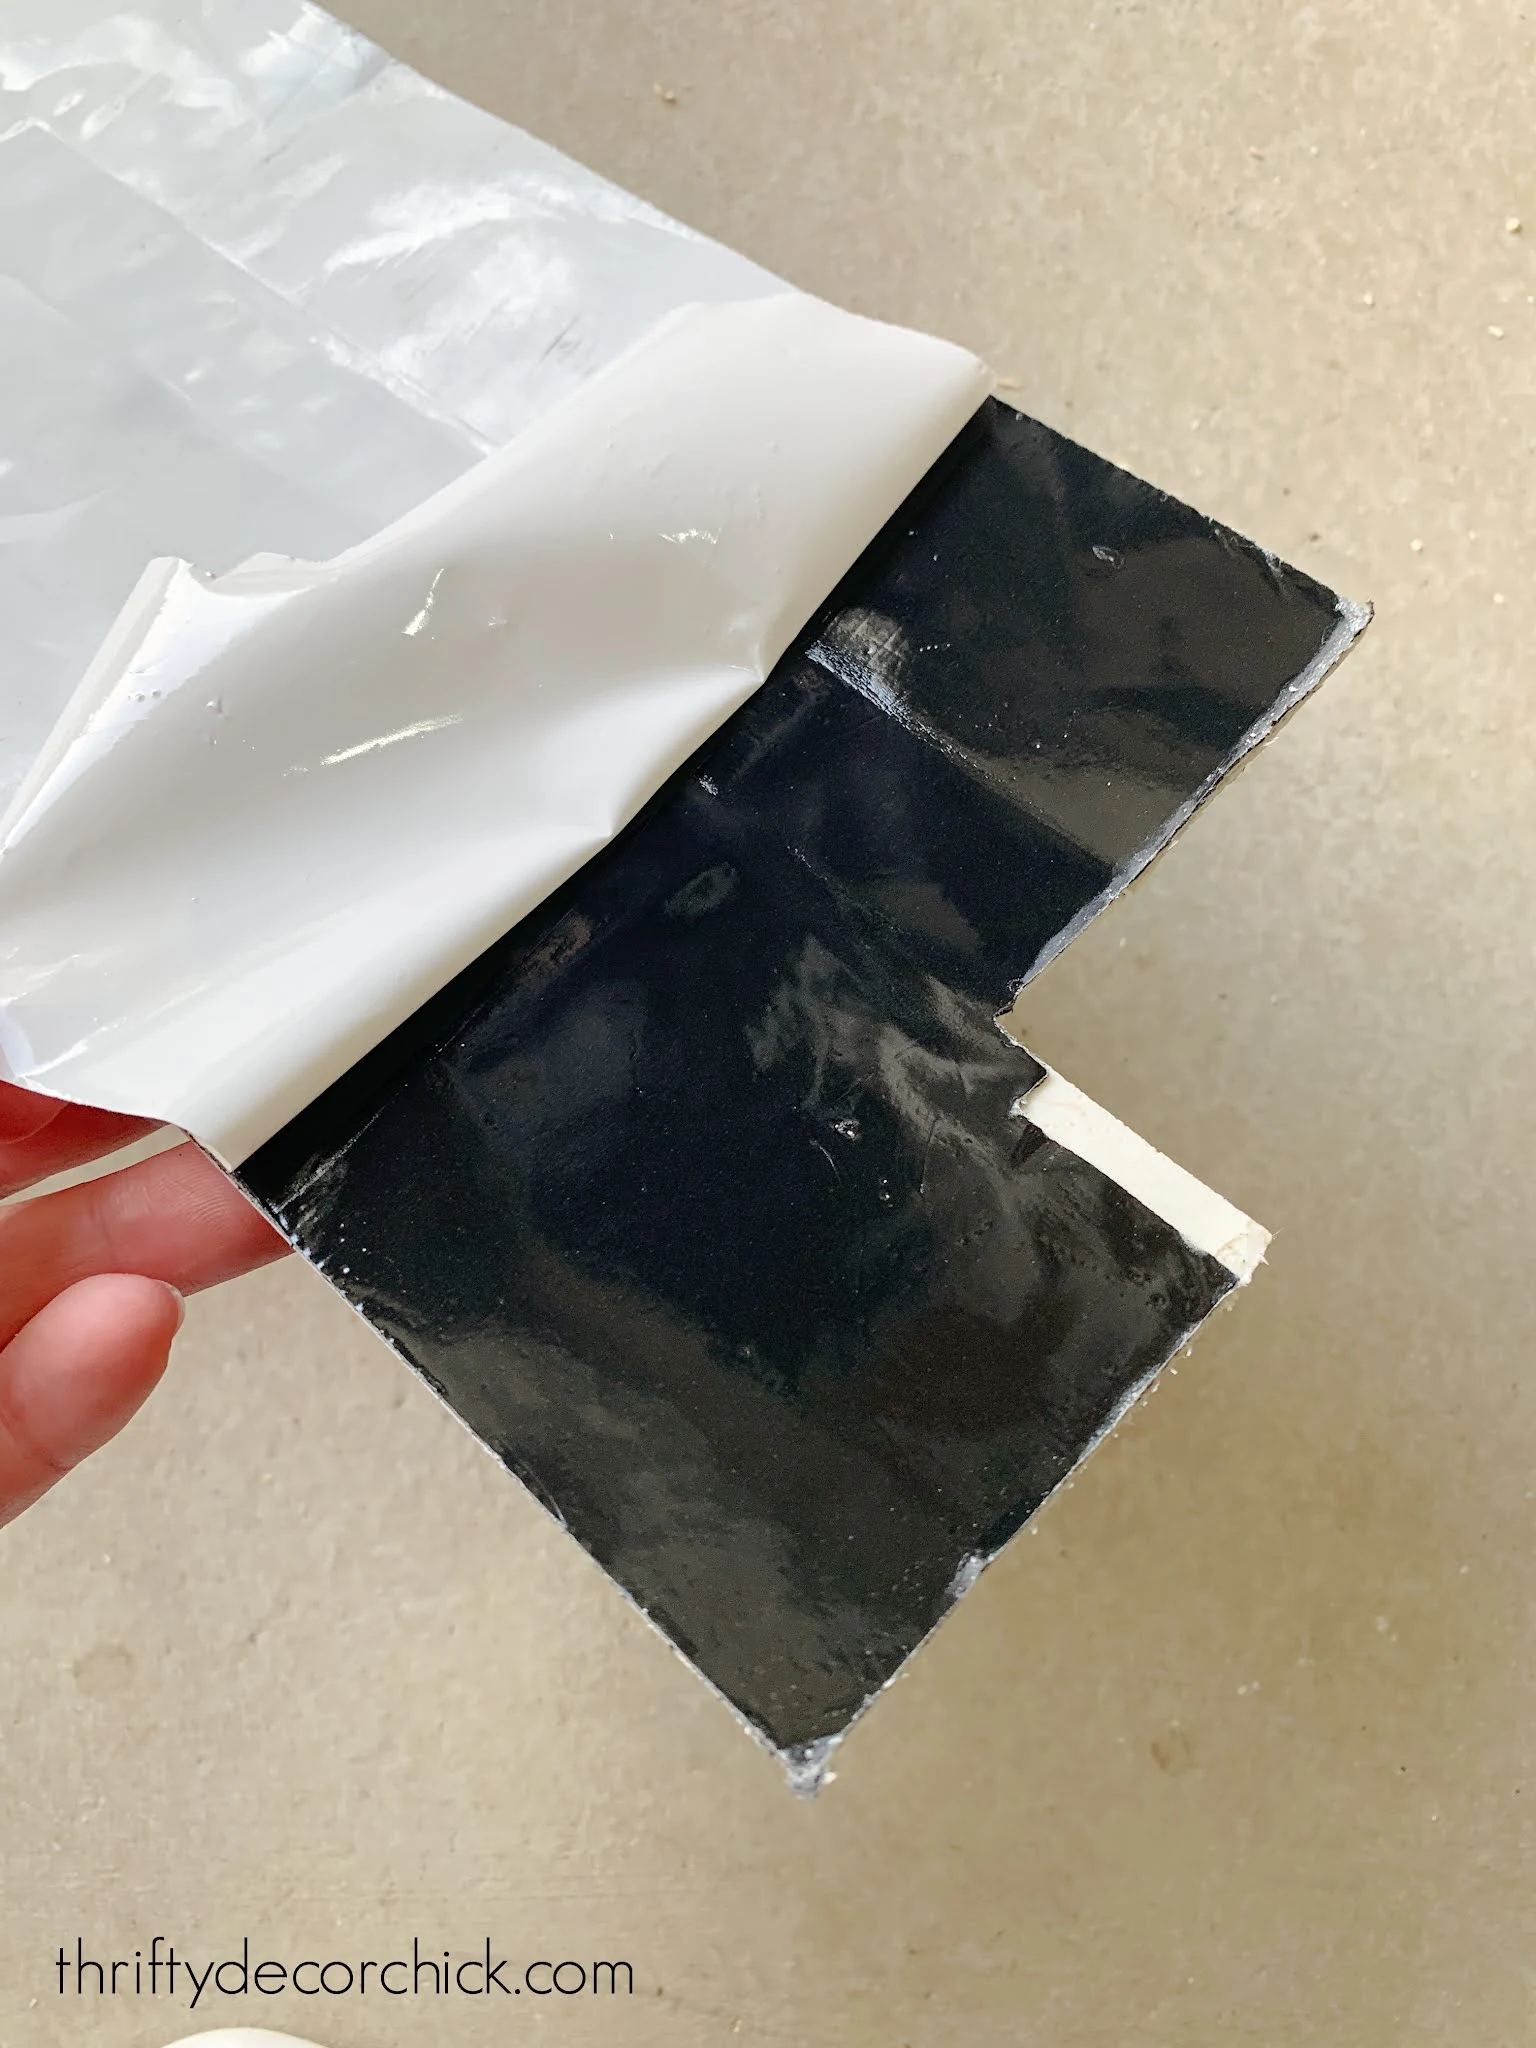
This product has a sticky adhesive back -- hold your tile up and determine placement and cuts before peeling the plastic off the back:
How to cut peel and stick tile
There are vinyl "tiles" that are SUPER easy to cut -- just use a utility knife or strong pair of scissors.
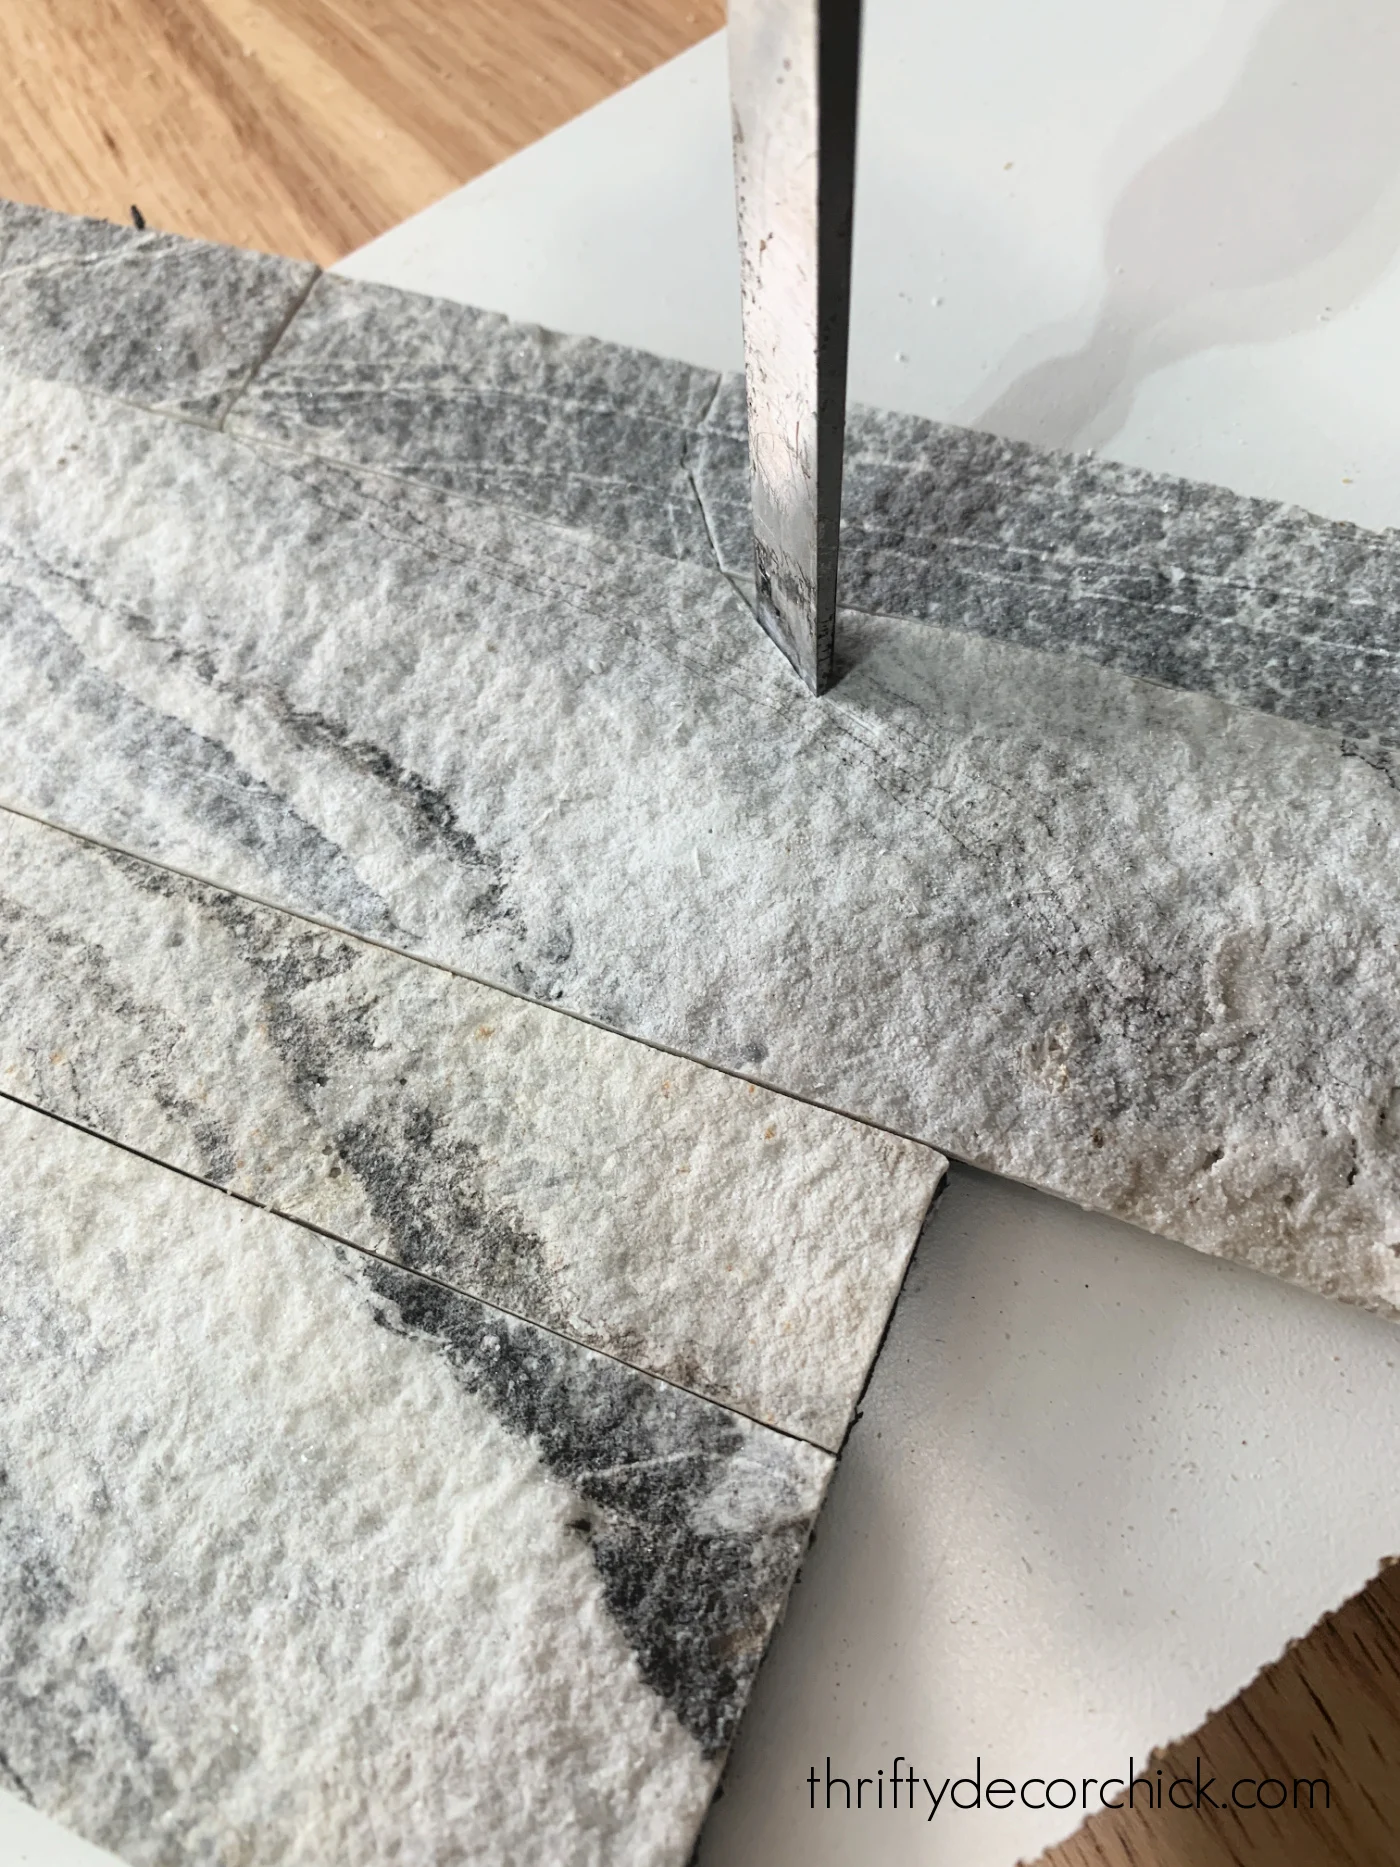
This tile has a stone texture, so scissors won't work, but you can use a few options. I used my miter saw for the regular straight cuts:

Wear a mask and eye protection when cutting!
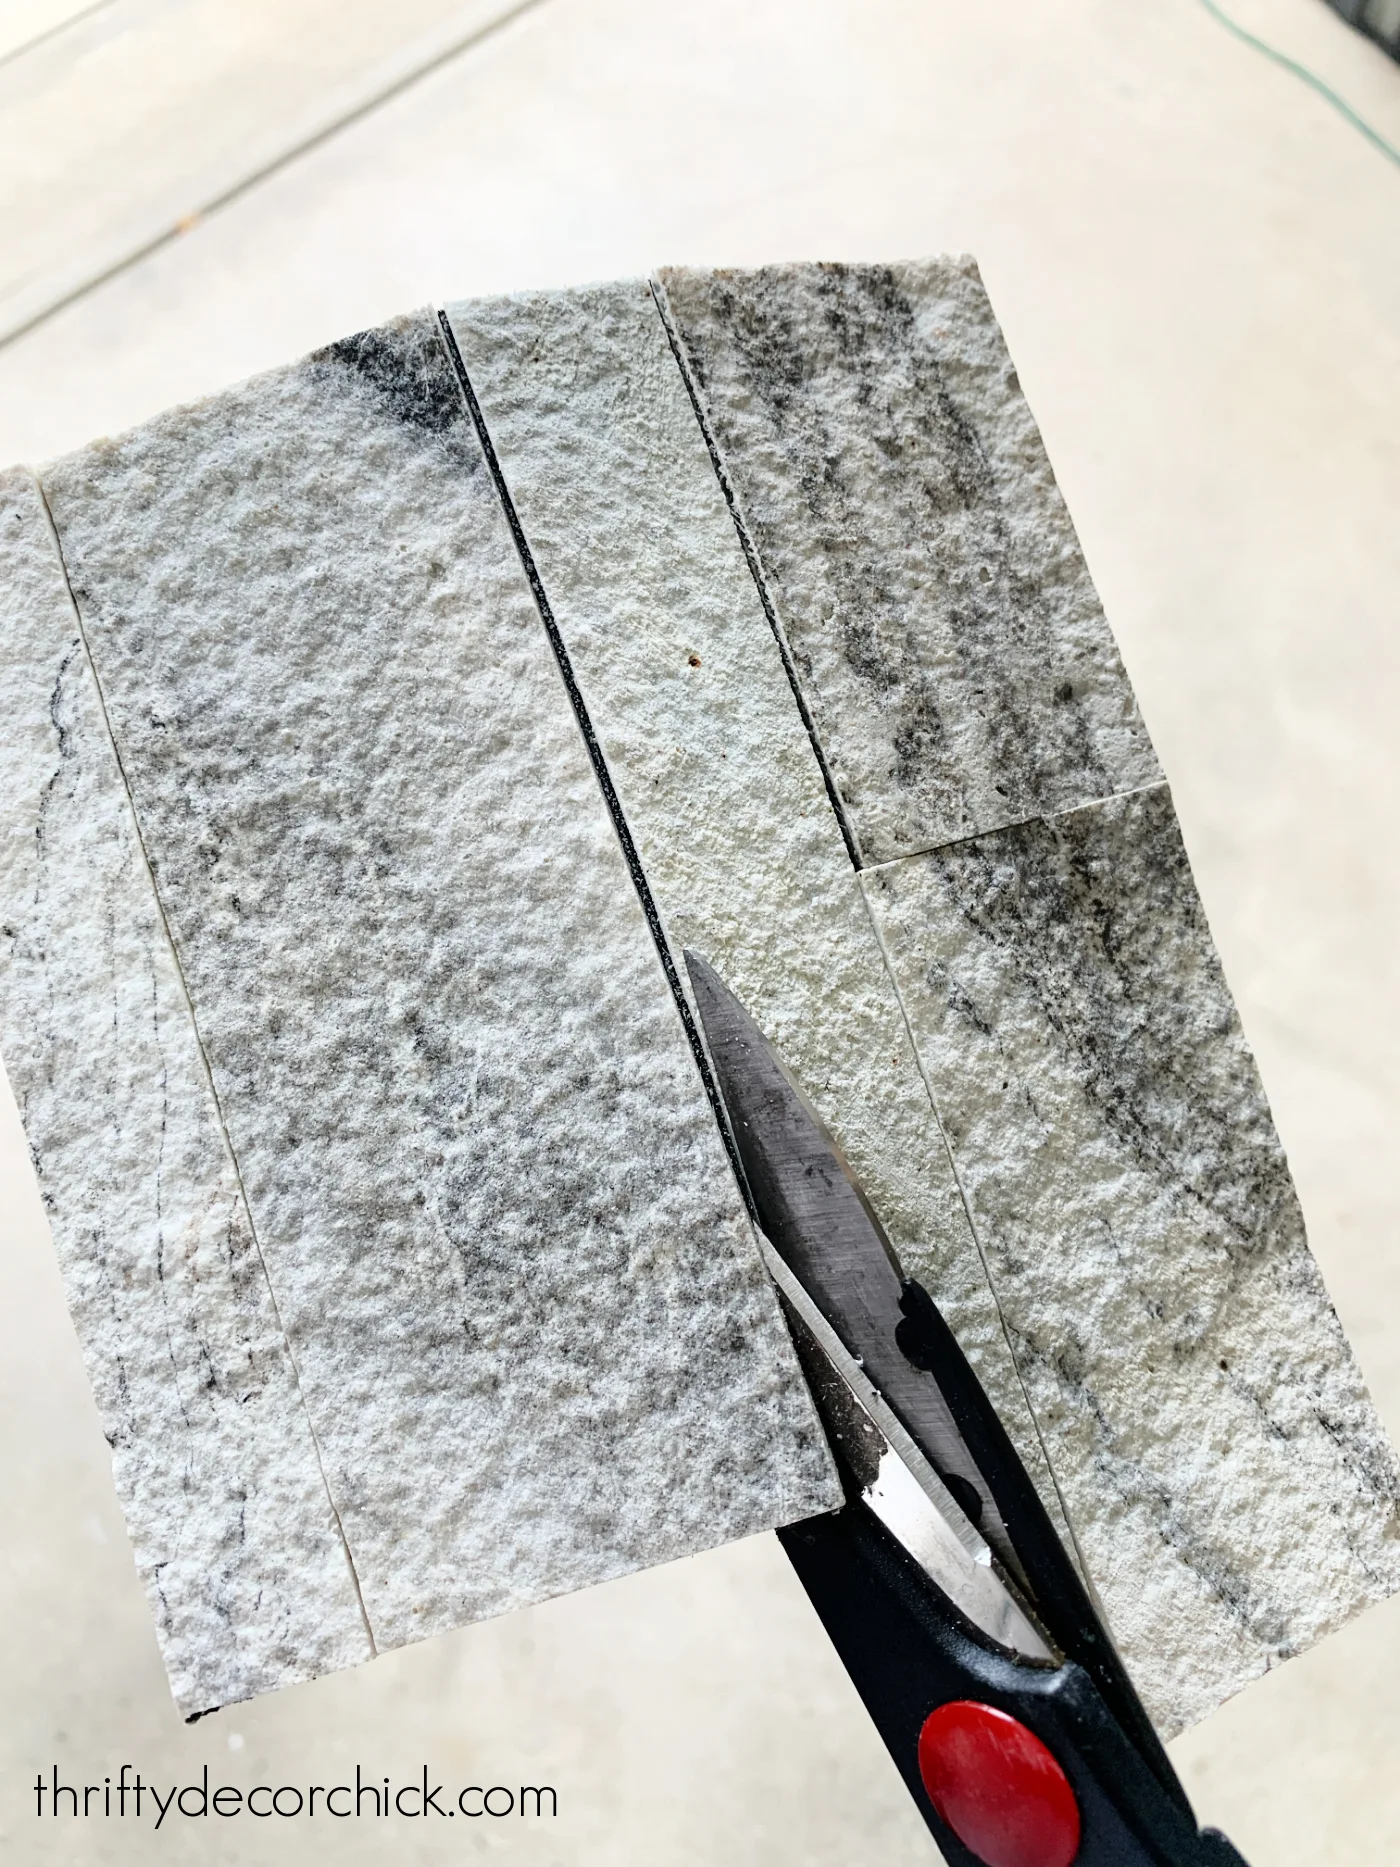
If you need a skinnier piece to finish off a spot, just use scissors to cut in between the tiles:
For areas around light fixtures where you'll need more detailed or rounded cuts, you can use tin snips or a chisel to make those:
How to install peel and stick tile
When I used the sticky tile mats to install the tile in our mud room, there was a little bit of give once I stuck the tile on. If I was quick, I could pull it off or push it around just a bit.
You will not be able to adjust this stuff -- once it's on, it's on! It's scarier than it sounds though. As long as you take your time and figure the placement before peeling off the back, you'll be fine.
The great thing about this particular peel and stick tile is you can't tell where one piece starts and the other begins, so you don't really have to have a specific layout as you install.
It's super forgiving and would be a great one to use if you're new at tiling! Even if you're cuts aren't perfect, you won't notice the imperfections:
After sticking each piece to the wall, use your hands and press firmly along the whole piece to make sure it's flat against the wall.
If you have a handheld roller that would work well too, but don't get one just for this project.
If I could do it over I would have started each "tile" on the left, flush against the wall, so there were no gaps at all:

But it's not a big deal, a line of caulk will easily clean that up! You can also install small trim to cover any imperfections.
I marked the line on the right where I wanted the tiles to end -- this is where I'll be building up the pantry cabinets eventually:

Because of the design, you can use scrap pieces to fill in almost anywhere. So you don't need much to fill a space. I used exactly two boxes and they were $60 each.
Note: You can install this tile on textured walls with Liquid Nails glue in addition to the sticky back!
After installing peel and stick tile
If you will be prepping food or cooking near any tile backsplash, sealing is recommended. It doesn't take long and will prevent the tile or grout from staining.
I'm not sure if I'm going to seal this or not -- it can change the look of the tile so I'll probably test a scrap piece to see how it looks.
One of my readers mentioned that since this is stacked dimensional tile, it can be difficult to get switch plates flush.
I have found the same to be true overall, but not with this product:
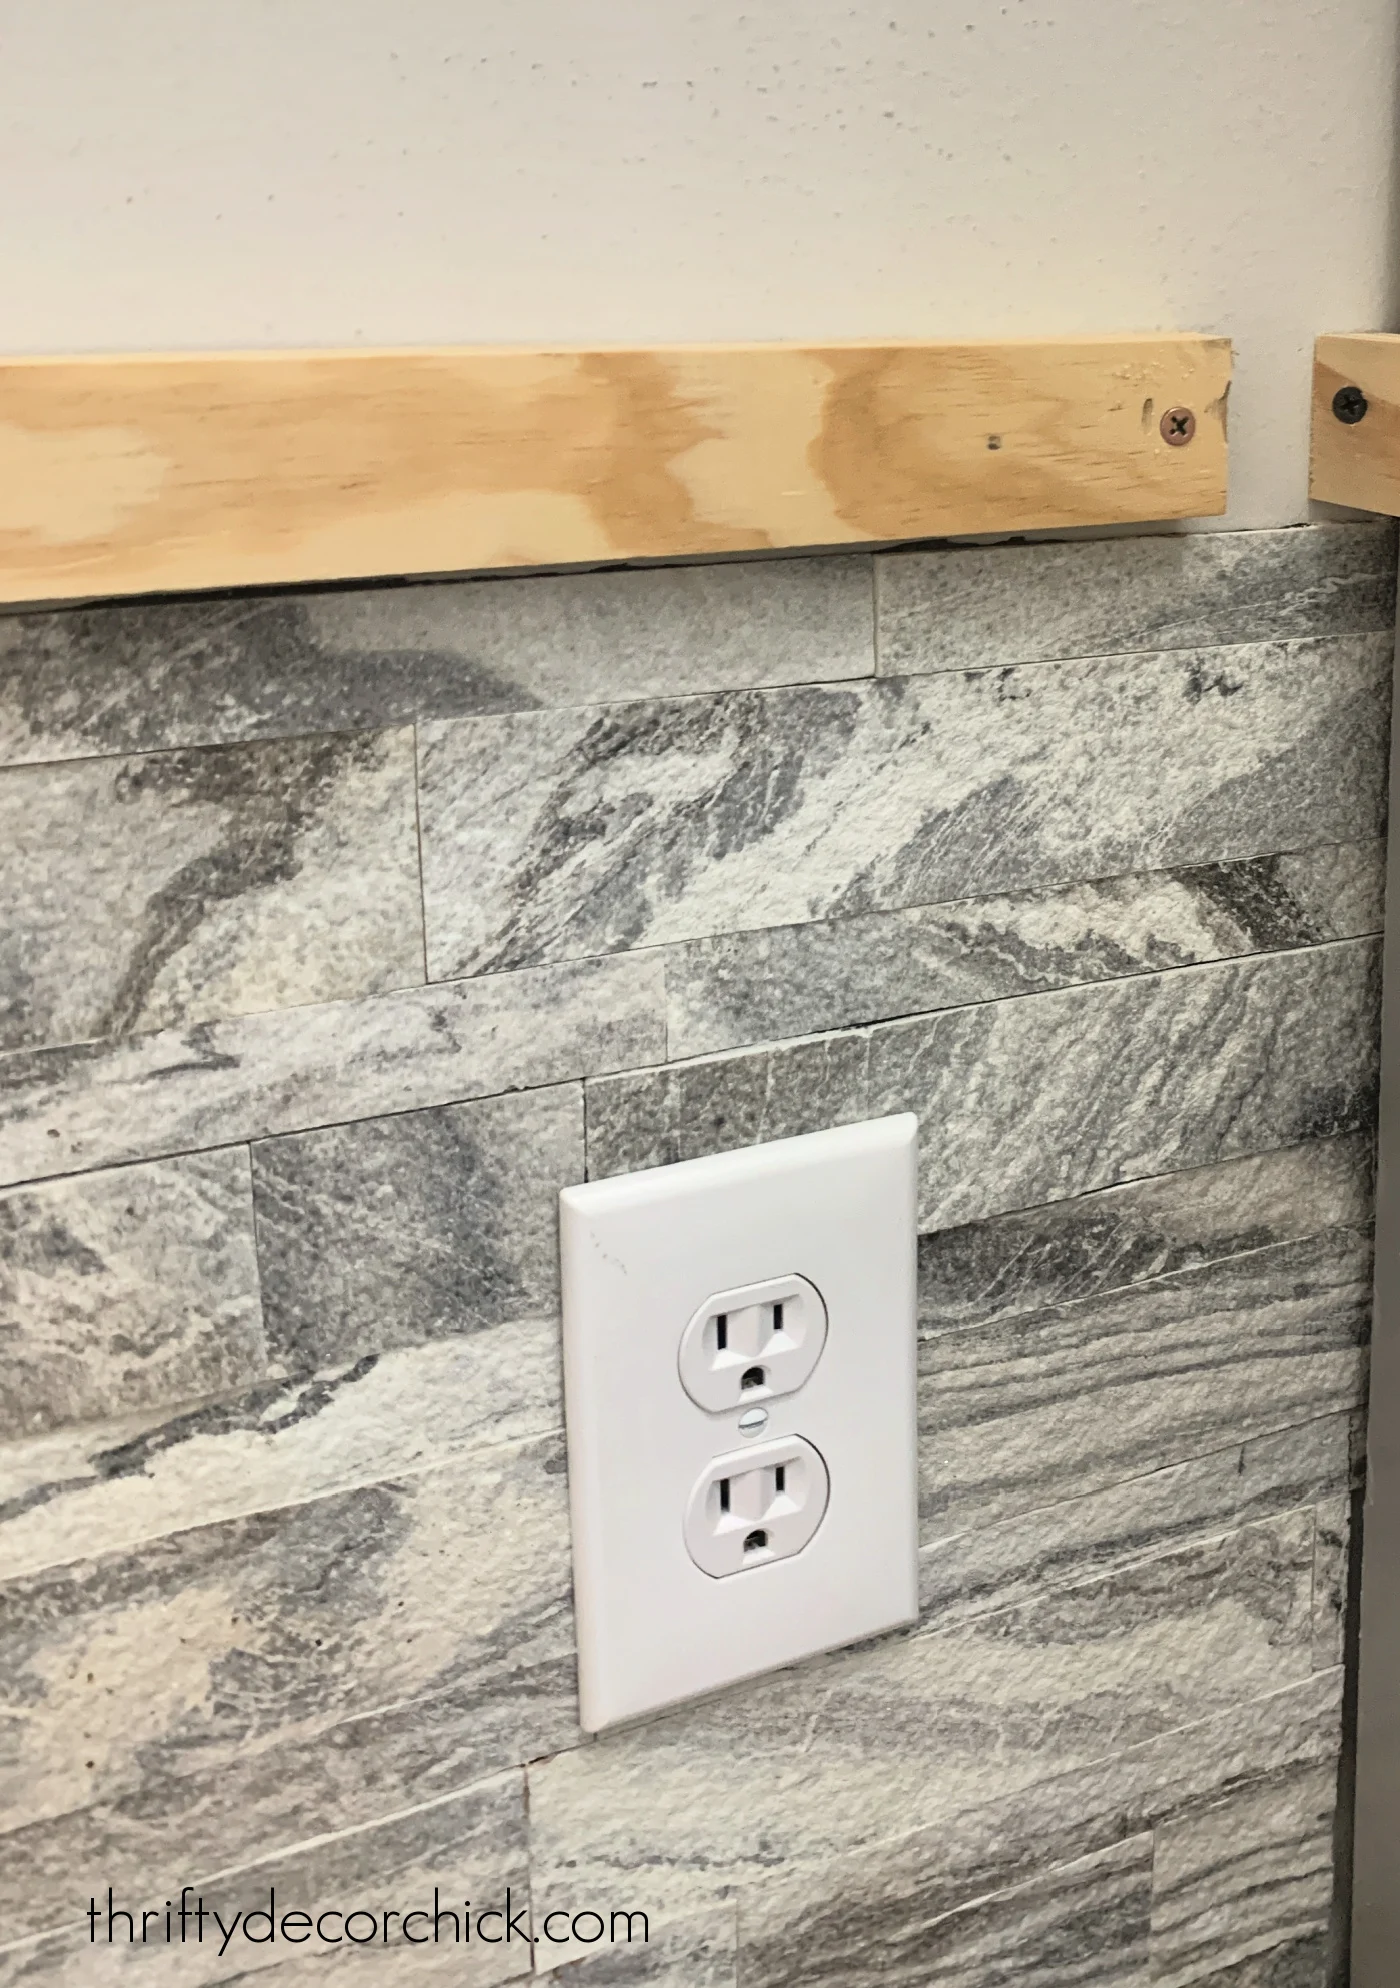
The covers went back on the wall nice and flush.
I LOVE the look of this faux tile. It's not smooth -- it has a rough, stone-like texture.
I loved the movement in the design and the colors inspired me to paint the walls in here my favorite deep navy, Cyberspace:

The sticky tile made for an easy makeover in this spot.
By the way, I tiled to where I wanted to add a shelf, then added the shelf supports to the wall and continued the tile. (Check out the outlet photo above to see what I'm talking about.) You can find my floating wood shelf tutorial here.
UPDATE! Check out the fully renovated pantry tour here:

I ended up changing the wall color to a lighter tone and it looks SO great with the stone tile!
Here's how this room looked before:

I loooove how it's all coming together! I'll share more pantry progress soon.
Benefits of peel and stick tile:
- It's easier to cut than regular tile -- no wet saw or cutter needed. You can make intricate cuts easily with handheld tools.
- They are ready for installation, no need to purchase or use mortar or tile sheets.
- NO grout, which is a big one. Grouting isn't that bad, but on a vertical surface it's messy.
- It's lightweight -- which makes it easy to work with and there are no worries about using specific backer boards.
- It installs quicker than traditional tile.
- There are a ton of designs available, even some that look like mosaic tile or a traditional subway tile backsplash.
Cons of this peel and stick tile:
- The cost for this was more than the other tile I was looking into, but keep in mind you don't have to purchase a tile cutter, mortar, spacers or grout. I would have used the tile sheets again, so after that and grout the price would have equaled out.
- At least this particular peel and stick tile cannot be used near a heat source, like a fireplace. I'm not sure about other sticky options.
- The tile I used for our pantry is not made for floors, but you can see how I installed peel and stick vinyl tile on the floor years ago.
- This tile is not water resistant since you don't use grout.
- This is not a temporary fix -- it will definitely leave some residue if you were to remove it.
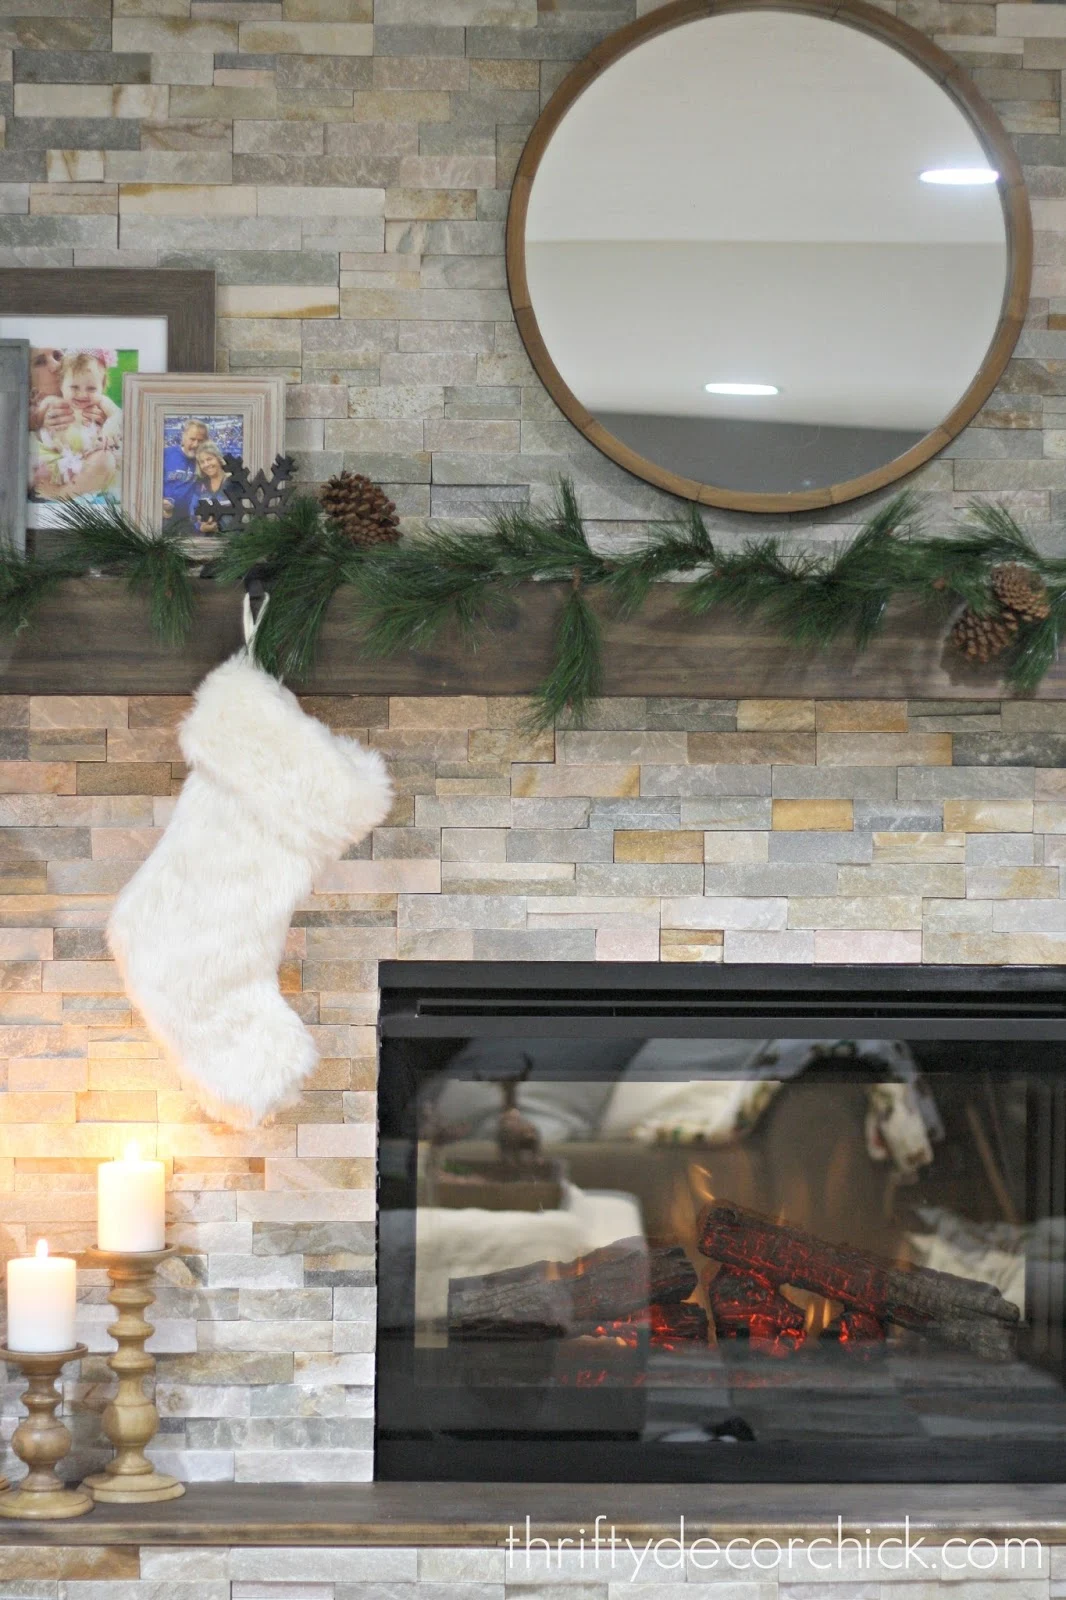
If you love the look of stacked stone and want to use the real thing, check out my tutorial on how to install stacked stone around a fireplace:
Never miss a post by signing up to get posts via email.
Looks great! Would this work well for a powder bathroom backsplash on the wall behind a sink and toilet?
ReplyDelete