How to Install Crown Molding the Easy Way
July 21, 2008
Share this
How to use crown molding corner blocks for easy installation!
Coping is the detailed cutting you have to do to get crown molding corners to fit together perfectly. Because crown doesn't fit flat against the wall, you can't cut it at a regular angle (like you would trim on the wall) and expect it to match up in the corners like other wood.
This is how an inside corner looks, for example. You have to cut the molding a specific way on the saw to get it perfect like this:
This post may contain affiliate links for your convenience.
I may earn a small commission when you make a purchase through links.
See my policies and disclosure page for more information.
It can be a real pain to get the cuts right so the crown molding joints match up perfectly. You have to turn them upside down and have everything just so on the miter saw.
So if you want to install crown with the traditional look, be sure to check those posts out.
If you'd like an even simpler installation with a bit of detail, read on!
These blocks are the best crown molding hack I've found! You can find them at most hardware stores and online as well. (Here are the inside corner pieces and the outer corner as well.)
These decorative pieces are usually made of a foam product or wood and have squared sides that the crown is installed against.
Make sure the size of the corner parts matches up to the dimensions of your crown molding.
The back of the molding is hollow, so these are lightweight and easy to work with.
It's definitely easier to paint them first (taping them off or cutting in after they're installed is a pain). Then nail them up in the corners with a nail gun.
Your pieces of crown will have something to butt up against -- no angled cuts needed!
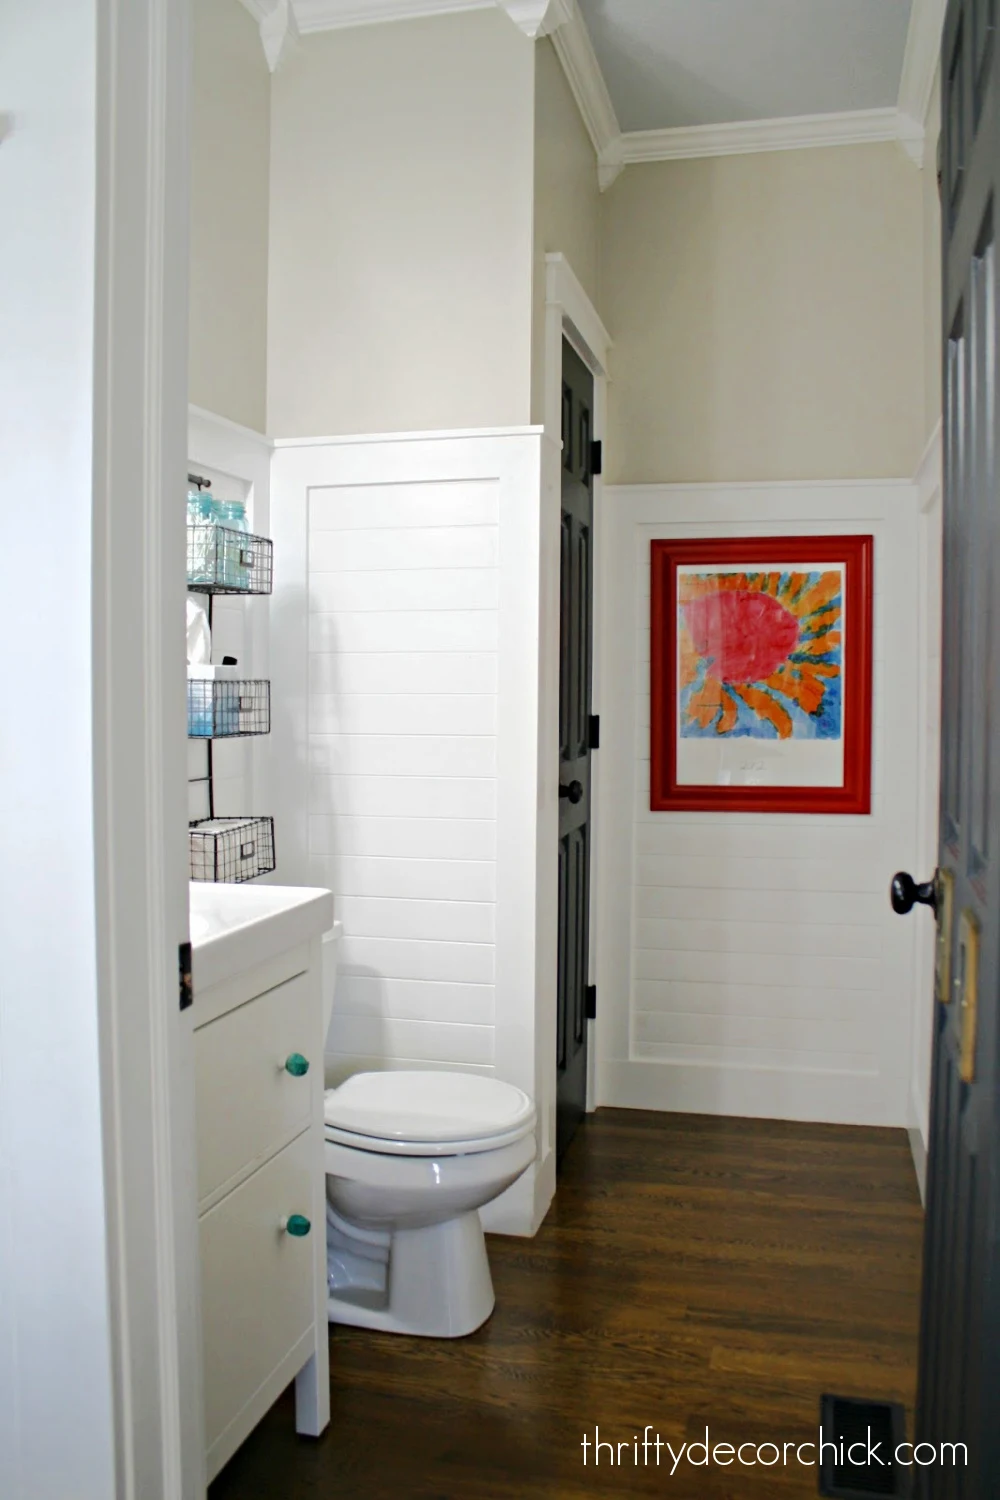
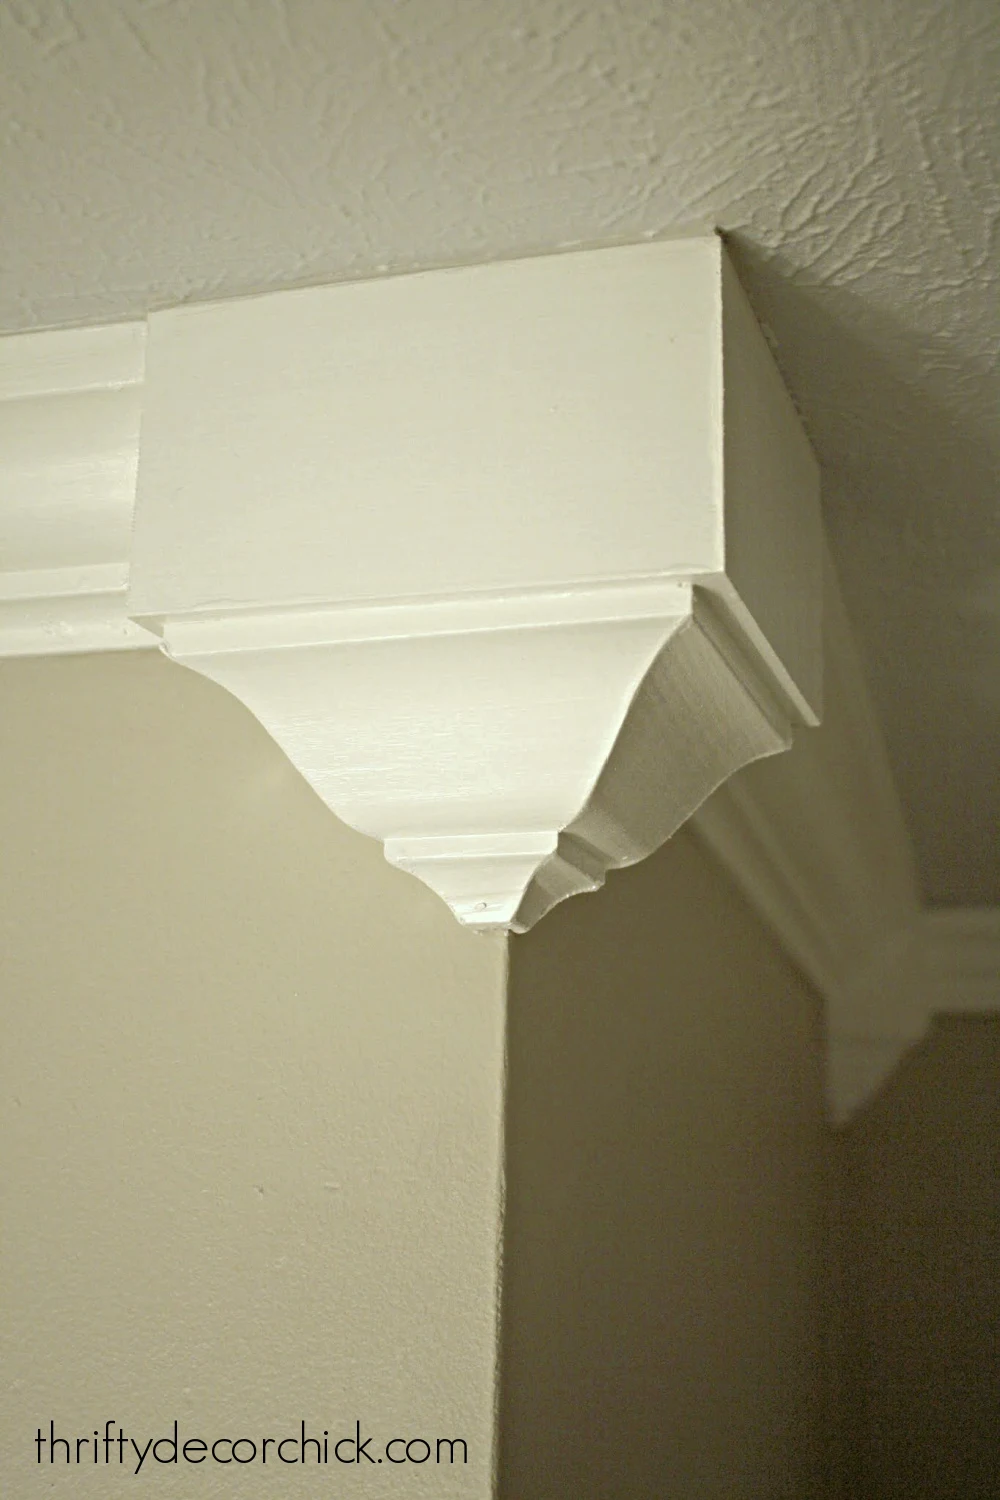
You can see how I installed these crown molding corners in our powder room here. This is an outside corner block:
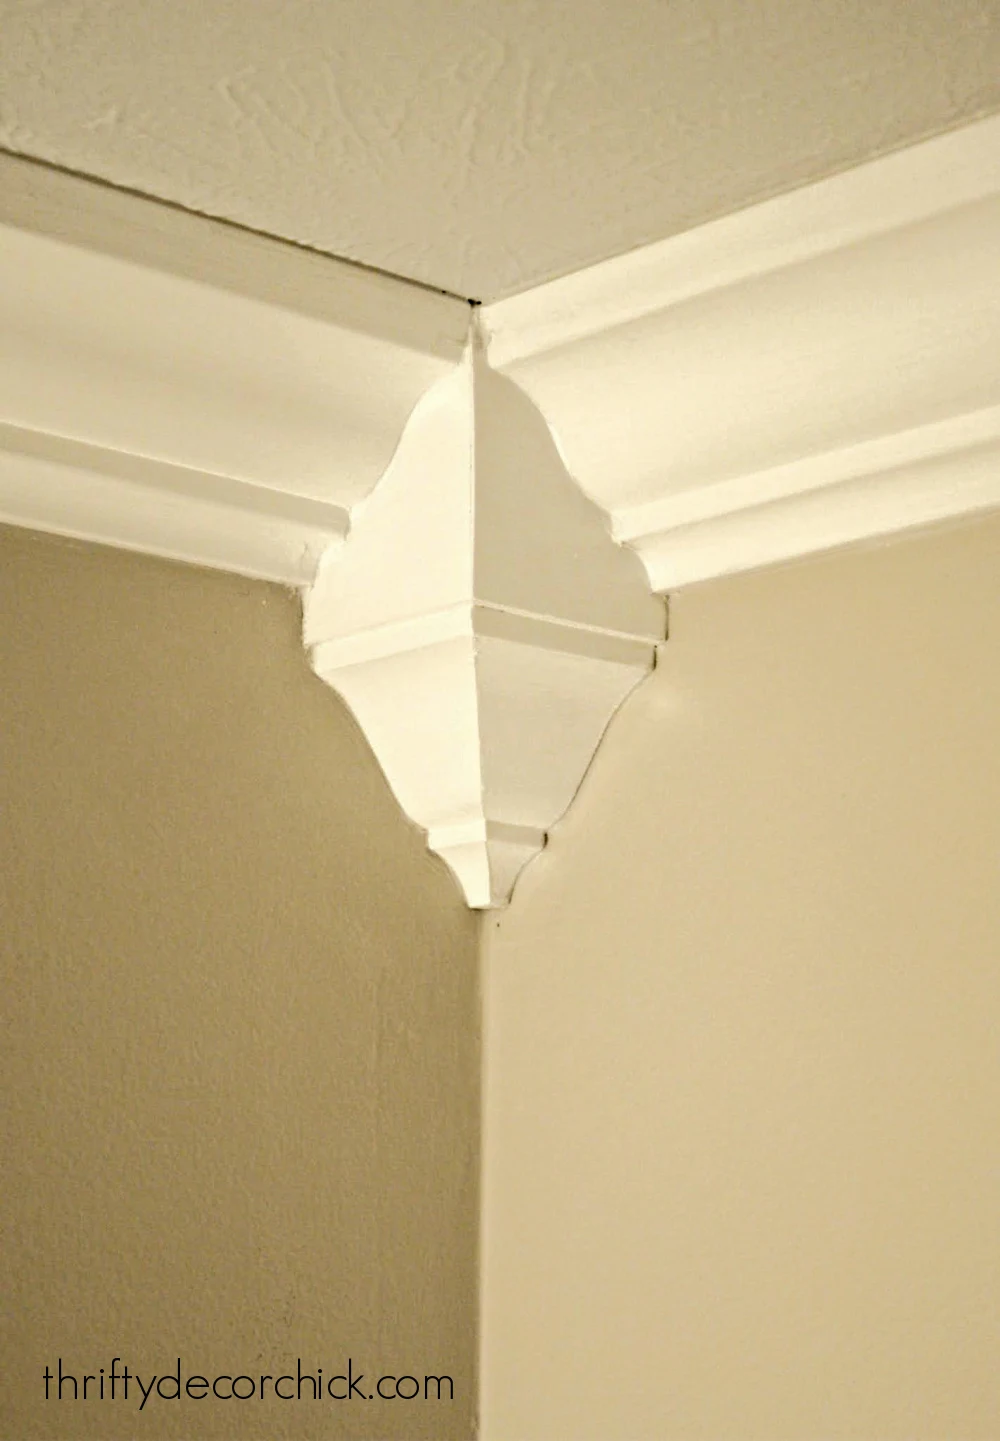
And the inside crown molding corner:
Check out the difference a bead of caulk between the crown and ceiling makes! The left in uncaulked and the right is caulked.
Little imperfections and nail holes are barely noticeable after those touch ups. I recommend caulking the bottom of the crown molding as well.
These corner pieces make it SO much easier to install crown! Plus, they give a space some added character.
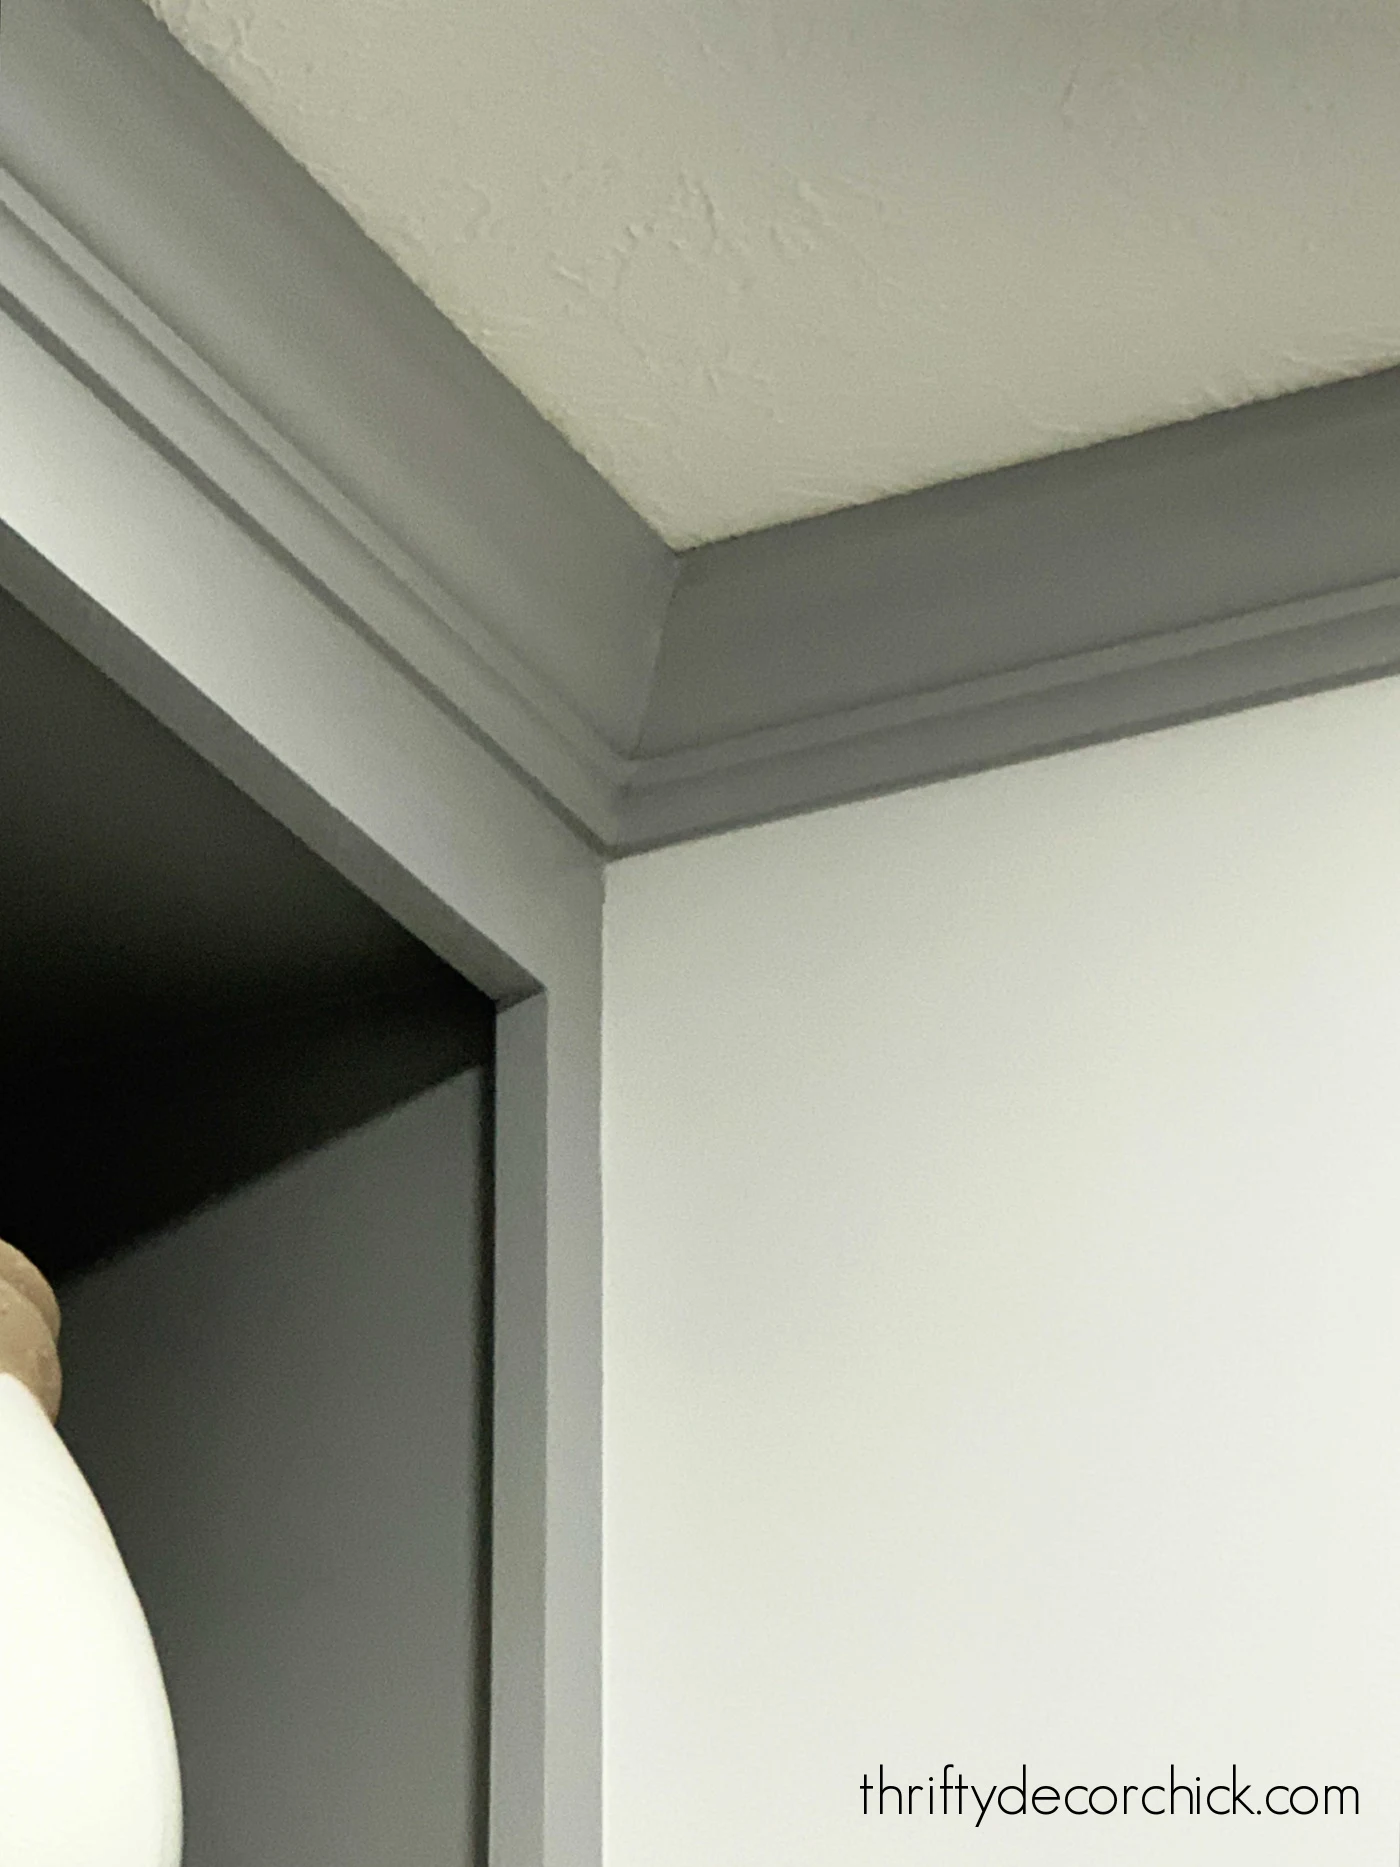
All you'll need is straight cuts as you work around the room:
 |
| See how to paint your interior doors black here. |
You'll need to caulk along the edges where the crown butts up to the molding, but overall it's MUCH easier than coping or cutting miter cuts on the saw.
The only downside with this crown molding hack is that these can get expensive. I recommend going with the lightweight foam options instead of wood to cut costs. (The foam trim looks great!)
Overall the price is worth it compared to paying someone to install traditional crown molding.
Never miss a post by signing up to get posts via email.


Hey Girl! I love this idea. I don't know why I'd never thought of it. Watch out...I may have to try this in my master bedroom.
ReplyDeleteI love your blog! I found you at Today's Creative Blog. I have been wanting to learn how to do molding. Is it difficult?
ReplyDelete~Heather
Go to www.crowncorners.com is where to find it.
ReplyDeletei'm totally new to your blog (love it by the way) and am completely obsessed with crown molding also. loooove it. check out the remodeling guys blog. he has a good link to ace hardware (i think). you cut the side you want to "cope" at a 45 degree angle, then round it off at 90 degrees so it fits over the other piece. i'm about to put some up myself and didn't know how to do it and this site helped me a lot!!! hope it helps you!
ReplyDeleteHmmm. It's been a year since you posted this. I've seen all kinds of stuff on your blog, and I know you are smart enough to figure out coping. I had never heard of coping, but my father-in-law showed me how. You put up the first piece of crown, not mitering the edge, but cutting it off at 90 degrees and butting the end up to the wall, just like you would butt it up to the cheater corner. Then, when you cut the second piece, you do cut it at 45 degrees, as if it were going to fit perfectly with another piece cut at 45 degrees. Then you take the little coping saw and shave away about 1/4 of an inch off of the end you just cut to 45 degrees, except the trick is that you shave away as much as you can of the back (unpainted part) of the molding and leave a very thin bit of the front part. Now when you put it on the wall with the corner part against the other piece, that little part with the backing shaved away will flex a little and the corner will have a tight joint. If it doesn't, fill it in with caulk. Good luck! But by now, I'll bet all of your rooms have crown already.
ReplyDeleteOMGosh SARAH! Never mind about the last comment! This is what I was talking about! YIPPEE! The babies are going DOWN for a nap now! Me and the miter saw are going to get to know one another!
ReplyDelete