How to add shelves to built in bookcases
July 12, 2019
Share this
How to install thick wood shelves on DIY bookcases.
I'm nearing the finish line on the built in office bookcases!! I'm SO excited to share this project with you -- I plan to reveal the whole thing next week. You can catch up on all of the steps of this process in this post!
(Edited: Check out a link to the full reveal at the end of this post!)
For now, I'm sharing a quick tutorial on how to build the shelves. This is actually a simple process (if you've done any DIY work). I always build it up in my head bigger than it is -- I knocked out all of the shelves in about four hours, so it went quicker than I planned.
This tutorial is one that works when you have supports on both sides, like a bookcase situation. If you are looking to build floating shelves, I'll add a link to the bottom of this post for that project.
I hired this part out last time I built bookcases, because the measurements have to add up just right for shelves like this. They ended up ripping (cutting) down wood strips at the right size for the shelves, but I was determined to do this whole thing by myself this time.
You have to account for the top and the bottom of the shelf and the support in between -- those added up can't be thicker than the trim piece that goes across the front of the shelf. This will make more sense in a minute.
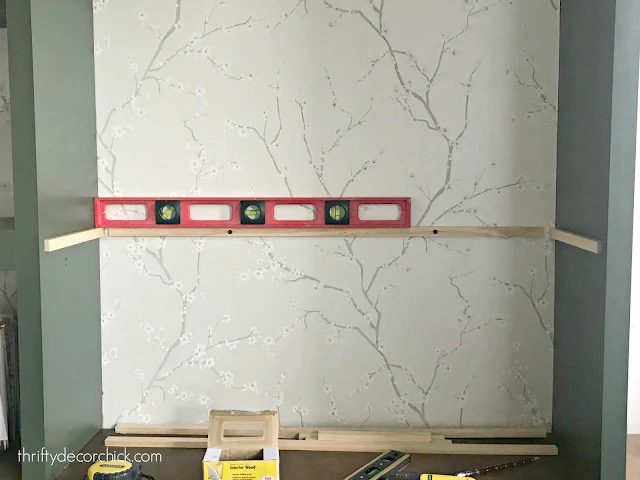
I started with a piece of trim -- it's about 3/4 of an inch by about half an inch:
This post may contain affiliate links for your convenience.
See my policies and disclosure page for more information.
A level is crucial here. I use a longer level like this for the back, then a smaller one for the sides. I found the studs and screwed into them along the back. I LOVE these screws for wood projects. They are my absolute favorite.
You'll need to be careful not to split the wood -- that was my only concern with a smaller piece like this. But when you use good screws and either predrill the hole or go slowly, they will be fine.
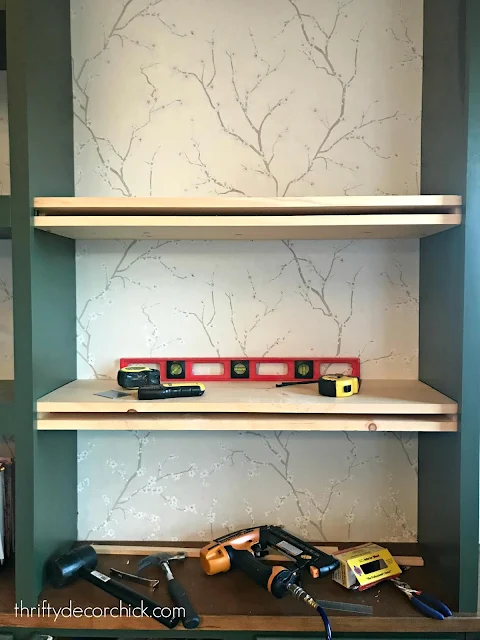
Then you'll need to measure across to determine the size of your shelves. I used 1x12x6's for both the top and the bottom:
Nail or screw those in to the support pieces as you go. I get asked about my nail gun often -- this is the one I use. It's an 18 gauge and all you need for most projects. I had a 16 gauge for awhile and it constantly jammed, so I went back to this size and love it!
I used the 1x12 for both the top and bottom, but if you need to save some space, you can use luan or any other thinner wood for the bottom. It will save you some money, but you'll have to cut it to the size you want.
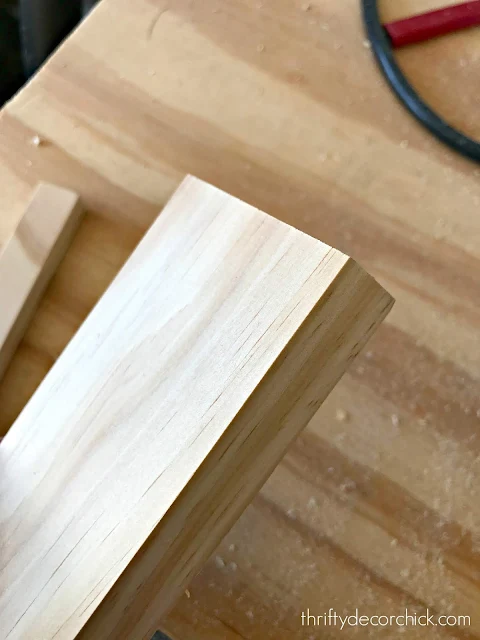
You'll need a piece of trim for the front of the shelf. I use select pine (without knots) for all the trim facing out:
It's more expensive, but it's nice a smooth -- so easy to work with!
You just nail it to the front of the shelf and you're done!:
That's it!
Before painting you'll need to caulk where needed and fill holes. I used common pine (with knots) for the supports and shelves on this project because I knew I'd be painting it a darker color. If you are going white you'll want to consider select pine (or any other wood) because knots in wood tend to come through the paint, even with a good primer. Select pine will raise the price though.
I hope that helps for those of you wondering how to build these shelves! I'll link to some of my other shelf projects below as well! Let me know if I missed anything or if you have any questions!
**See the final DIY built ins revealed here!
See more of our home here. To shop items in our home, click here! Never miss a post by signing up to get posts via email.


You make it look so simple! Bookmarking this for future reference! ❤️✨
ReplyDeleteCharmaine Ng | Architecture & Lifestyle Blog
http://charmainenyw.com
I guess you're not a furniture painter? A spray shot of shellac on wood knots will prevent bleed-through. Or, you can also fill them with drywall mud and a coat of stain blocking Kilz. All not worth the time, IMHO, when you can buy clear pine when you're getting your lumber, anyway.
ReplyDeleteNice job. I have an odd space I wanted to fill and I think this is the trick! Thank you.
These are gorgeous! I can’t wait to start my own build. But before I start can you show or tell me how attached the underside of your headers?
ReplyDelete