
The Easiest Christmas Village {You Can Eat!}
November 13, 2020
Share this
Use this baking pan to make a cute and delicious edible Christmas village.
I found an adorable baking pan a few weeks ago and it immediately
went into my online cart. I thought it would be SO cute for holiday
baking.
If you've ever tried traditional gingerbread villages and ended up with a
crumbled mess...this method is for you!
This baking pan is SO stinking cute
and the little village turned out better than any other we've tried.
This is the Christmas village pan I found:

This post may contain affiliate links for
your convenience.
See my policies and disclosure page for more information.
It's the
Nordic Ware village baking pan (you can also
find it here!) and the detail is just adorable! You can see why I fell in love.
I planned to hold off a bit before trying it, but when it arrived I was too
excited to see how they would turn out. I read the instructions that came
with the pan and it said to use a non stick spray with flour in it...this is
important!
I found this
flour baking spray
at the grocery store and used a box cake mix to make the village:

I sprayed inside the houses generously and then filled about 3/4 full:

Well, a little more than 3/4, but it's a bit difficult to determine that
with these because of the shape.
I did have some overflow, but that's an easy fix! I let them cool for about
15 minutes before cutting off the bottoms:

We immediately ate that part. ;)
I took a cookie rack and placed it on top and then flipped it
over...sweating while I did it because I was so nervous they would
stick:

No fear -- they came out perfectly! Ugh...so cute!! I sifted some
powdered sugar on top for a snowy look:

If you're fancy you could pipe some detail with frosting. I am not fancy.
;)
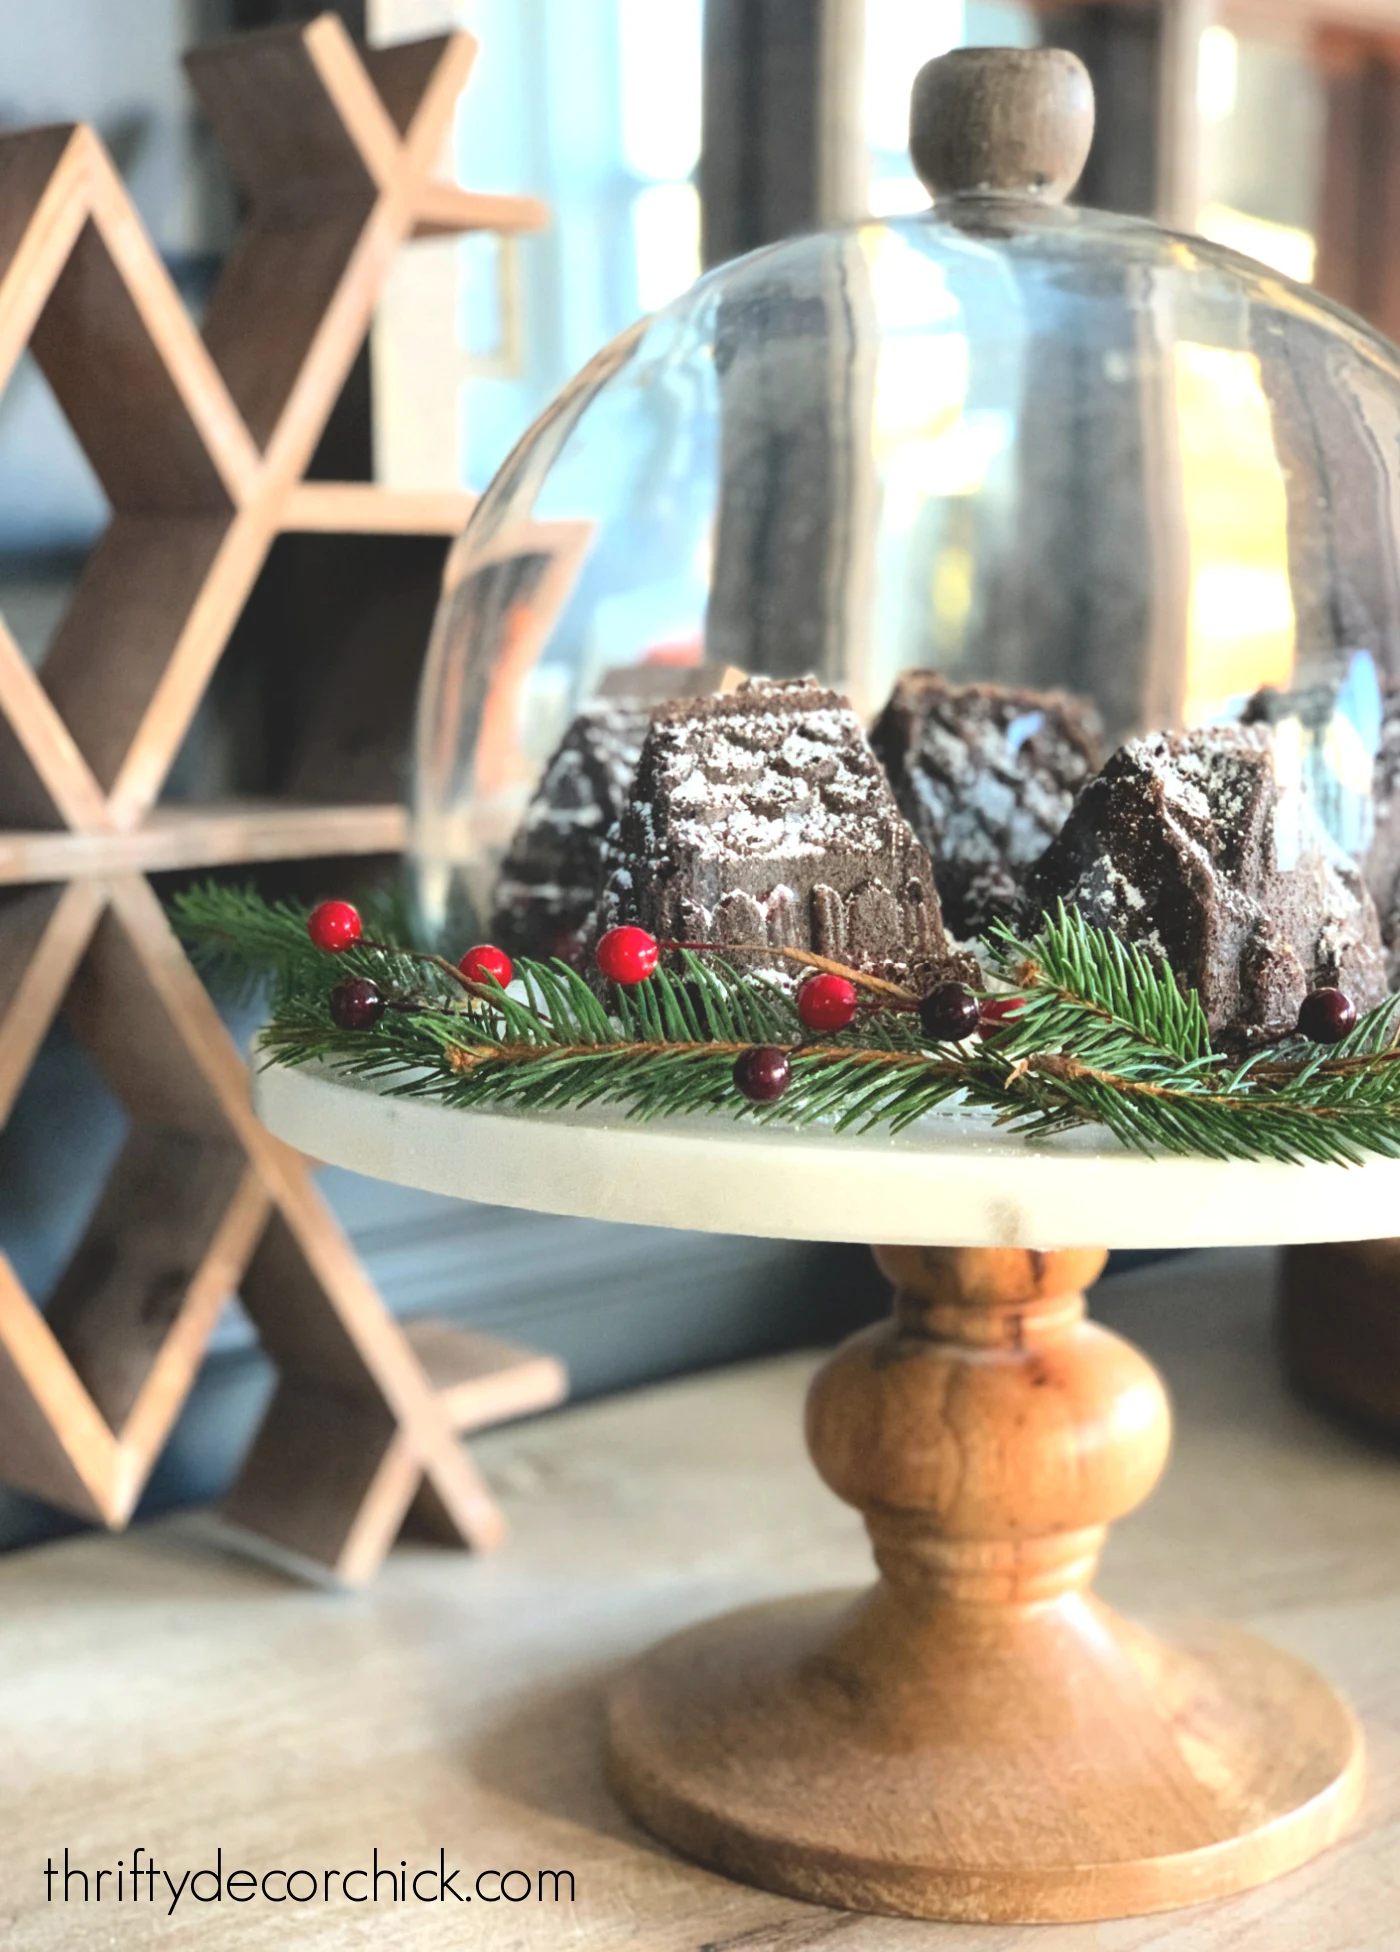
I grabbed a pedestal and sprinkled some powdered sugar around that before
placing them on. I mean...come on!
How cute is this?:

They would be so cute sitting out at a Christmas party...but people may not
eat them because they look so good:

I grabbed a cloche and tucked it all under there so we can keep them for a
few days:

So simple! I made the cake mix as directed and the village was baked to
perfection at 25 minutes. I had plenty left over that I used for a small
round cake as well.
As I was making these I wondered if the pan would work for a more permanent
Christmas village -- maybe with cement or polymer clay of some kind? (Of
course I wouldn't use it for baking after that.)
I may have to try it with
another pan sometime.
What a fun Christmas addition! I had to share it with you. :)
P.S. I used a pedestal and cloche I had, but
this one is similar and
this one
is as well!
Never miss a post by signing up to get posts via email.
This is such a great idea! I love it.
ReplyDeleteThis is a super cute and easy idea, thanks for sharing!
ReplyDeleteWhat a cute idea. I love this.
ReplyDeleteOh, my gosh, how cute are these?! Such a fun idea.
ReplyDeleteI have this pan too! I made the recipe that is included with the pan....it was delicious. It was quite a hit with the family!
ReplyDeleteThank you so much for sharing! I bought a similar pan (it is one big gingerbread house) several years ago but never really used it because I just knew the cake would get stuck. I'd never heard of that spray, but we tried it and today we made a house for every member of the family and decorated them. They turned out great! Thanks so much!
ReplyDeleteGoodness I love it! Just leaving the pan out when you aren't using it would be adorable Christmas decor! Maybe on a cake stand or something with greenery.
ReplyDelete