How to Make DIY Table Leg Candlesticks
January 22, 2021
Share this
Hey there! I have a fun table leg-turned-candlestick DIY for you today! I've
seen this idea done all over, but
my friend Kate
recently did a more modern version that I was digging big time. I'm joining
Krylon to share one of their gorgeous Color of the Year spray paint palettes
for the new year!
I LOVED this "New Heritage" palette Krylon put together because it fits in so well in our
home. I use a lot of deep accent colors so it was perfect. They have a few
different color combinations for the new year, but the one I chose is a
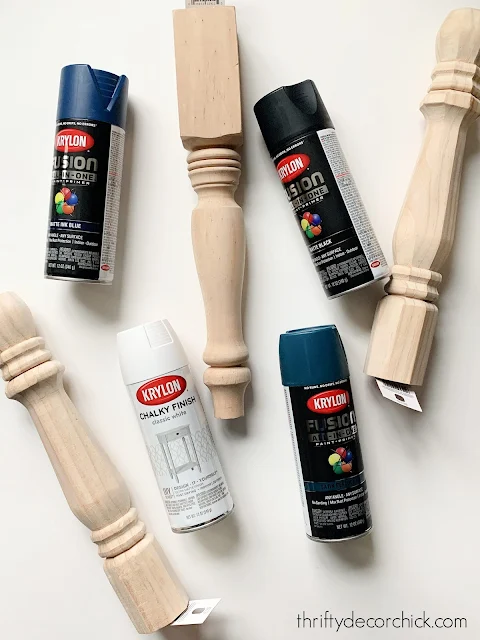
beautiful moody palette with their Fusion All-in-One Matte Black, Fusion
All-in-One Satin Peacock Blue, Fusion All-in-One Matte Blue and their Chalky
Finish paint in classic white:
You can find the pine table legs at most hardware stores -- they come in
varying designs and heights.
Before you start the project, use a wrench to remove the screw from each
leg:
This post may contain affiliate links for
your convenience.
See my policies and disclosure page for more information.
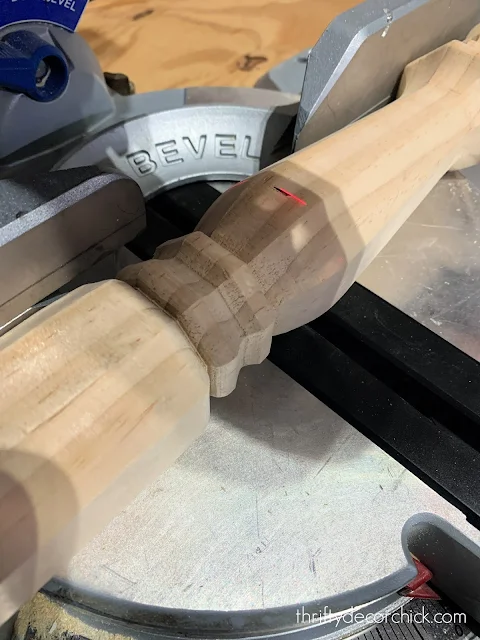
Then figure out where you want to cut each one. I wanted to make sure the
heights varied, so I marked where I wanted to cut:
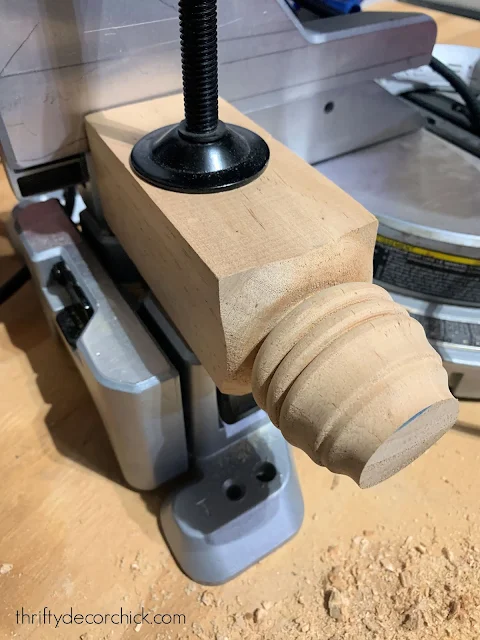
You'll need to brace your sticks so you can drill into them for the taper
candle. Do NOT try to hold them to do this!
I found the metal clamp on my saw worked great, but you can also use clamps to
secure them to a table:
I couldn't find my 7/8 inch paddle drill bit, so I had to use a couple to get
the holes in there. I started with the 1/2 inch paddle drill bit -- these are
so much easier to use in my opinion! They drill into the pine so easily:
And then I used a 7/8 inch boring drill bit I had:
If you just start with just the boring bit it will catch and doesn't cut as
smoothly. Using the paddle bit first (or just a 7/8 paddle) works so much
better!
I gave all of the candlesticks a few coats of the four colors (two in each
color) and then stuck the candles in!:
If your taper candles don't fit perfectly, drip a bit of wax in first and they
will stick! Hot glue also works.
All of these Krylon spray paints are either matte or satin finish, so they
will give you a more subdued finish that I love.
I ended up purchasing a couple more smaller legs that didn't need to be cut
down at all. They were already the perfect height and shape. They are a fun
accent and work so well with our deep gray/blue paint color (cyberspace by
Sherwin-Williams):
The colors work so well together and as always, the Krylon spray paint was
incredibly easy to use. It goes on so easily and covers great! As a reminder,
I used Fusion All-in-One Matte Black, Fusion All-in-One Satin Peacock Blue,
Fusion All-in-One Matte Blue and their Chalky Finish paint in classic white.
This was a quick DIY and the possibilities are endless! You can use a simpler
table leg for a more modern look, or use wood bases from the craft store for
the top and bottom to make them more traditional.
Krylon has more Color of the Year trend palettes that you can see here.
This post sponsored by Krylon but all opinions are my own. I only work with companies and products I know, love and would recommend to you.
You can pin this project for later using this image!:
See more of
our home here.
To shop items in our home,
click here!
Never miss a post by signing up to
get posts via email.


Those look awesome!! I love them in black!! Well done friend! xo
ReplyDelete