
How to Make the Fluffiest Stuffed Fabric Pumpkin Pillows
August 22, 2024
Share this
How to make the softest fabric pumpkin pillows without a sewing machine.
These cute stuffed pumpkins are SO soft and will look great in your fall
decor, or would work as cute pillows on chairs or sofas. It's easy to make
fabric pumpkins and no sewing machine or experience is needed.
They are an easy knock off of the expensive Pottery Barn teddy bear pumpkin
pillows. :) When I first saw those adorable stuffed pumpkins, I knew I had
to make some of my own.
I ended up making a bunch of them for the price of ONE from the store. This
is when I really love DIY!
This post may contain affiliate links for
your convenience.
I may earn a small commission when you make a purchase through links.
See my policies and disclosure page for more information.
These
fluffy "teddy bear" fabric pumpkins
were my inspiration for this project. I thought they were the cutest
pumpkins/pillows -- so soft and fluffy!
But the price...nope. At least when I knew I could recreate them for
a fraction of what they are charging.
I went to the craft store in search of the softest, fluffiest fabric I could
find. I got three colors in very similar fabrics -- one light cream, one
medium brown and one dark brown.
They are all SO SOFT and cozy. I just loved all three. The dark fabric is
what I think is considered the true "teddy bear" fabric, but they all worked
beautifully for this project.
I've never made my own fabric pumpkins, but I figured it out along the way.
My first method worked OK, but then I did a little research and will be
sharing the instructions I ended up using for the rest of the
pumpkins.
This DIY fabric pumpkin how-to will work with both the fluffy fabrics I'm using and thinner options for cotton or velvet pumpkins.
First up, cut a rounded square or circle out of your fabric in the size you
want:
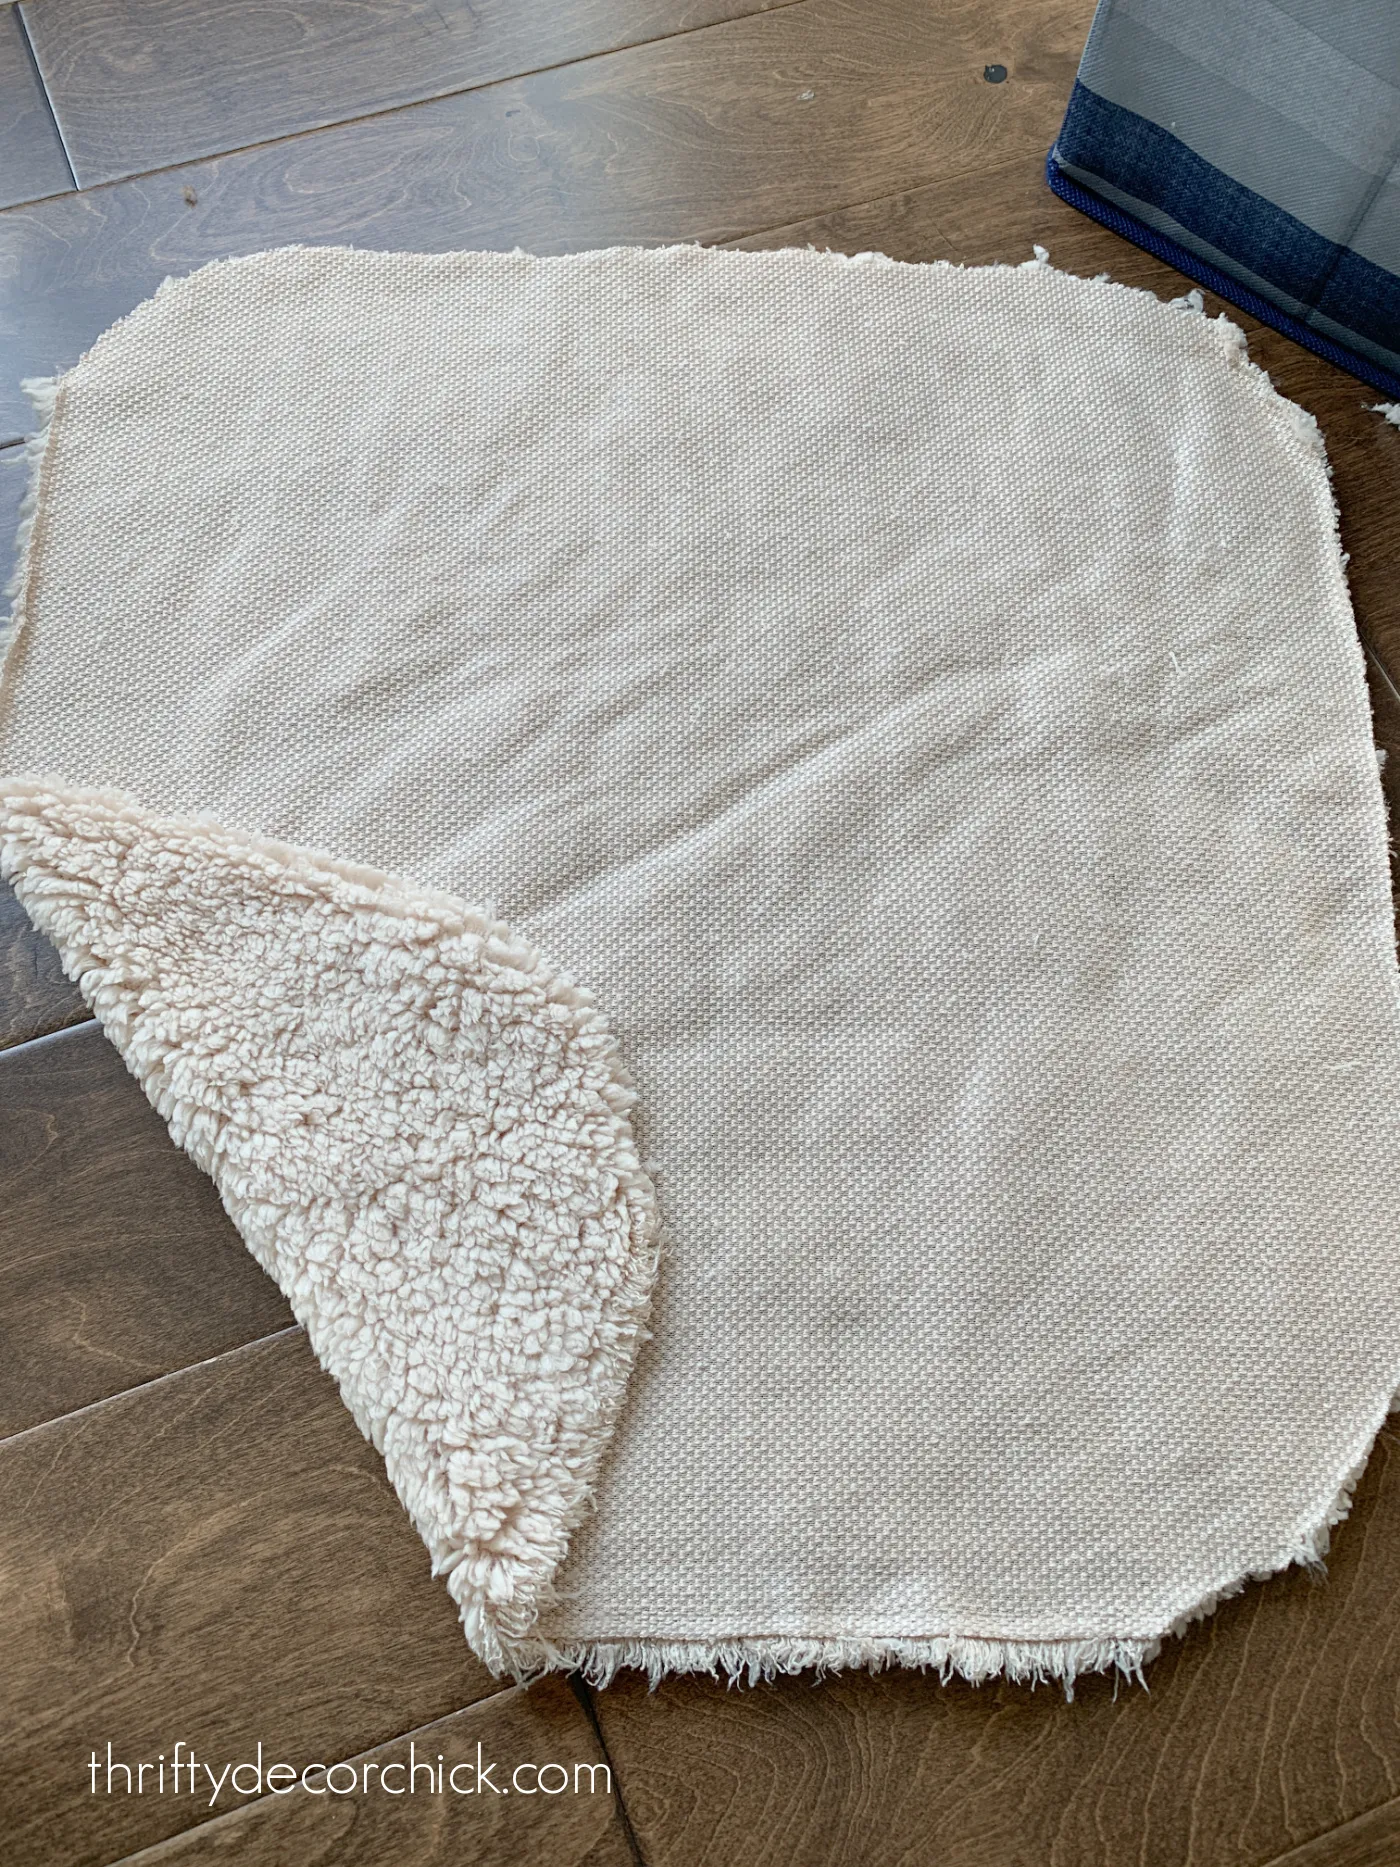
The width of your fabric will depend on the size you want for your pumpkin.
I made my large pumpkin with a size about 16-18 inches across.
I highly recommend
fabric scissors
if you work on projects like this often -- they make it way easier to
cut, especially fluffy stuff like this!
It turns out you really don't have to cut down your fabric corners -- I
found it actually worked fine to leave it a square shape. The corners help
fill in the middle part where your stem will go later.
On my first try, I just simply gathered all of the fabric at the top,
wrapped it with twine to secure and then cut off of the excess.
I was left with this part:

I flipped it over and added my "stem" at the top. It was a little difficult
to wrangle all of the fabric together and tie it, and the stem wasn't
secured well when I was done.
So I switched to this method, which was really easy with this fabric.
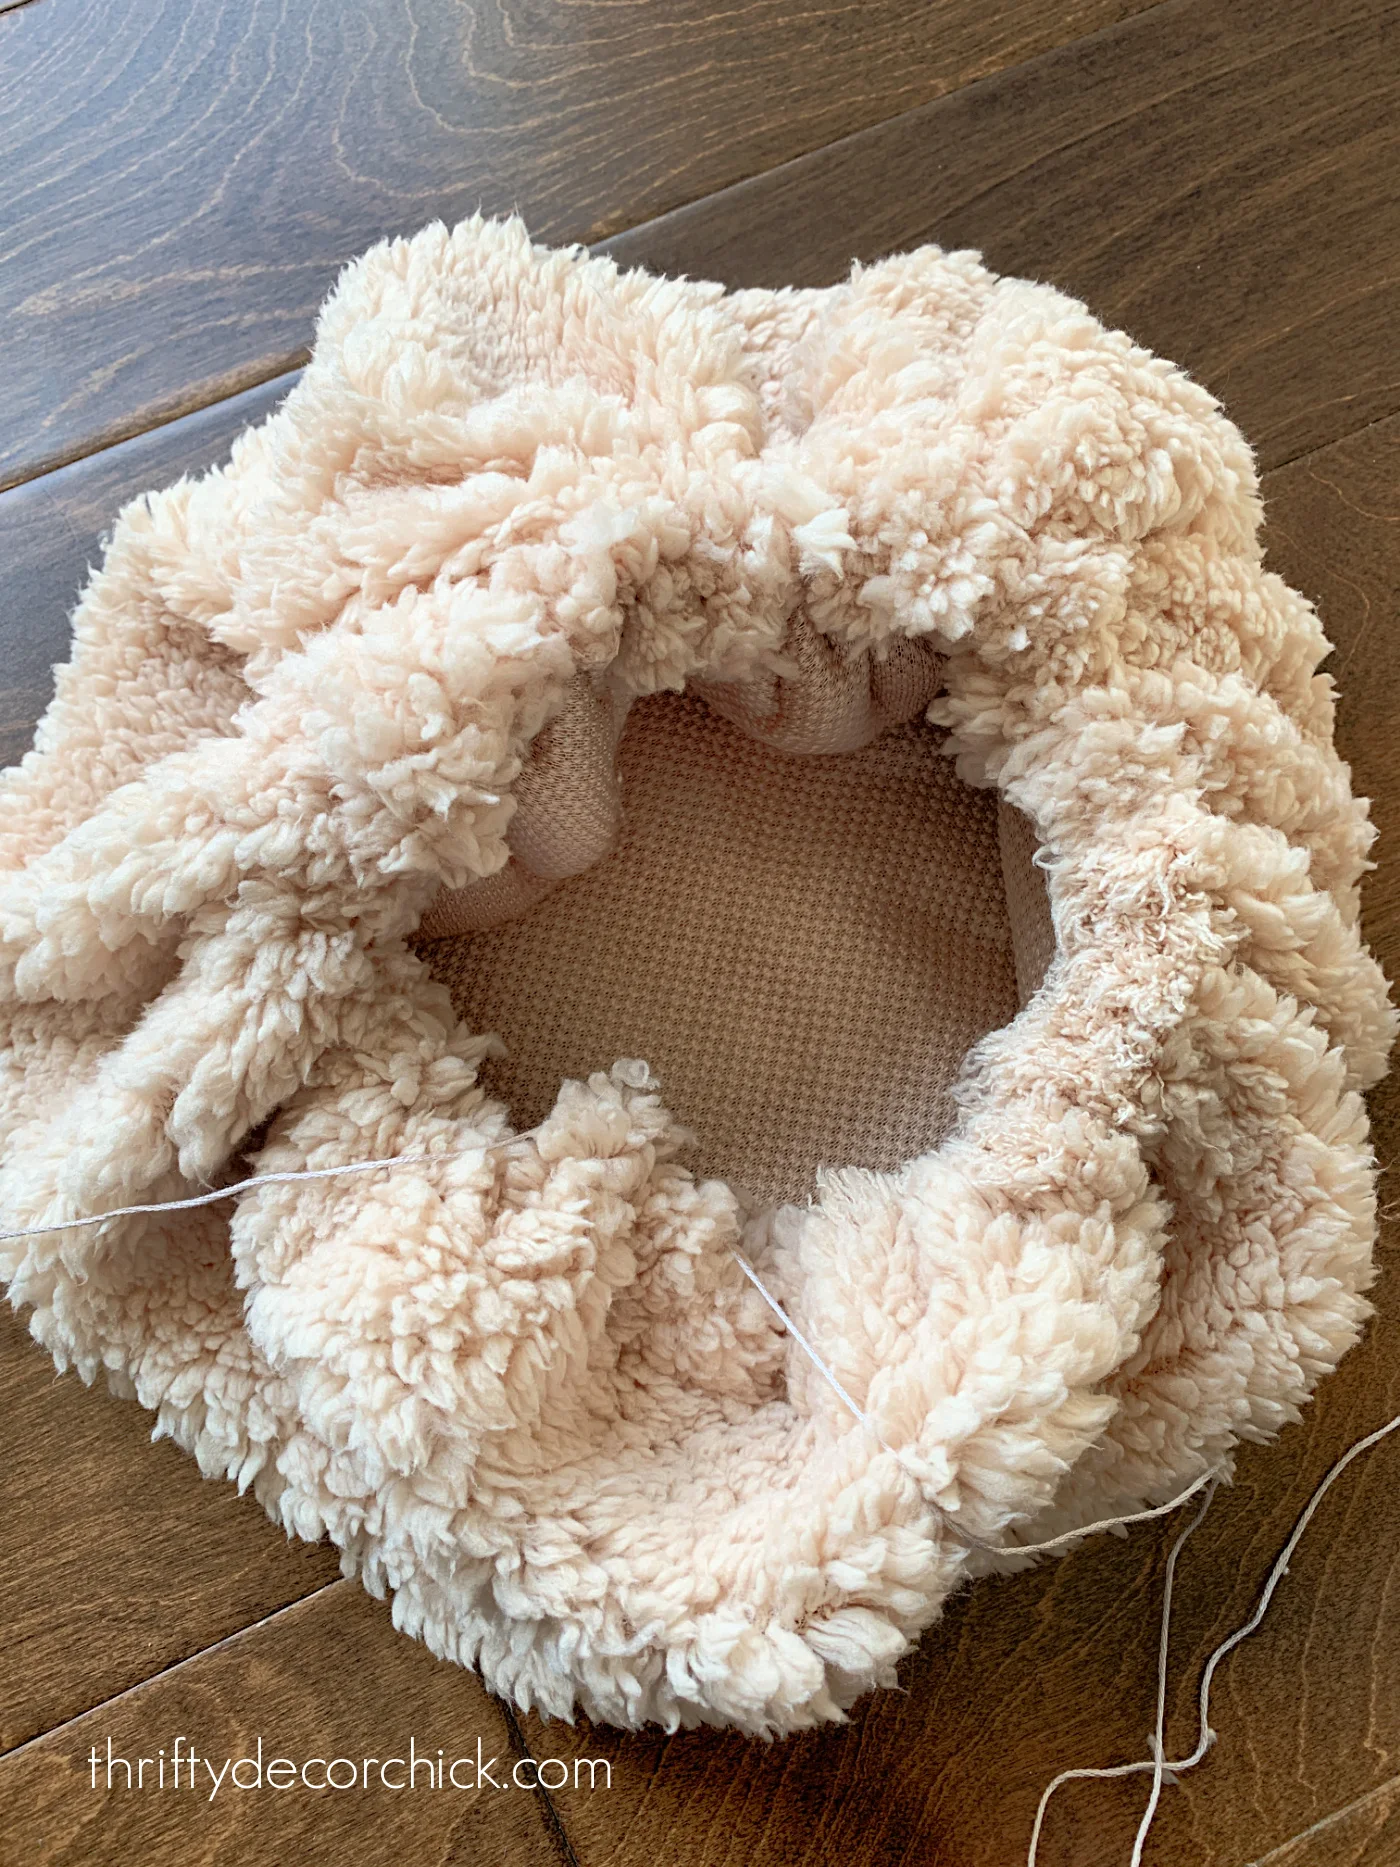
Take a
long sewing needle
and
strong embroidery thread
and weave it around the outside edges of your fabric:

This goes super fast and I promise you don't need to know any sewing
experience to do this. Just weave it in and out loosely like I did
above.
It doesn't need to be perfect -- you won't even see the thread when you're
done!
Once you've got it around the circumference of the fabric, you can take each
end of the embroidery thread and pull them together to start closing the
pumpkin like so:
Before you close it all the way up, you'll want to start filling it with
fiber fill. I used about two and a half one pound bags to do nine stuffed
pumpkins.
Fiber fill from old pillows or pillow inserts works great for this as well!
I always recommend pulling the fill apart a few times to fluff it up before
inserting:
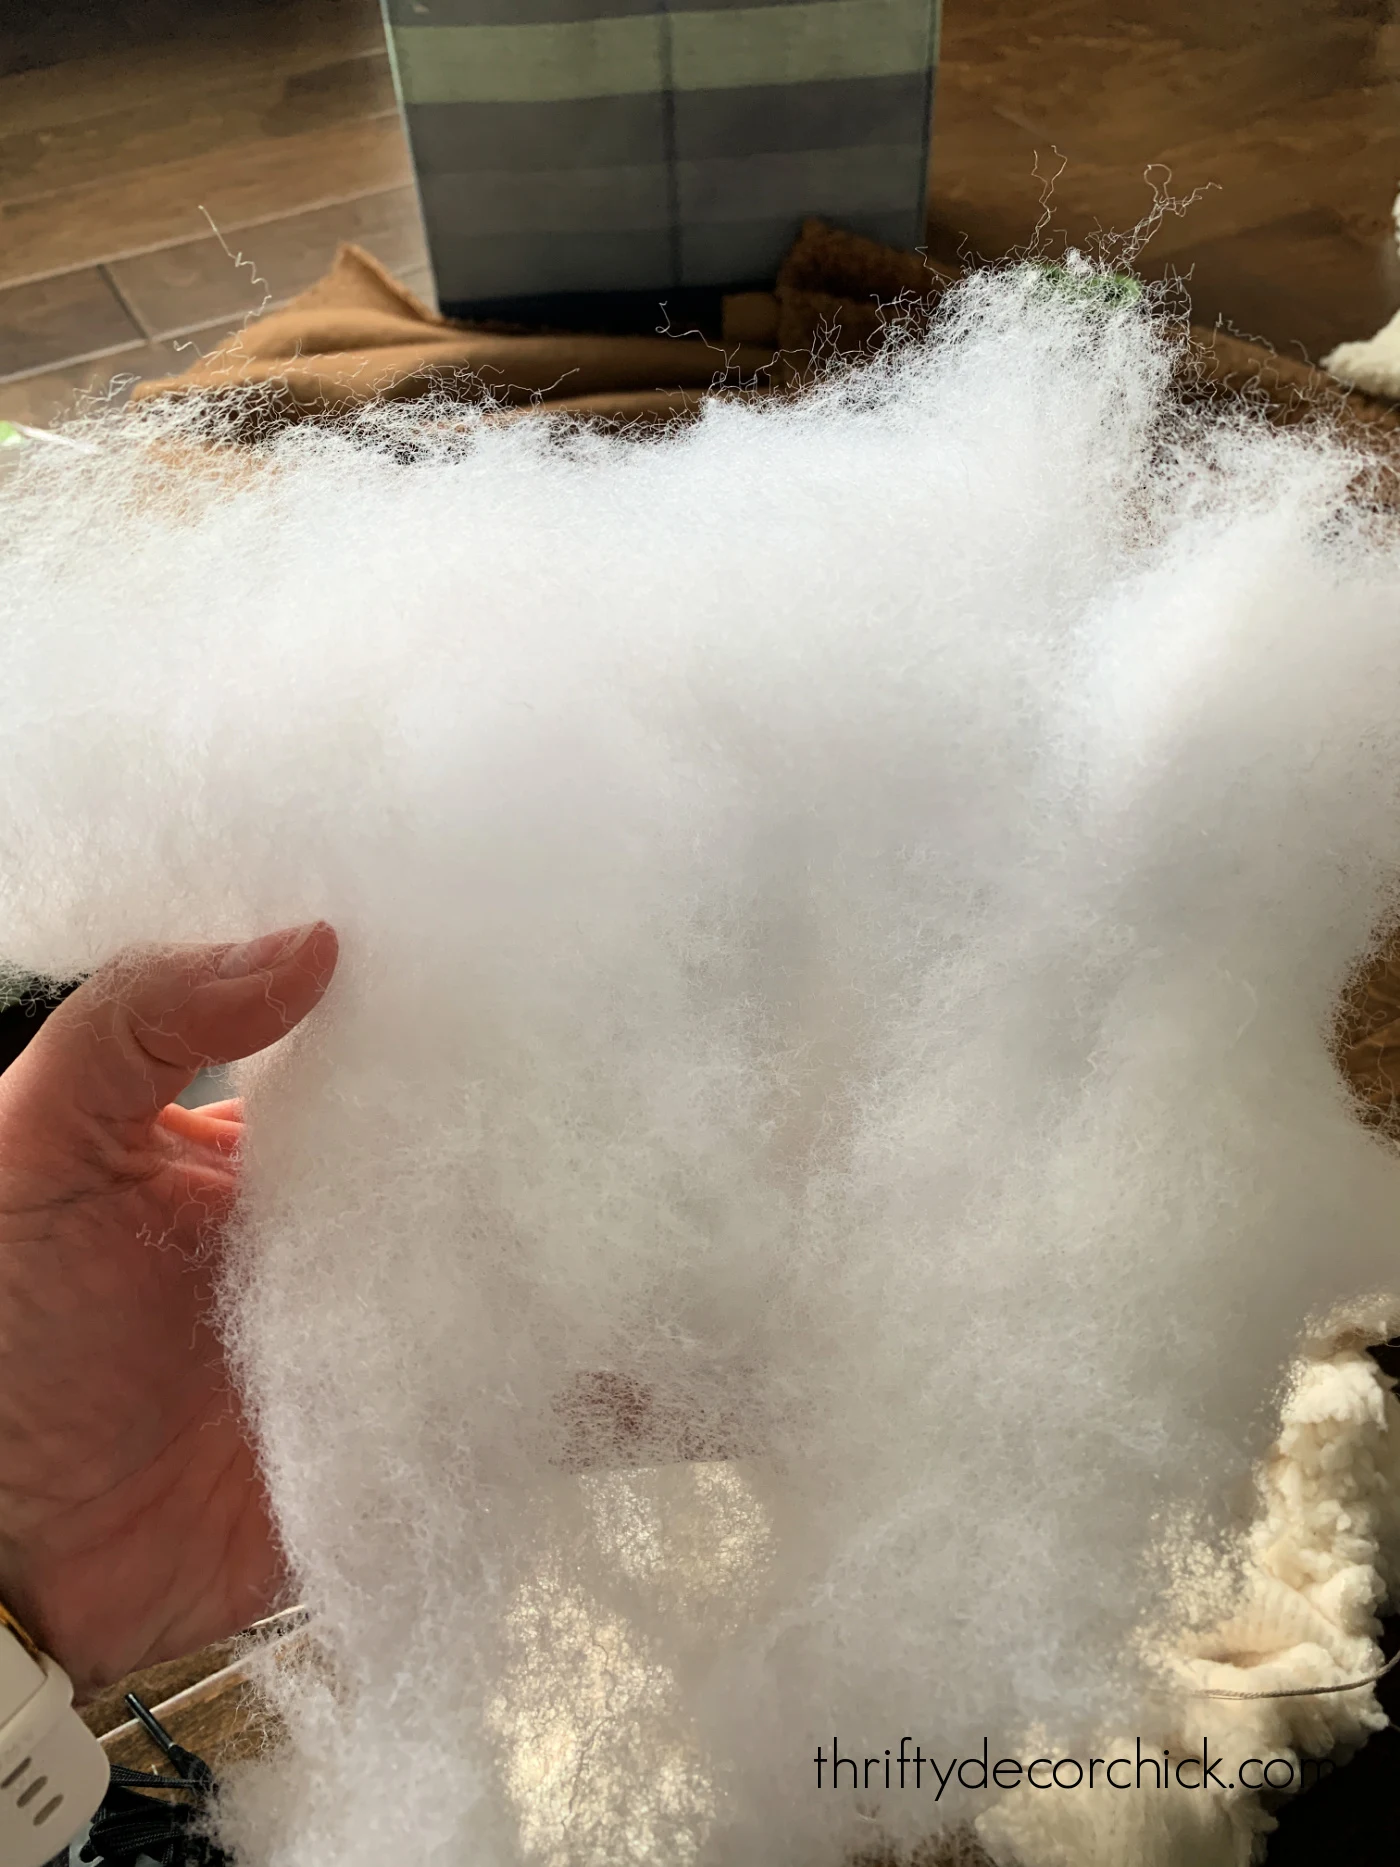
It will go a lot further if you do this first!
I don't recommend stuffing it completely full at this point, as it's harder
to close if overstuffed. You'll want to add some additional stuffing to fill
up parts later.
Once you've got it filled up to your liking (pull your thread together at
the top to see how full it is), you can tie it up, but leave some some space
for your stem and for a little final stuffing!
At this point you can add your stem and be done if you want -- the "pillow"
will have a shape that already resembles a pumpkin.
But I wanted the defined sections like the inspiration pillows, and I think
they just look more like a real pumpkin anyway. :)
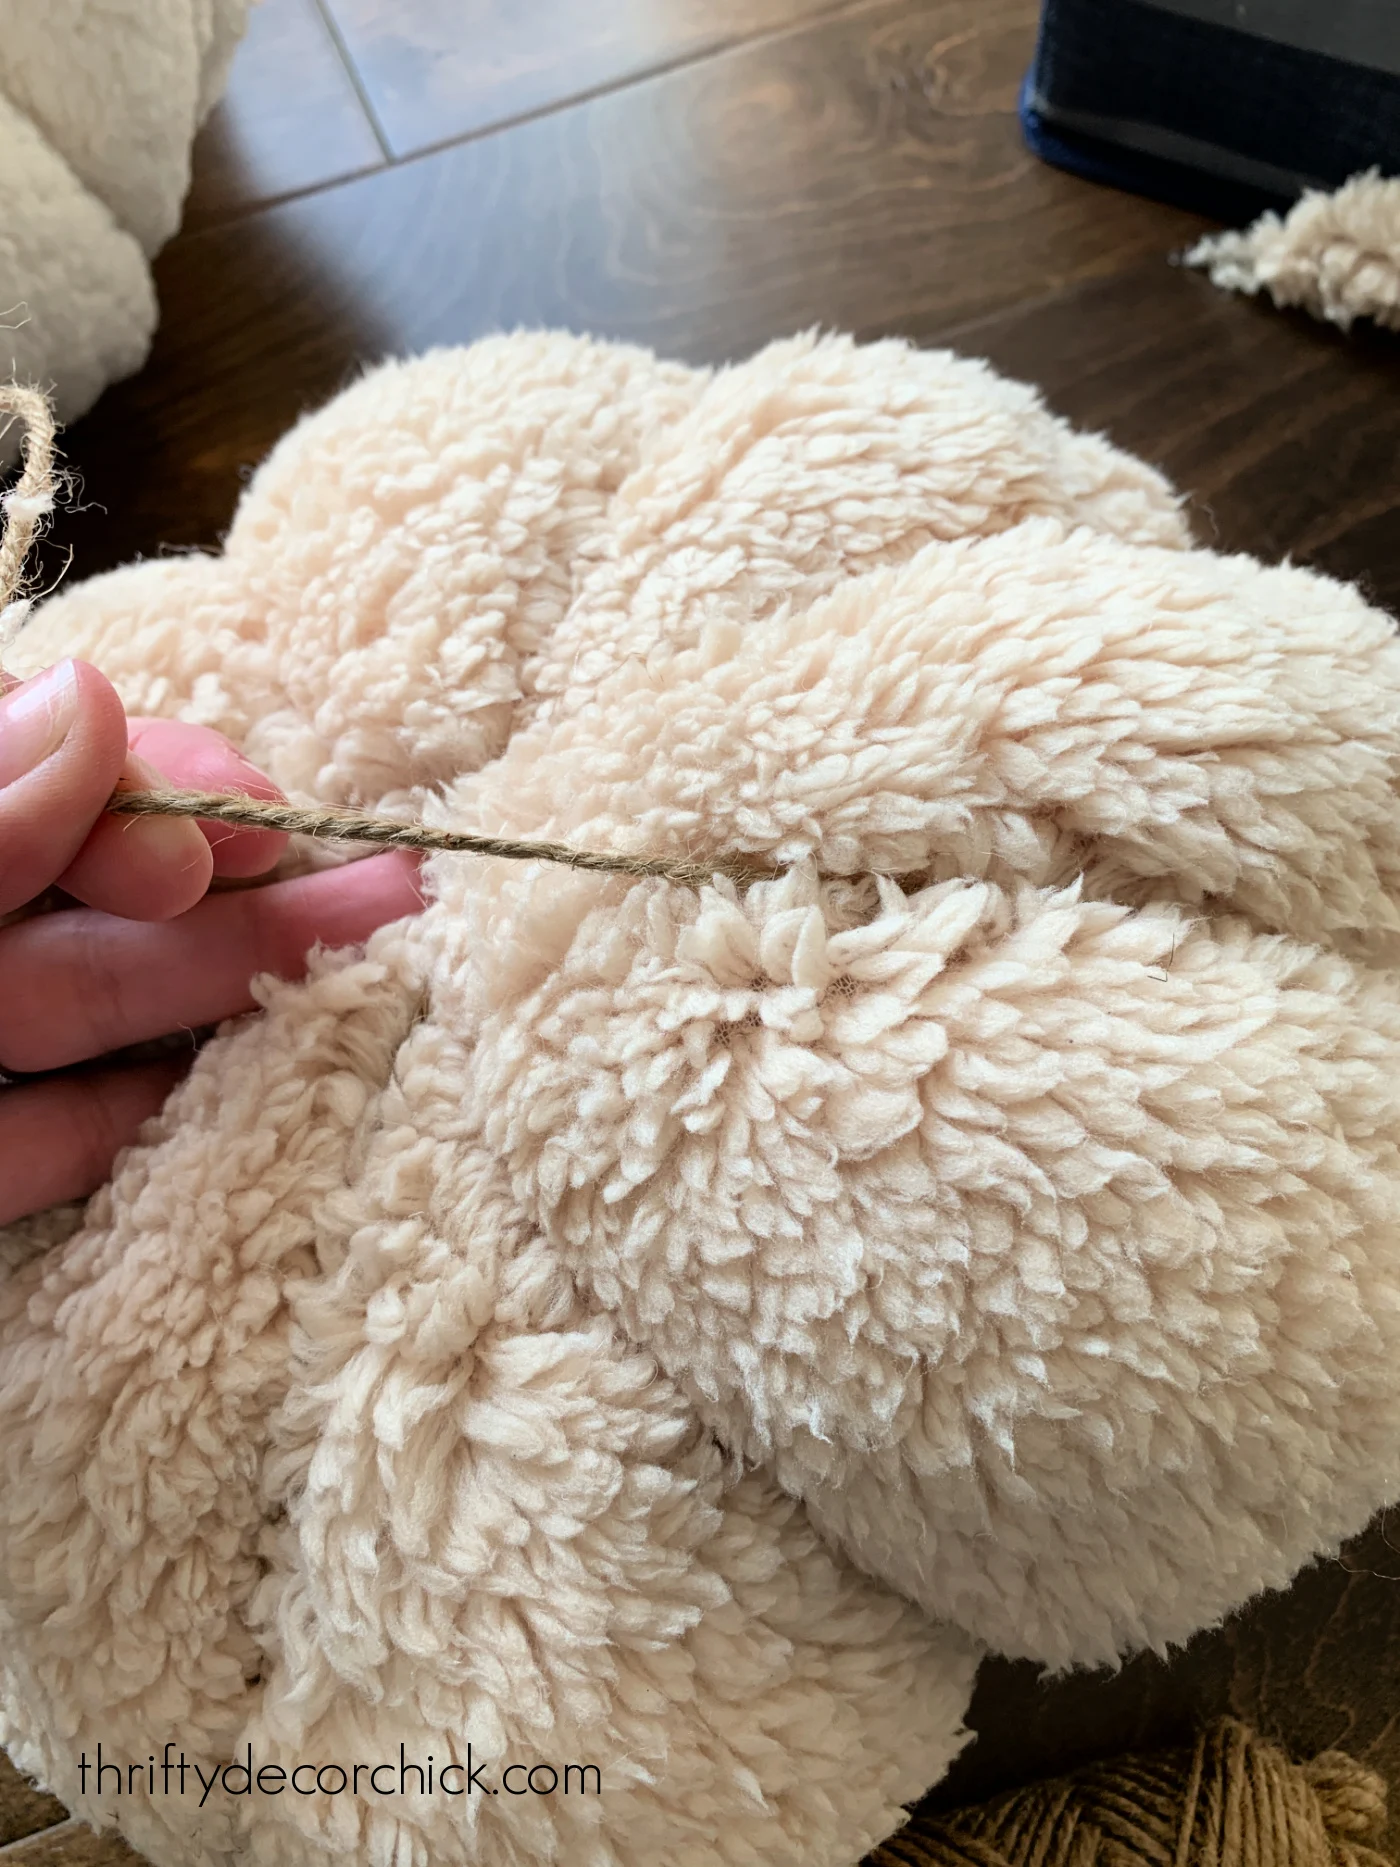
I grabbed my
jute twine
and started at the top by the hole for the stem, then wrapped the twine
tightly around the pumpkin back to the top.
Here's a view of the bottom of the pumpkin so you can see how I was wrapping
the twine around:
Leave some excess twine at the top that you can tie each pass around the
pumpkin to.
Each time you wrap the pumpkin, tie it off in a knot on top of the pumpkin
to keep the jute as tight as possible:

I would wrap with twine, knot it at the top to secure, then take the twine
around in another direction, knot, and repeat until I had all the "sections"
I wanted.
You'll be left with a hole that you can still fit a stem into:

By the way, I have no clue if this is how it's "supposed" to be done. I was
winging this for the most part. :) But it worked well and went fast!
Before you add the stem, you'll want to fluff up the pumpkin a bit more.
Take more fiber fill and tuck it inside and up into to top of the pillow to
fill in any flat parts. The fluffier the better!
For the stem you can use just about anything that resembles the shape. Cut
branches from outside would work without any additional steps.
I wanted ours to be a bit thicker, so I used the extra stems I used for the
trunk of my DIY olive tree.
I cut them down and then wrapped with jute using my hot glue gun:
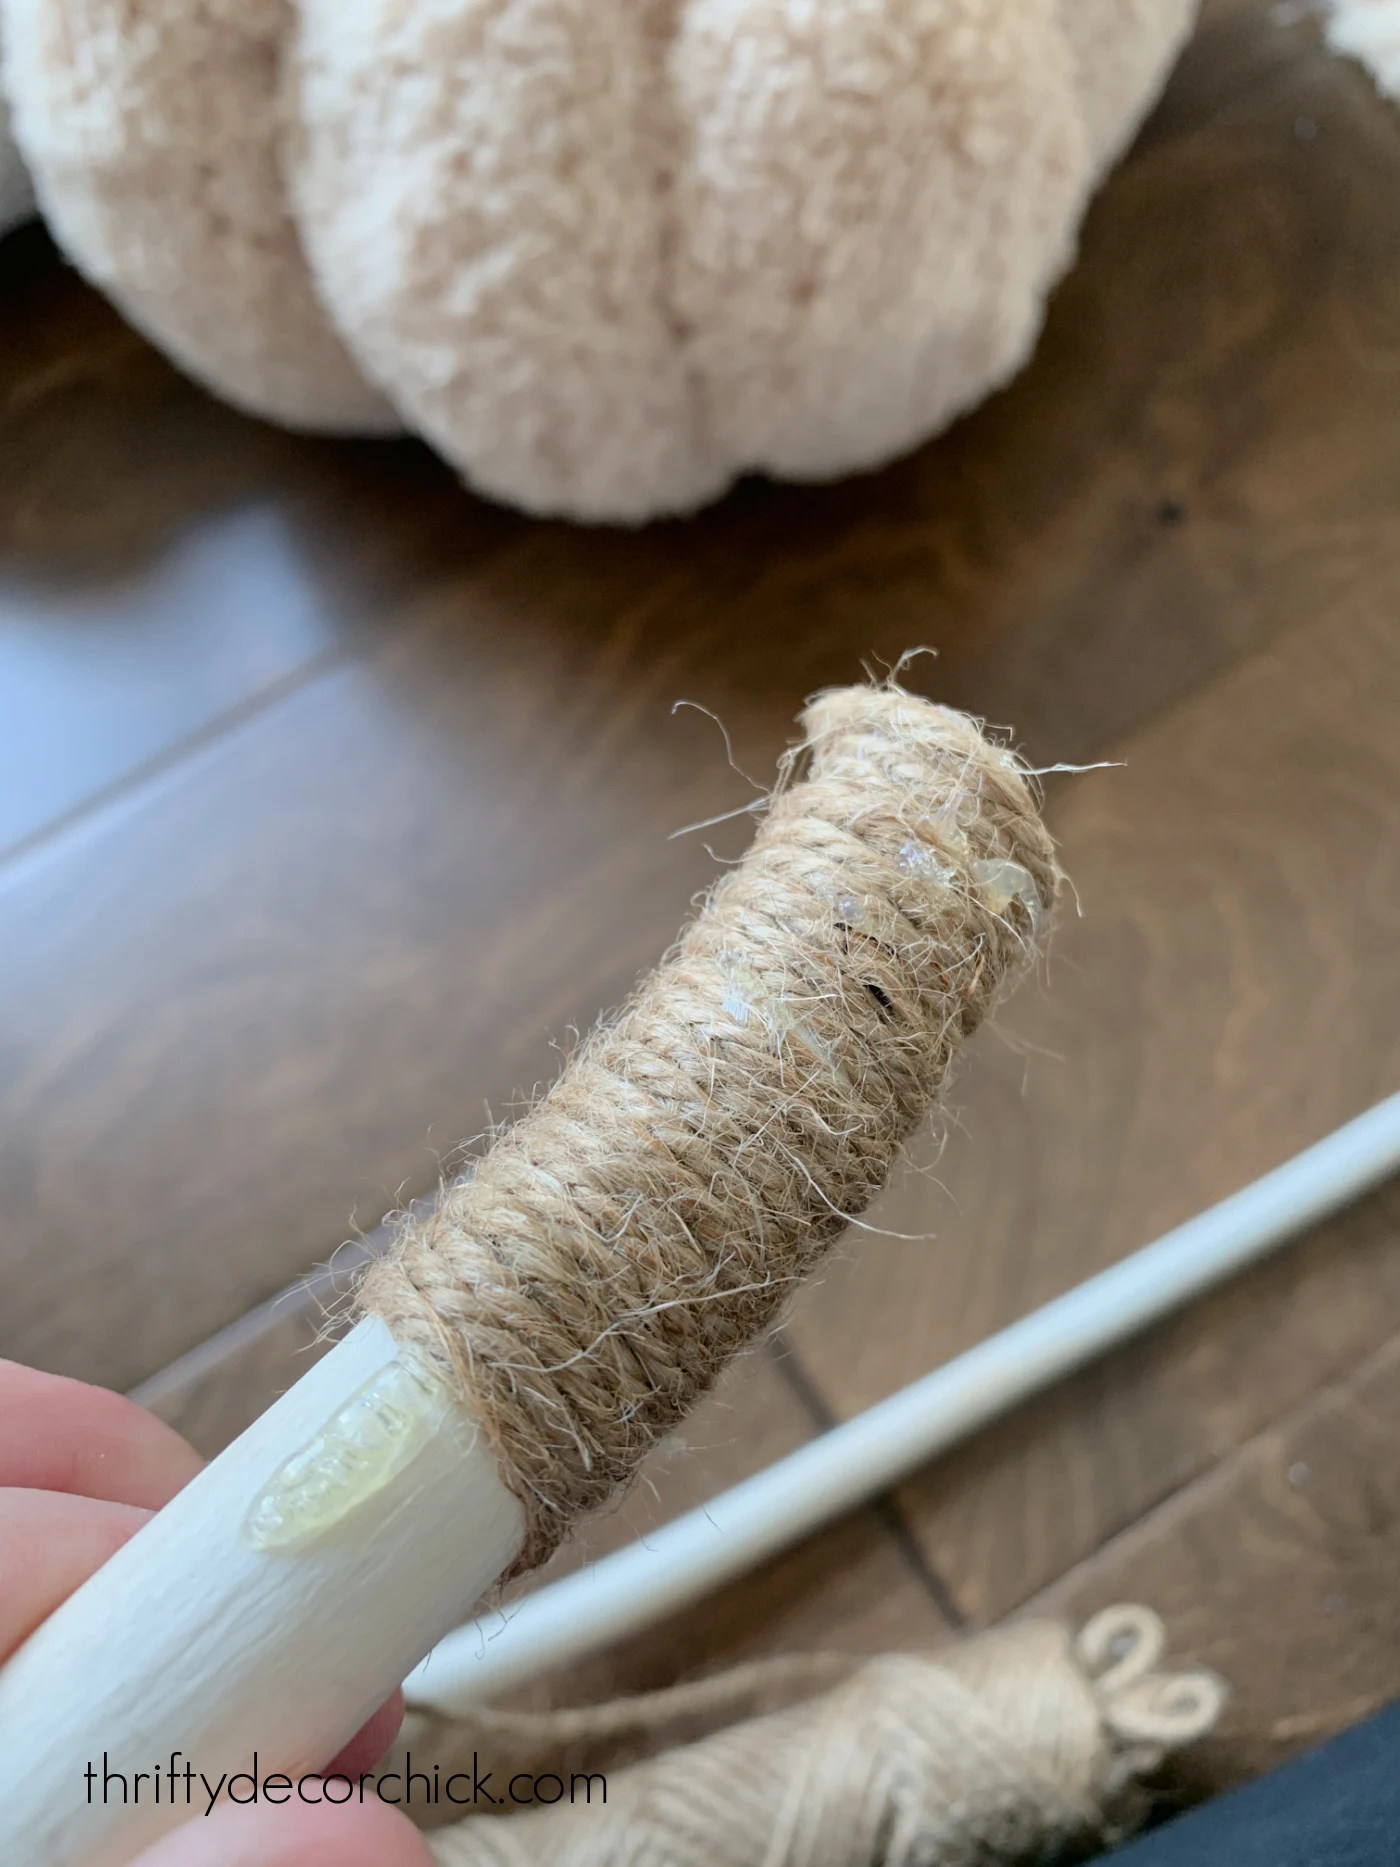
This process seems tedious but it actually goes super quick -- each one only
took a minute or two.
If I needed my stem to be thicker to fill the center hole a bit more, I just wrapped it with twine twice to make it a bit wider.
I loaded up the bottom of the stems with hot glue and stuck them into the
middle of the pumpkins. They aren't crazy secure -- plenty enough, but I
won't be grabbing them by the stem to carry them around.
(If you know of a more secure way to add the stem, please share!)
I was planning to make three, but I loved these cute stuffed pumpkin SO
much, I kept going.
They are SO CUTE!:


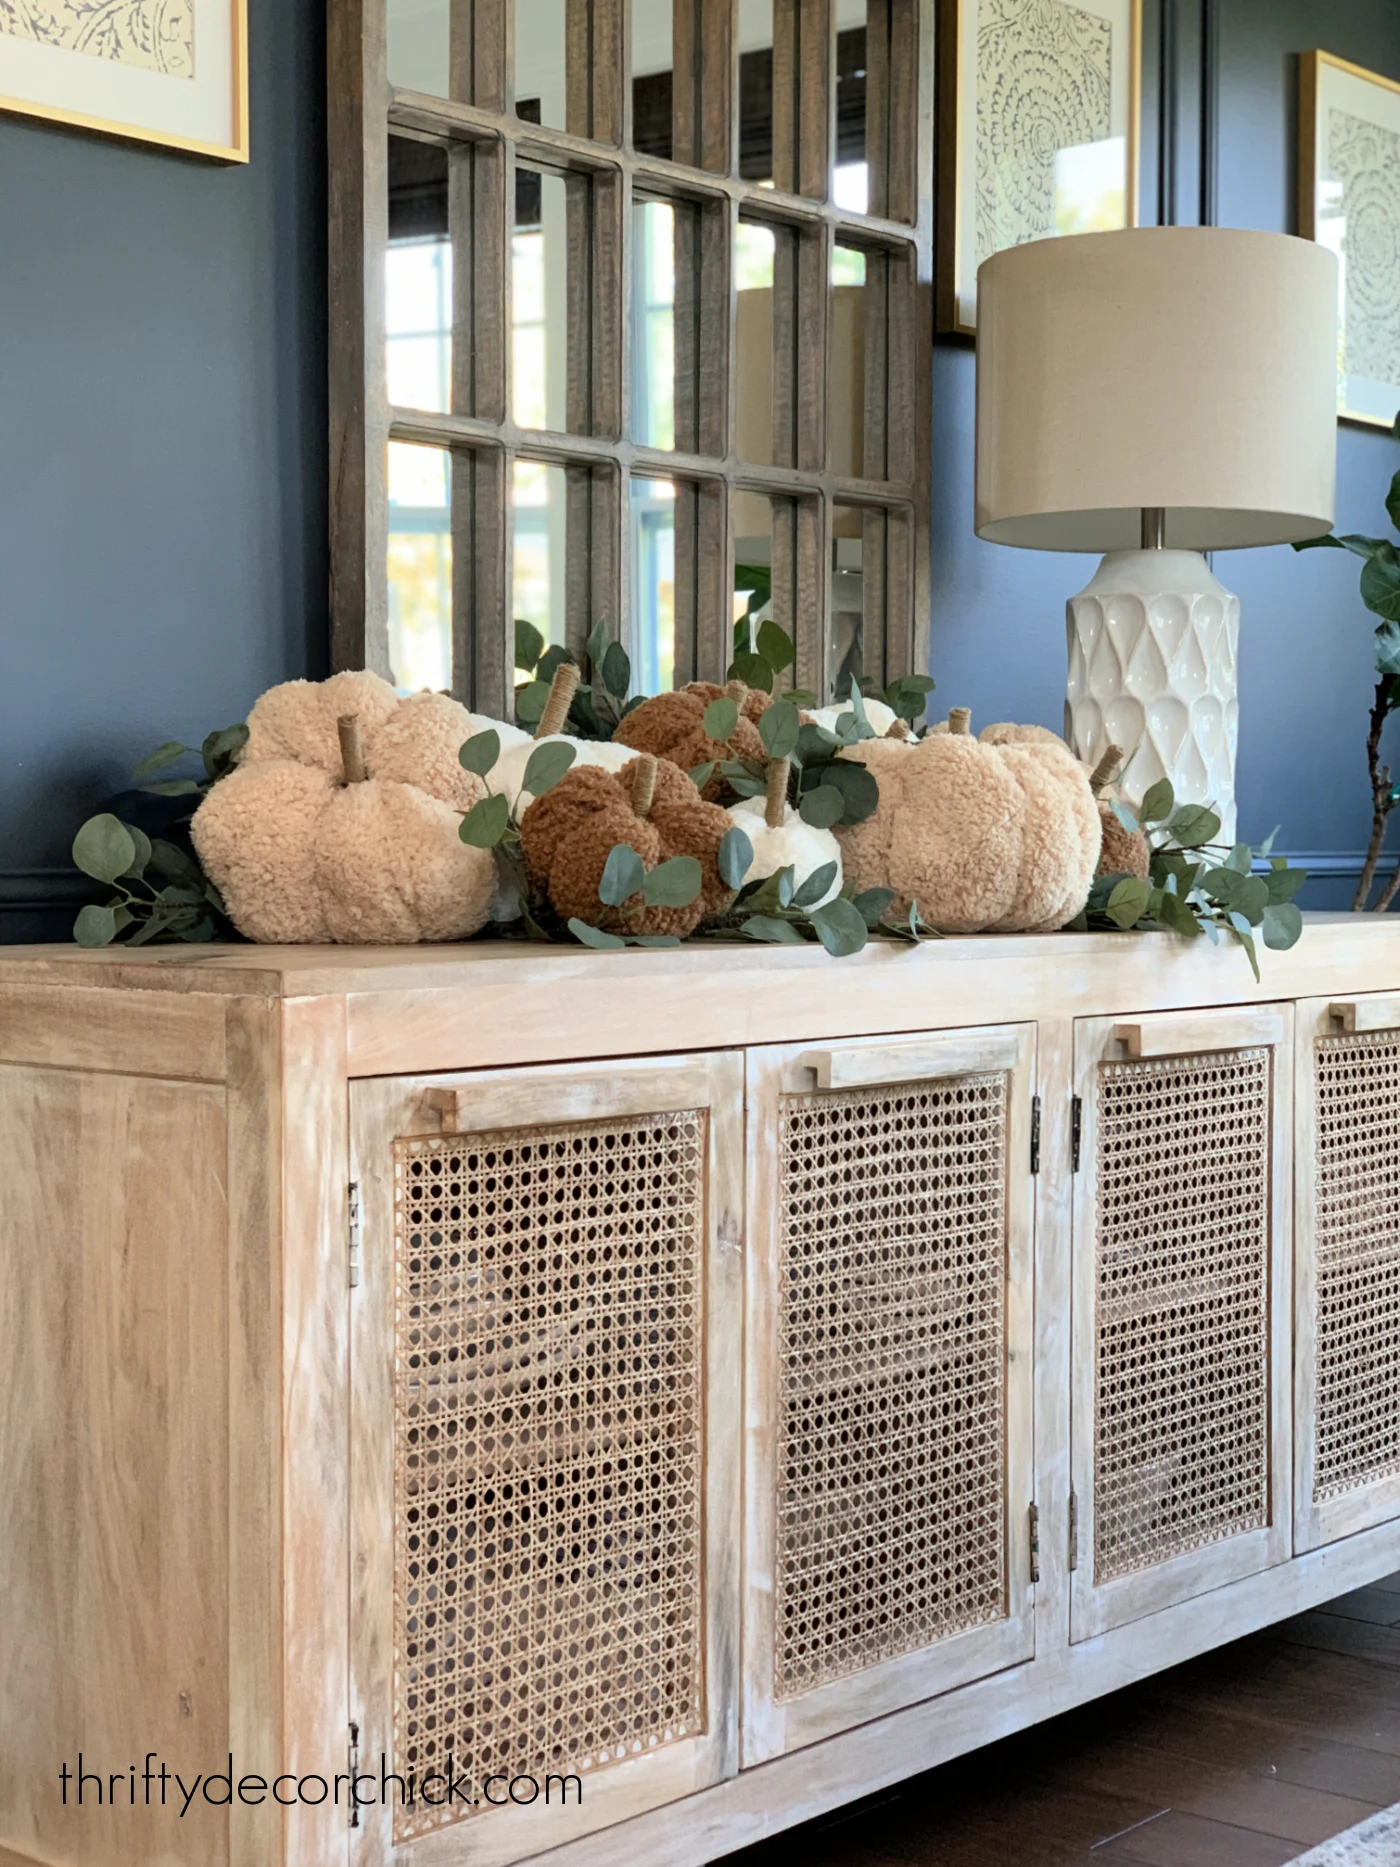
The fabric went a long way -- I got less than a half of a yard in each color
and was able to make nine pillows. I even have a little extra fabric
leftover.
Aren't they adoyable?? (As my niece says.):
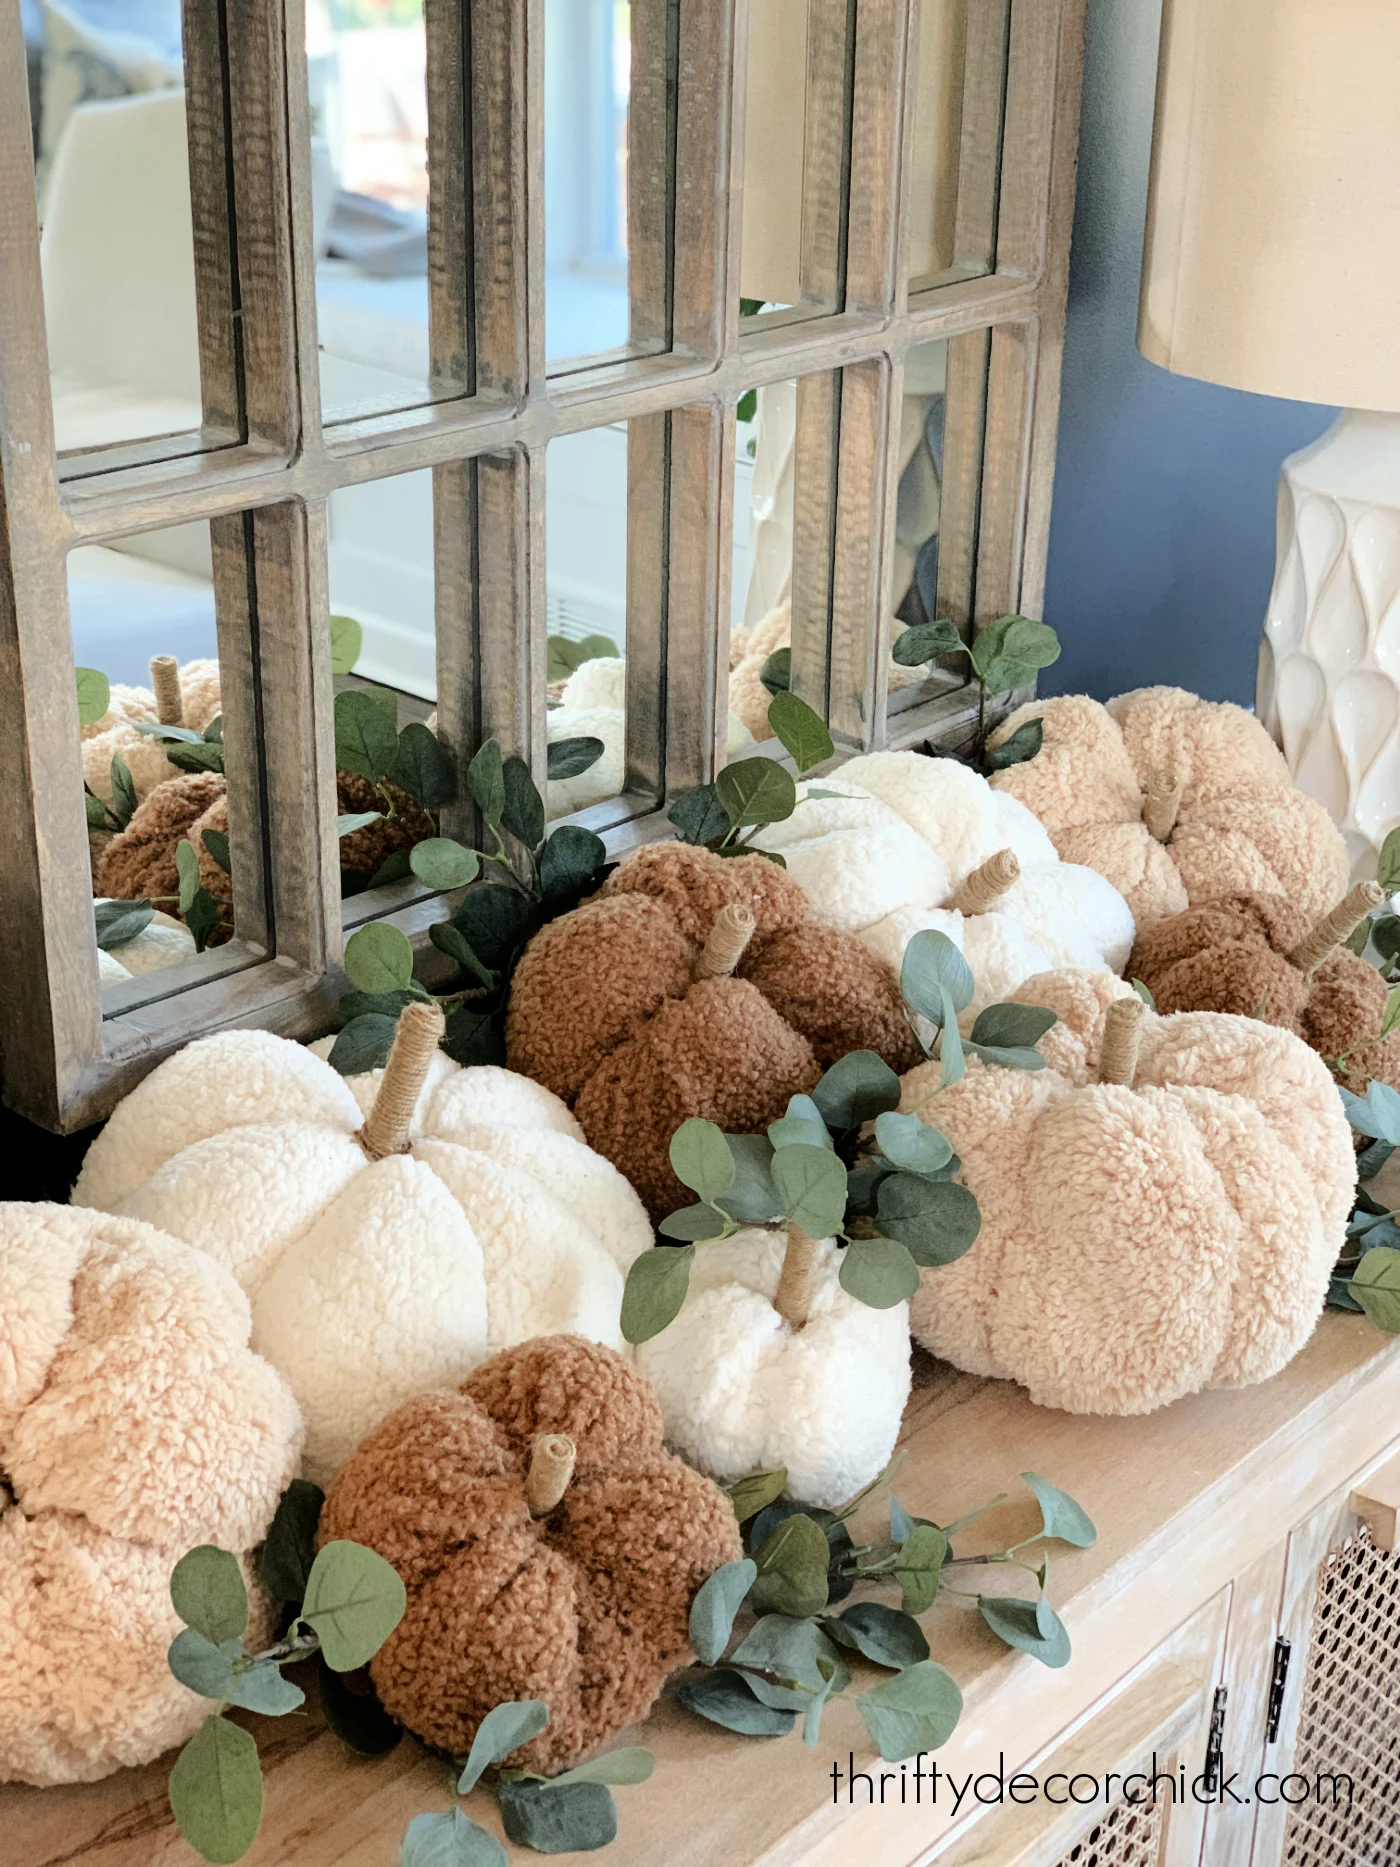

They are so incredibly soft and I just love them.
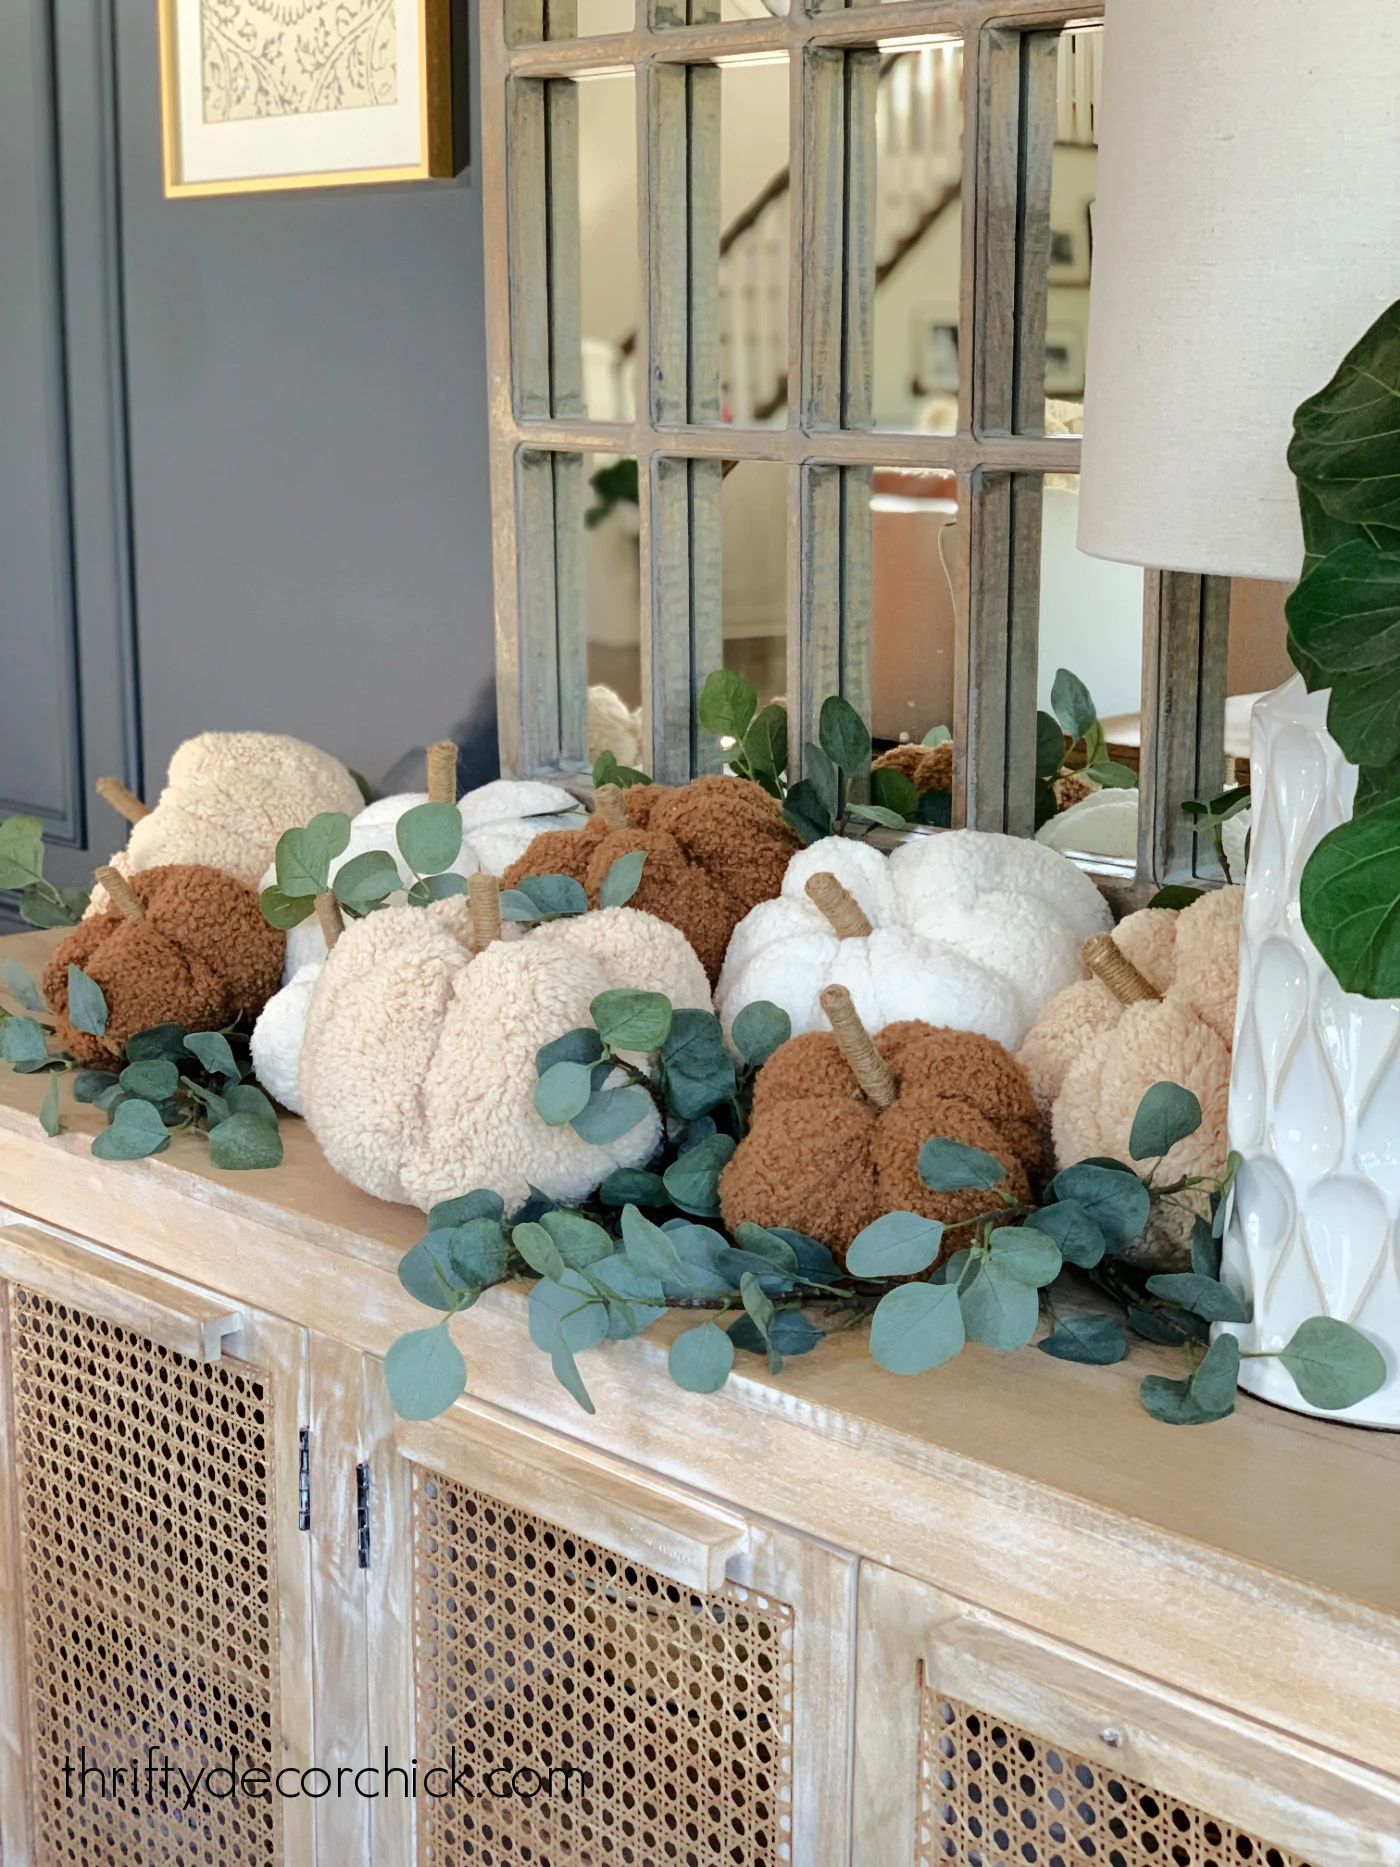
The best part? I made all of mine with $30 worth of fabric and fill -- and
the smallest Pottery Barn teddy bear pumpkin is $29.
Soooo I got nine for the price of ONE:
You can't beat nine for the price of one!
This would be such a fun craft project to do with friends or older kids for
a craft night.
Try using old sweaters or blankets to make these stuffed pumpkins as well!
Have you tried making your own fabric pumpkins?
You can pin this tutorial for later using this image:

Never miss a post by signing up to
get posts via email.
Where did you find the fabric?
ReplyDeleteI got mine at Hobby Lobby but you should be able to find similar fabric most craft stores that carry fabric.
DeleteAdoyable it is! (or rather, they are) I also am attempting a diy version and I found some teddy bear fabric on ebay under the heading of "boucle". Yours look fantastic, and the extra texture goes a long way to making them cuddly. I am so impressed with your total arrangement and give you an A+ on your talented outcome. Thanks for sharing.
ReplyDeleteThis is exactly how I've made mine in the past. I used homespun which is a lot lighter than your lovely fabric. I used a threaded needle & went from top to bottom out of the top, down to the bottom making my lines on the outside. I hope you can understand what I mean. Anywho, I love your teddy bear pumpkins.
ReplyDeleteThese are adorable !!
ReplyDeleteLove these SO much!! You did an amazing job!!! I’m on my way to Hobby Lobby now and can’t wait to make them! Thank you for the tutorial!!!🎃
ReplyDeleteL🍁VE the pumpkins!!
ReplyDeleteI have to know where your sideboard came from, please!
You are very good at explaining just how make this. These are super cute! Great job!
ReplyDeleteYES, adoyable and Yes, must SEE/HAVE pumpkins in my sight !! And in every medium possible, but your teddy bear ones really punch me in the heart! THANKS SO MUCH and for all of your ideas I'm about to enjoy 😊
ReplyDeleteExactly what I want!!! Lol. Where did you get your fabric? Adorable! 😍
ReplyDeleteThank you! I think I got this at Hobby Lobby, but Joann's will have similar fabric.
Delete