
How to Make a DIY Decorative Frame for Your TV
March 21, 2024
Share this
Custom DIY wood TV frame tutorial for ANY television.
This easy frame for the TV is another one of those DIY projects that I've
wanted to tackle for quite some time!
I know, I know...a frame for the TV? But I think you'll be surprised at the
difference it makes.
This works for most recent flat screen TVs, but there are a few things
to consider that I'll cover in this post.

My only request was that it be a "Frame" TV -- I've admired them forever and
knew one would look amazing in our family room!
This post may contain affiliate links for your convenience.
See my policies and disclosure page for more information.
The Frame TVs are made with a more matte screen and a much thinner frame
around the edge.
The best part is you can load your own digital art and photos or purchase
options online (I'll talk more about that in a moment).
The Frame television also comes with a mount that allows the TV to sit right
against the wall so it truly looks like real art. (Although for now we're
using our old mount, we were trying to get this thing up before the Super
Bowl.) 😂
This Samsung Frame TV goes on sale all of the time, so watch for that if you're interested!
Overall this thing is a decorator's dream come true. :)
It comes with a simple black frame, but there are a TON of decorative frame
options online for this TV that dress it up and really make it look like a
piece of art.
But WHOA...the prices for those are caaarazy. I was looking into
this modern wood-looking frame for our TV, and even though it's probably the thinnest and least ornate, it was still
priced at nearly $200!
I knew I could make something for a fraction of that price.
Gather your materials
I gathered my wood trim first.
This part is completely up to the look you want -- I wanted my DIY frame to
cover a couple things specifically.
I used this corner trim from Lowe's for my project because it overlapped the
front of the frame on the TV:

Plus, I want my TV frame to cover the sides of the television as well, at
least a little.
If you don't see the sides of your TV much and just want to cover the front surround, this project will be even easier!
When you pick out your trim there are two things you want to check (especially
for a project like this).
First, lay the pieces out on the floor and make sure they aren't bent. Pick
them up and look down each one to make sure they are straight:
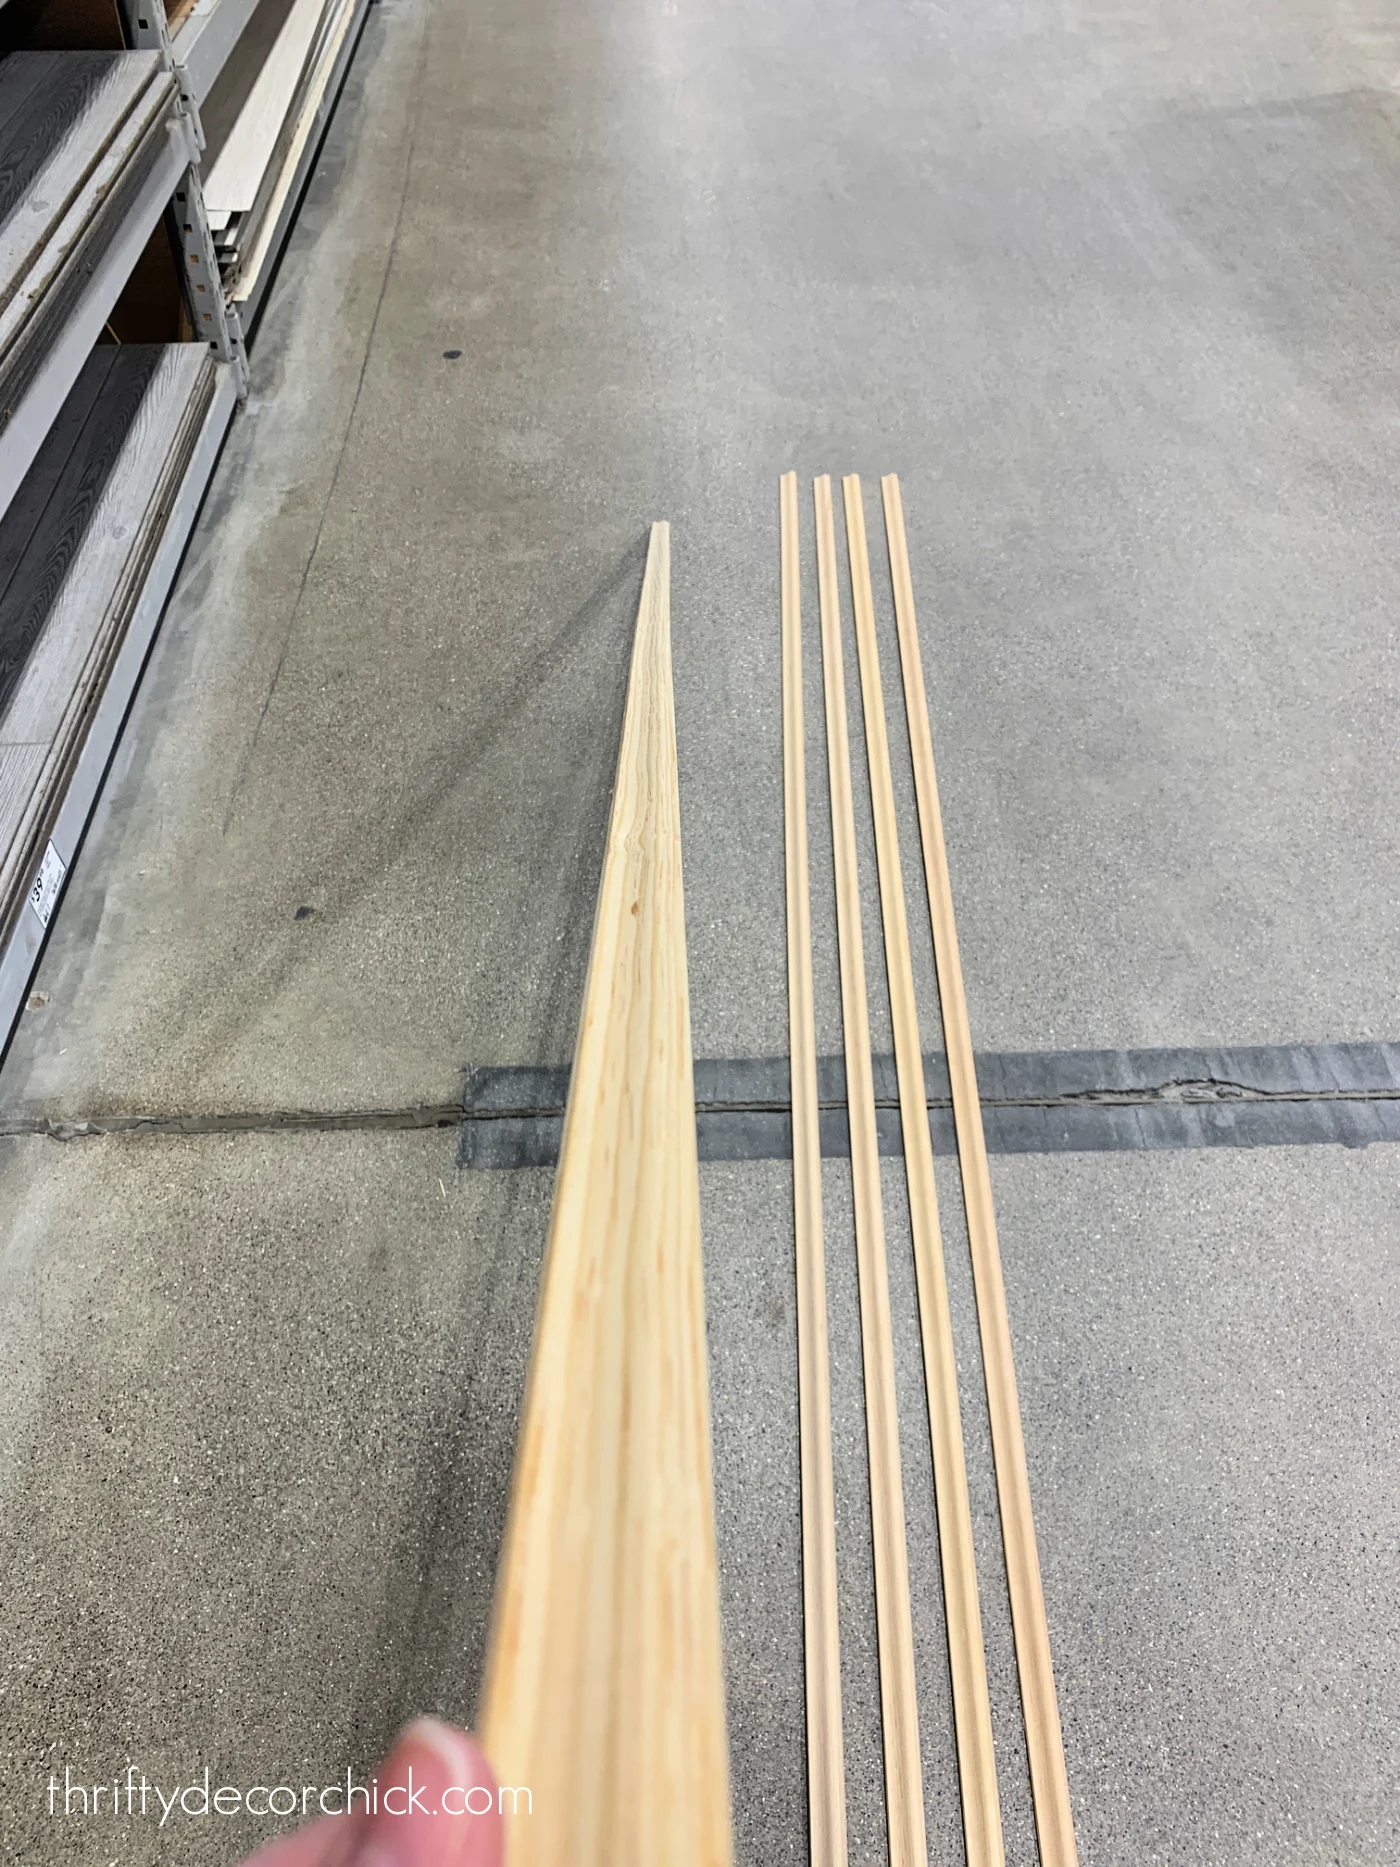
You'll be surprised at how many pieces are wonky and bent.
If I'm nailing them to a wall, it's easier to fix minor bends. But for
something like this that was going to hang freely, I needed them as straight
as possible.
Also, if you'll be staining like I did, make sure to check the grain on each
piece.
Even though these are both pine, they would look different when stained
because of the grain:
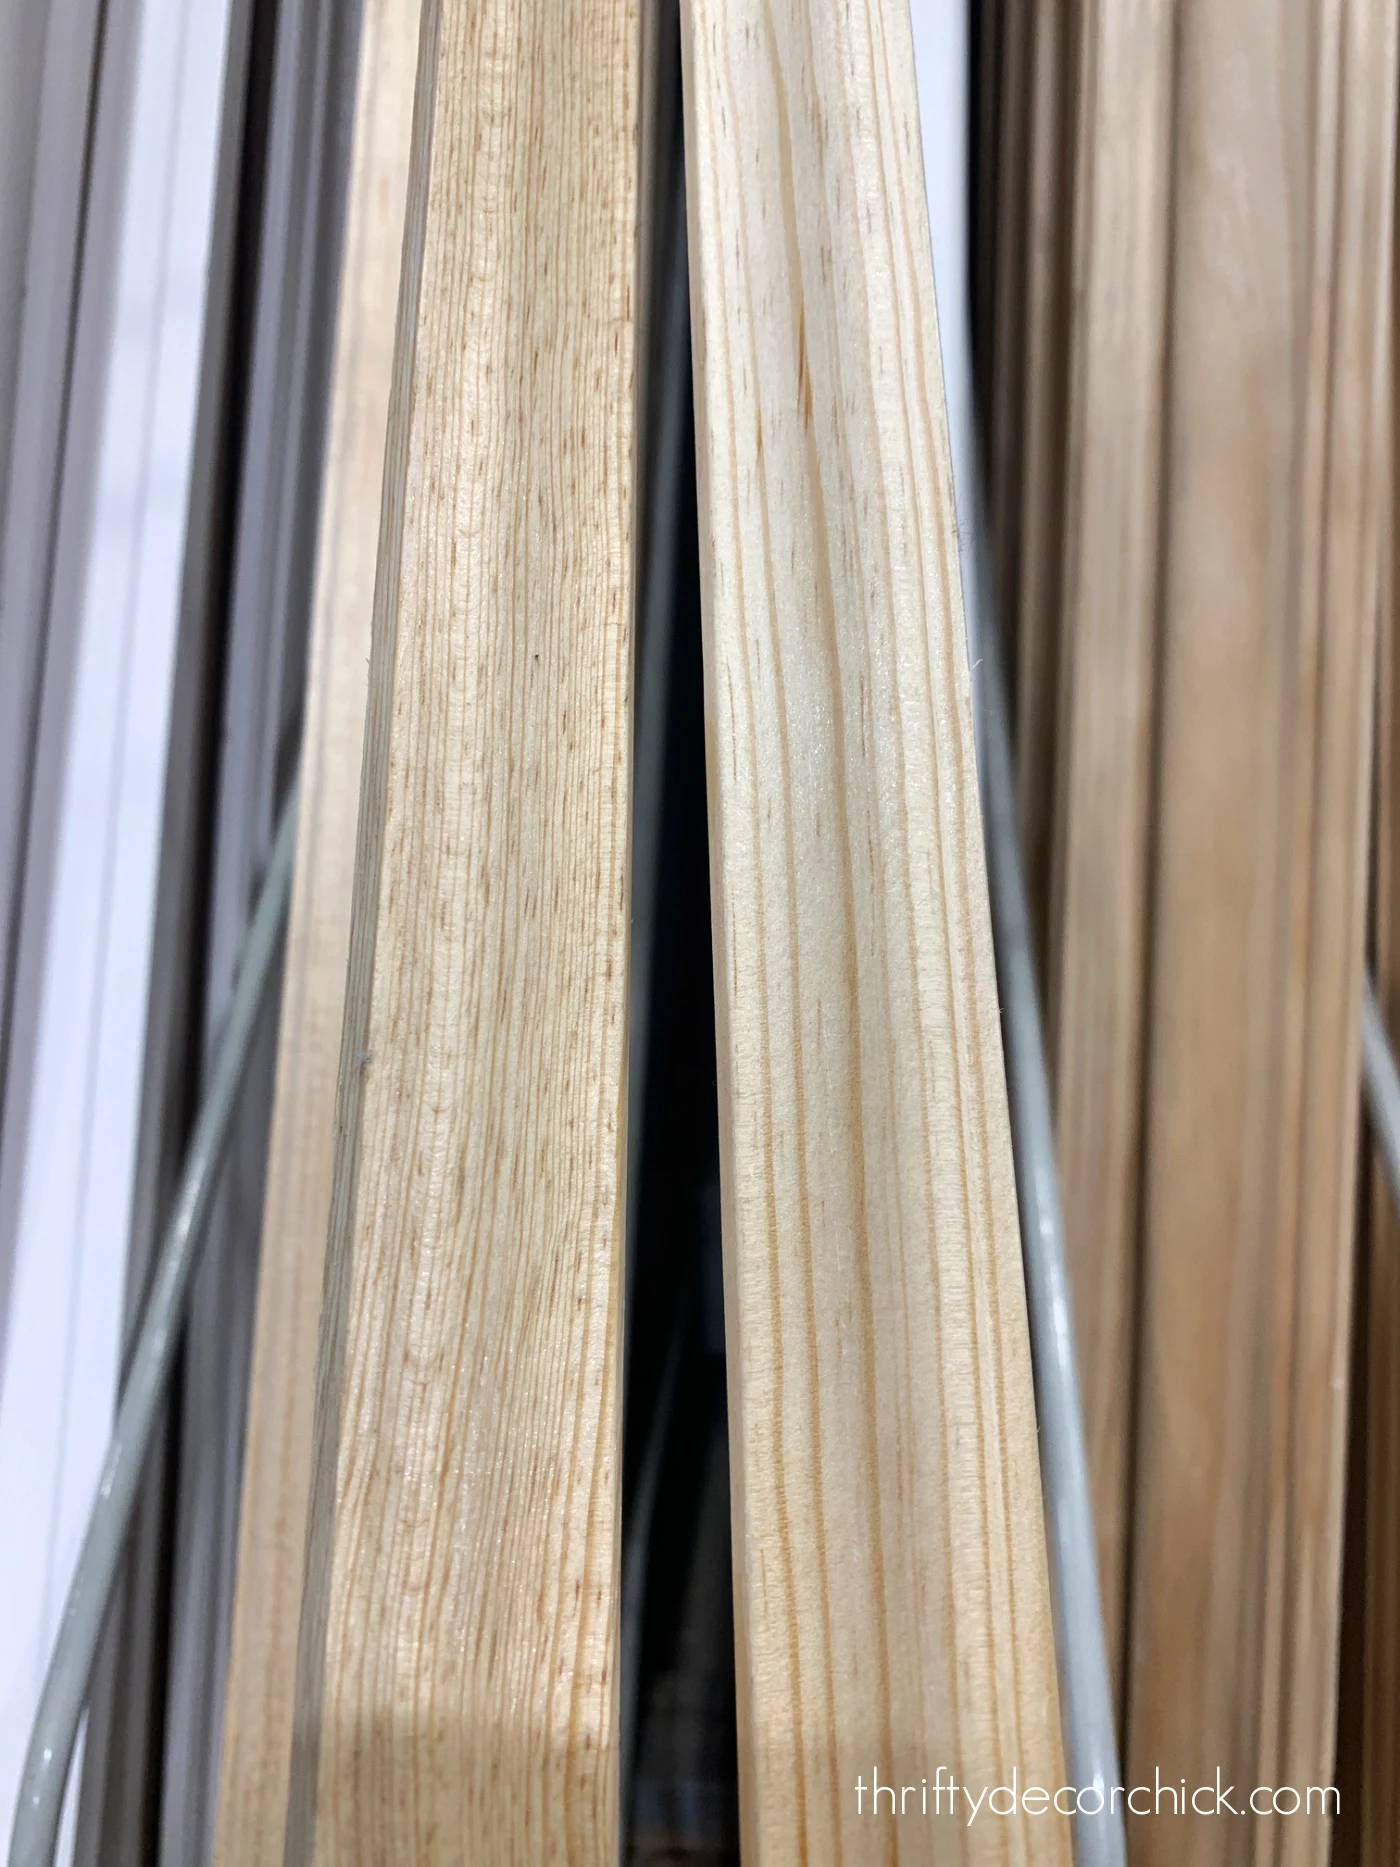
It would be slight, but noticeable.
This isn't something I always look at -- if it's for wood shelves that
aren't right next to each other, I don't worry as much.
But for this frame where the sections will be touching, I wanted the wood
grain to be similar.
If you're using basic wood strips, this next part will be much easier!
Since I was using this decorative trim that was very thin, I had to come up
with an alternative to nails for the assembly.
I went with these simple metal corner braces:
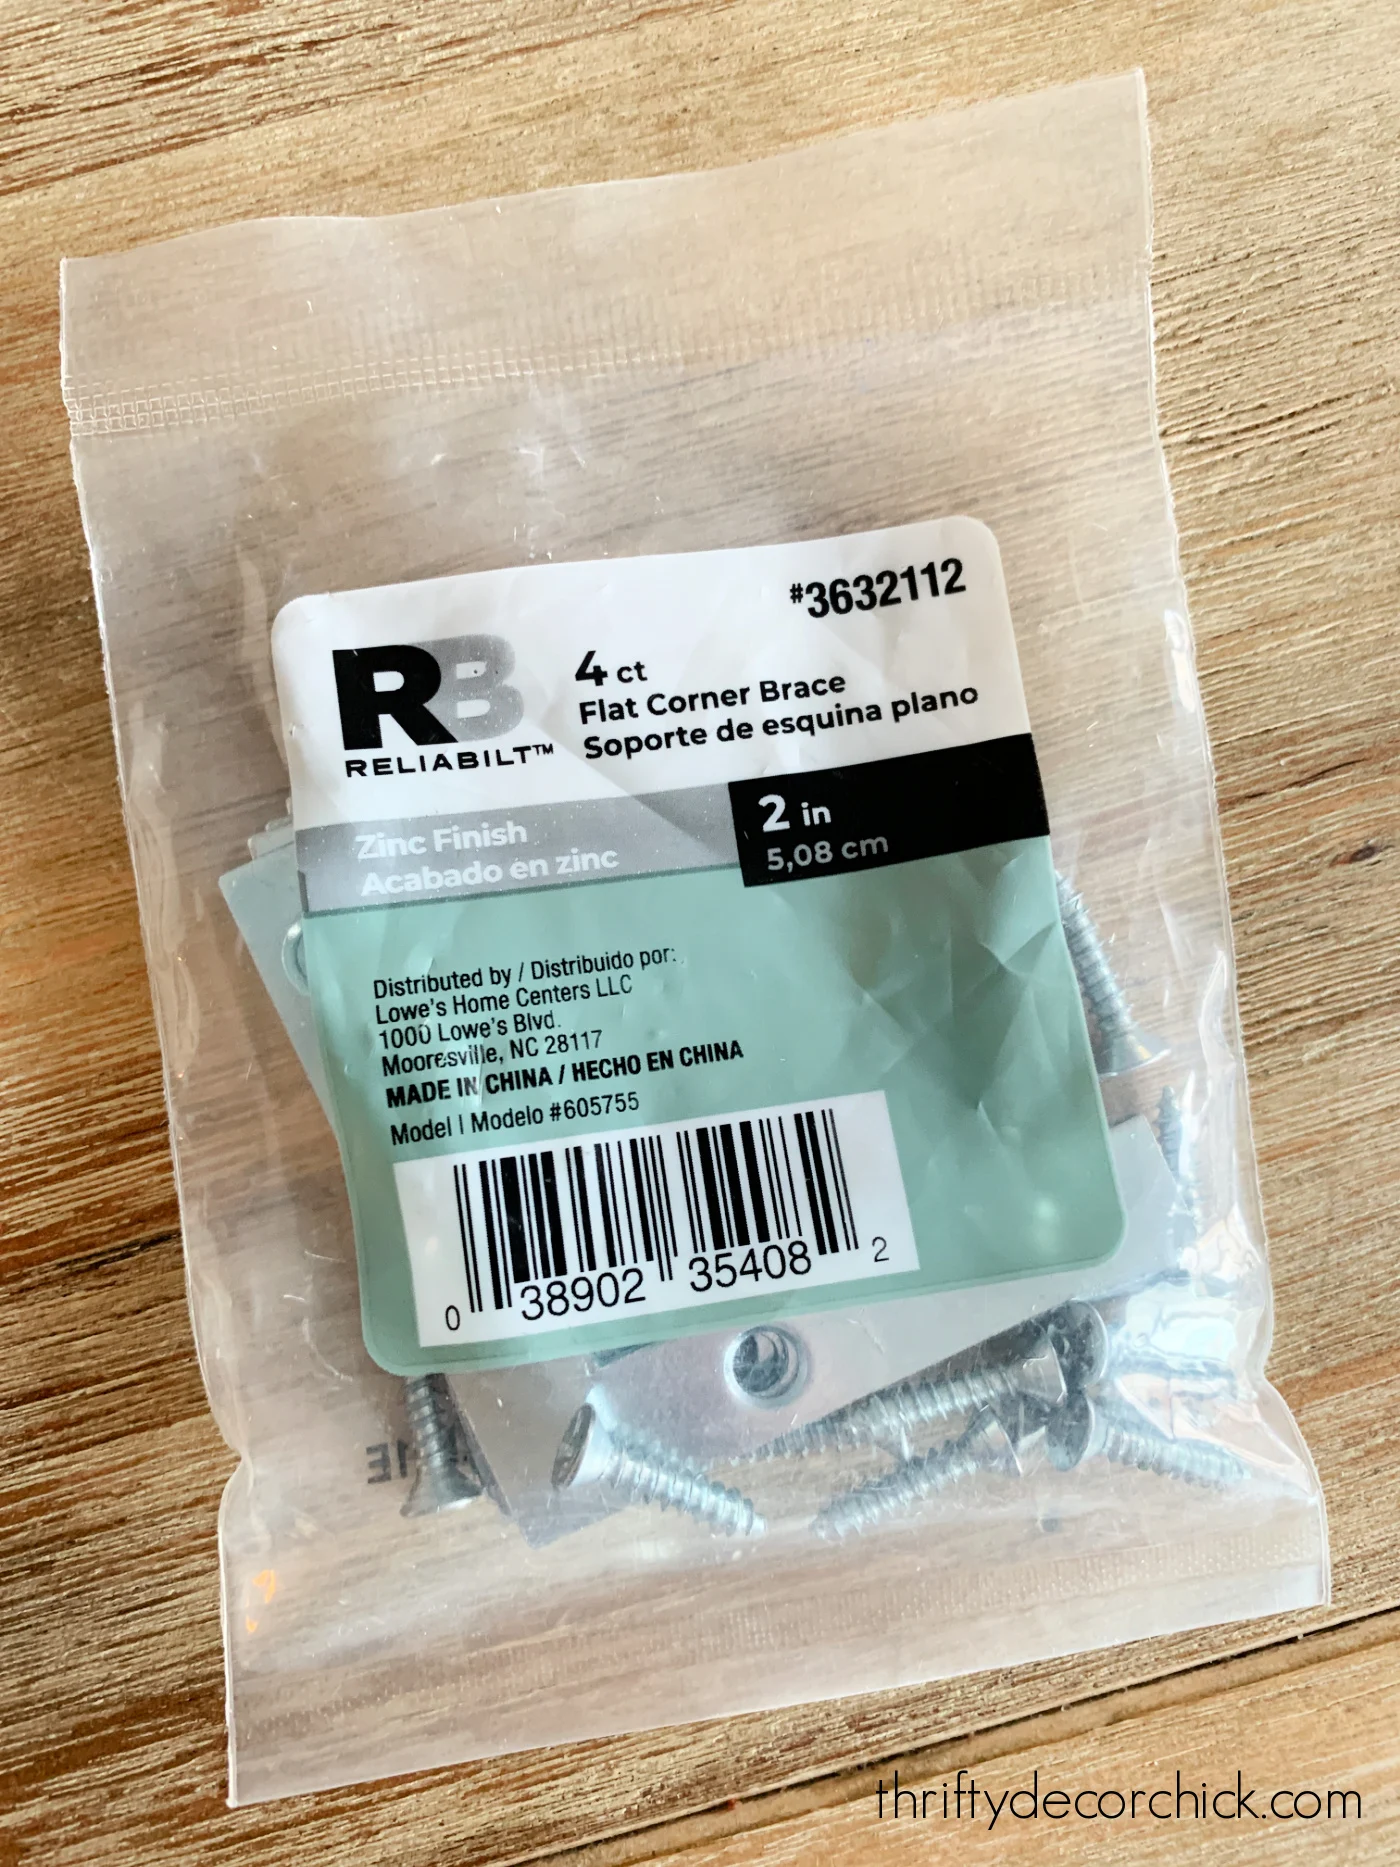
I made sure that the size of the bracket matched the back part of the wood
trim.
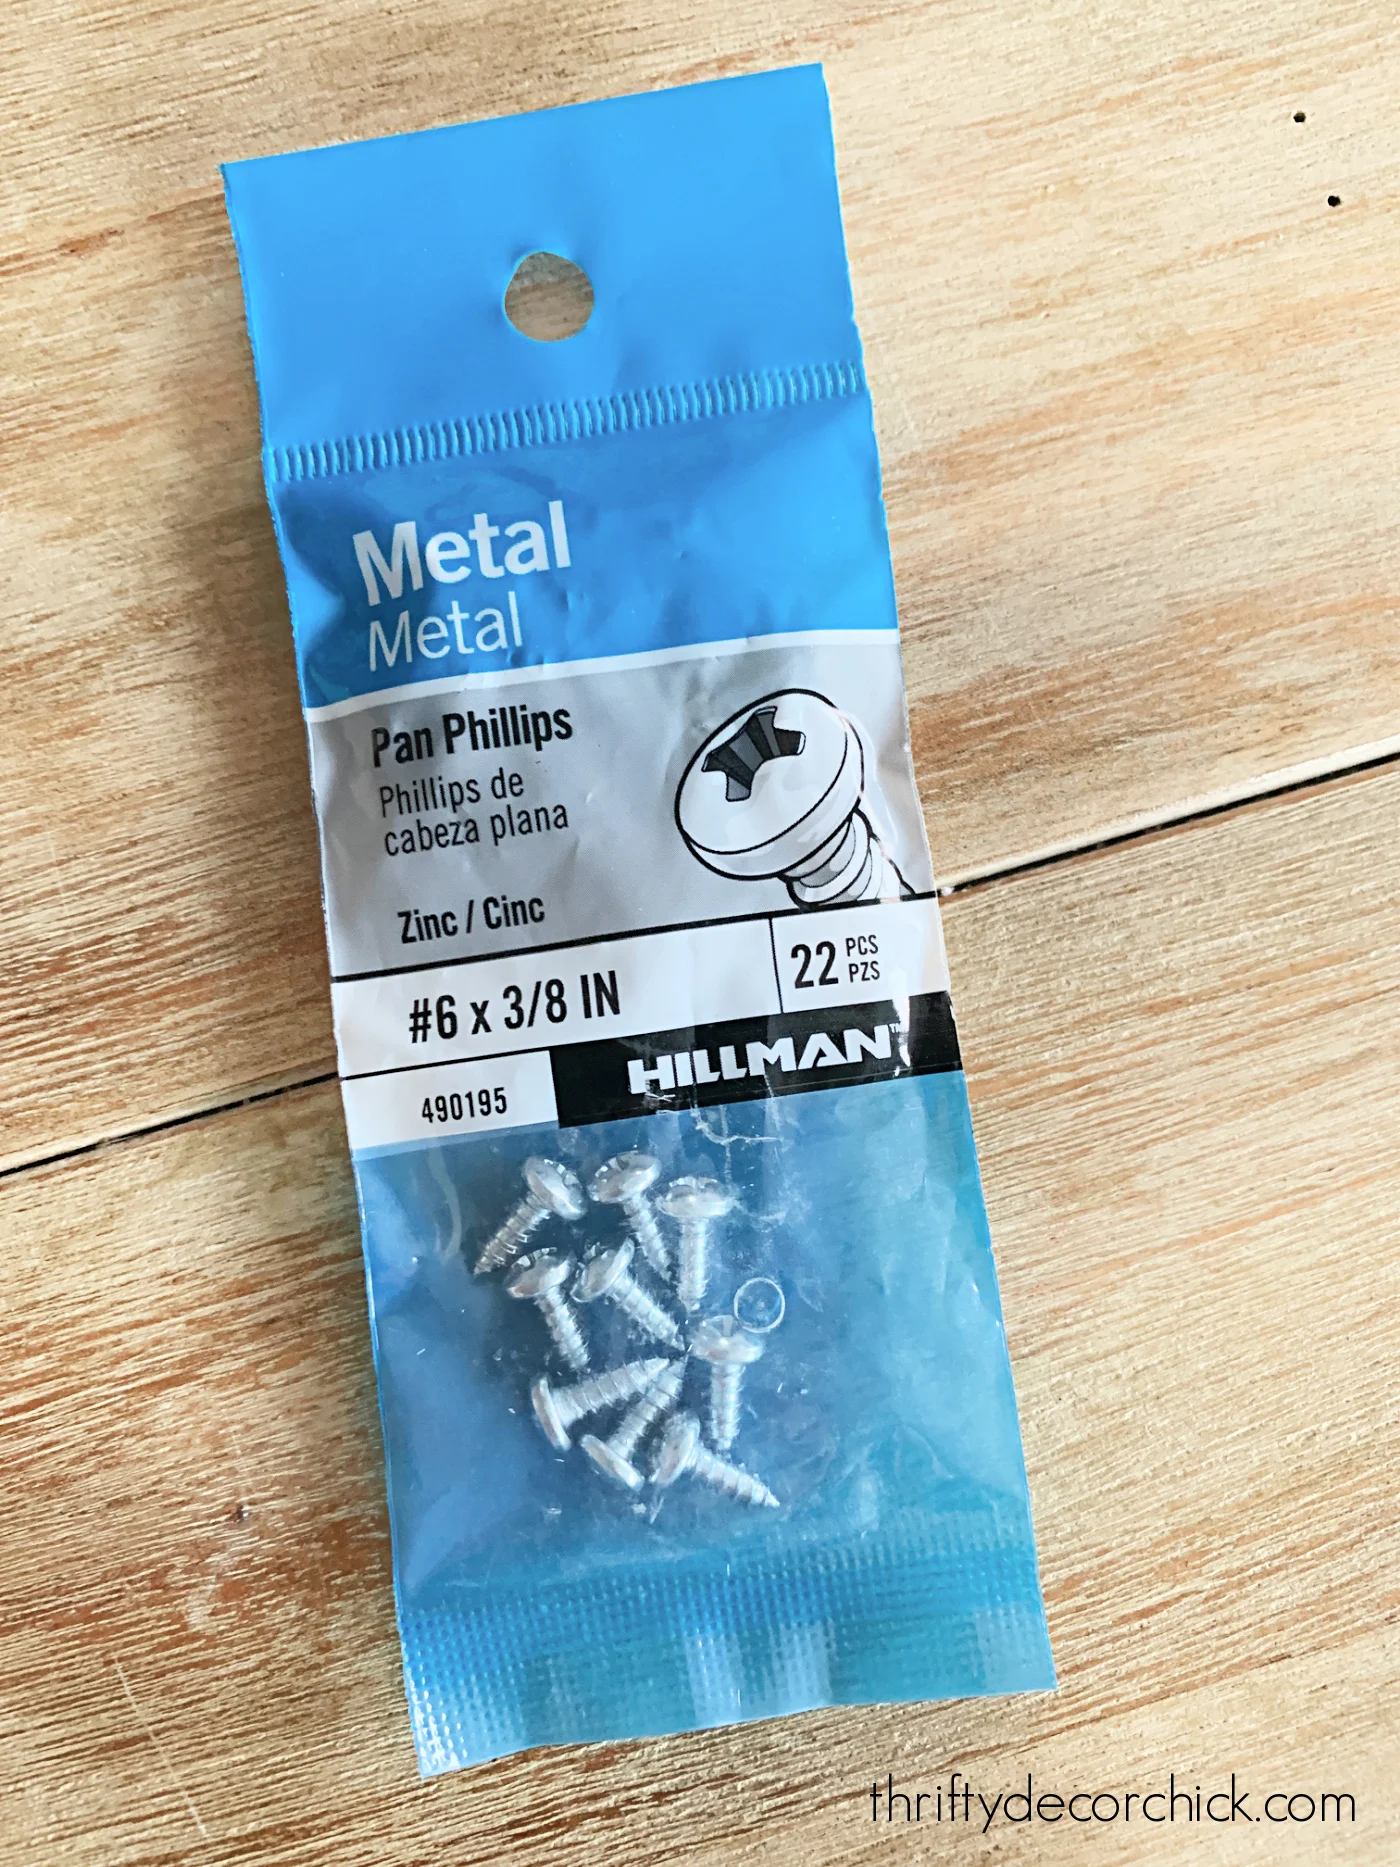
And because my trim was so shallow, I grabbed some 3/8 inch screws
to use for the installation:
If you're wood trim is thicker than this, you can use a variety of ways to
make your frame:
- Staples -- staple the corners together (I recommend using wood glue as well.)
- Glue with clamps -- wood glue will work, but make sure to clamp them while drying. If glue is all you use, be careful as you move the frame around since it wobbles a bit.
- Nails -- wood glue and a nail gun are your best bet!
- Braces or brackets -- this is what I used because my trim was a bit delicate. Even glue wouldn't help much because the wood pieces don't have much contact area.
How to assemble your TV frame
Measure both the width and height of your TV to get the lengths for your
trim pieces.
I had to miter my corners (cut them at a 45 degree angle) because of the
trim design, but you could forego this if you're using simple flat or
square wood pieces.
My compound miter saw is the go-to, but a trusty miter box and hand saw
would be perfect for this project.
Either way, ensure you have perfect corners just like the TV!
To do that, you can use an
L square ruler like this one, or this
awesome corner clamp
I picked up for this project (it will come in handy for so many!):
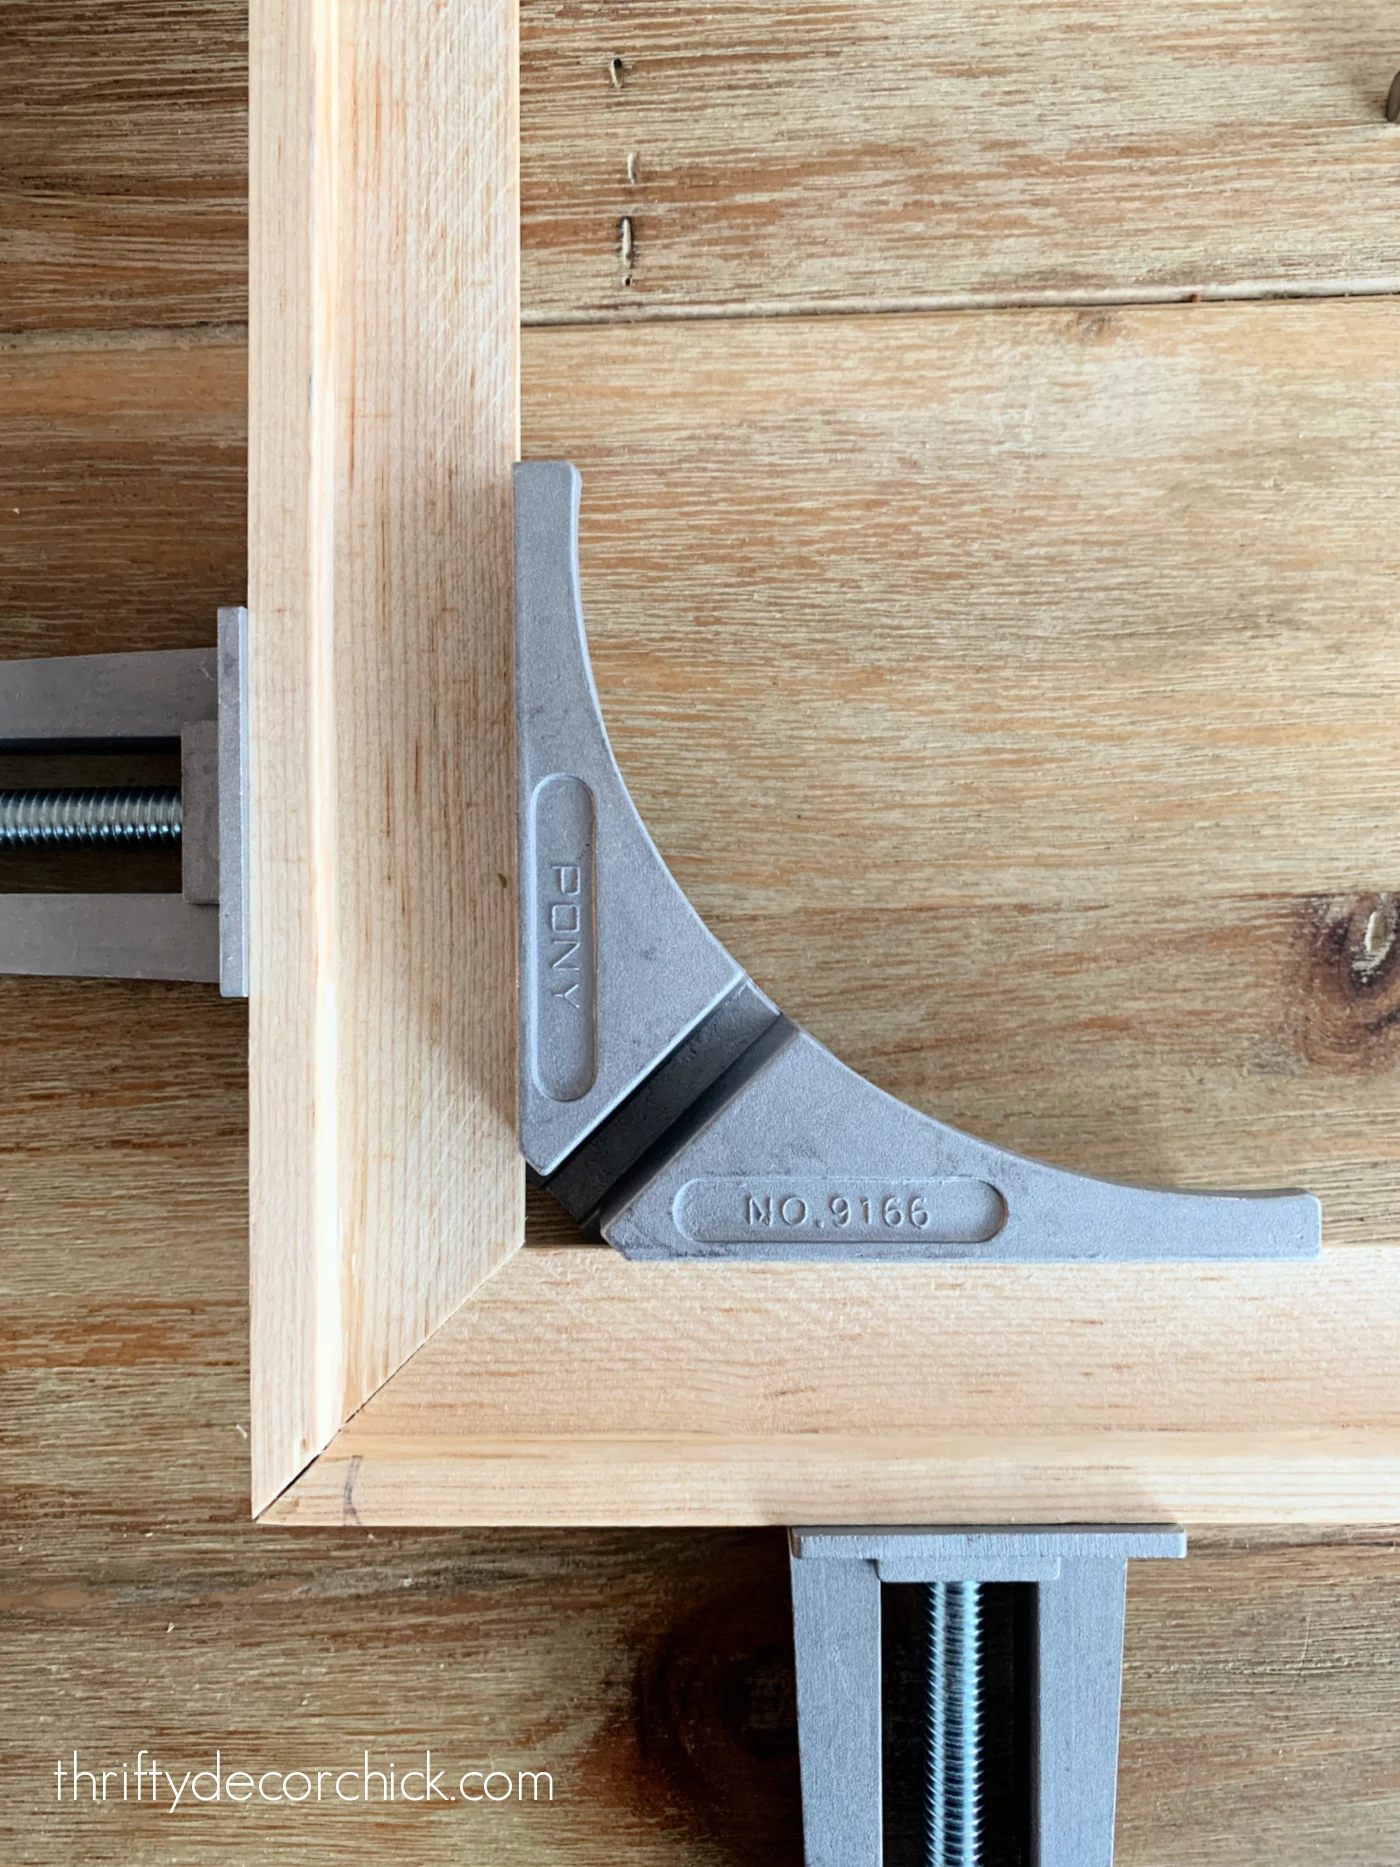
This thing is awesome because it holds the two pieces of trim tight together
at the perfect angle.
This corner clamp will be especially helpful if you're using glue, staples or nails!
If my molding had just a bit thicker, I could have hidden the brace inside
like this:

But I had to use the thickest part around the edge. I forgot to take a photo
as I was working, so here you go:
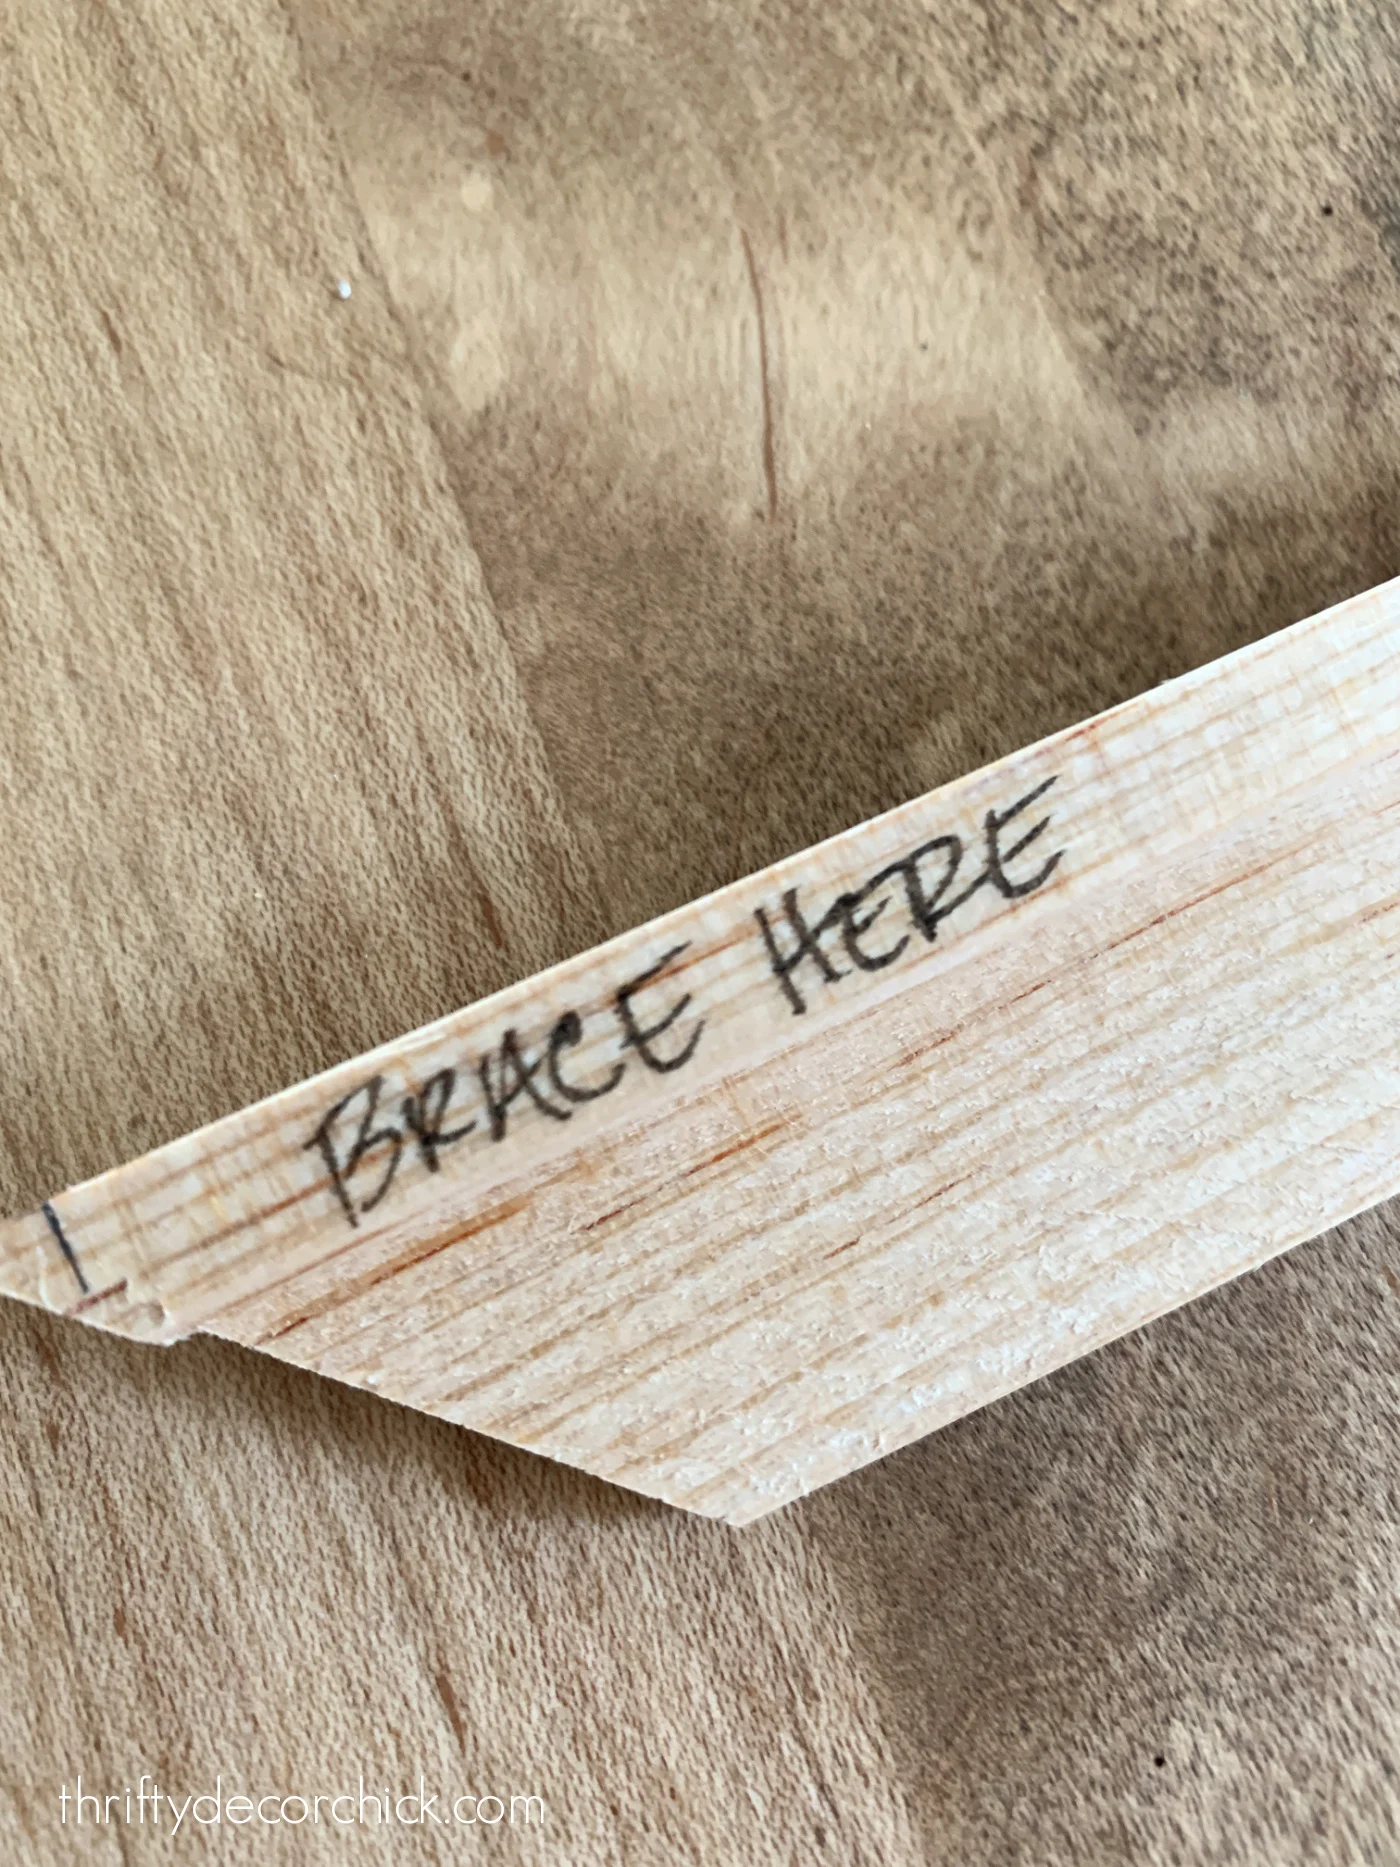
Here's a cutting tip if you use a molding like I did for this project --
because it's uneven underneath, you'll need to prop up the more shallow part
with some scrap wood:


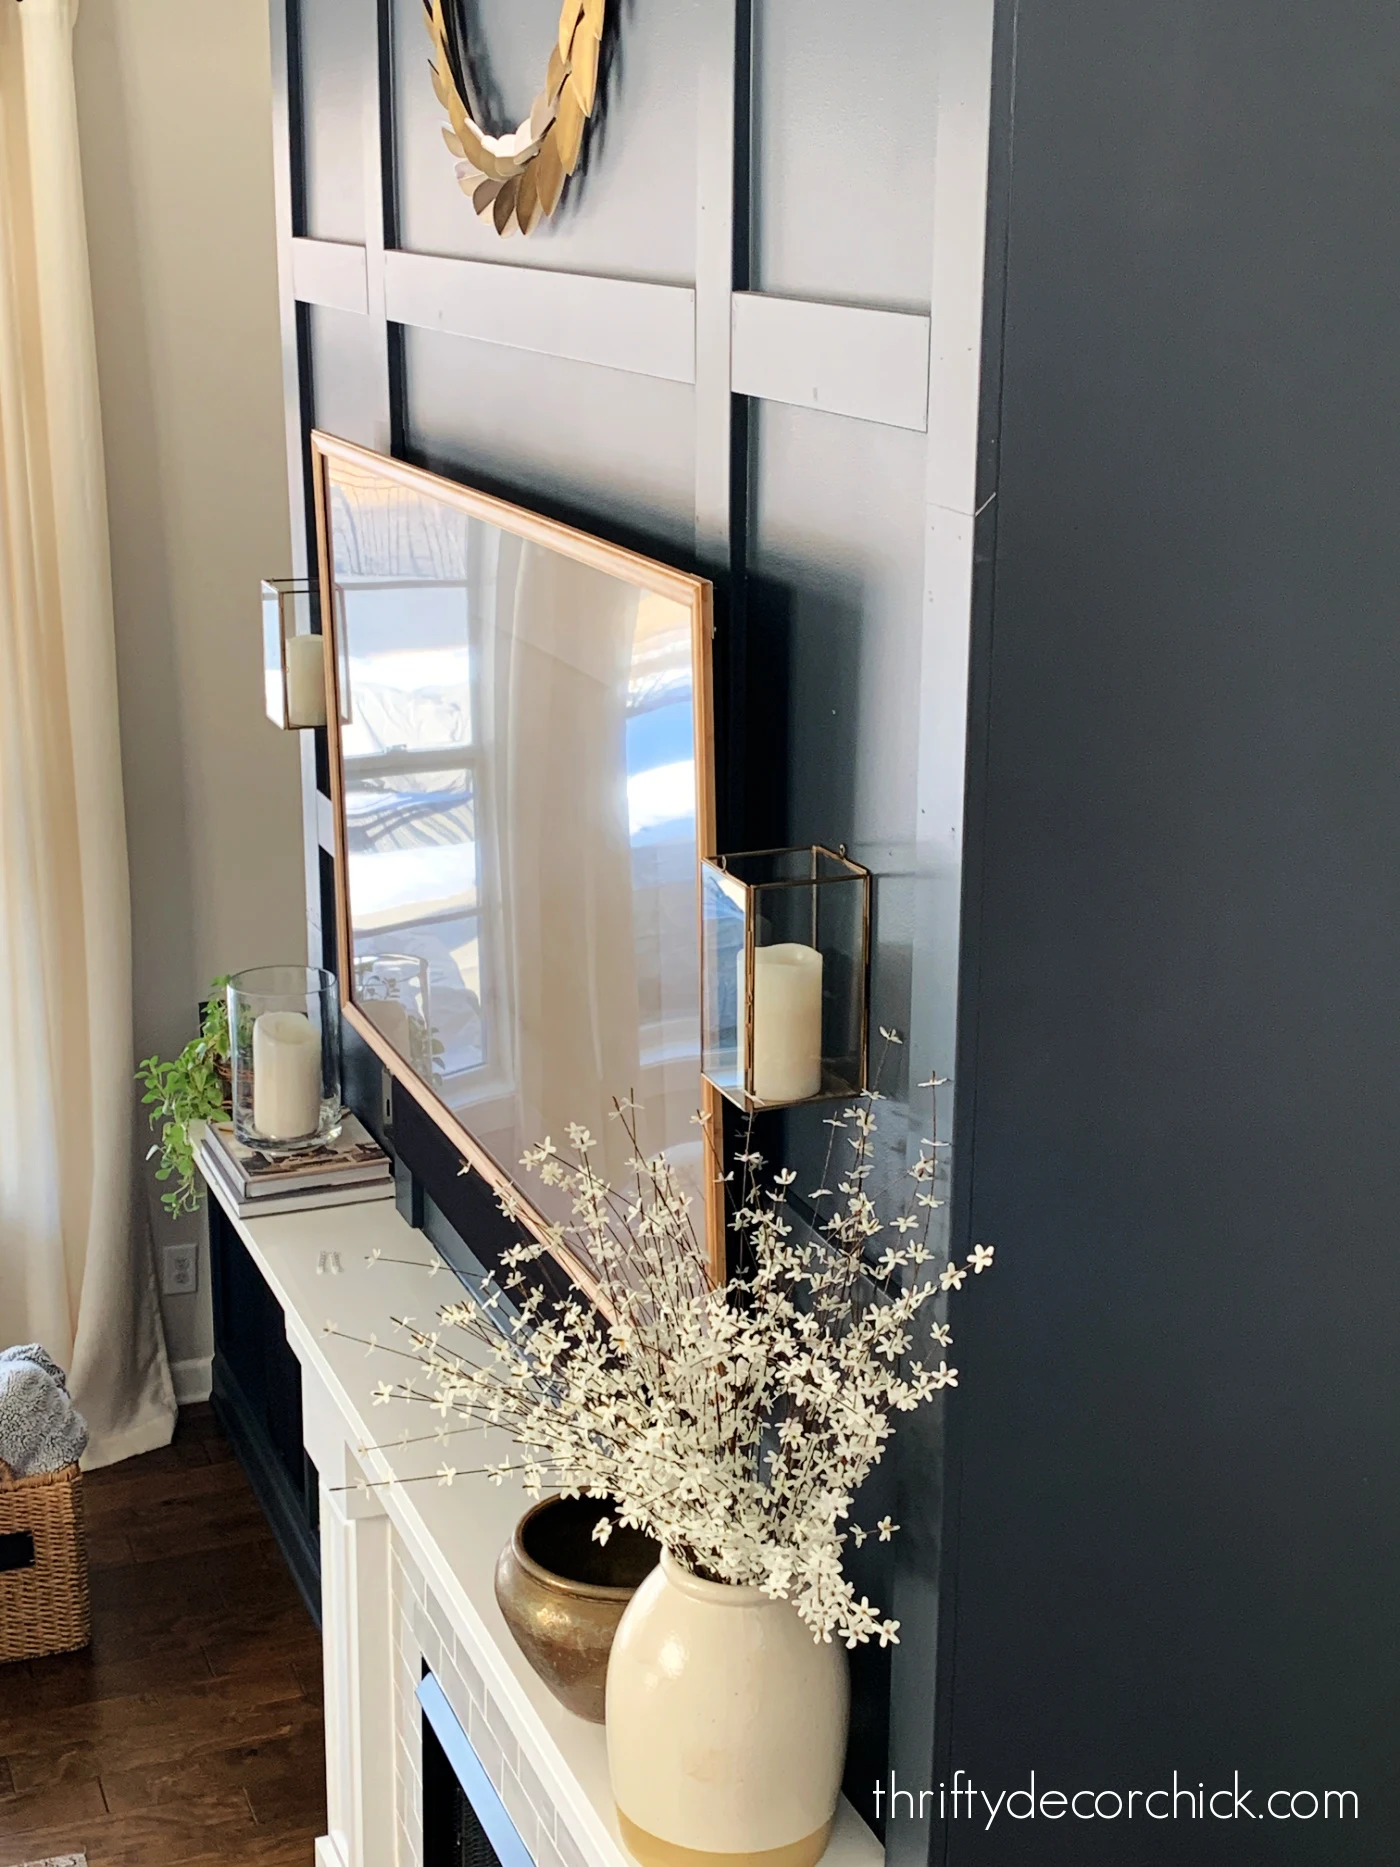
Here's a look at the difference this wood frame made around the TV:


I did this so the back wood piece would rest around the TV.
If you just lay it flat on the saw, it won't meet up at a perfect angle in
the corners.
This trick evens it out as you cut:
I used the small screws to attach the braces to the backside of the molding
in each corner.
Drilling a pilot hole is VERY important, especially when working with more
delicate trim like mine. Then I drilled the short screws in very slowly to avoid the wood splitting.
This tutorial on cutting and installing molding is so helpful if you're new to molding projects!
Finish your frame with stain or paint
After all four corners were connected, my frame was complete!
I tested it out on the TV and had to adjust the length of one side just a
bit, but then it fit like a glove.
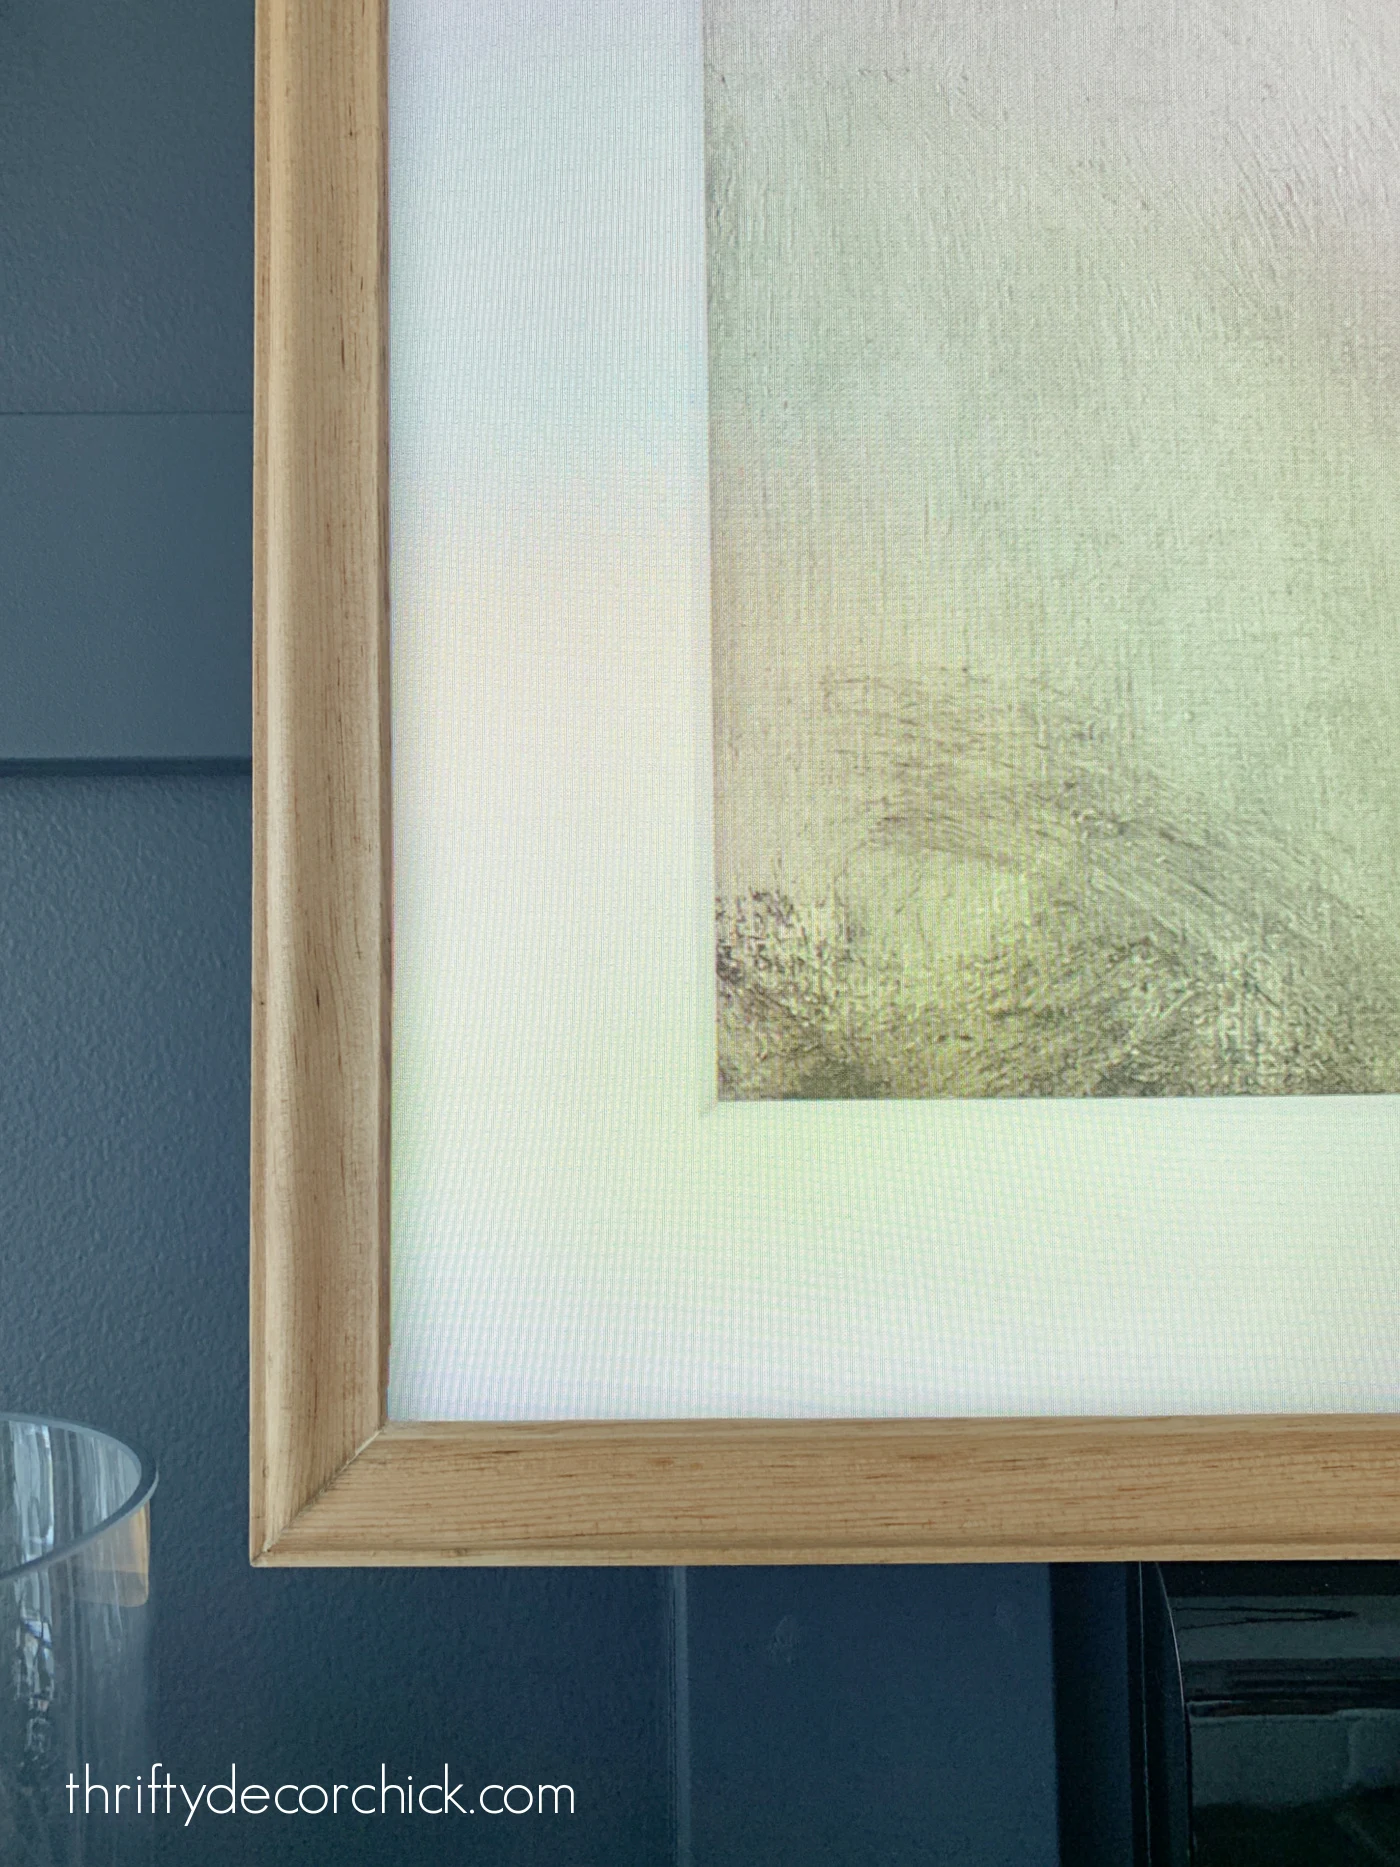
I wanted the frame to be a lighter wood like the one we were looking to buy,
so I stained it in
Special Walnut by Minwax, then put a coat of polyurethane on top:
I filled in the mitered corners with my
favorite stainable wood filler, but because I used the natural color I didn't even have to stain over
again. It blends right in.
The great part about this project is you can customize this however you
want! If you want something more ornate you can use a thicker, more detailed
molding.
Use spray paint and
Rub 'n Buff wax
to create a more traditional old world look, or paint or stain like I mine
for a transitional/modern design.
Finishing touches
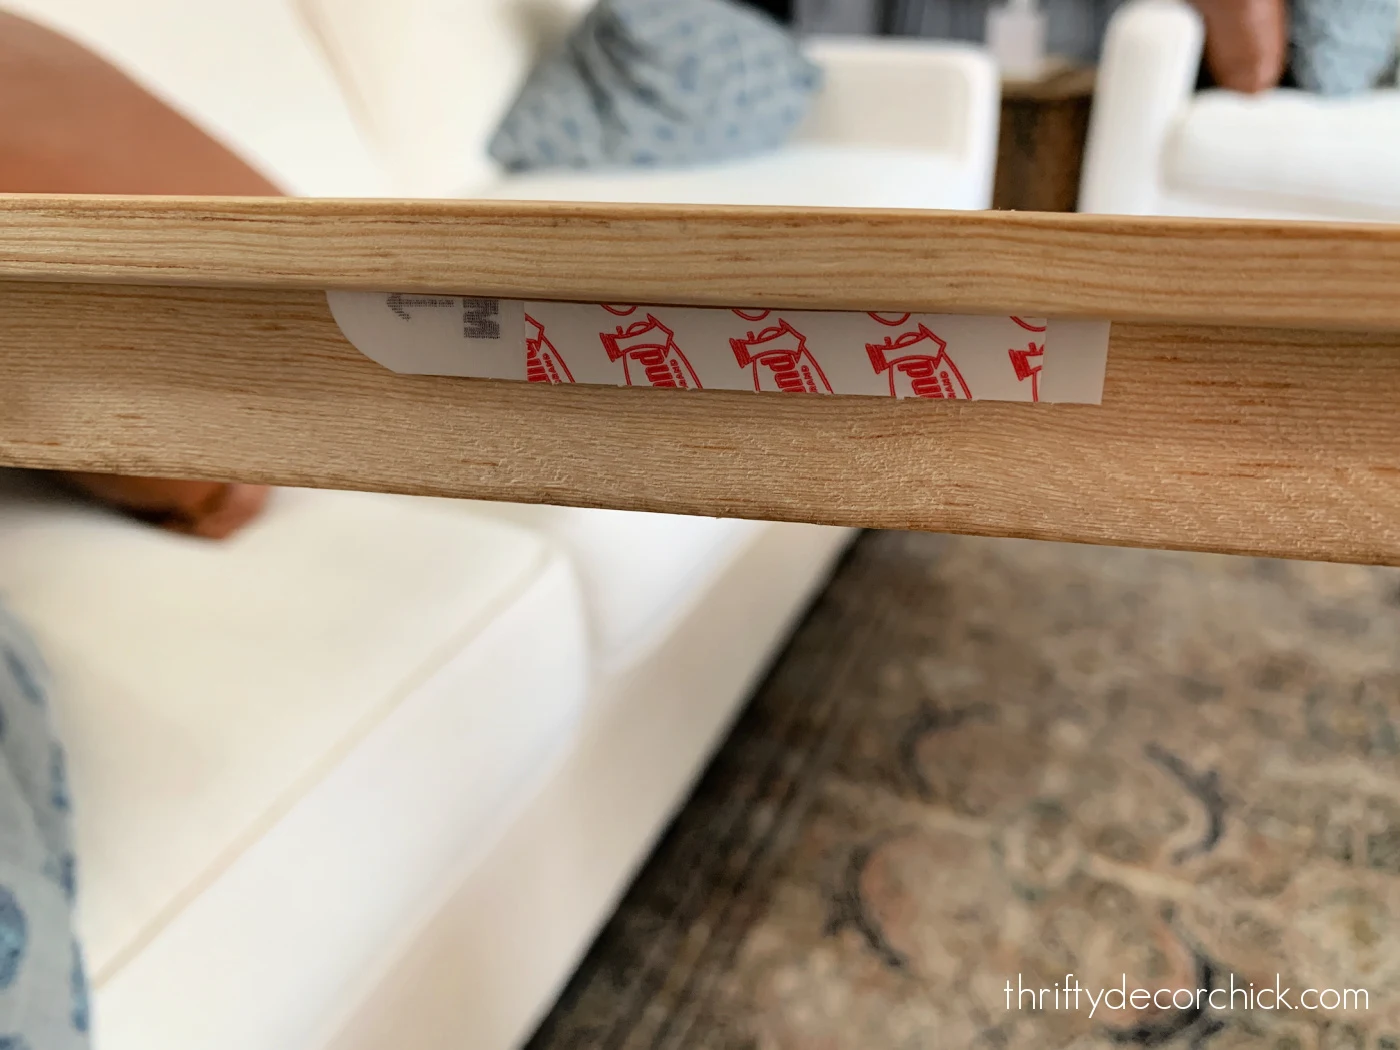
My frame fit snug around the TV, but I added a command strips at the top and
bottom of the frame for a little extra security since we angle our TV down
just a bit:
Thin strips of Velcro would work well for this as well!
This DIY frame is sturdy when it's up on the TV, but take care when removing
it or readjusting. Anything this thin and large will need some care when
handling.
It's barely noticeable, but I had to accommodate a small sensor on the
bottom of the TV.
You'll want to check your TV for a sensor anywhere around the edge. This TV
doesn't have a sensor for the on and off function, but it does have a motion
sensor that turns the art on and off.
I notched just a bit out of the frame for that, but I'm not sure I'll need
to keep it. As we use the TV I'll determine if we want the motion sensor on
or not. (If we don't, I'll probably attach a new bottom piece of molding.)
You can either cut a bit out of your trim like I did, or use a drill bit to make a hole in your frame at the location of your sensor.
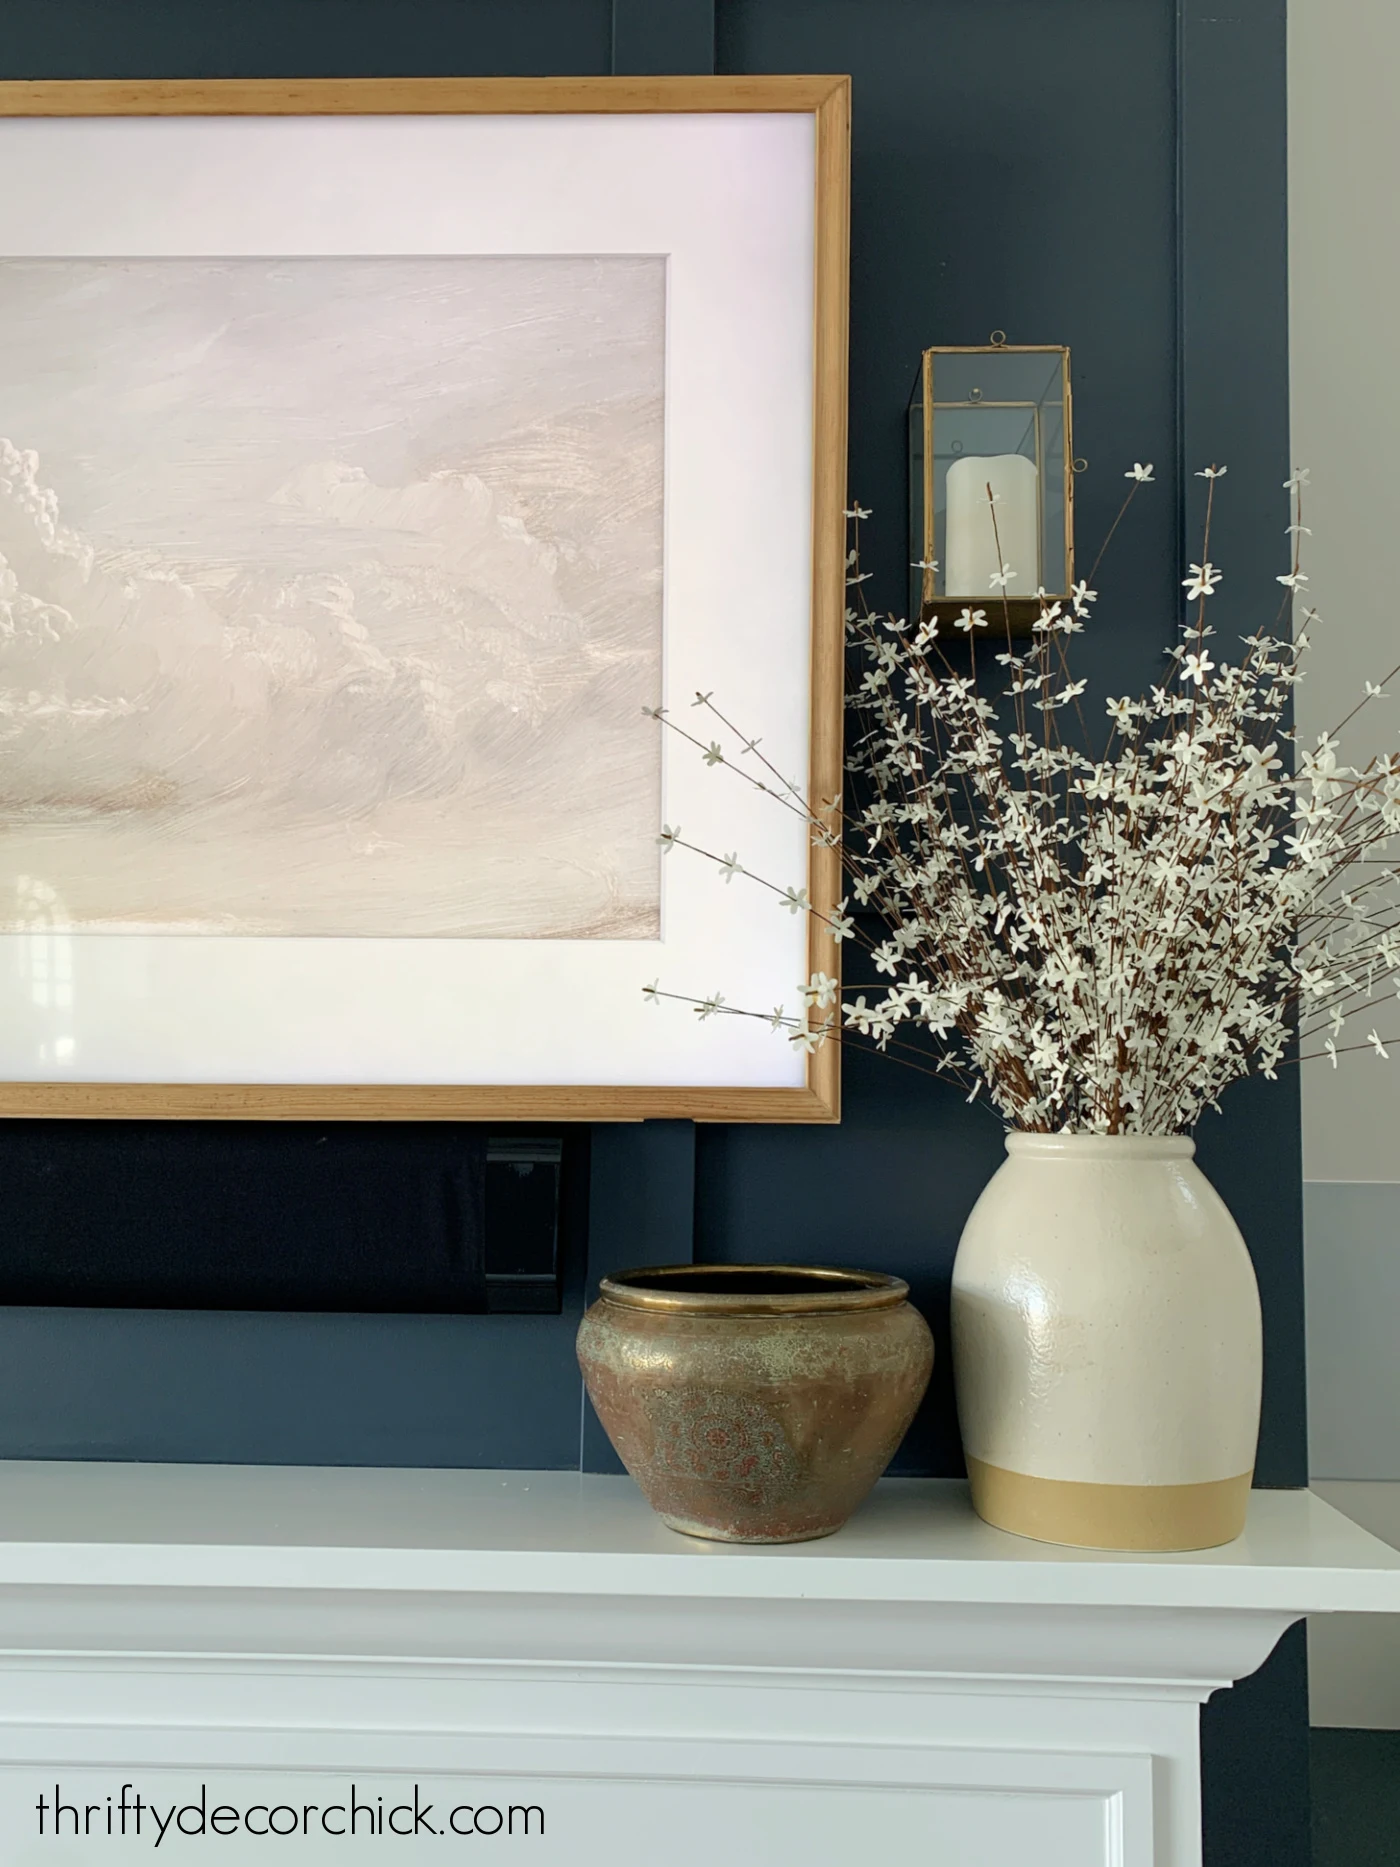
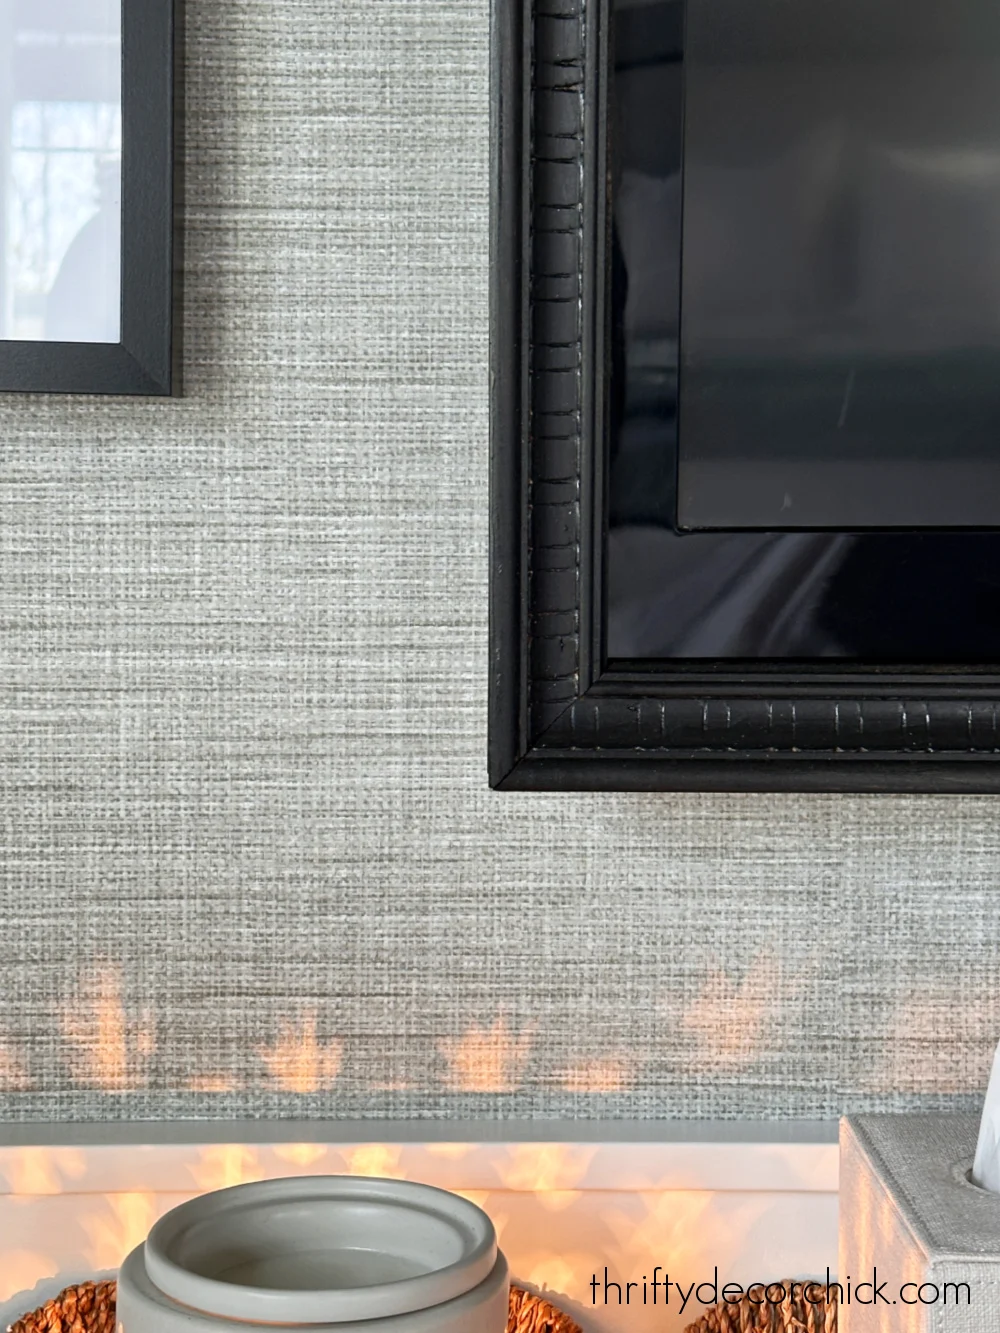
My TV frame doesn't completely cover the sides, but the black surround on
the TV disappears anyway:
I've had so much fun trying out the digital art images I found -- this Etsy store
has an amazing selection of gorgeous Frame TV art!
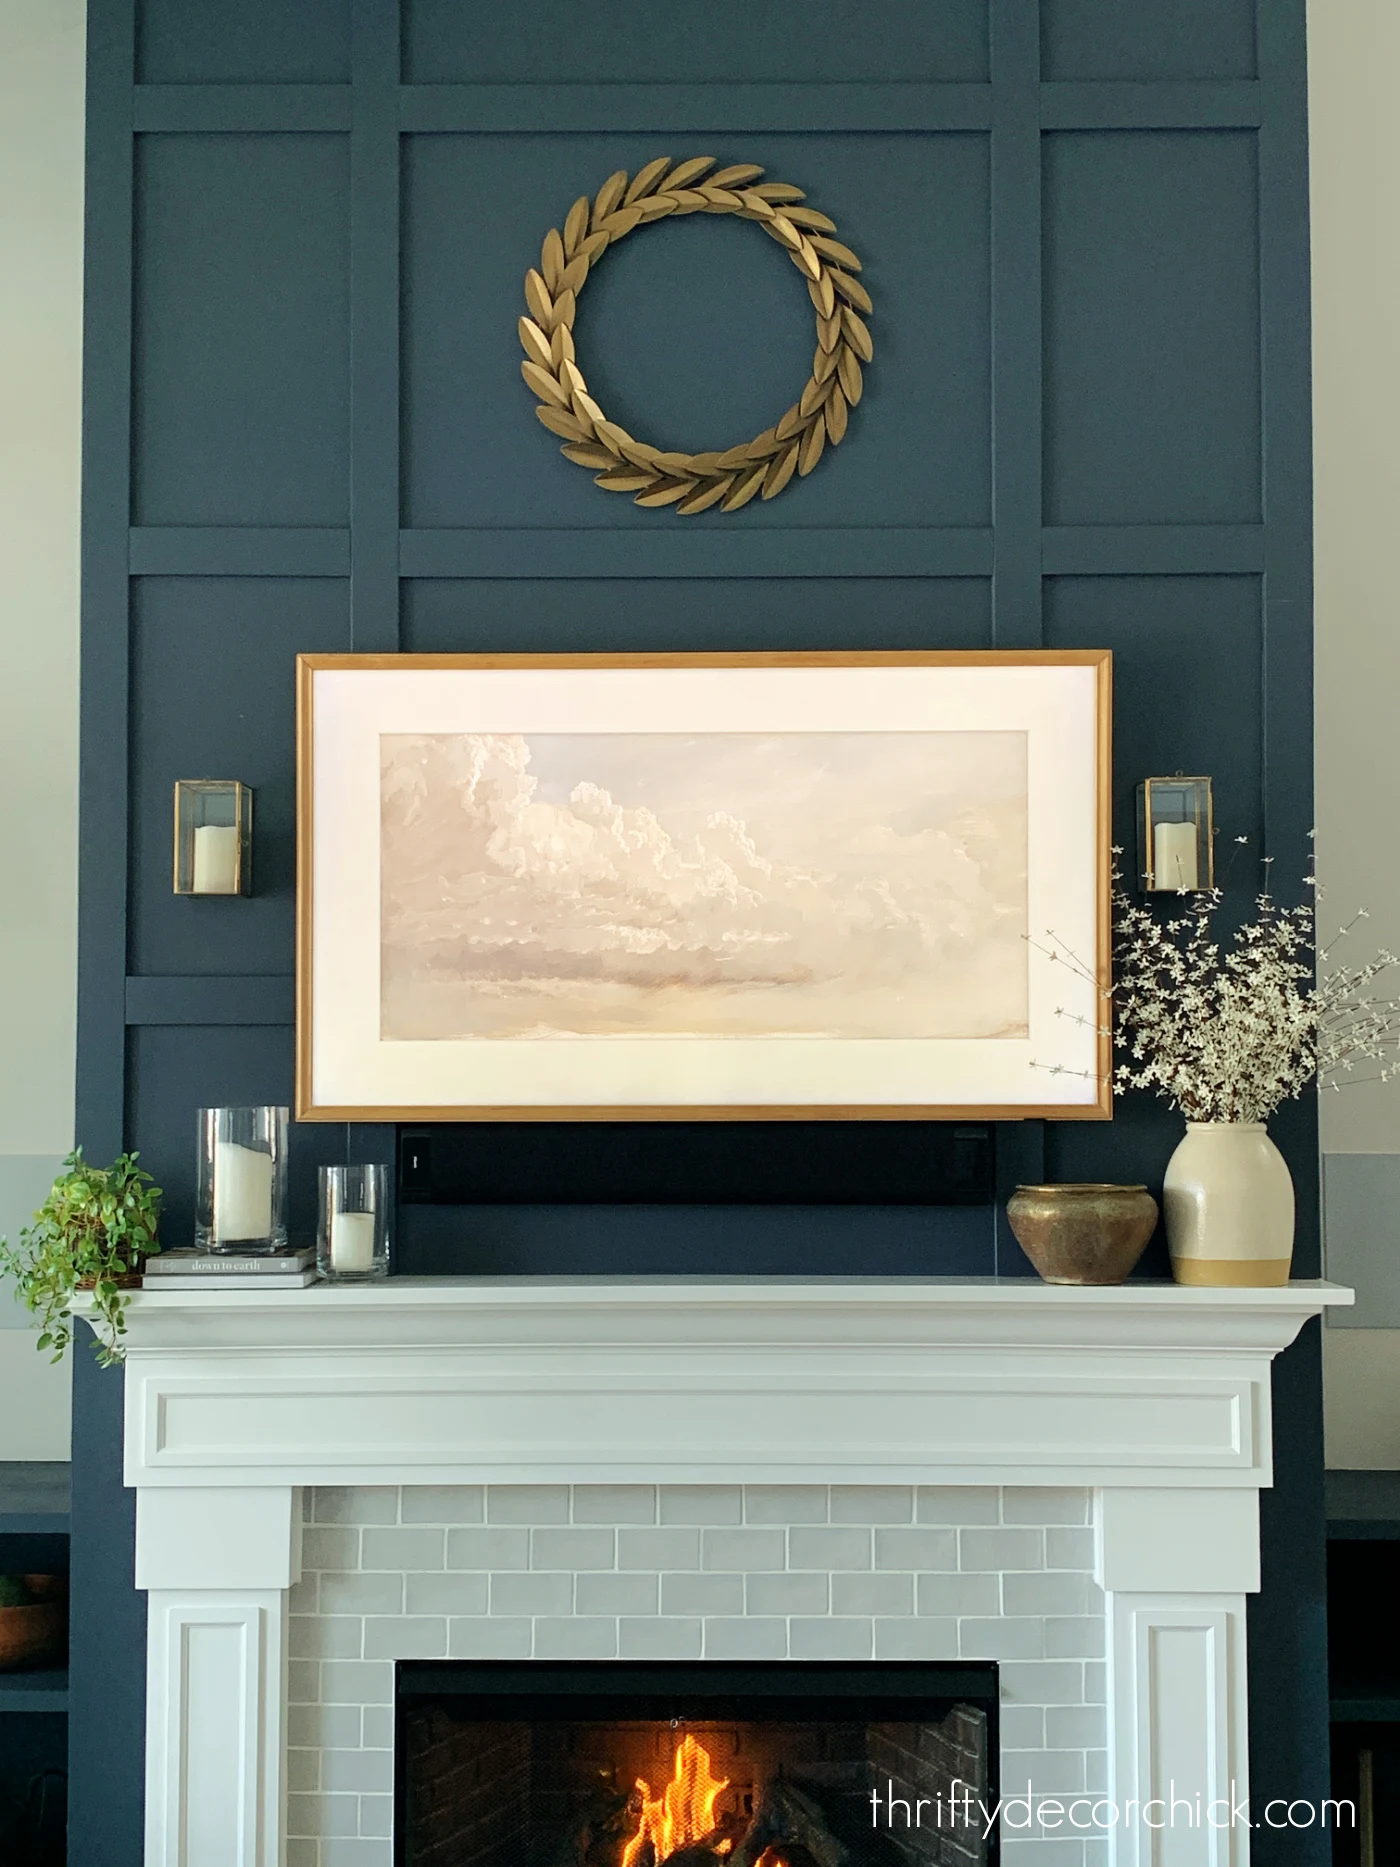
This cloud art is one of my favorites:
You can change the mat size and color for any photo. I like this medium
sized mat a lot:
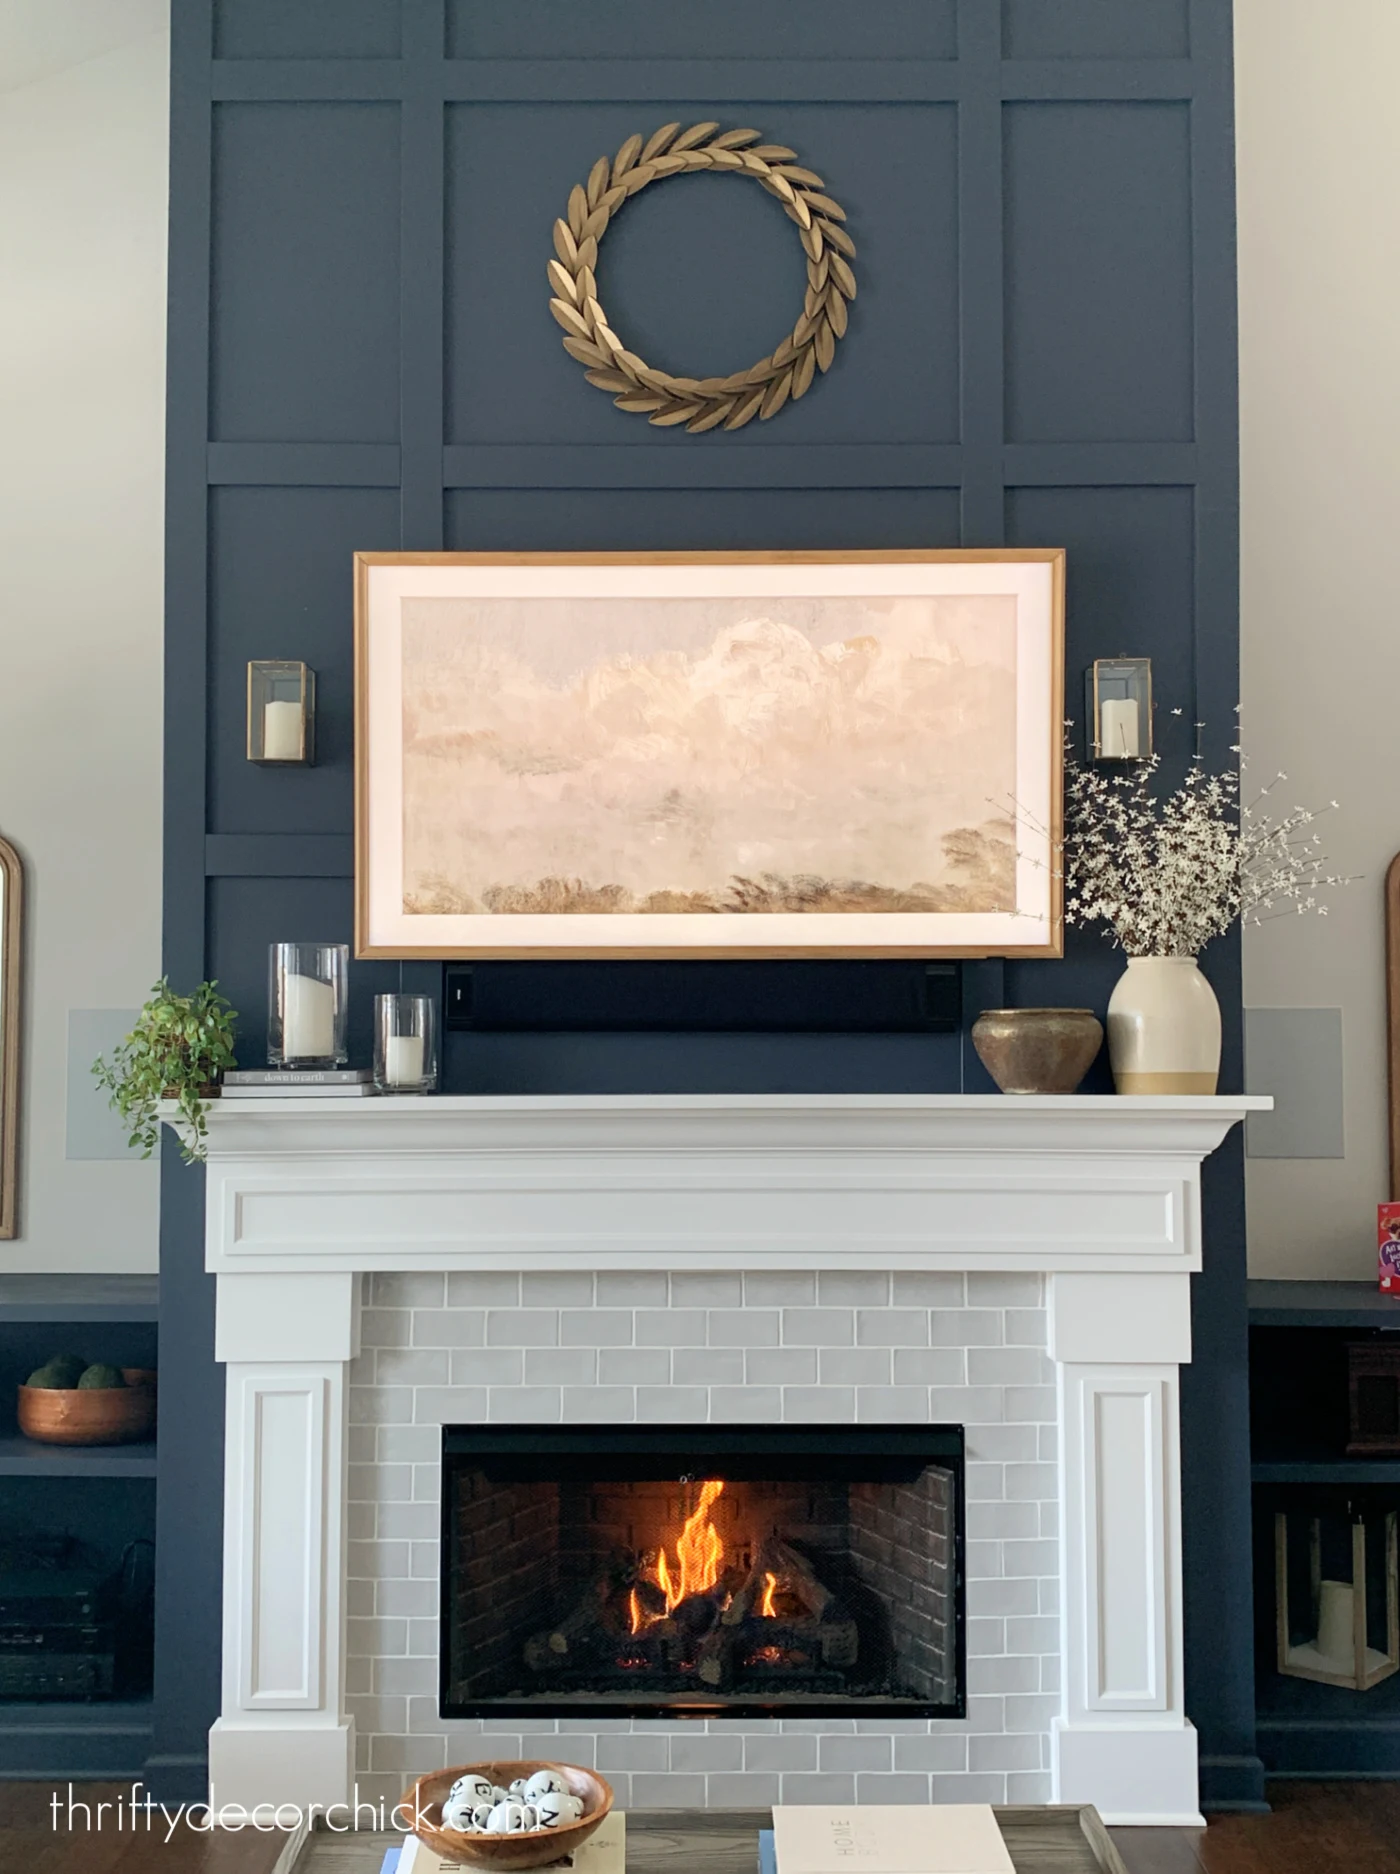
But this skinnier version is pretty as well:
The mat gives it a more traditional look, but you can have the image fill
the screen for a more modern design.
Some of the digital art has a mat already, so there's no need to add one:
Of course, you can upload family or personal photos to display as
well.
The DIY wood frame on the TV is the perfect finishing touch and I LOVE
IT!
 |
| See the other updates I made to our living room here! |
A pretty TV?? It's like my decorating dreams have come true! :)
This tutorial isn't just for the actual Frame television! I recently made another TV frame, this time for an older, non-"frame" television that we have in our bedroom:

You can catch up with our bedroom makeover here.
For this one, I went with wood trim that is a little more decorative and I love it!:

To build this black TV frame, I used a piece of wood (called "pine stop" at Lowe's) that measures half an inch by 3/4 inch, along with the decorative trim for the front.
I nailed and glued the plain 3/4 trim onto the back of the decorative wood molding:

Otherwise I used the same process as before with the "L" brackets to build the whole frame.
I sprayed it with a matte black spray paint and hung it with Command strips again:

It turned out so pretty! I love the more detailed trim work I used on this one.
One thing to consider: I would caution against covering any vents around your TV.
Older flat screens had that more than newer versions. If you're just attaching
the lightweight frame to the front of your TV, or using small trim like I did,
that won't be an issue.
Now to decide if I want to cover our center speaker. Hmmmm.
Funny thing is, I don't notice it nearly as much now with the new TV. It seems
to disappear more than before and I think covering it may bring even more
attention to it.
My wood frame for our television was $35 -- $30 for the molding and $5 for the
screws and braces.
I saved around $130 by making this myself!
This "art" TV has already fooled one of our guests who thought we had removed the TV!
If you have any questions about this DIY frame for your TV, let me know in the
comments.
Wow. That frame makes an amazing difference. Good job, Sarah!
ReplyDeleteThank you!!
DeleteI love this! I didn't even know this was a thing. This would be the only way I would put a TV above my mantel. Does the TV need to be turned on to be able to see the digital image?
ReplyDeleteIt's on, but on a "low" mode -- it uses very little power. You can set a timer for when you want it to go off, or by the amount of light in the room, or by motion. It's pretty cool!
DeleteI agree, never knew this could be done so well. I hated the idea of a tv over the fireplace but this is a game changer. May have to give in to the hubby if he can replicate what you did with the frame!
ReplyDeleteAmazing. Always so impressed with the things you do.
ReplyDeleteI want to do this!!! Thank you for great instructions. I haven't figured out how to upload the digital art yet. Did you follow a tutorial? I love your beautiful home and your great design ideas!
ReplyDeleteHi! I want to make this frame for the tv my husband just bought me for my birthday. I went to both home Depot and Lowes and could not find any corner moulding like you used. Do you have any other information on the type you used?
ReplyDeleteHello! You can search it using this: ReliaBilt 1.125-in x 8-ft Pine Unfinished Wall Panel Moulding
DeleteHope that helps!
I’m going to do this as soon as I get one of these TVs! Question: do you have an outlet behind your TV? Right now I don’t! And, I don’t have anywhere to put the box that comes with the TV or a place for my satellite box. Do you think the remote would work if we cut out a small opening BEHIND the TV and stored the boxes there?
ReplyDeleteWe do, and it's actually just what you described! We had our builder cut a hole back there -- we did that at our last house and it was great to be able to mount (the old TV) so it was flush against the wall. Here it holds that box for the Frame TV as well.
DeleteDoes the sensor work after notching out the bottom trim?
ReplyDeleteYes!
DeleteThis might be a dumb question but how did you measure your tv and choose the size of the wood? It’s beautiful! I can’t wait to do this!!!
ReplyDeleteNot dumb at all! Measure the top or bottom and the sides for your measurements. I chose that wood trim because it had that lip on the back, but with the size of our TV I could have gone much bigger! It's all up to the look you want.
DeleteLooks great! Do you think this could be done on a regular TV or would it only work on one of the TV's you mentioned?
ReplyDeleteThank you! It would work on any TV just fine! :)
DeleteI didn't notice that center speaker until you mentioned it and I looked a second time at the picture, specifically looking for that speaker.
ReplyDeleteHow did you put the pretty flower screen saver / picture on the TV that is the older one and not the frame TV?
ReplyDeleteIt's an image on YouTube!
DeleteWhat brand of tv is the one in your living room? I like how there is no logo on the front, or what tv would you recommend that isn't the Samsung frame tv?
ReplyDeleteIt's a Samsung! We've had good luck with those, but I Iike Hisense as well. They are very inexpensive.
Delete