
How to Make DIY Pull Out Pantry Shelves and Drawers
March 01, 2022
Share this
Make your own DIY slide out pantry or cabinet drawers for SO much less!
I'm back with another great project from the pantry makeover! Have you seen those awesome metal cabinet inserts that roll out with cool ways to organize all the kitchen gear?
They are great, but are SO expensive. I can't ever pull the trigger on one of them knowing I could create something myself for so much less!
Last fall I took down our open shelves in our pantry and have been replacing them with closed cabinets and some prep space instead. My goal has been to turn the space into more of a functional butler's pantry.
It's turned out SO great and even I'm a little surprised at how well it's worked for our family. :) My favorite part...everything is organized wonderfully inside the cabinets.
We've been able to use our pantry since I installed the cabinets four months ago, but I've had a long list of to-do's since then.
I'm determined to get this project done in the next week...or two. The little details always seem to take the longest!
I built most of these DIY pull out drawers for our tall pantry cabinets month ago, but knew I would make a couple more.
I'll share how to easily build these shallow drawers and then two ways to install them:
See my policies and disclosure page for more information.
Determine how you want your drawers (or shelves) to function first
The hardware comes in all kinds of sizes and versions:
- Consider the weight of the items inside -- some carry more weight than others.
- Basic or full extension slides. Do you want to be able to pull your drawers ALL the way out?
- Regular or soft close -- do you want the drawers and shelves to pull back quietly by themselves?
- Depth of of your drawer and/or cabinet. These slides come in depth from about 16 inches to 22.
- The budget for your project. The more bells and whistles you add, the higher the cost of the slides.
DIY pull out storage using custom drawers and slide hardware
I've installed every kind of drawer slide, but for this particular style drawer I like using these basic bottom mount soft close versions because they're relatively easy to install:
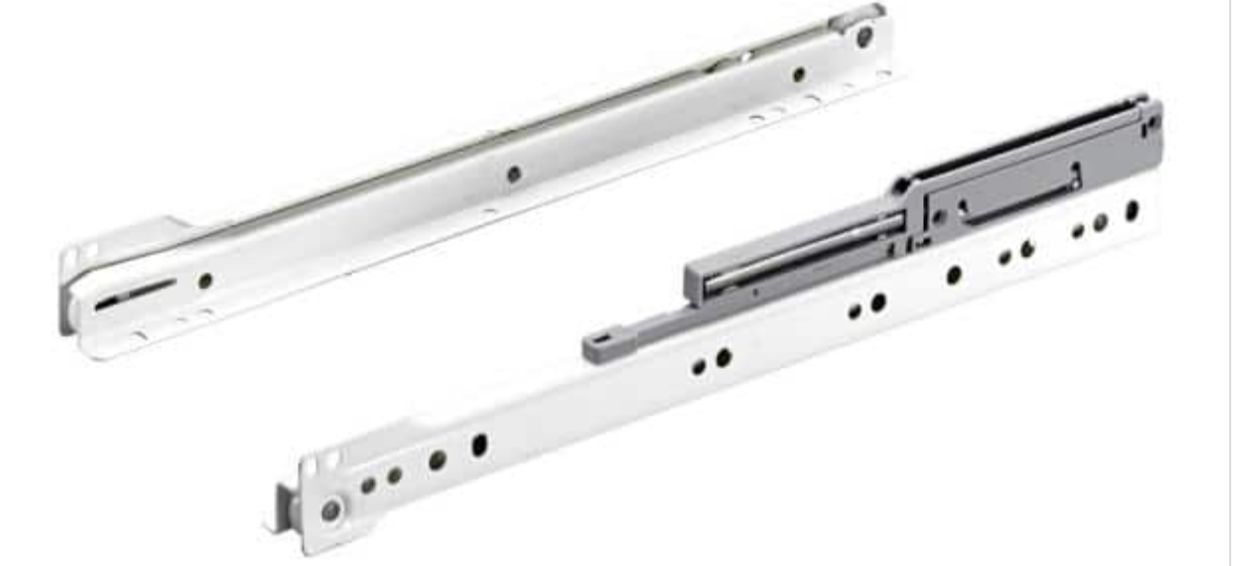
The slides are mounted on the insides of the cabinet (I'll show you photos in a bit), so the size of your drawer can't be bigger than the width of the opening, minus about half an inch on either side to accommodate the hardware.
Once you know the dimensions, you can start your simple drawer build. This can be done a number of ways, but I've found this way to be the most sturdy and secure.
I measured the bottom part of the drawer and cut my 3/4 inch plywood to size. I was framing the sides of the drawer with trim, so the base is a bit smaller than the actual drawer:
If I installed the trim around the top of the base, then the bottom would need to be wider and longer. But because I was adding to the width and length with trim, it needed to be a bit smaller. (One and half inches to be exact, because of the 3/4 inch trim framing each side.)
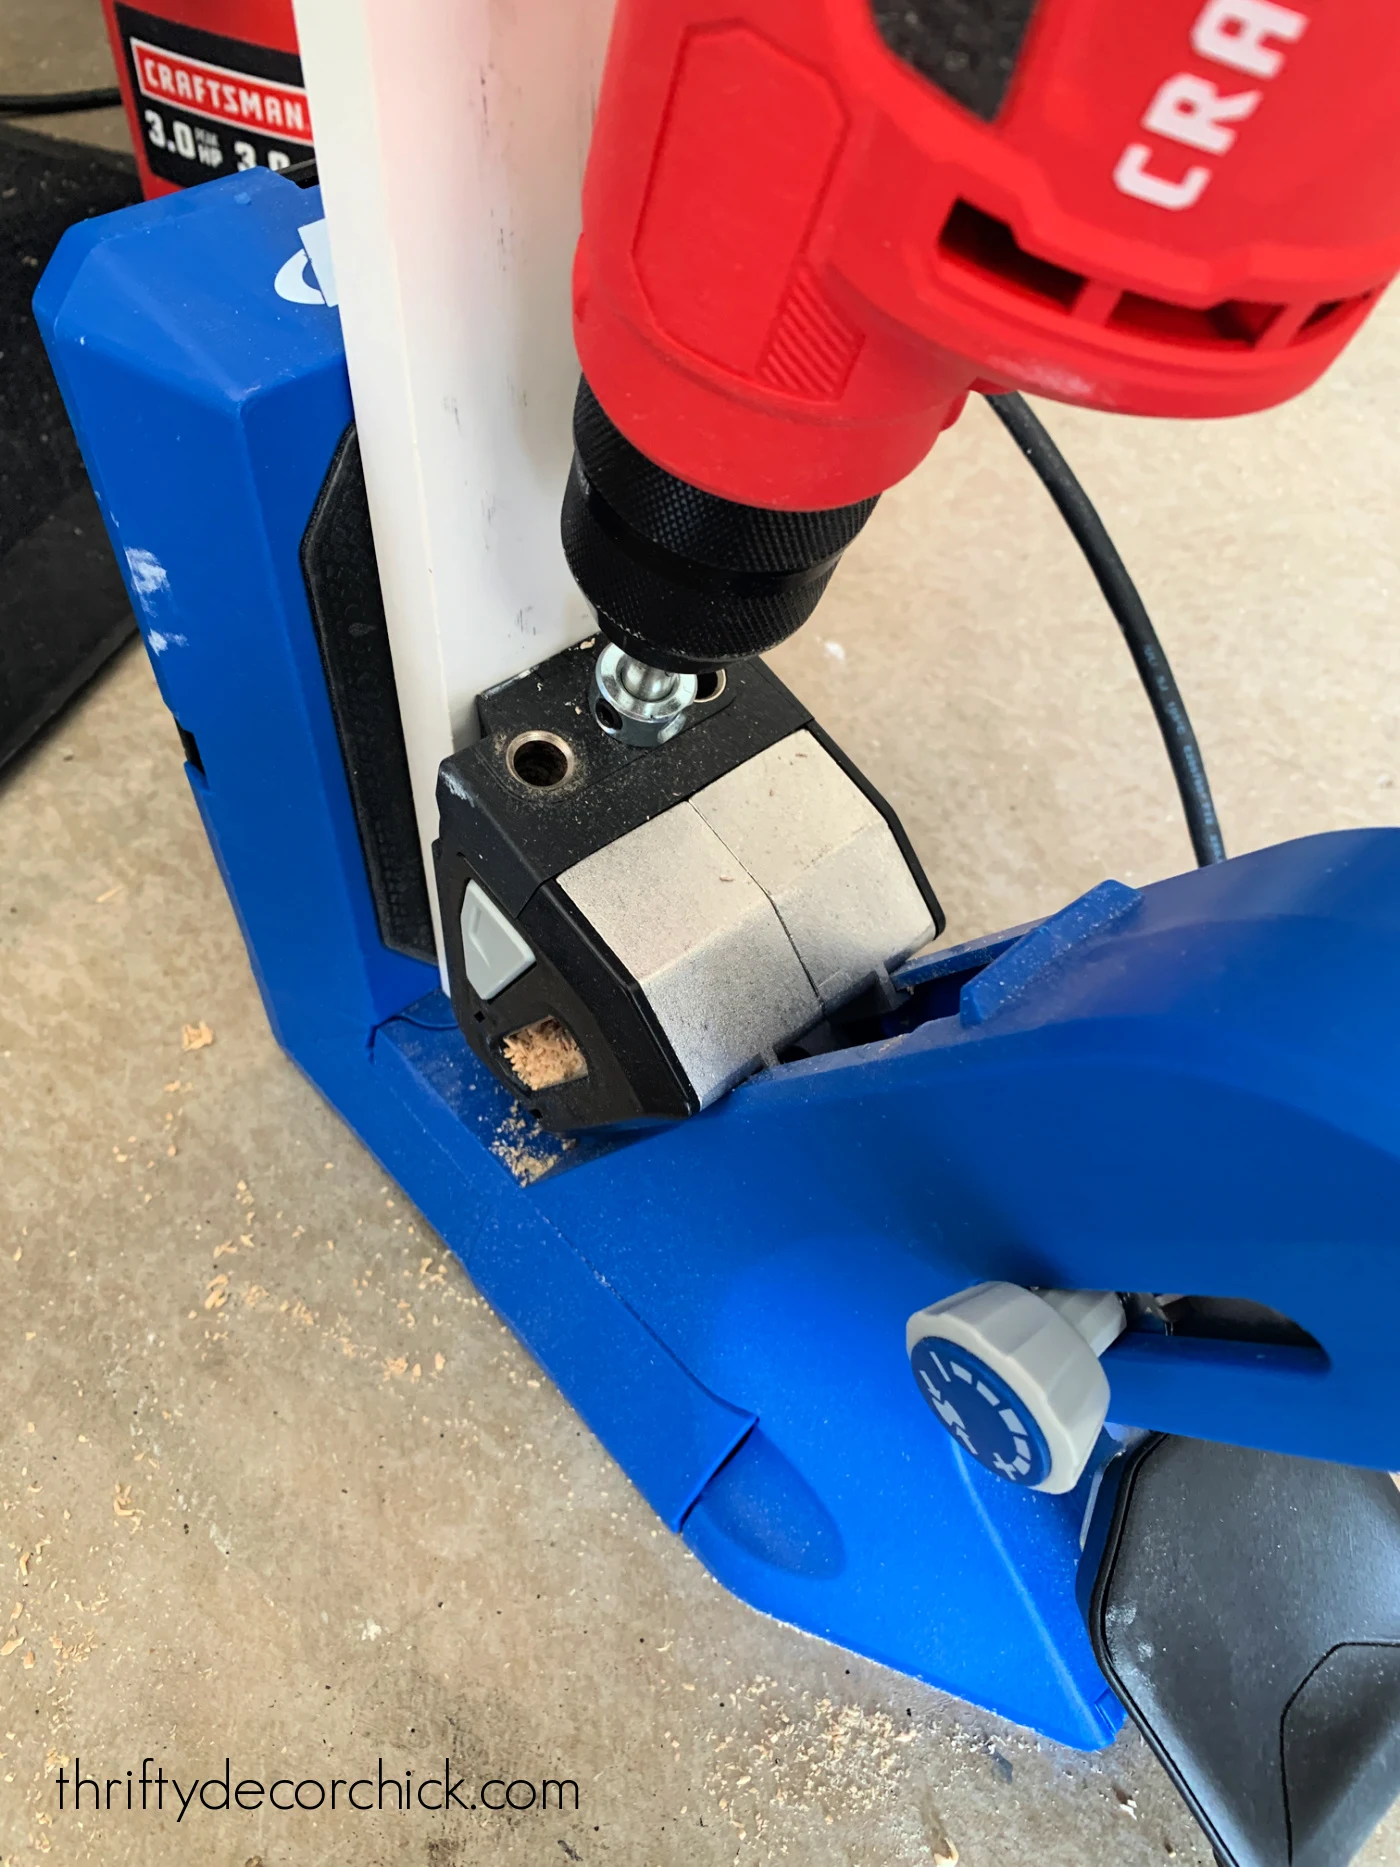
Up till about six months ago, I used wood glue, a nail gun and some screws to put something like this together, but I finally purchased a Kreg jig. It is such a handy tool to have!
BUT this is a pretty basic DIY and will work just as well without it!
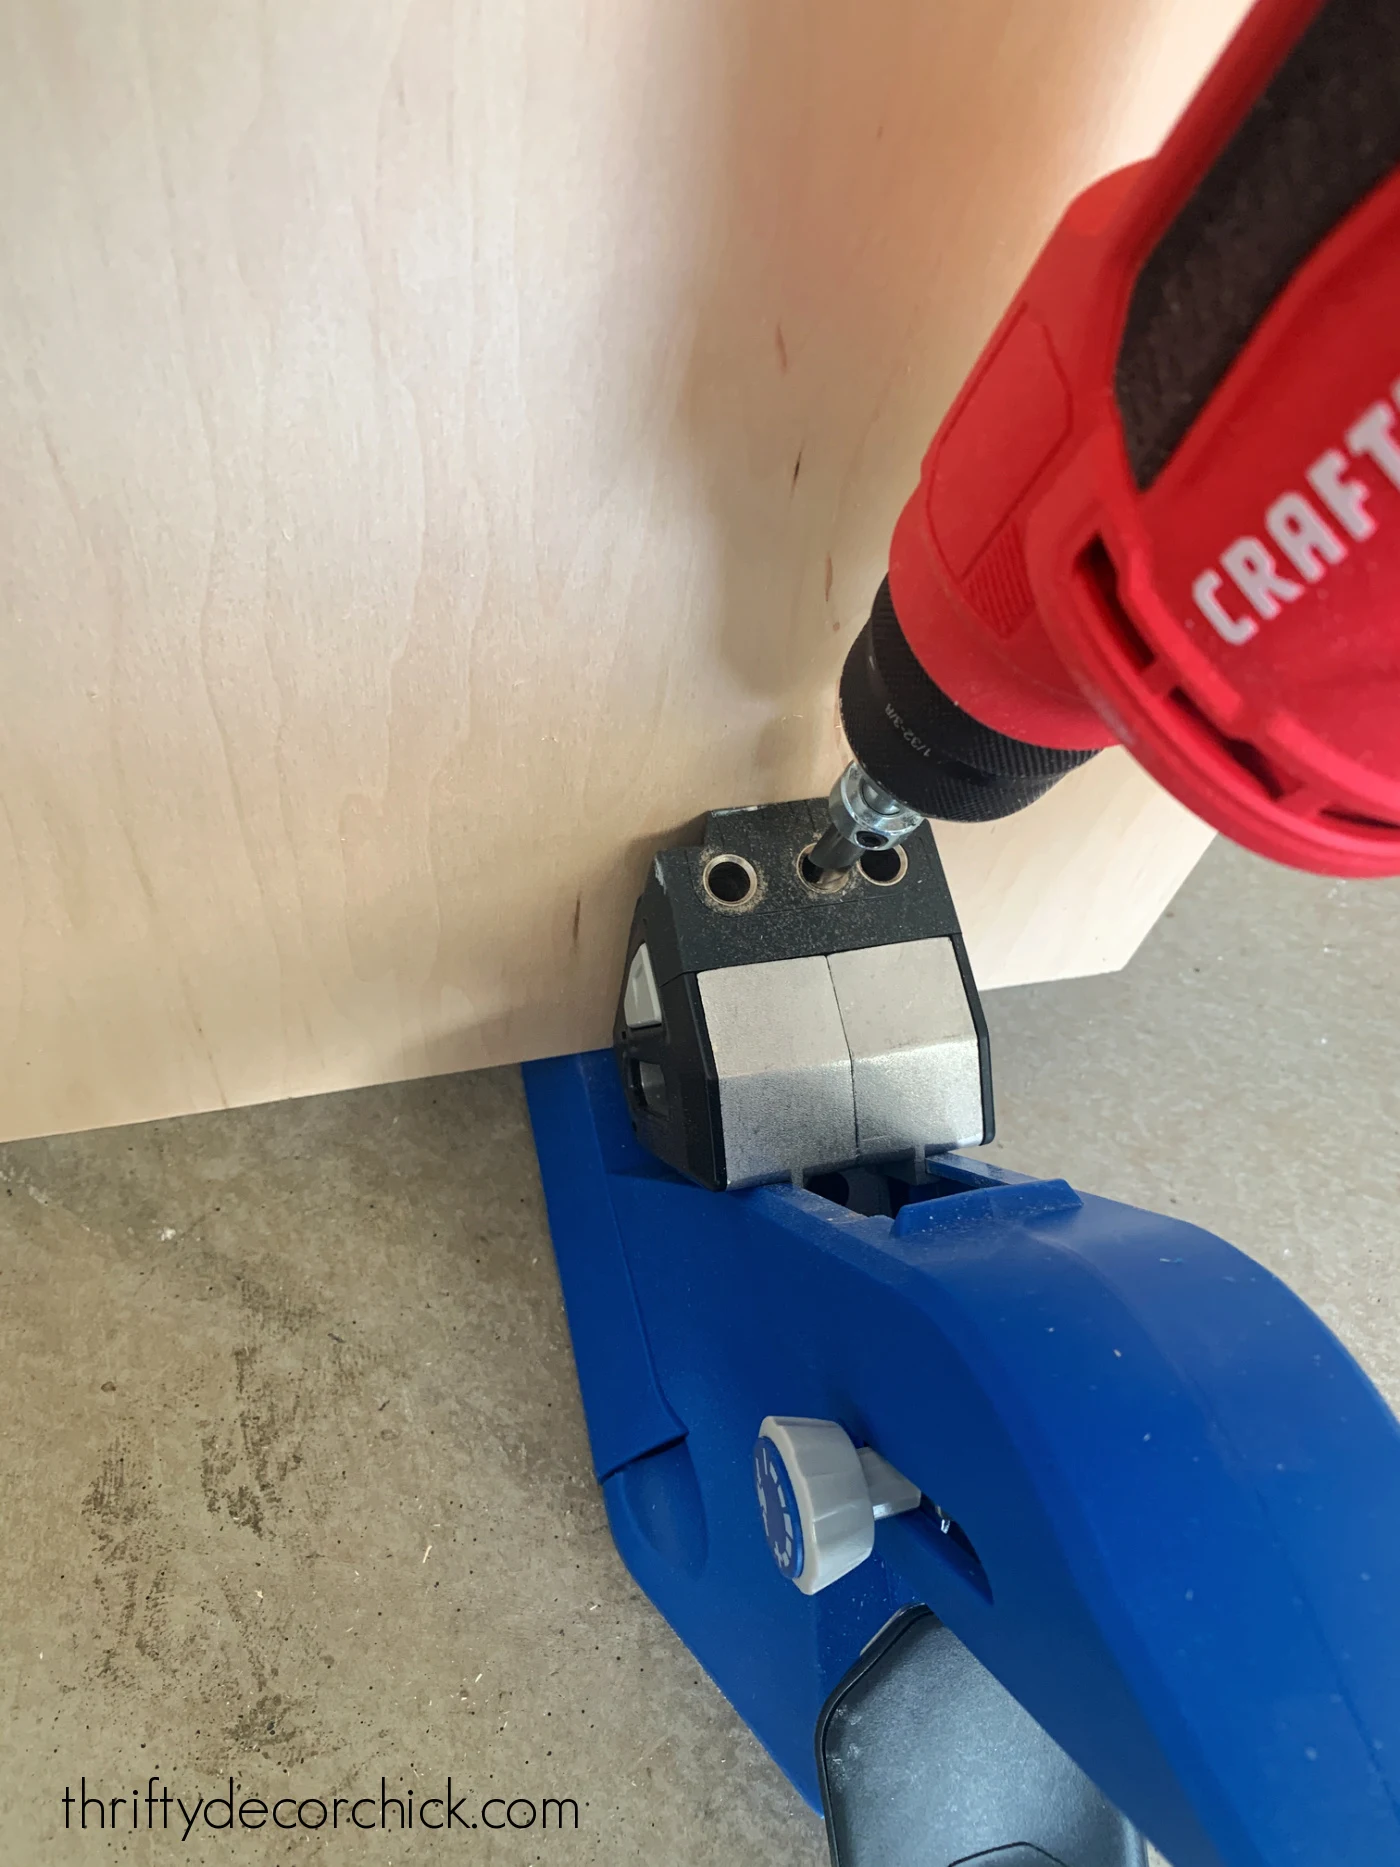
I use the Kreg 720 pocket hole jig and love it because it's so easy to get the wood in and out of the jig to drill the holes:
I wanted our drawers to be very shallow, so I used 1x3 inch wood to trim them out. Make your sides taller for a deeper drawer.
Before I secured anything, I checked the fit of all the cut pieces: 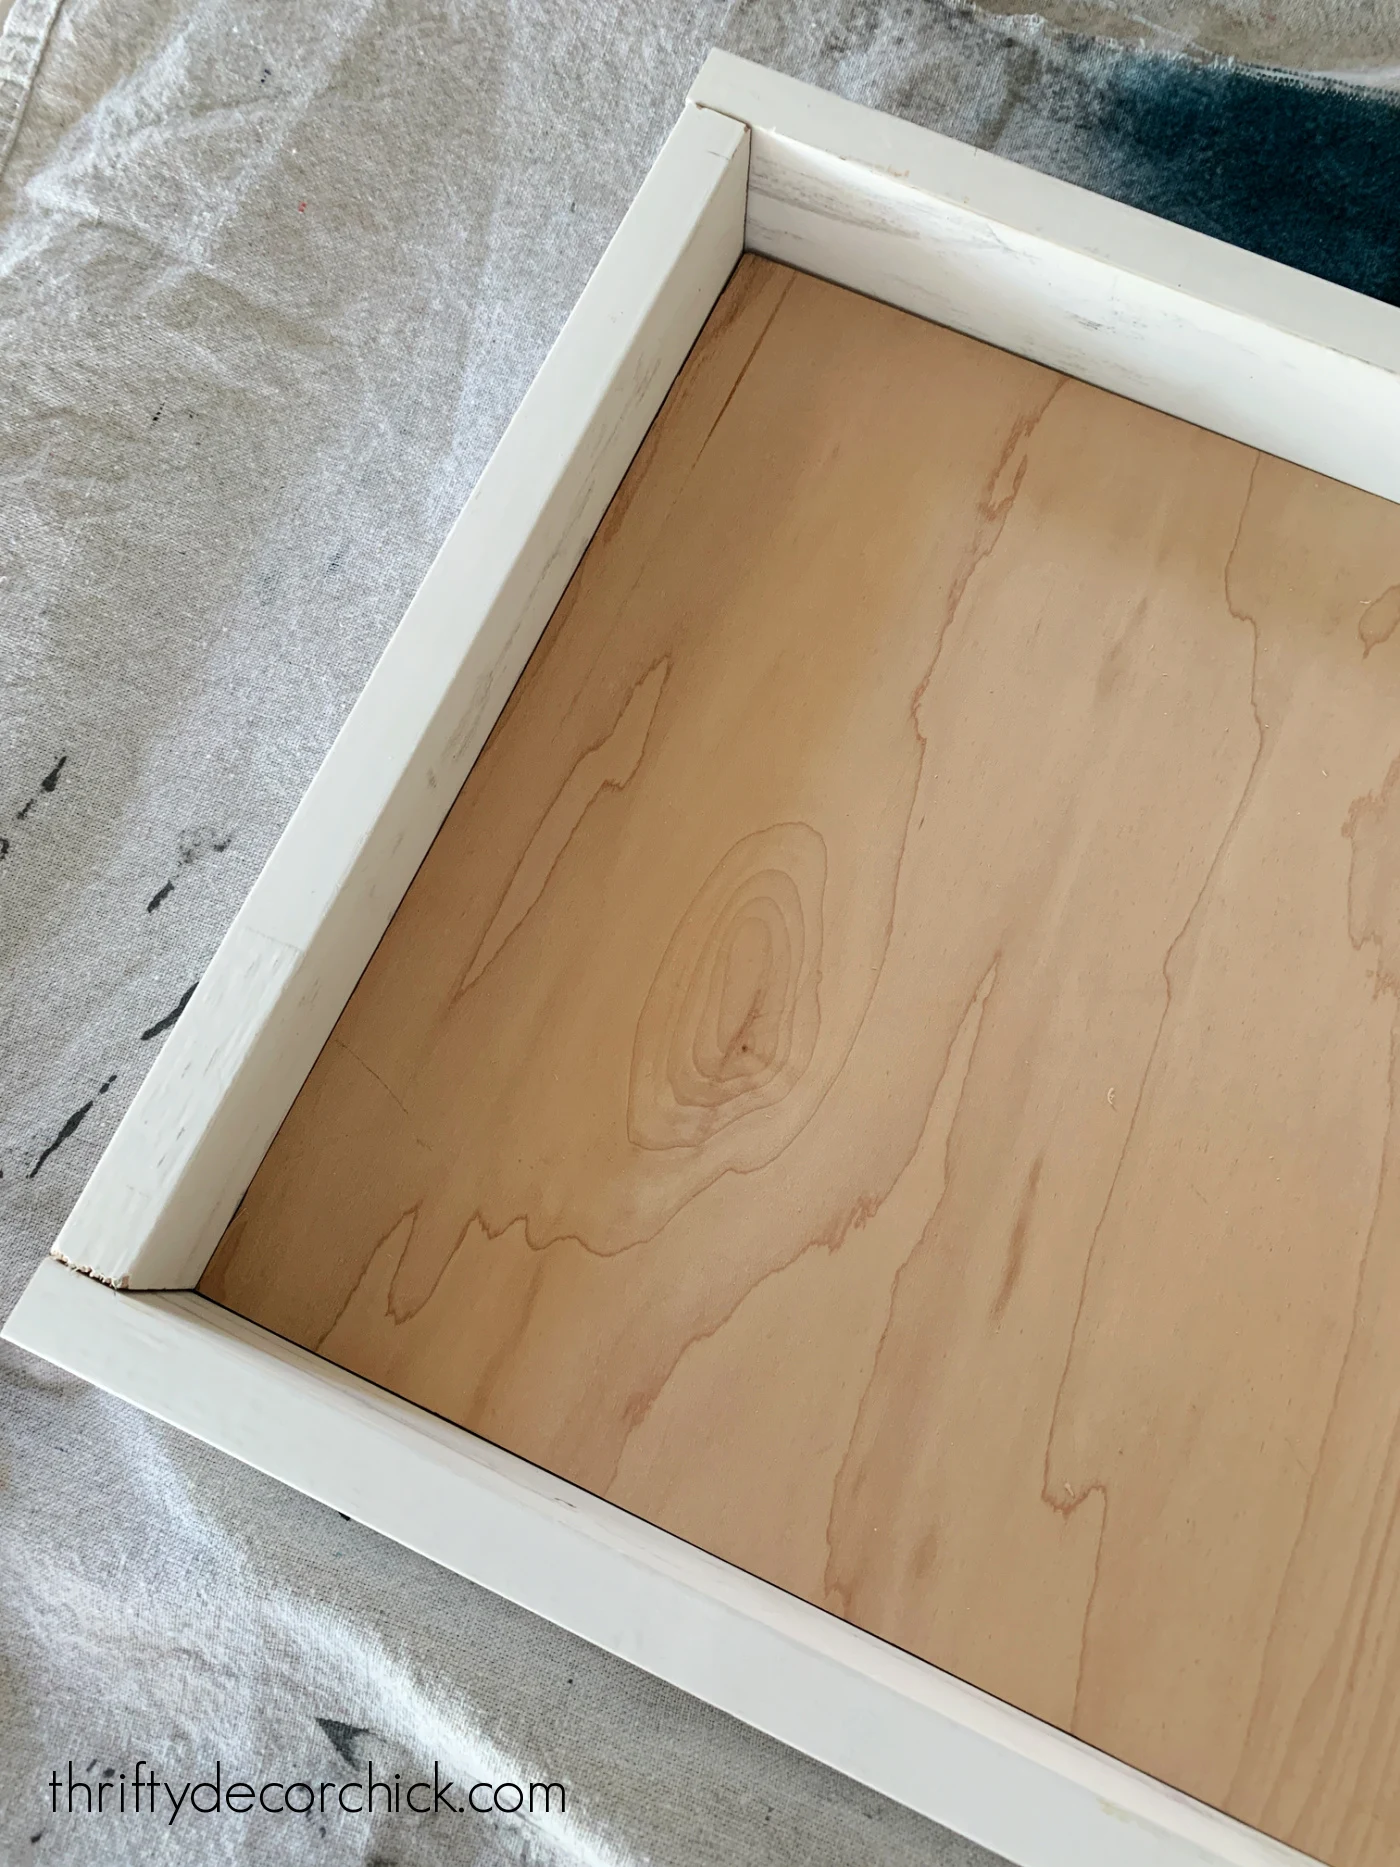

If you're a detail person (or aren't trying to finish a project you've been working on for five months), you can caulk and paint your drawers to give them a more finished look.
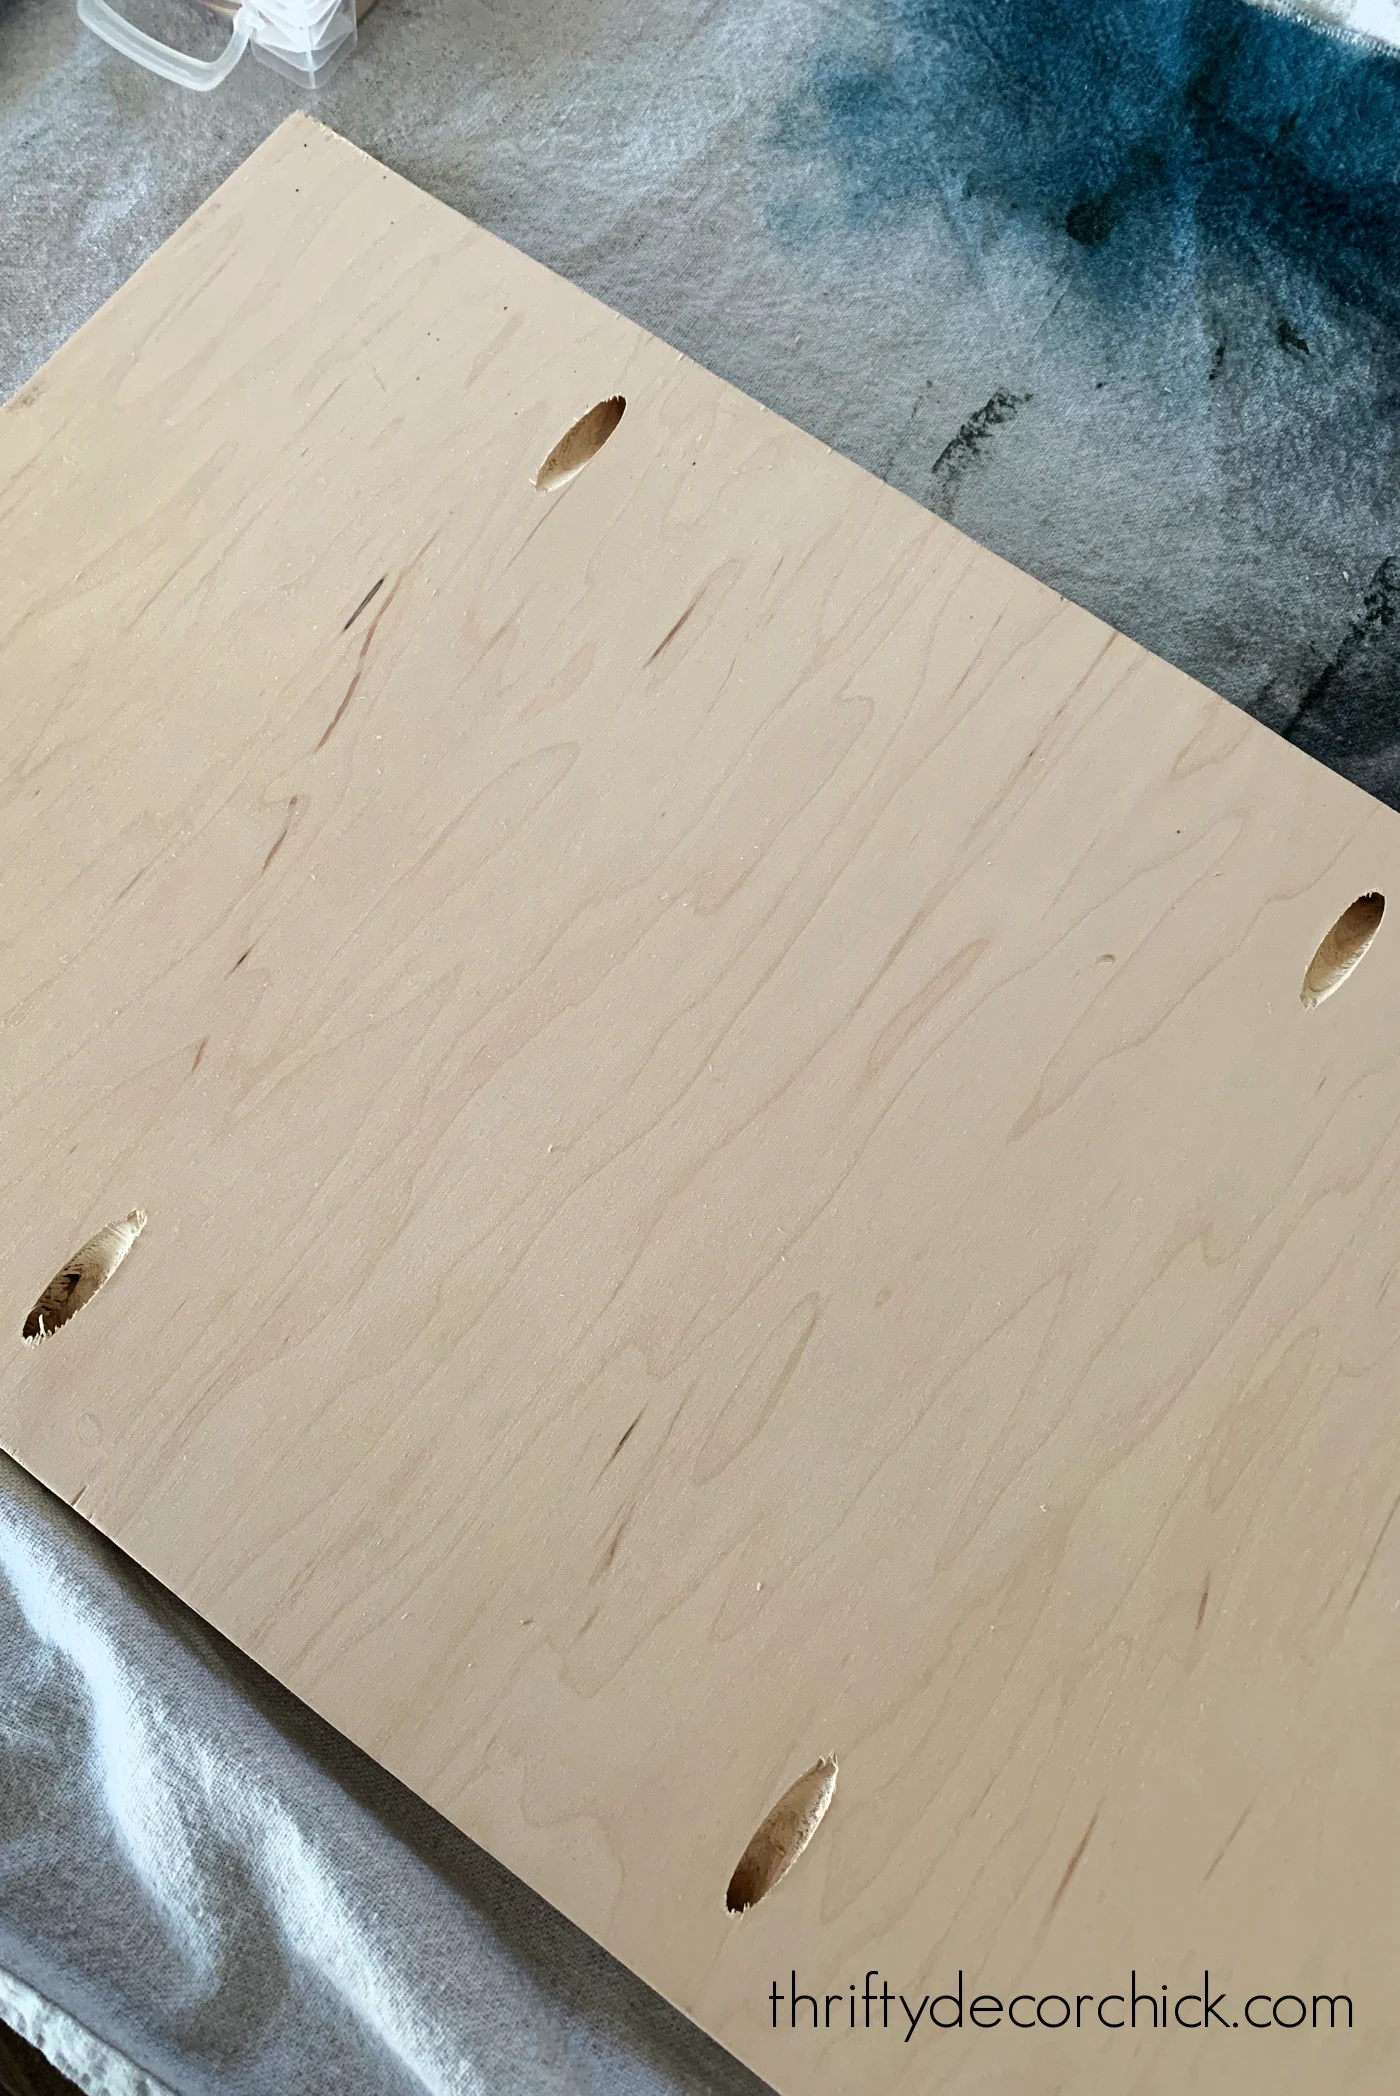
I drilled a pocket hole into the trim pieces as well, so I could attach the sides to each other and to the drawer bottom for a really secure piece:
Make sure to drill your pocket holes on the opposite side that you will see!
Once your pieces are good to go, start attaching the pieces together with the Kreg screws. I still like to use some glue as well.
I forgot a couple holes and spaced it on the placement so they were on top on this one, but Kreg has wood plugs you can use to fill in your holes:
I don't care so much about that, at least not now! Maybe someday I'll finish them up, but you'll see later in the post that they look great from the front when done.
After your drawer is assembled, it's time to add the sliding hardware. This is why I prefer this simpler option -- they easily attach on the bottom corner of the drawers.
Make sure to put the front edge right up to the front of your drawer:
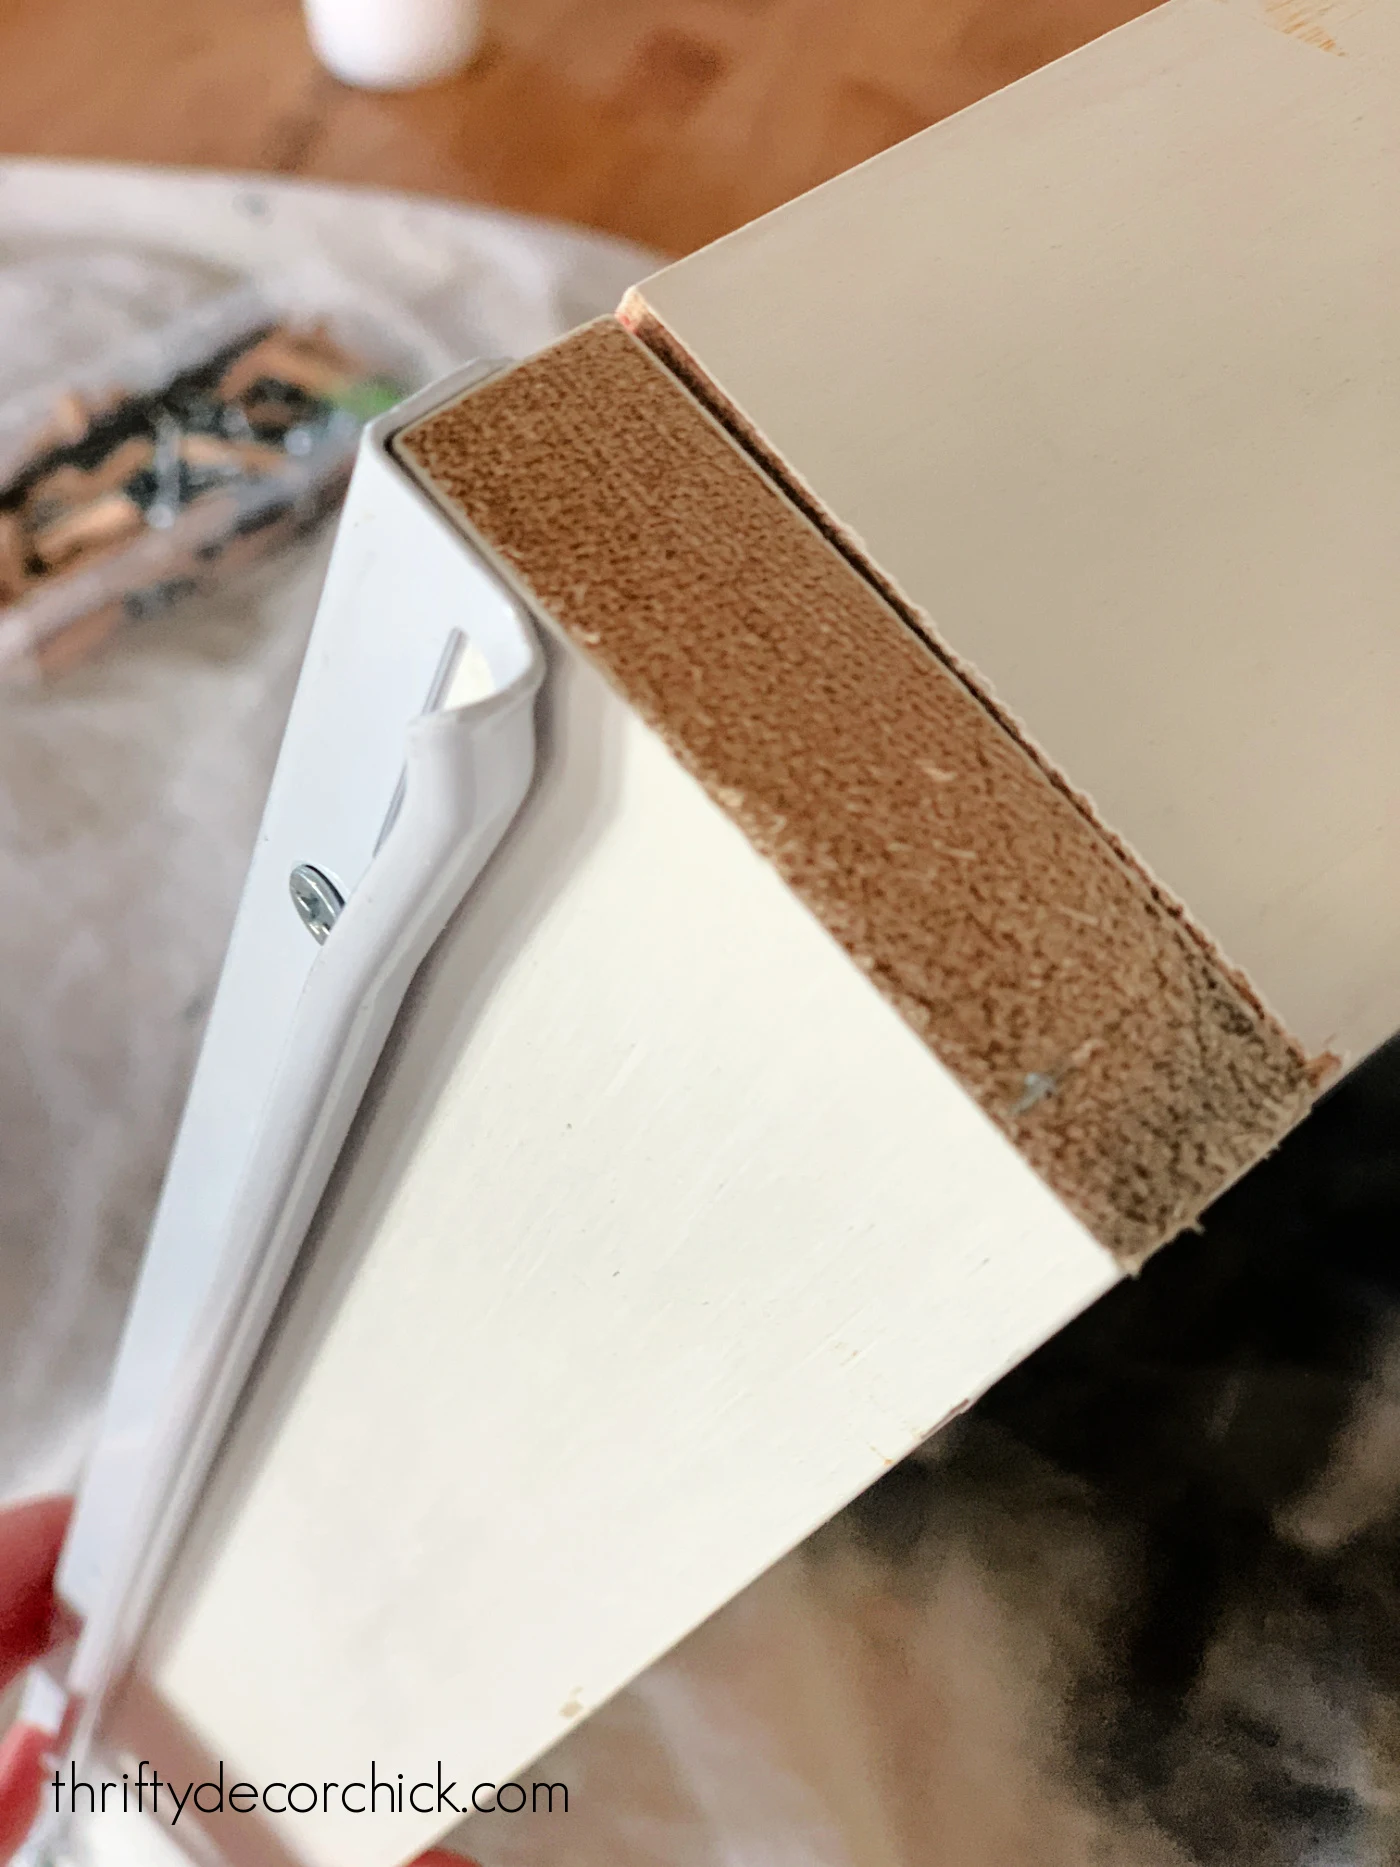


Even tightening a screw will make the difference!
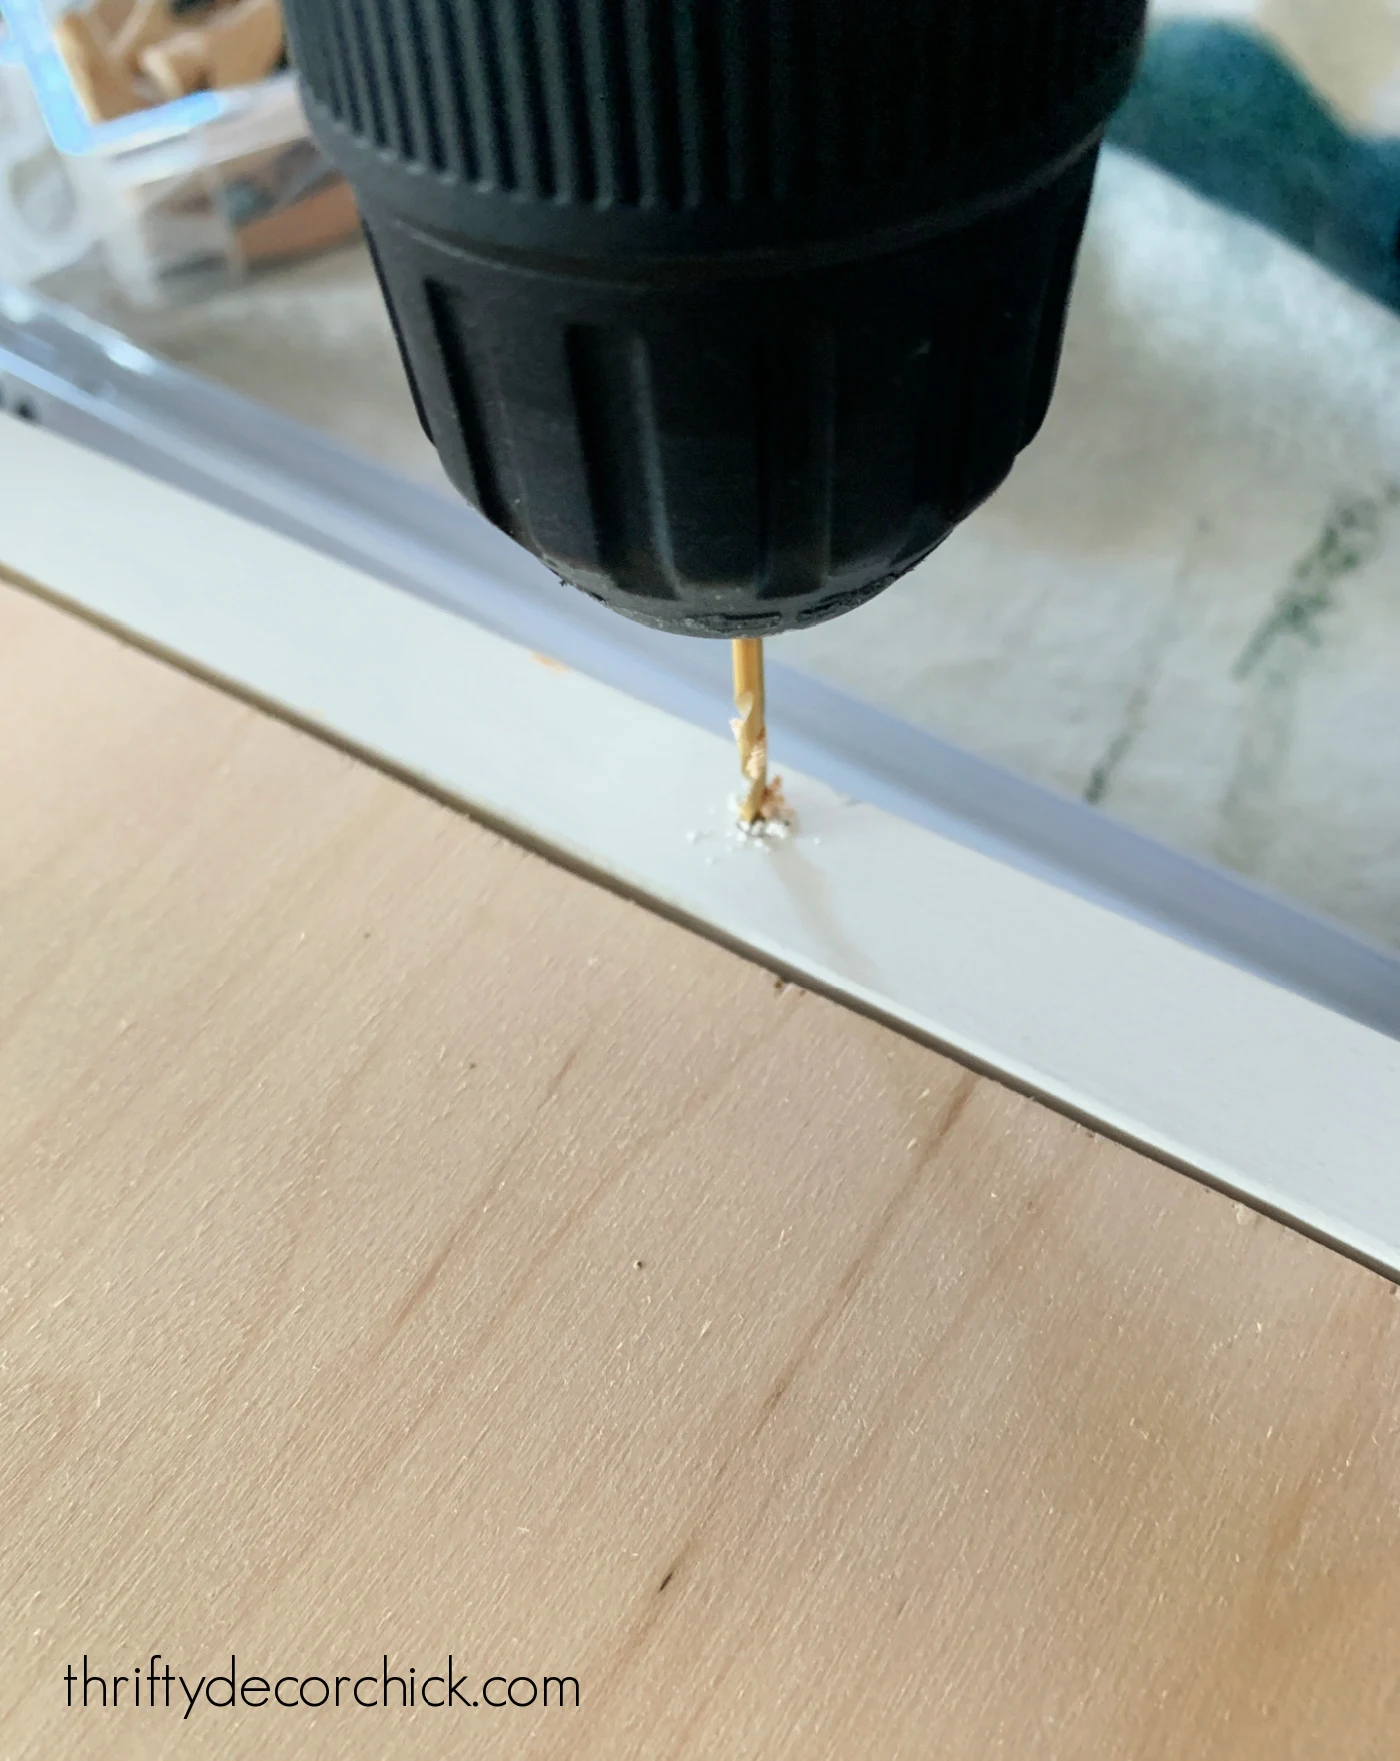
The slides come with the screws you'll need -- I recommend predrilling the holes to make sure the trim doesn't split:
Now you're ready to install the drawer brackets inside your cabinets! This part is SO MUCH FUN.
Actually, it sucks, I hate it, and I would be happy to never do it again! :) But I know I will...
The drawer slides come with a spacer for the installation, but I don't use that. It's not thick enough and because of that, will not allow the drawer to move in and out properly. (At least on these cabinets.)
I don't follow the instructions at all actually...but be sure to check them out to see if they'll work for you!
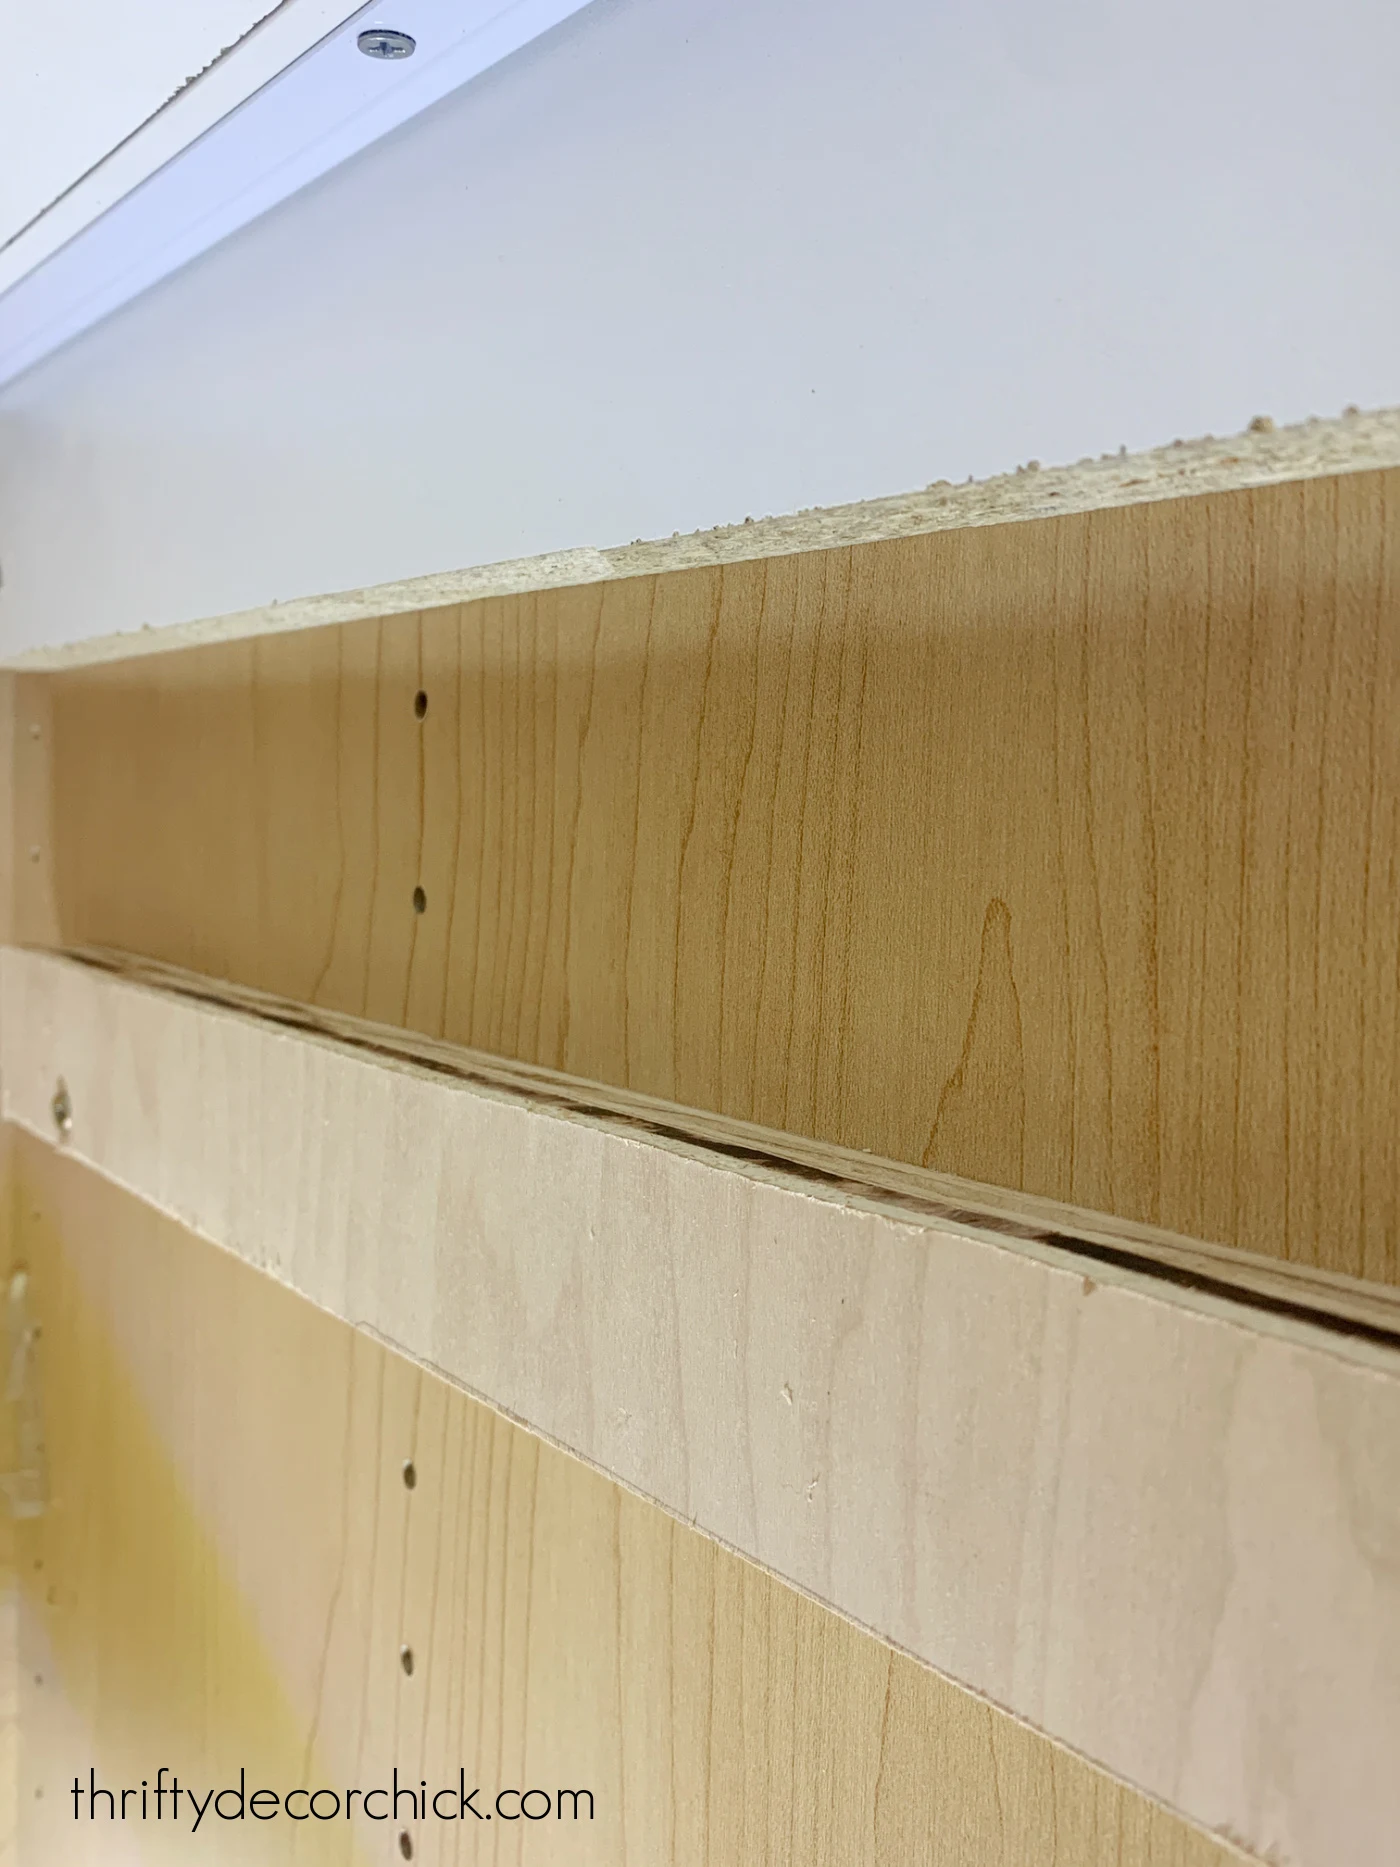
Instead I cut a piece of scrap wood the same depth of the brackets and then install it inside, on the sides of the cabinet where I want my drawer to go:
This part can be tricky. I've found the easiest way to get them level is to cut a scrap piece of wood at the height I want each drawer bracket.
Then I hold it against the side of the cabinet, place my support on top and mark where I need to screw it in.
But because cabinets are not always perfectly level, you'll want to double check to make sure your support pieces are level from back to front and across the width of the cabinet like so:
I cut a piece of wood the width of the cabinet and then placed the level on top to ensure I was good to go.
It's a lot of checking for level and making tiny adjustments, which wouldn't be a huge deal if you weren't working in a tiny, deep cabinet that is impossible to maneuver around!
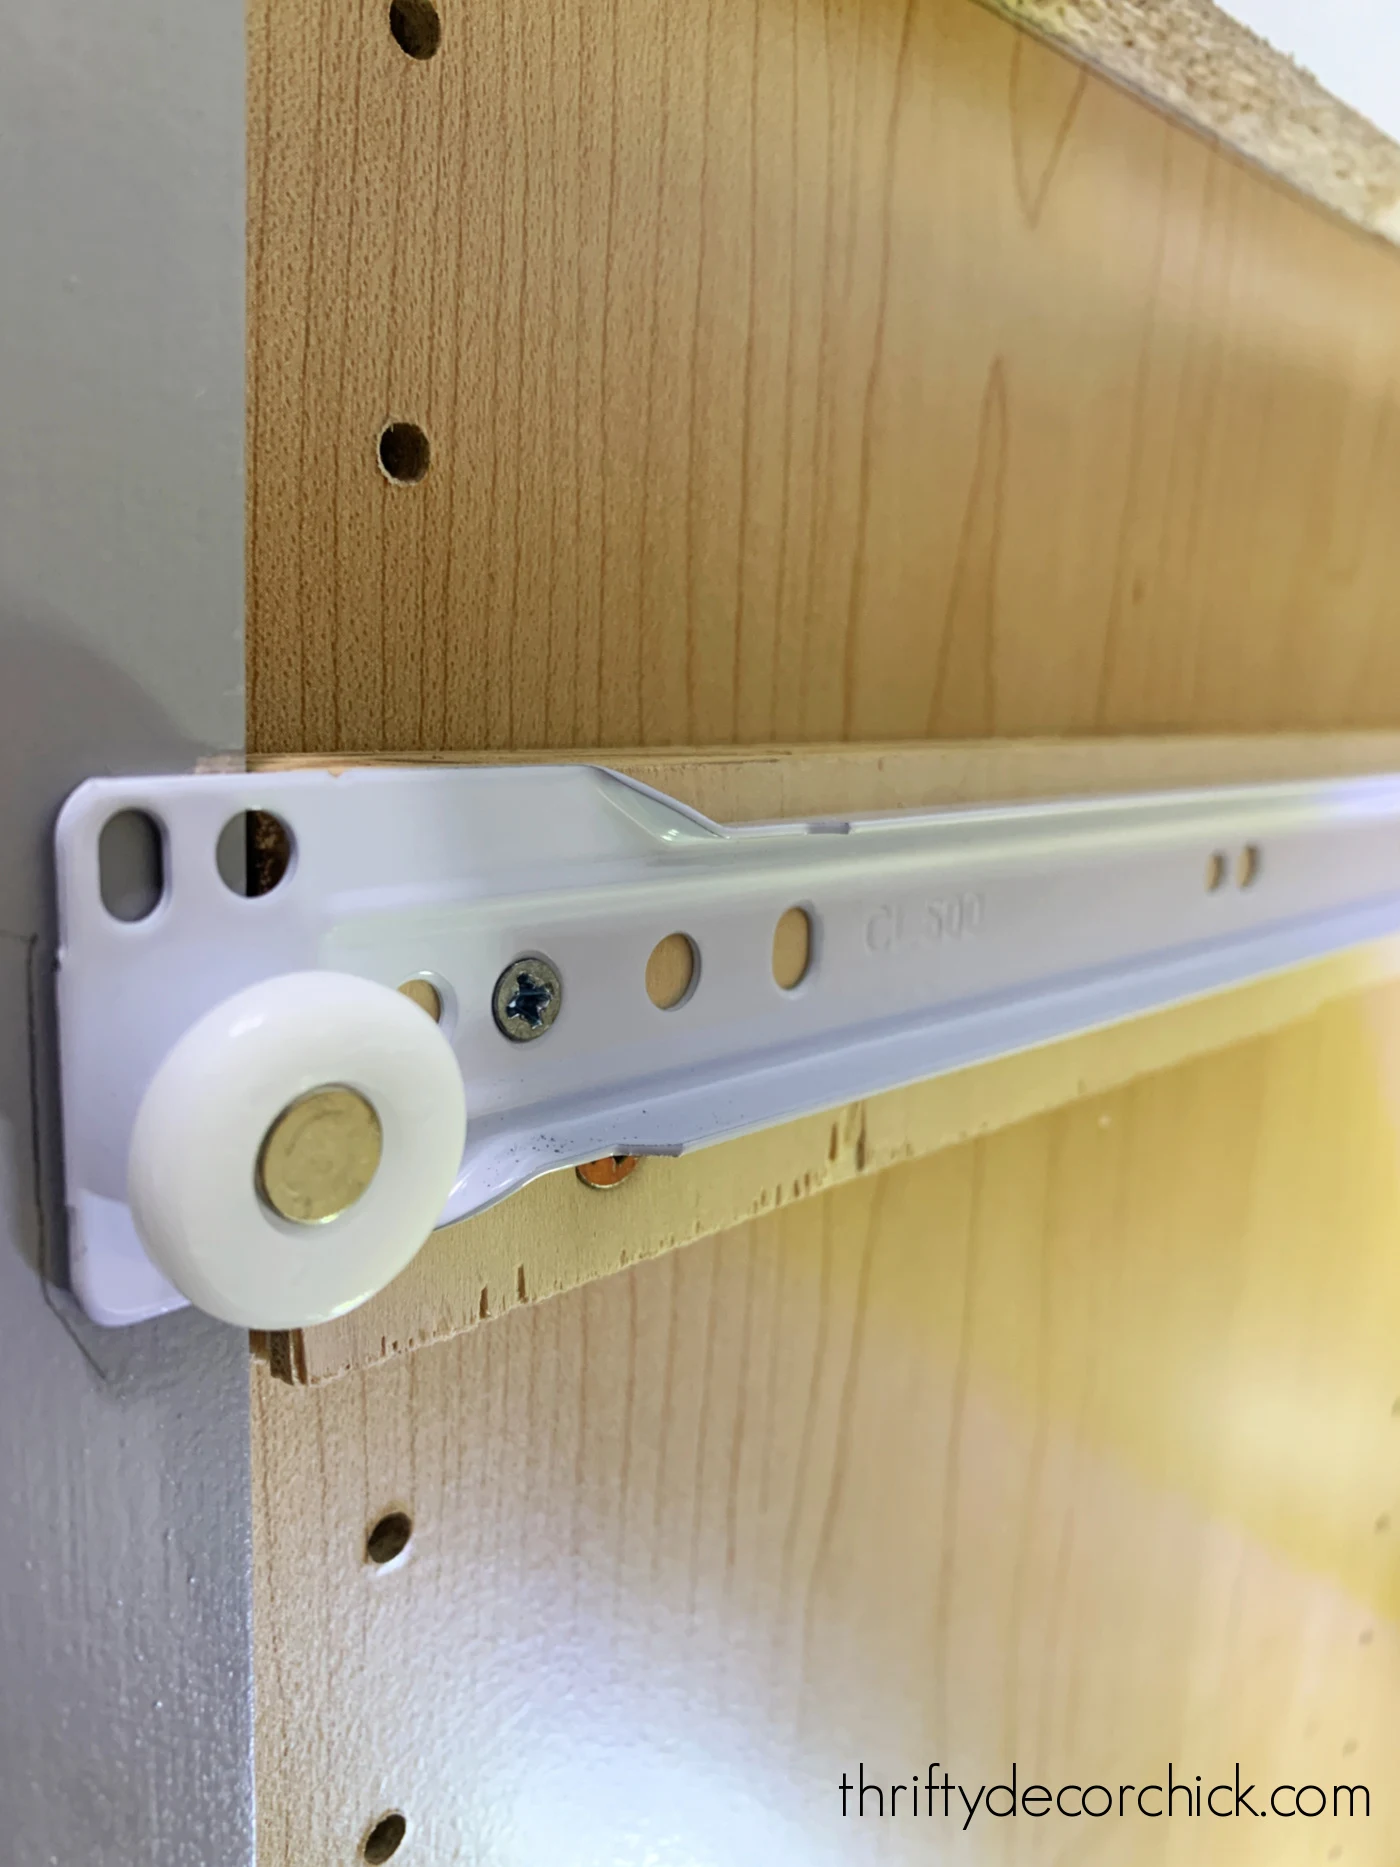
You can attach your drawer hardware to the supports before installing them, but I find it works so much better to do it after.
I like to give a little bit of room at the front, so I place them about a quarter of an inch back from the front of the cabinet frames:
All of my supports come from my scrap pile! I like this much installation method better because it's WAY more sturdy than the plastic hardware provided.
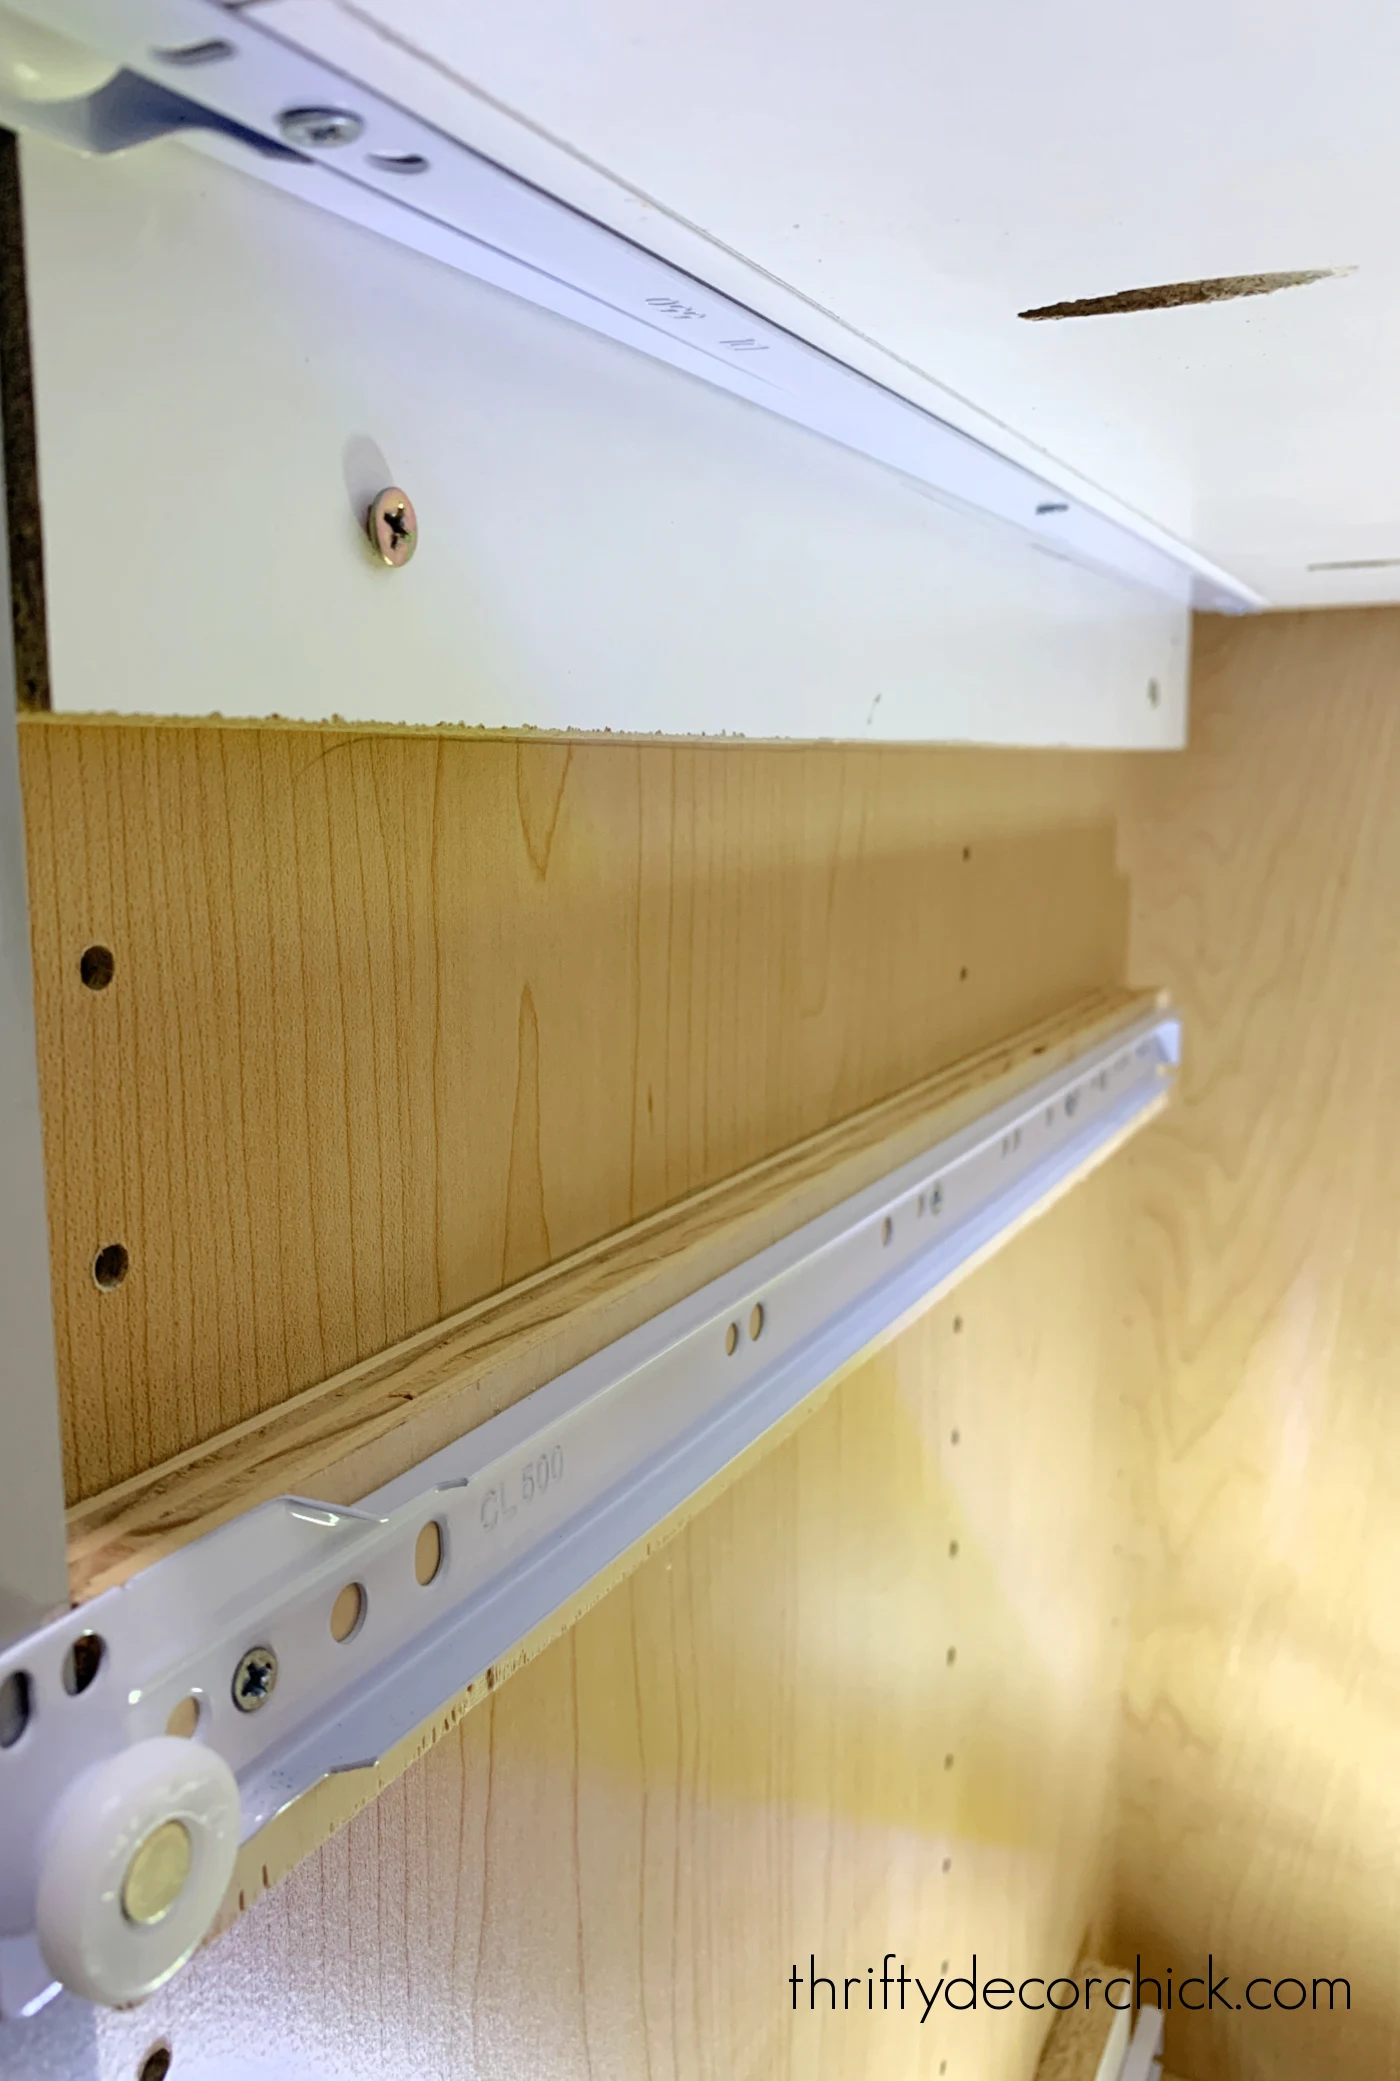
I knew we'd be putting heavy cans and jars in these, so wanted them to be able to hold a lot of weight!
This method also gives a perfectly consistent width from the front to the back of the cabinet, so the drawers will move smoothly:
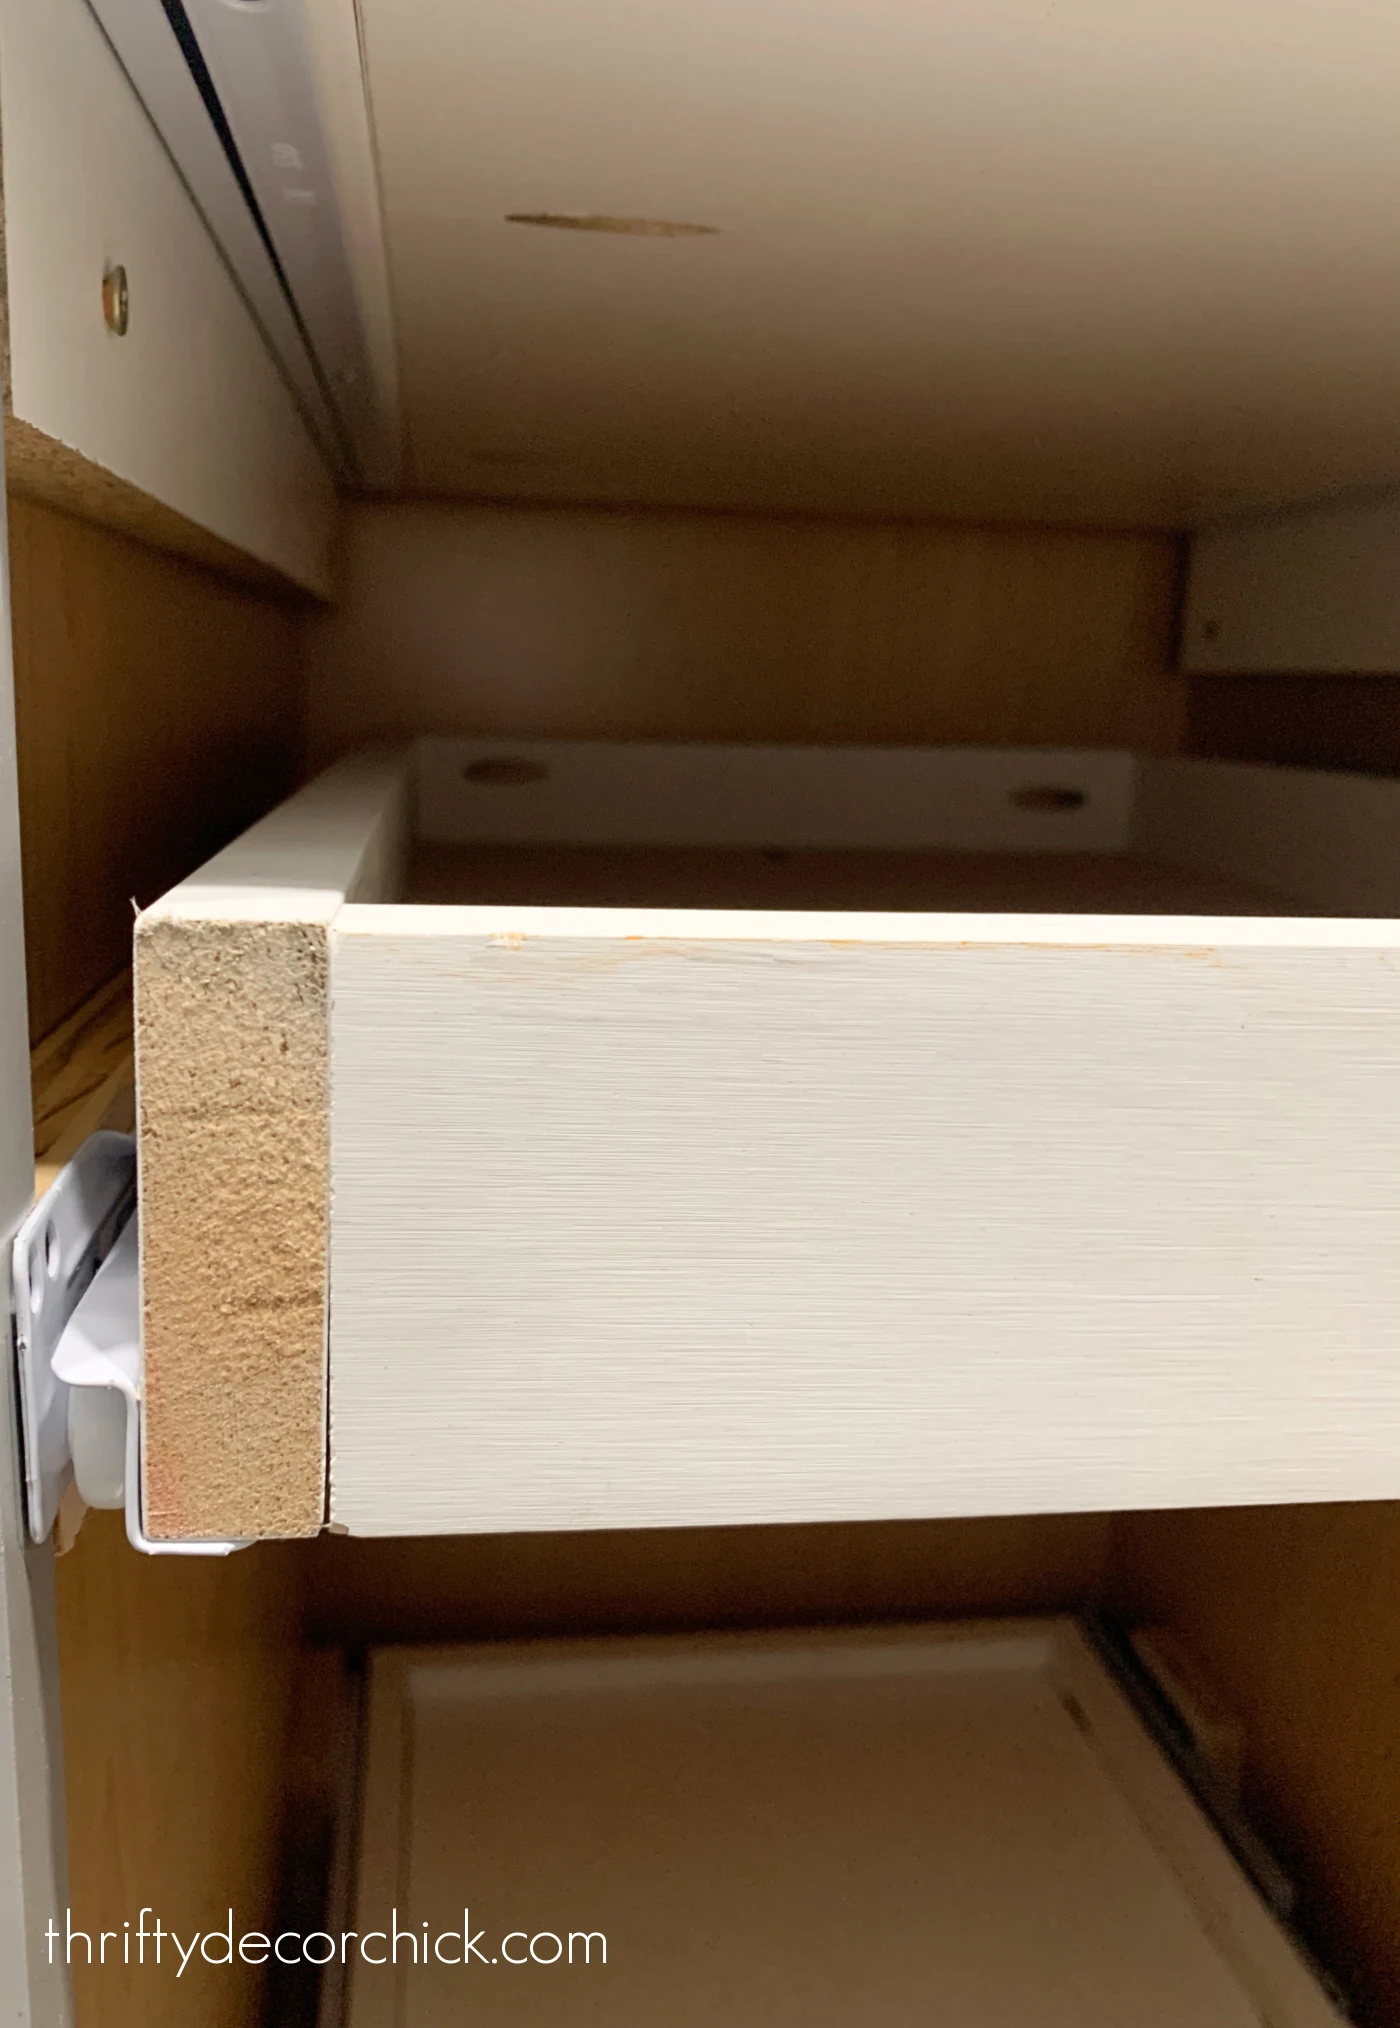
The drawers will slide in easily as long as your supports are level.
If you get any resistance as you pull and push the drawer, your supports are either too far apart or too close.
I knew I'd be adding a front panel to my drawers, so I didn't mind the cut edge showing:

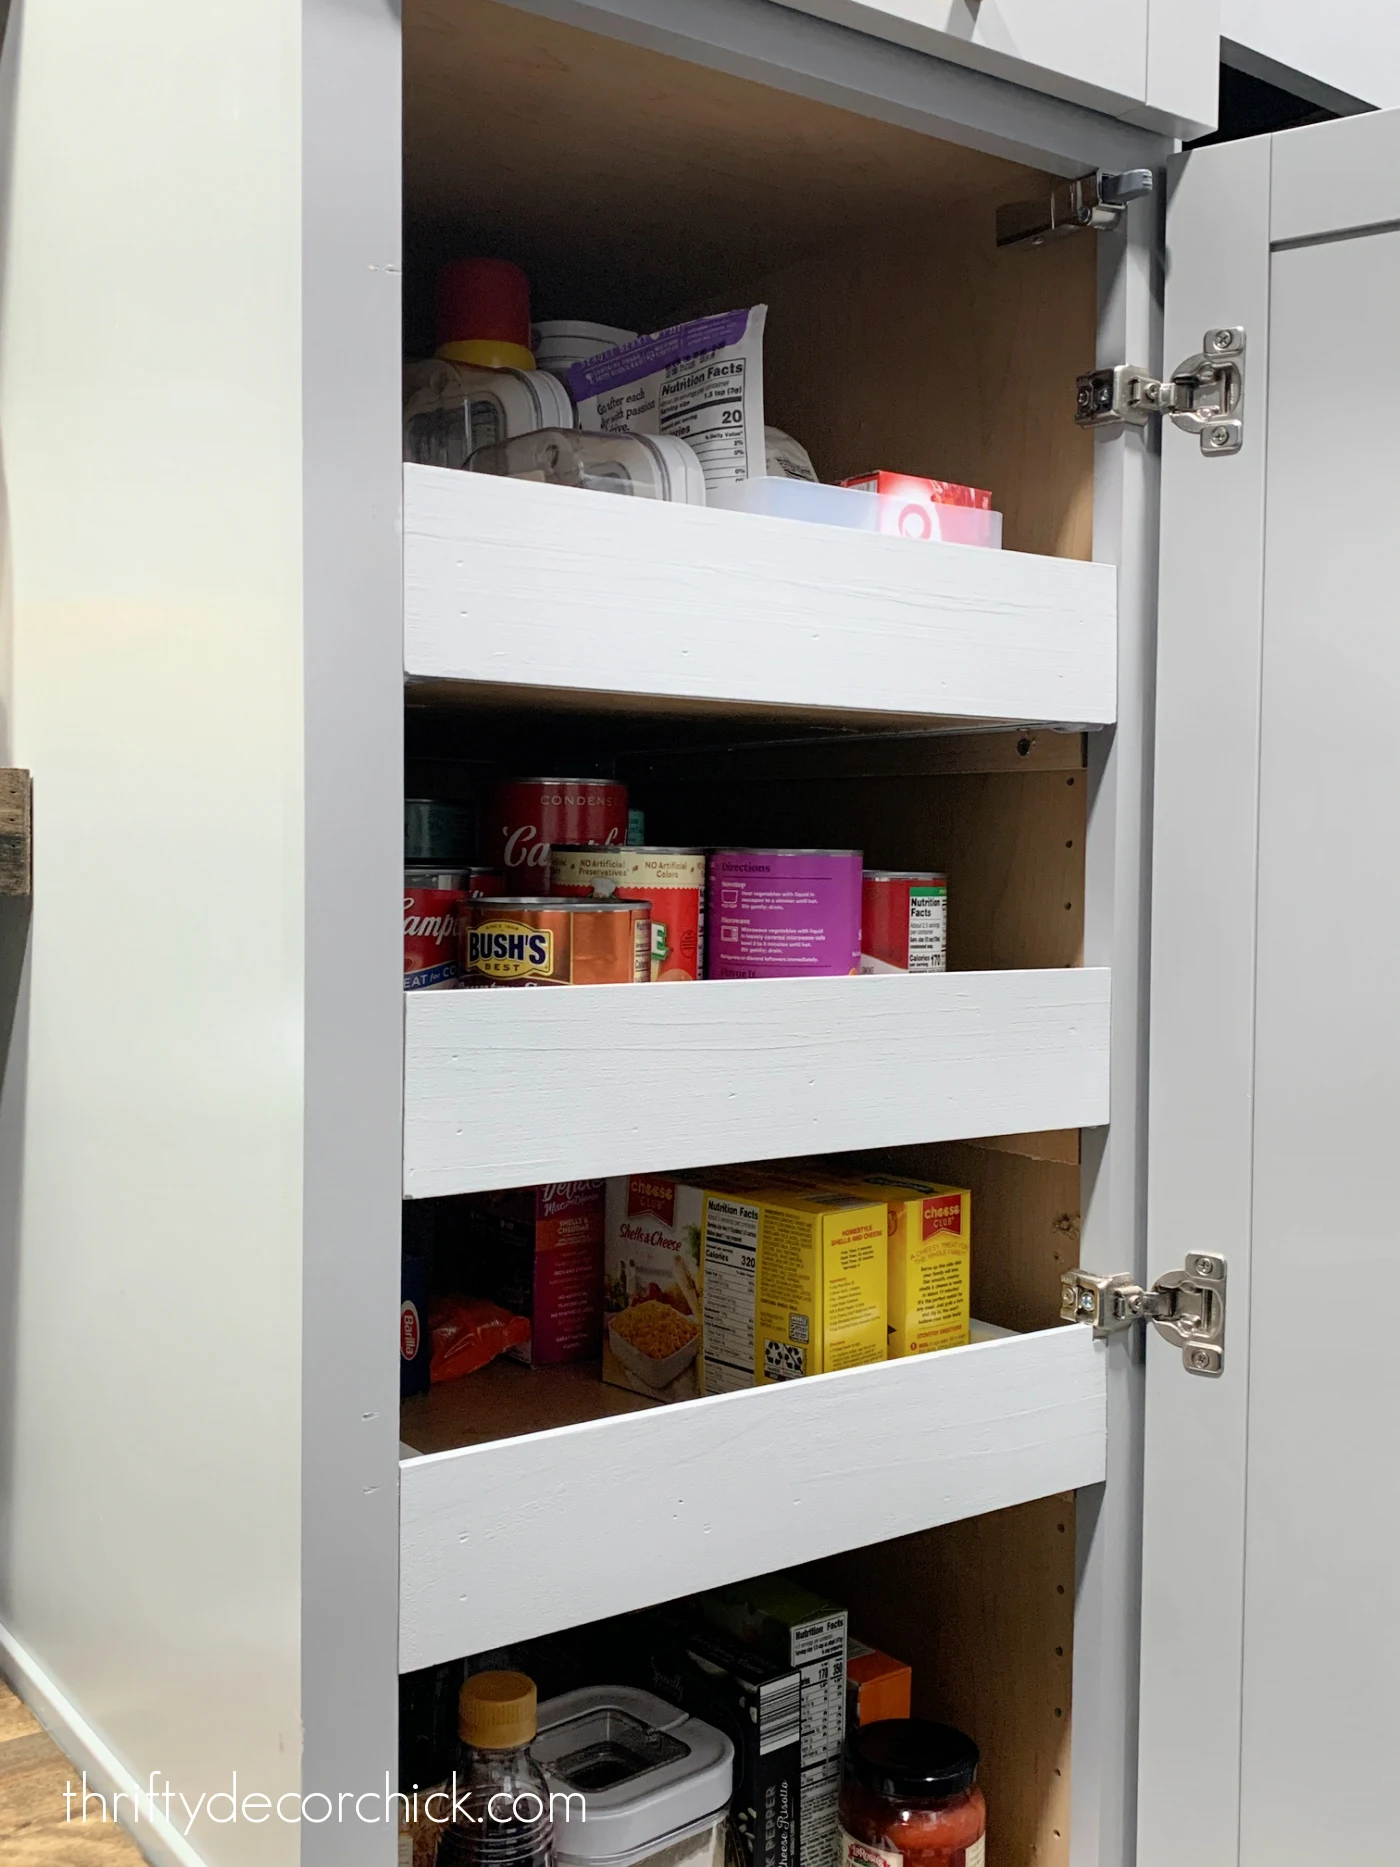
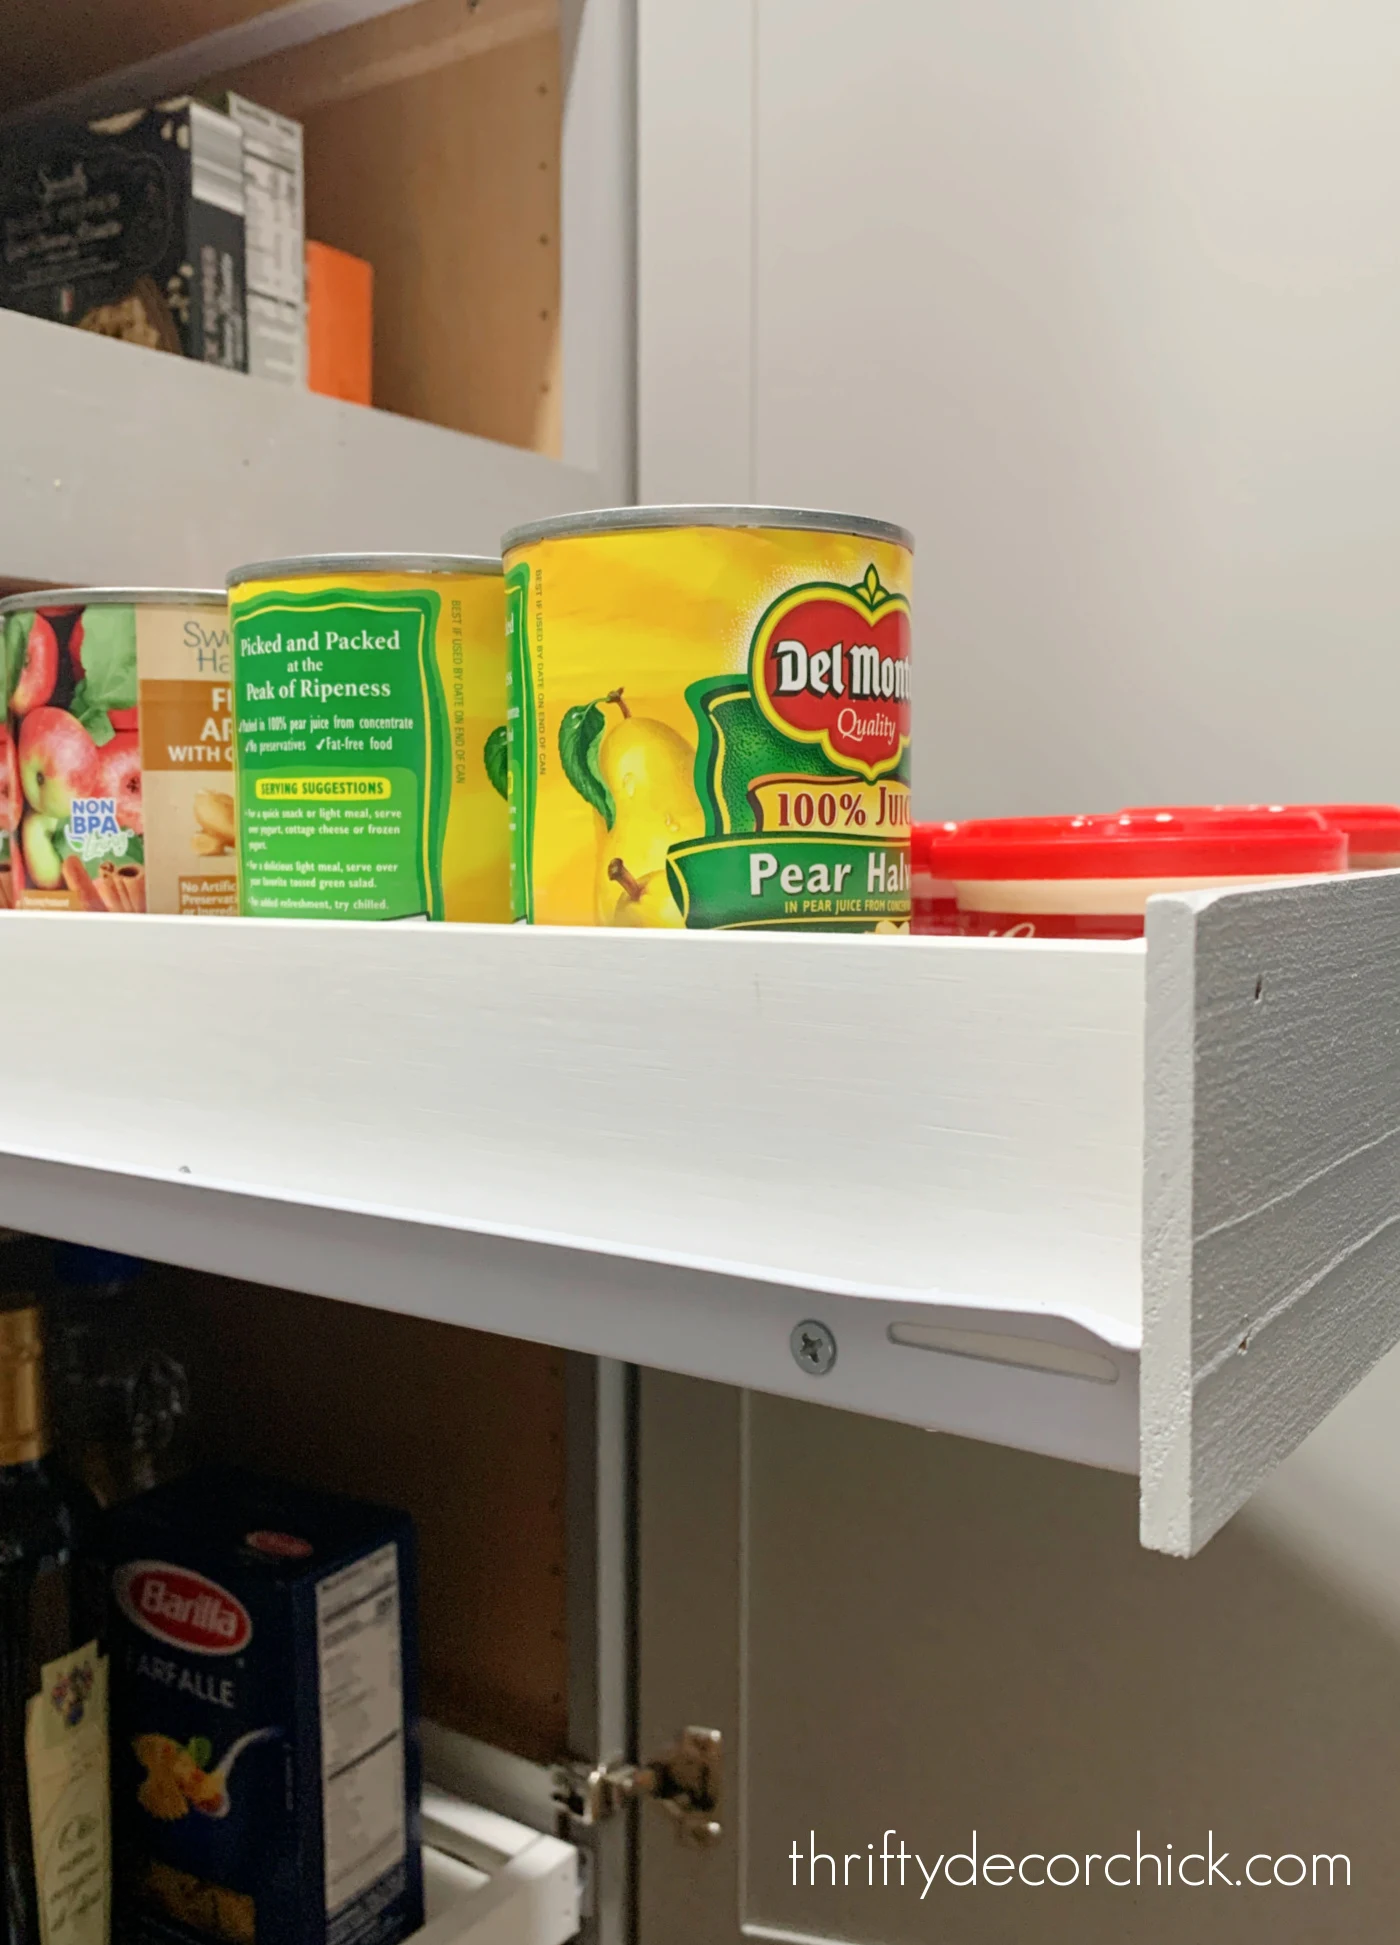
I have six pull out drawers in this cabinet that hold a crazy amount of food! Even I was shocked at how much we could store in here.
I cut down some thin wood trim and then nailed it on like you see here:
The slides we used are not full extension, so they don't come ALL the way out like in our kitchen. But because the pantry is so tall and we can access them from the side, it doesn't matter.
The soft close is GREAT -- I'm a sucker for that! It is especially nice with the heavier shelves:
DIY pull out drawer attached to a shelf
There is another way to install these drawers, and I've used this method many times over the years as well!
I shared how I made a quick DIY roll out pantry shelf for bulky saucepans years ago, and also showed you how to add a pull out appliance shelf to your pantry here.
This time, I made another shallow drawer, and then attached the drawer slides to both the top of the pantry shelf and the bottom of the drawer:
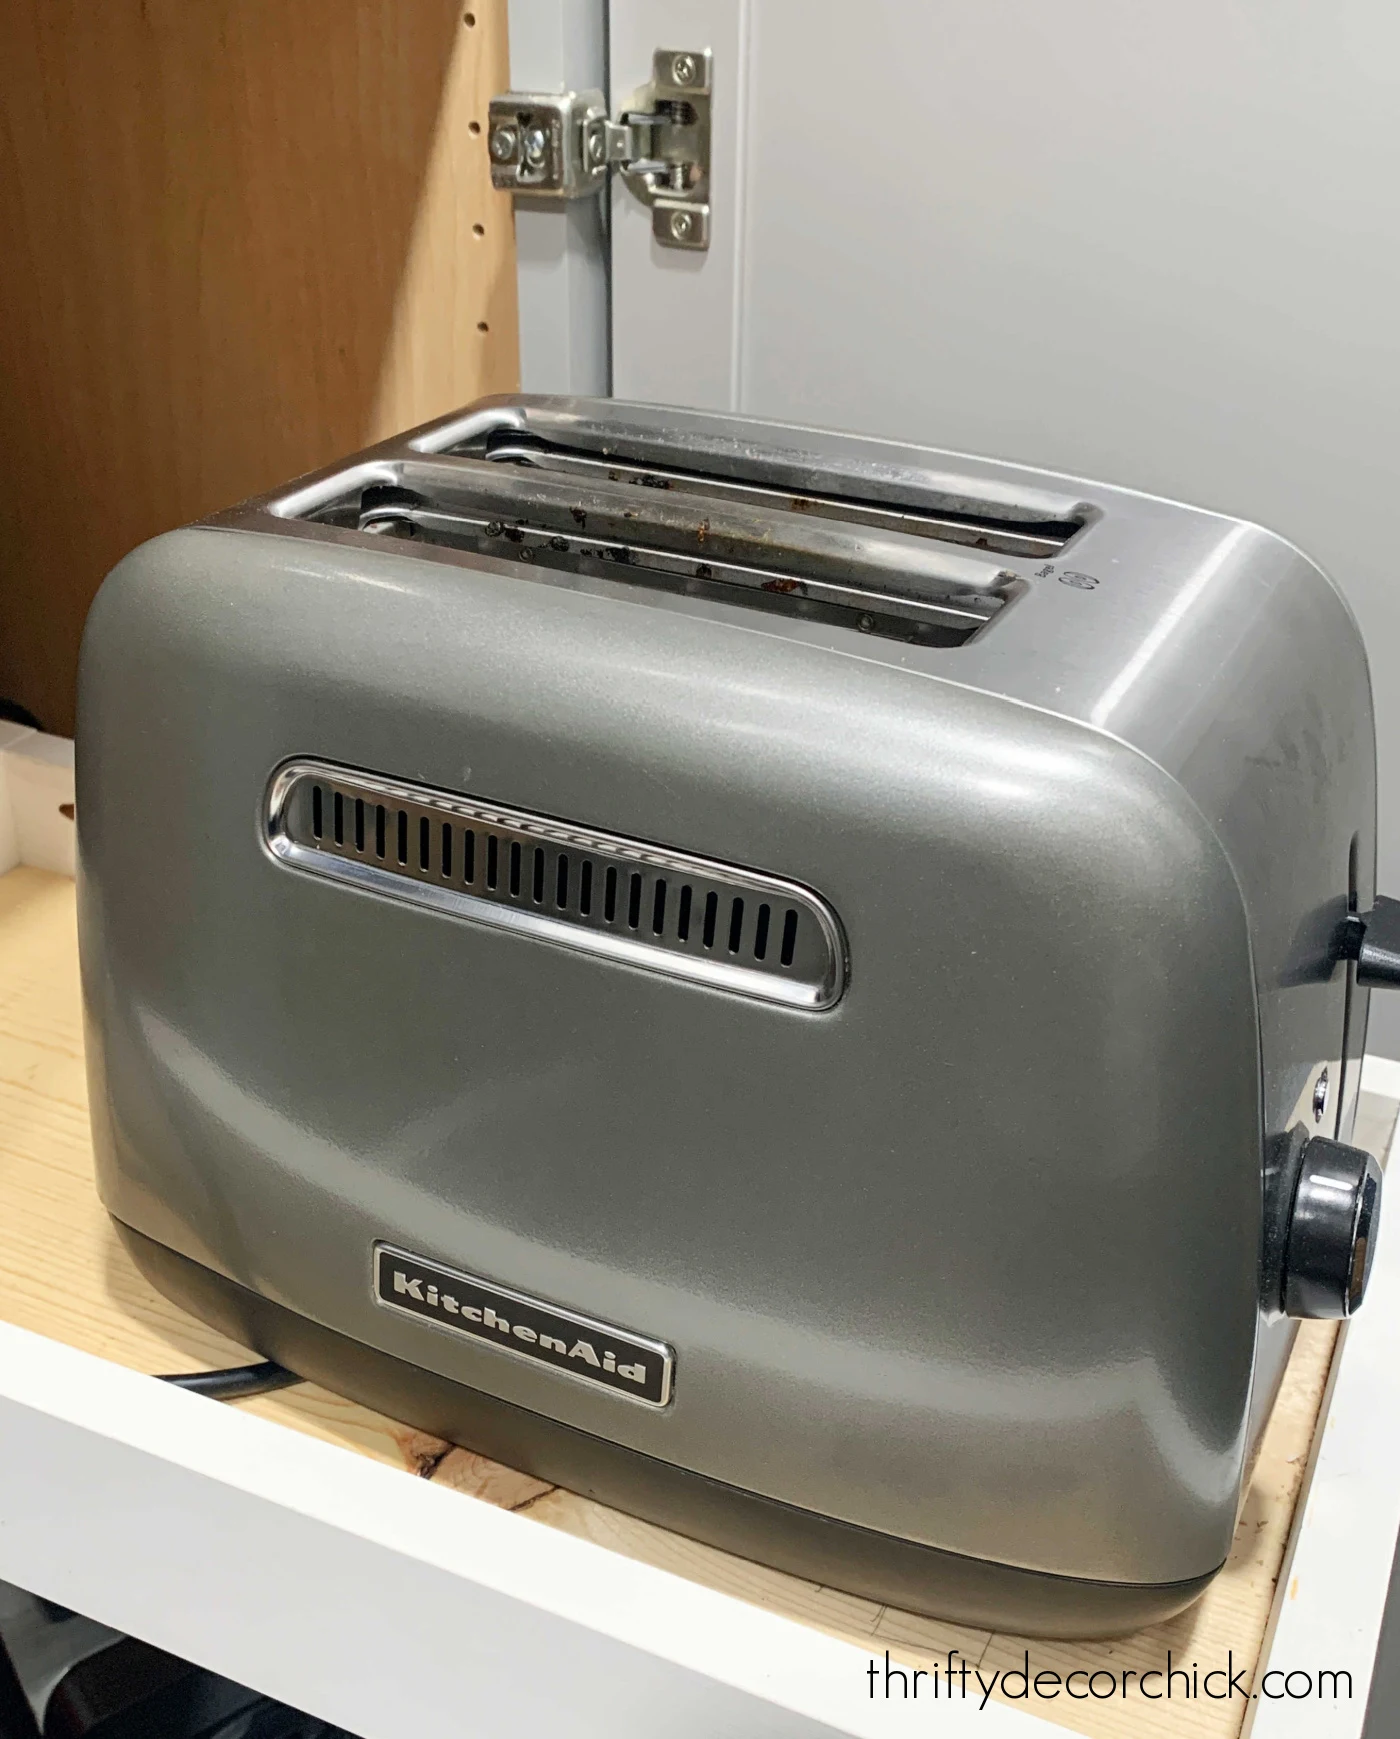
This option keeps the slides out of sight, but also gives you the full extension and/or soft close that is so nice.
It also is MUCH easier because you don't have to mess with installing the drawer hardware! This is definitely my preferred way to do this, but again, it depends on what you're storing.
If you're planning to keep a lot of heavy items in these drawers, I would err on installing the drawer hardware inside the cabinets like I showed above.
At the very least, you will want to secure the shelf from the top, so your drawer doesn't tip forward or out when extended.
This DIY project allows you to make custom drawers at the perfect height and size that you need. They also make cabinets SO much more functional, because you'll use up all kinds of wasted space.
And you can actually see what is inside, instead of crouching down and searching! They make for better kitchen organization for sure.
This project only cost me the price of the drawer hardware because I used scrap wood, the shelves that came with the cabinets and melamine (from the previous pantry shelves!) to make them. So far I've made seven and I plan at least one more.
I know this is a lot of info, so feel free to ask questions in the comments!
Never miss a post by signing up to get posts via email.
Totally need to do this in our pantry cabinets! Thanks for sharing the process Sarah!
ReplyDeleteYou continue to amaze me. Please some to my house for a week. :)
ReplyDelete