How to Make Any Lamp Dimmable in Minutes
June 22, 2022
Share this
How to make any lamp dimmable in five minutes!
Did you know you can make (almost) any table or floor lamp dimmable? How cool is that? It's easy to change out a lamp switch to one that can go from bright to soft light.
This little DIY project takes five minutes and is a great starter project for beginners interested in learning how to do basic electrical work around the house! You don't need to pay an electrician to update these light fixtures.
We have quite a few three-way lamps in our home, and I love having the option of changing up the brightness of the light. But those incandescent light bulbs have always been more expensive, and even more now that everything is switching to energy-efficient bulbs.
Plus it drives me crazy that one brightness level goes out quicker than others on those bulbs -- in our foyer where we have two lamps, we usually end up with one at the lowest light and one at the brightest. :)
But then last fall my friend Diane shared that you could easily change out your lamp socket and I put it on my mental project list. It just never occurred to me that a lamp cord dimmer was an option!
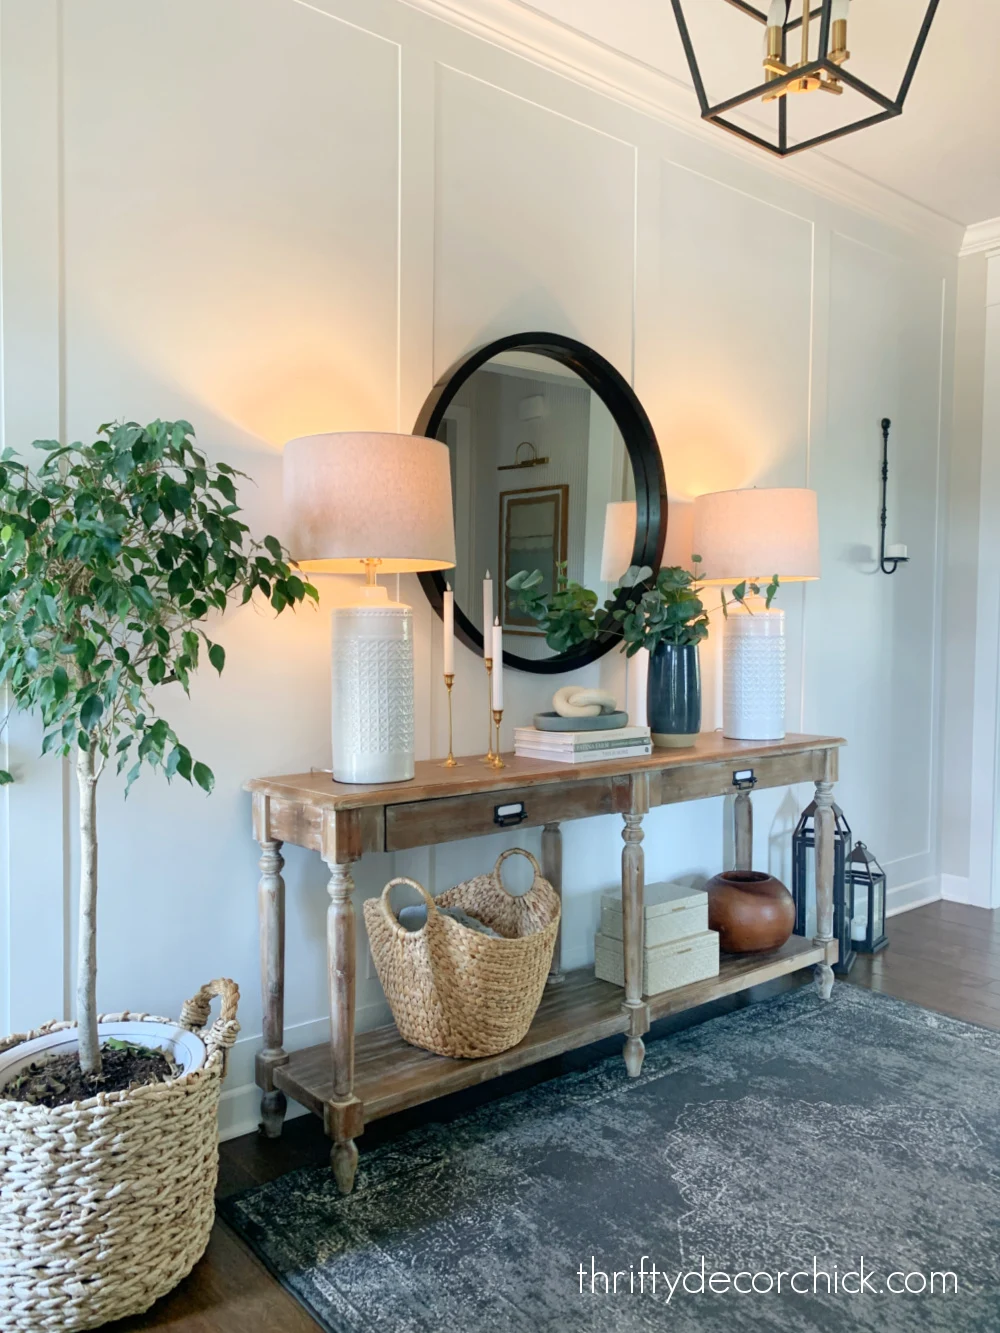
I decided to try this out on the two lamps on our long foyer table:
This post may contain affiliate links for your convenience.
See my policies and disclosure page for more information.
You know this is right up my alley! I fell in love with soft dimmed lights years ago and shared how to install a wall dimmer switch.
That's another easy starter electrical project (I promise it's not hard), but this one is even easier!
To change out your lamp socket, you'll need this dimmable replacement lamp socket and just a few common tools -- I'll share those below.
By the way, you can use this plug-in dimmer switch adaptor to make any lamp dimmable as well. But you'll have to keep the switch out where you can access it.
Both options are great! This tutorial keeps things a little cleaner visually.
Step 1: Double check that your lamp is unplugged
Then check it again. One more time.
Thank you. :)
Step 2: Remove the existing lamp socket
After removing the lampshade (and harp in my case), you'll need to remove the existing socket. Mine was plastic and the top part unscrewed:
If you have a basic brass or metal version, you can just wiggle the top part off -- that just slides into the base. (Use a utility knife or something similar to pry it apart if it's stuck.)
Then pull the socket out -- you may have to feed the cord back up into the lamp a bit if it's tight:
Snip the wires off of the old socket before moving forward.
I always take a photo of what I'm working with just in case I need to put it back together!
Step three: Attach the new dimmable socket base
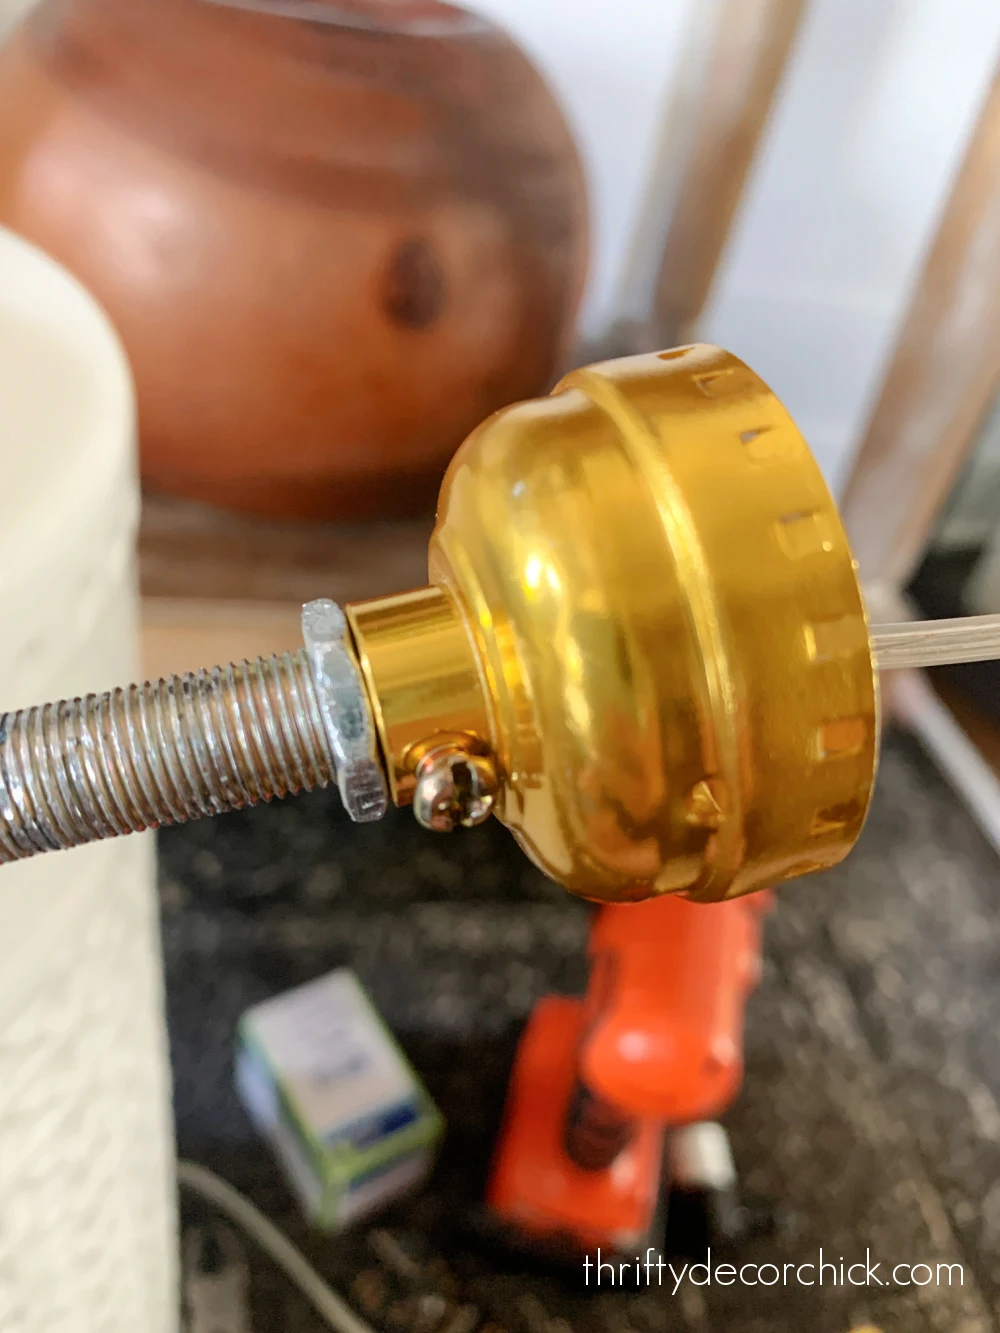
You'll need to unscrew the original socket base from the lamp, and then attach the new one onto the threaded rod that goes into the lamp:
This will normally be an easy step -- my original lamp sockets would NOT budge so I had to take all the components apart and literally hammer it off of that rod. Fun times! 😂
Notice that little screw on the base of the new socket -- when removing or attaching this you'll need to loosen and/or tighten that screw.
Step four: Prepare the existing lamp wires
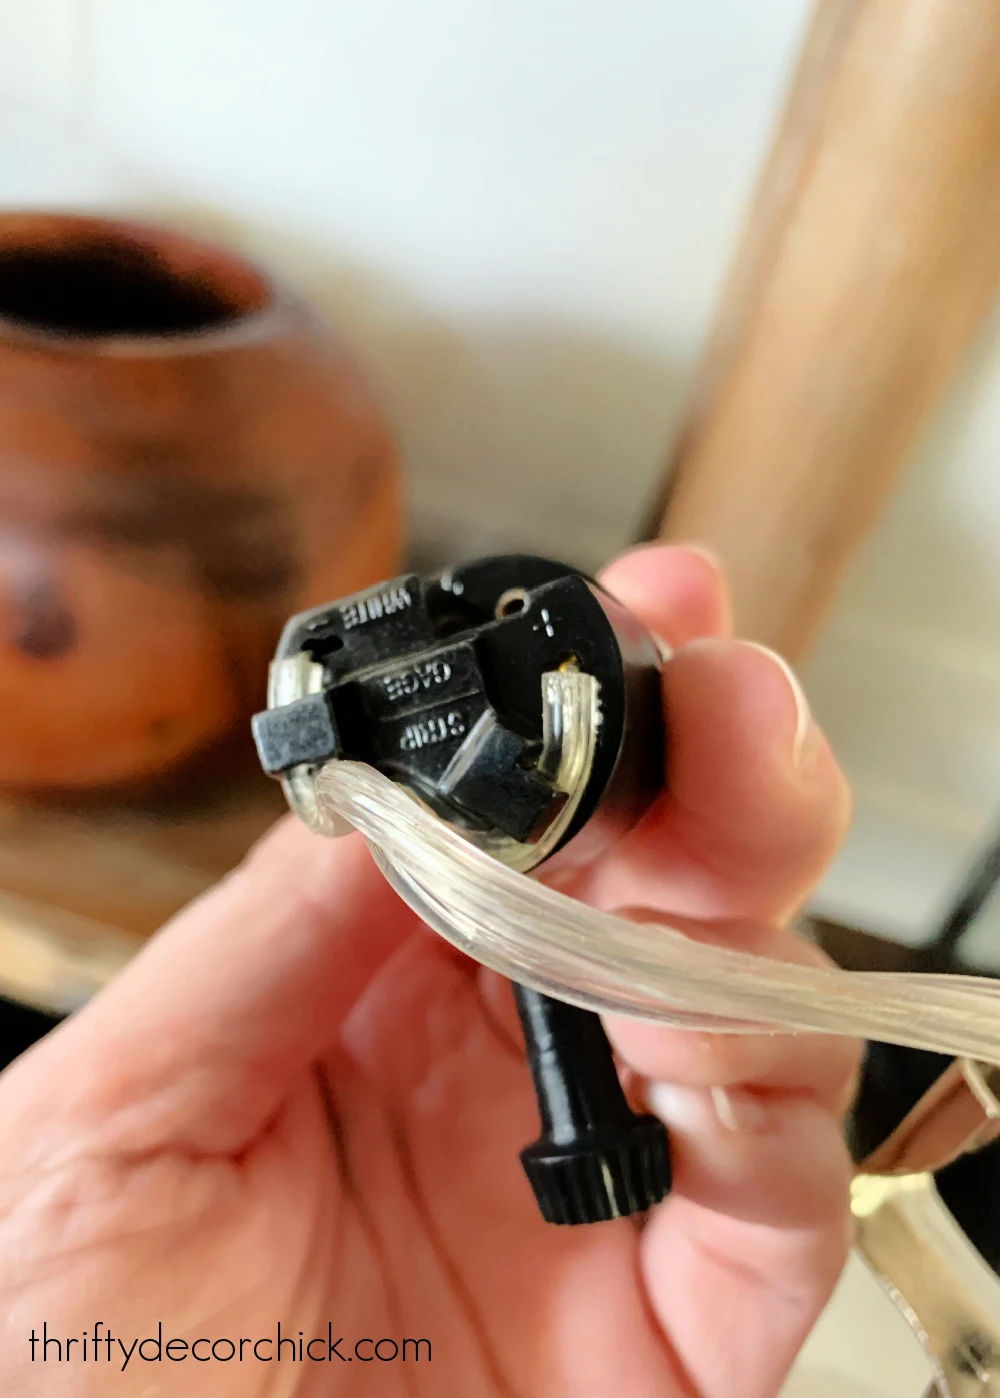
You'll be left with one cord that branches off into two wires. This is how mine looked on the old socket:
And I learned that is not the way it should look!
You need to tie an underwriter's knot with the two parts of the cord -- this is to keep the connections secure and prevent the wires from pulling out of the socket.
It was very easy to do, you can follow my image to make your own:
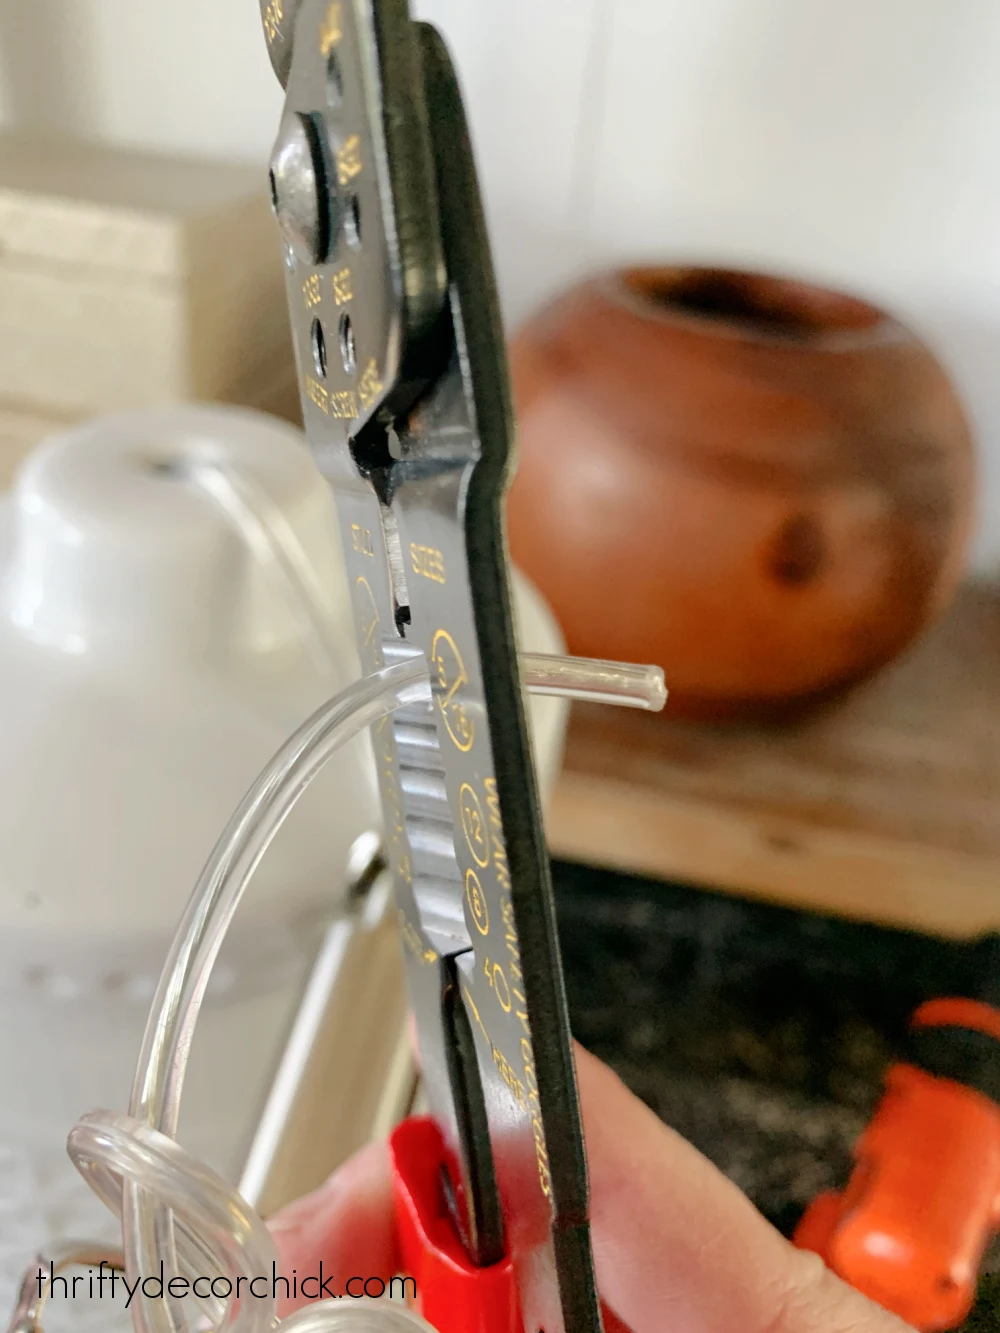
Since the wires were cut to remove the old socket, you may need to restrip them. Again...very easy!
You will need a wire stripper/cutter to do this. They make easy work of this because you just insert the wire and twist the tool around a few times. It slices through the protective cover, but doesn't cut through the wires inside:
I always cut a little less than an inch so I have plenty of wire to work with. As you'll see, sometimes you have maneuver this into tight spots!
Step five: Attach wires to new dimmable socket
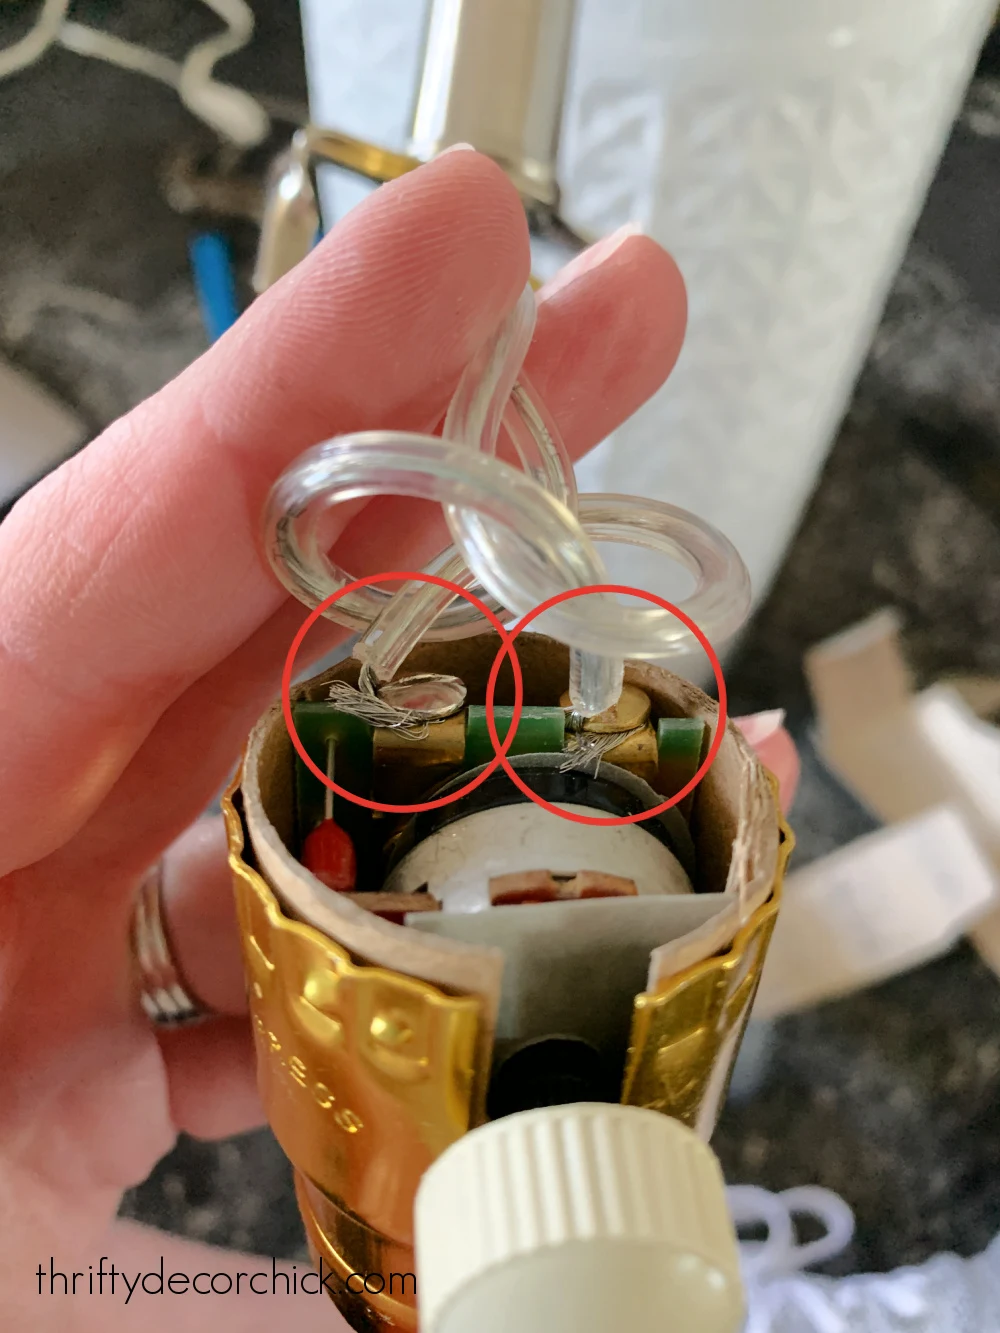
You'll be left with the exposed end with wires sticking out -- grab those and twist them together so they make one tight one instead. That makes it much easier to wrap them around the screws in the new dimming lamp socket:
See those two screws (or terminal clamps)? One is brass, one is silver. Loosen them just a bit to allow space to wrap the wire underneath the head of the screw.
One wire should have a slight ribbed texture to it. That one goes to the silver screw. The other wire will be completely smooth all around, and that one goes to the brass screw.
Ribbed wire = silver screw/terminal. Smooth wire = brass screw/terminal.
The wire doesn't need to be wrapped around numerous times -- just curving it around the screw is fine. Then tighten the screws down onto each wire to secure both.
That's it!
Push the top part of the socket that you just wired onto the to bottom part that is attached to the lamp. It should be a tight fit but will go in easily:
That knob is what turns to adjust the bulb brightness on the lamp.
Just make sure your light bulbs are dimmable LEDs! Halogen and incandescent light bulbs are dimmable.
Screw in your bulb and reattach the lamp harp and shade...you now have lamps that can be turned on to full brightness:
Or turned way down low for a cozy vibe:
The difference would be more obvious if I had taken these photos at night, but you get the idea. ;)
This is the dimmable lamp socket I used. Other than the wire cutter, you don't need a ton of tools. You'll need a screwdriver and perhaps a wrench or pliers, but that's it!
Now that I've conquered this project, I realize how easy it would be rewire an old lamp or DIY a new one. You case use this lamp wiring kit to do just that.
Have you tried this quick lighting project?
Never miss a post by signing up to get posts via email.





Do you need to use dimmable bulbs with these sockets?
ReplyDeleteJust make sure your light bulbs are dimmable LEDs! Halogen and incandescent light bulbs are dimmable.
DeletePlease share information about the backsplash tile in your kitchen.
ReplyDeleteHow were you able to get the original socket off the rod? I think I’m having the same problem as you—I just cannot get it to budge
ReplyDeleteI think I ended up using a wrench to loosen it up.
DeleteThe product linked https://amzn.to/3zVAPao clearly states it is meant for halogen or incandescent bulbs. ie. I assume not LED. So does this actually work with a dimmable LED bulb? I've had halogen bulbs explode because of electrical issues in an old house so maybe I'm just being over cautious. I also worry about shortening the LED life
ReplyDeleteSorry I'm just seeing this! I don't see anywhere in the description that it says that, but we used LED with these just fine.
Delete