
Pretty New Office Cabinet with Sliding Doors
June 11, 2022
Share this
A quick DIY project to change the height of my new office cabinet!
I recently found a little cabinet with sliding glass doors on FB marketplace
and knew it would work well in my office. Turns out the height wasn't quite
right, so I made some minor changes to make it work!
I don't shop secondhand as much as I used to, simply because I was
cluttering our home with my finds. If you like an item even a little bit,
you have to grab it knowing it may not be available long.

After years of visiting Goodwill and antique shops regularly, I'd found so
many wonderful treasures...but they started taking over. ;)
Years ago I decided I needed to cut down on the secondhand shopping, and it
has made a HUGE difference in the clutter in our house! Now when I buy
something, I have to know where it will go before I bring it
home.
I loved this cabinet so much, if it didn't work in my office I knew I could
make it work in a couple other spots as well:

There's a Pier 1 tag on the bottom -- I don't think they have actual stores
open anymore, just online right?
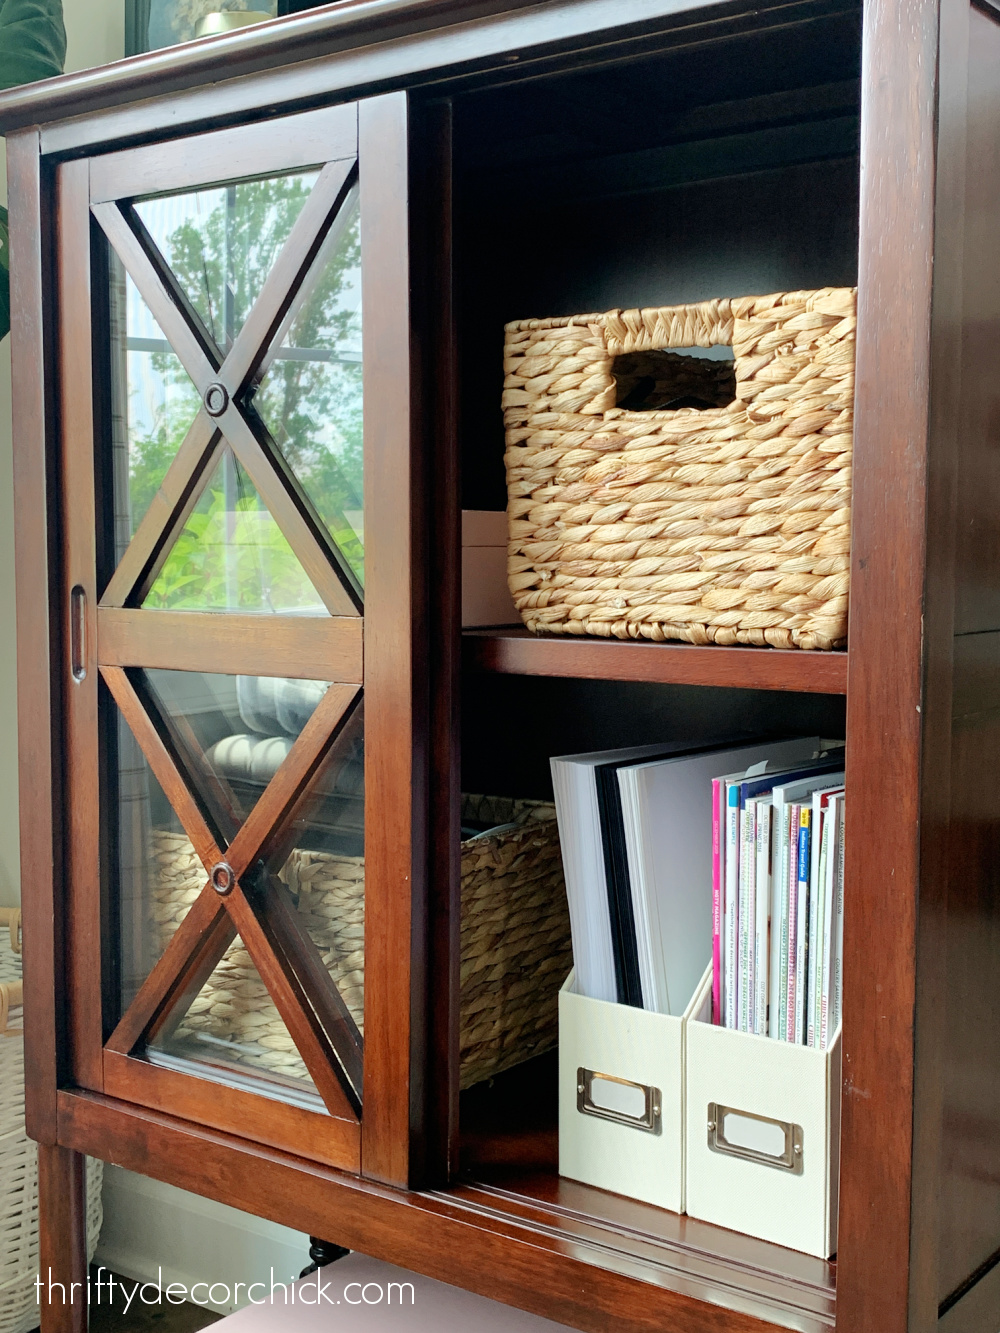
I loved the open space on the bottom and the sliding "X" doors. The wood is
a lovely color, but I did think about painting it for a split second.
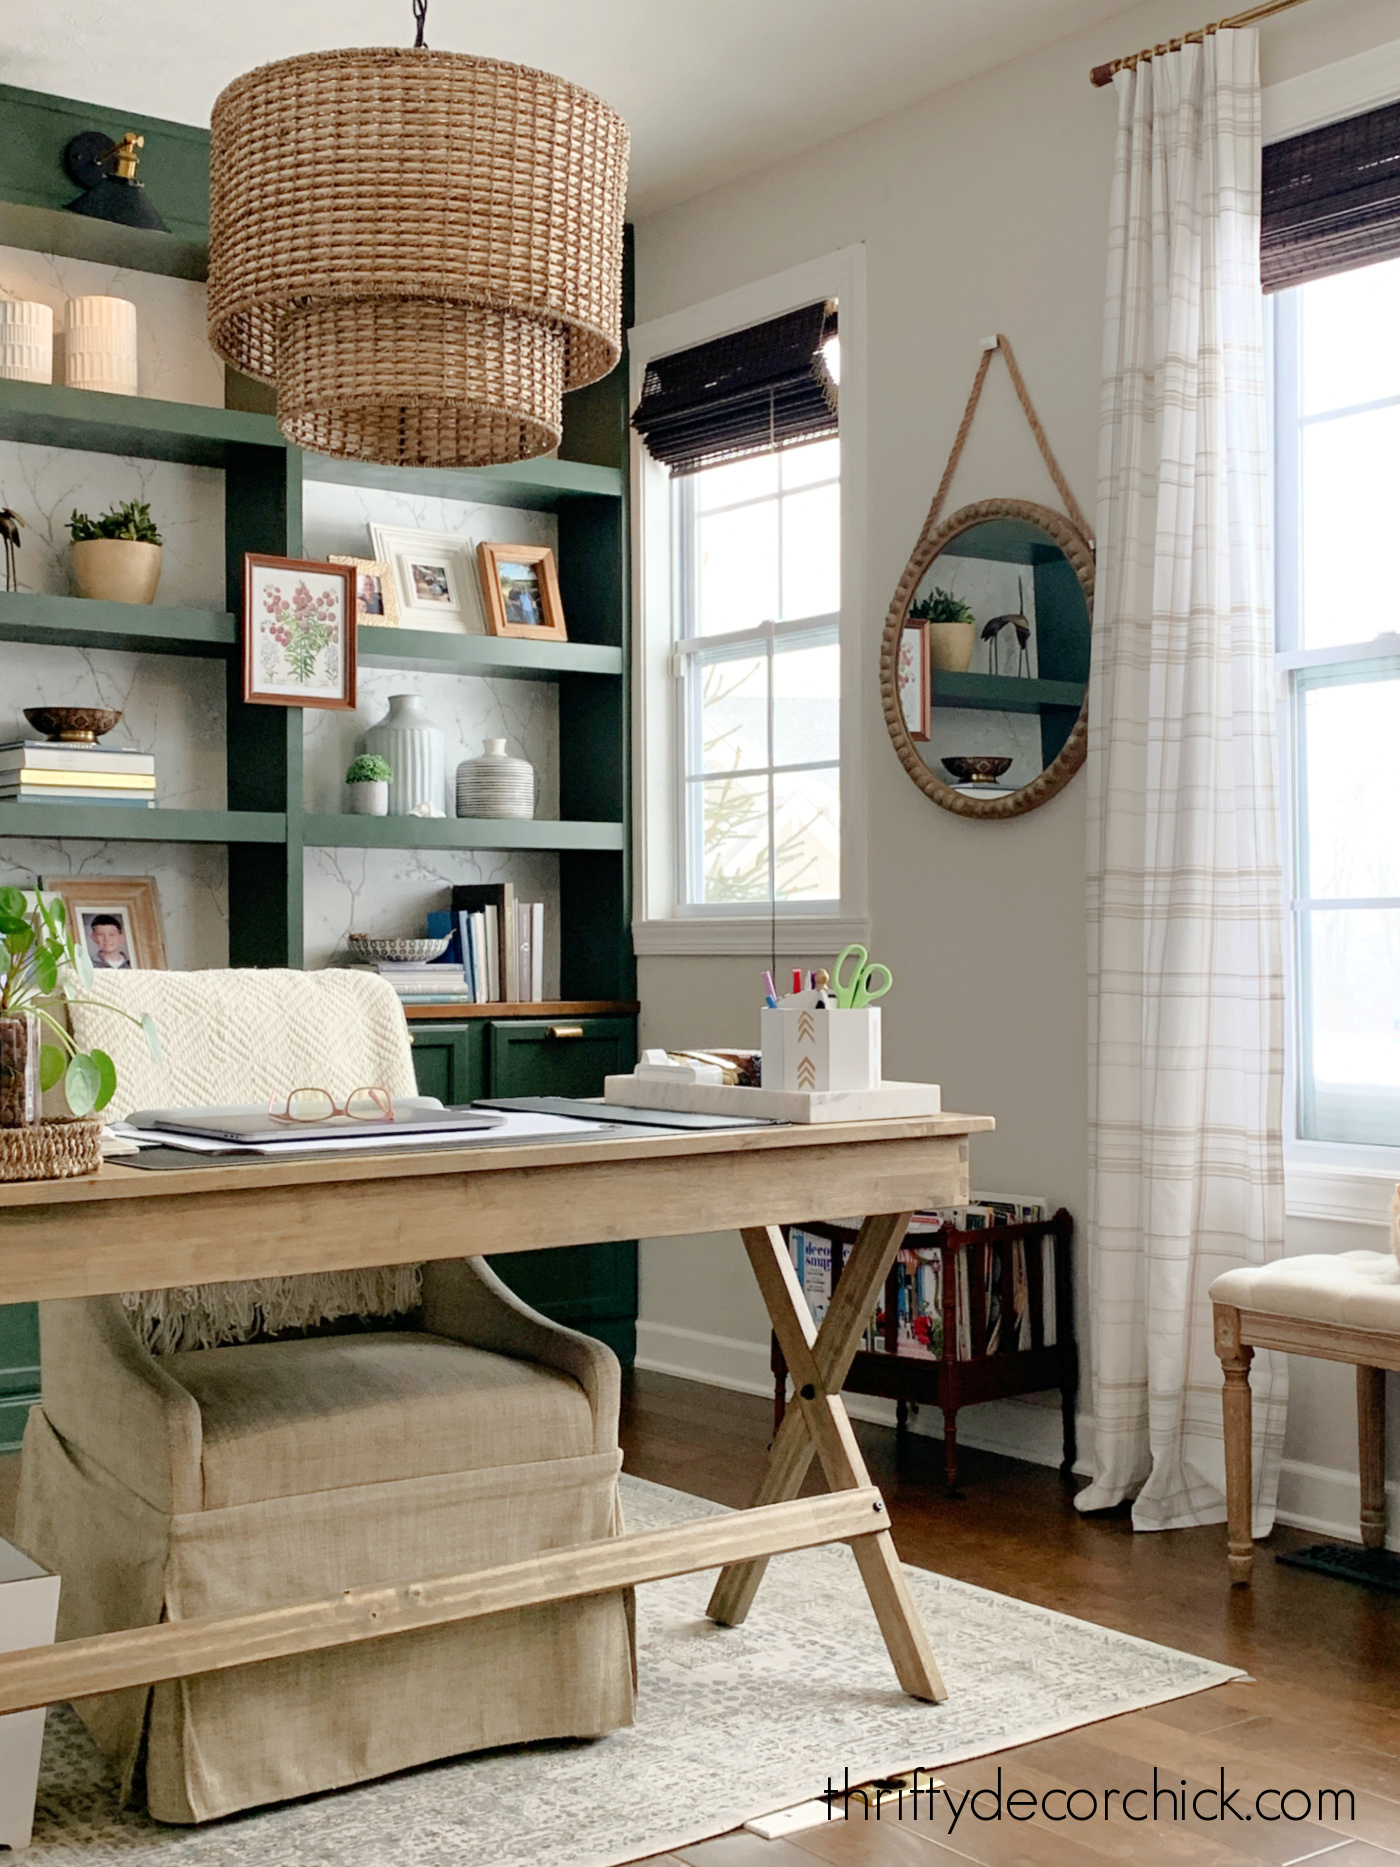
I'm so glad I decided against it! I knew it would be beautiful in my office
with the deep green color (Vintage Vogue) on the bulletin board and built
ins.
This post may contain affiliate links for
your convenience.
See my policies and disclosure page for more information.
That vintage rolling magazine rack in this photo was one of my absolute
favorite secondhand finds EVER...but one day a few months ago I moved
it to vacuum and it literally fell apart.
Like, truly crumbled before my eyes. 😢 I tried putting it back together,
but it was a goner.
Since then I've been looking for the right item for that spot. The cabinet
dimensions were perfect, but when I tried it there it was visually WAY too
heavy.
I did some maneuvering and decided it would be lovely on my
upholstered bulletin board wall
instead!
It was too tall to fit under the TV...so I laid it down on the floor to do
some checking. I figured I could disassemble the bottom part and cut the
legs down.
I was right! The bottom section came apart easily. I removed the feet, the
bottom shelf and the legs. Of all of the those, the top portion of the legs
were my only option to cut because of the hardware components everywhere
else:

So the top part of the four legs were my focus because they only had screws
inside. These are double sided screws, much like
I use to hang cabinet hardware as decorative hooks.
I used pliers to remove them:

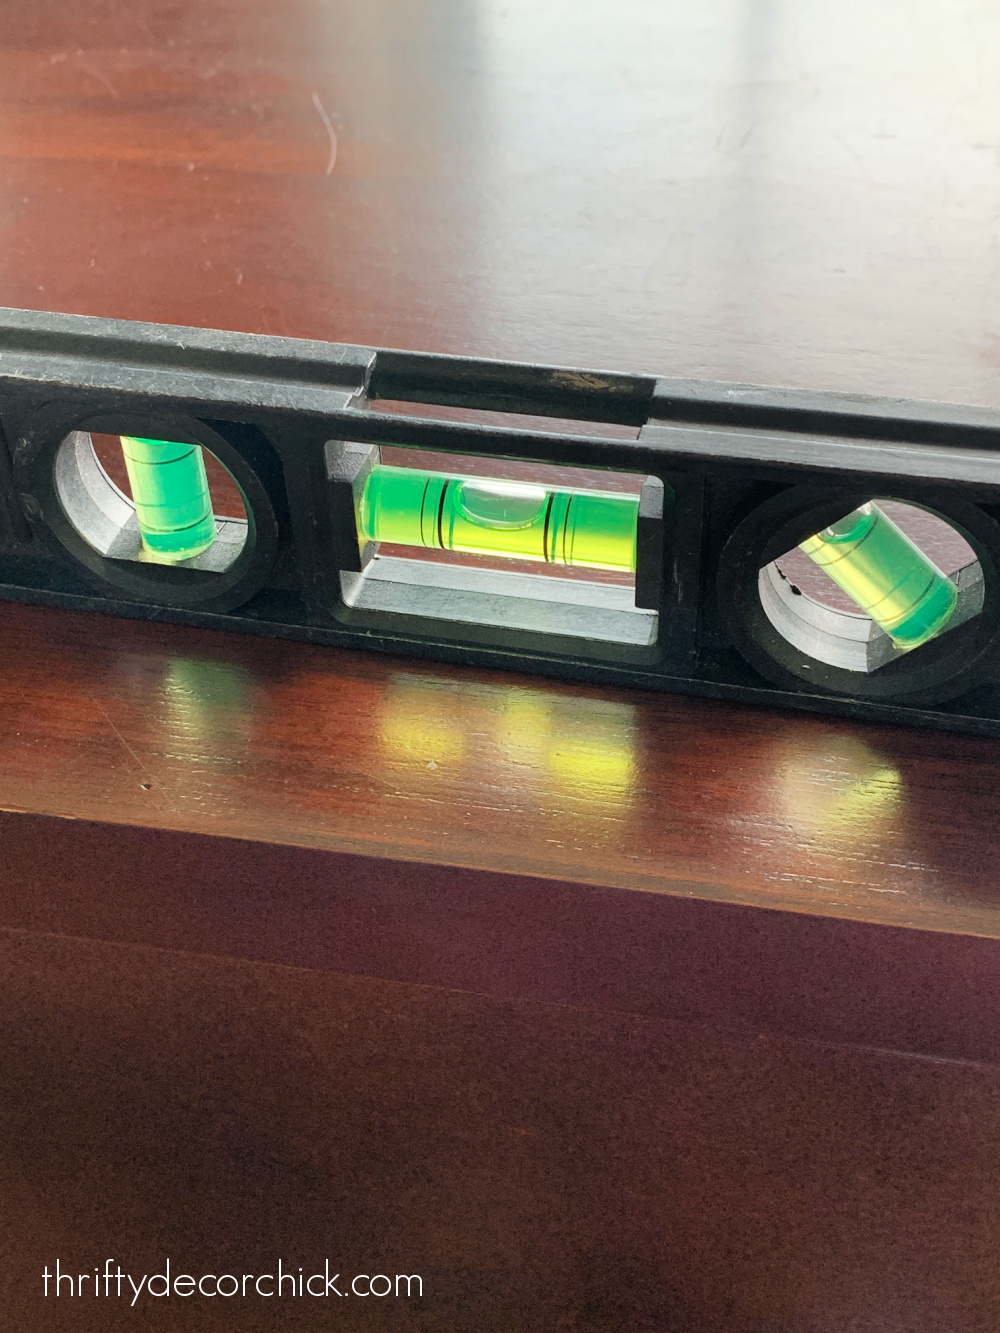
These legs had a very slight taper to them at the bottom, so when I
laid them on the saw to cut I had to prop the narrow end up just a bit like
so:

This pushed that side up just a tad so the cut would be level.
Give yourself some room if you attempt this with tapered legs! It took a few
tries -- shaving off just a bit here and there to get them all the exact
same length.
Because the double sided screws needed to go back in, I clamped the legs
down and used a drill bit to make a new hole:

I shared how I did this in more detail in my
heavy duty DIY floating shelf tutorial.
Quick tip -- use painter's tape to mark the depth needed on the drill bit.
That way you won't go too shallow or too deep.
Also, it's helpful to place painter's tape on or around the surface before cutting with the saw. It will help to prevent the wood from splitting.
When I had all the legs cut down to the same size, I reinserted the
screws:

To get a good grip with the pliers, I use
these can lid grippers
to prevent the screws from getting stripped as I put them back in. You could
also use a scrap of a rubber rug gripper pad to do the same.
I was nervous...even though all the legs were the same length, I was worried
it wouldn't all go back together perfectly. But it did! Whoot!:
I used
a stain pen to cover any dings in the wood
from the saw on the legs.
Then I cleaned the cabinet well, put the shelf back inside and then started
organizing!
I grabbed a couple of
these wicker storage baskets
for the inside, and a set of fabric covered storage boxes (no
longer available) as well:

I moved the printer I had on that wall to the bookcase behind my desk. It
will function so much better for me there!
I LOVE it!! It's just so lovely in my office and feels like it was made for
this space:

It was such a simple change and only took me about 45 minutes from start to
finish.
Those sliding doors are my favorite part...I just love them. 😍
I encourage you to see how pieces can work better for your home...you'll be
surprised what a few small tweaks can make! :)

Have you found anything great on Facebook Marketplace? I don't look often,
but when I do I always find great buys!
See all of the DIY projects in my cozy office here:
Never miss a post by signing up to
get posts via email.
Great tip about shimming the leg on the saw. Looks lovely.
ReplyDeleteI bought a cute demi-lune table at Canton Trade Days...just what I was looking for as a side table to my sofa. But once in place, I realized that it was too tall....peeking more than a little bit over the sofa arm. So just as you did, I reduced the leg length and it was perfect. Thanks for all of your great tips and for inviting us into your lovely home!
ReplyDelete