
My Plans and Picks for Our Basement Kitchenette Project
November 09, 2022
Share this
See the plans and layout for our basement kitchenette!
Who decides to start building a small kitchen from scratch during the busiest time of year, right before the holidays?
THIS GIRL.
Because I often sit on large projects for months as I research and decide on finishes...once I'm ready, I'm READY.
I've transformed a lot of rooms in our homes, but rarely from the ground up. When we had our last basement finished, I did a lot in our laundry, bathroom and family room down there.
But this is the first time I'll be taking on the majority of the to do list in a room that has nothing but walls and cement floors.
We are a basement loving family, so this project has been a dream of ours for the past five years. (Check out our five year before and after house tour here!)
Not only do we enjoy hanging out down there, but we love to entertain in the basement as well.
One side of this space is already looking great because of the giant TV/bookcase wall I built last year:

But the little alcove meant for our kitchenette had some catching up to do!
I decluttered this space a couple years ago to make it more functional for us. It served as a Lego building station for the most part:
 |
| See how I built that farmhouse table here. |
I never had the carpet put down there when we built, thinking that we would finish off this space soon after we moved in. Well, five years later, here we are! 😂
And in the past two years, we've added to the clutter for sure. All of our extras that I knew would go in this kitchen were thrown into baskets and bins.
But I did have my popcorn station set up nicely:

This post may contain affiliate links for your convenience.
I may earn a small commission when you make a purchase through links.
See my policies and disclosure page for more information.
It's the most important part!
We've been putting money aside for this project all year, but as I started doing more research I learned just how expensive cabinets can be.
Before I ordered any, I needed to decide on a layout with these details in mind:
- The only large appliance will be a refrigerator, and that's only because we had a water line and outlet run for it. The dorm fridge has served us well, but it will be nice to have a regular fridge eventually.
- We also have smaller wine fridges that needed to be integrated into the room. They are front vented so can go under the countertop.
- I didn't want upper cabinets throughout the whole space for a few reasons, first of them being that we just don't need to have that much storage down here. And I want it to feel as open as possible -- so only one wall will have upper cabinets.
- We wanted a bar somewhere in the design, and I have a cool plan in mind for that! It will be "phase two" of this project.
- Plumbing for a sink and a fridge water line were roughed in during the building process, so I had to plan the layout around those.
Considering all of that, I came up with a U-shaped cabinet layout. I did a very rough sketch on my computer to show you the plan!
The right side is where all of the upper cabinets will hang. I did this because the fridge has to go over there anyway:

From left to right -- bottom: corner cabinet and three drawer unit.
Top: corner upper and wide upper cabinet next to the fridge.
The sink will go on the long wall in the middle:

Corner cabinets sit on either end, with storage inside to the corners.
Planning out a cabinet layout isn't easy! The measurements of the cabinets rarely works out perfectly, so you have to account for spacers so that drawers and doors can operate without banging into each other.
Because of that, there were awkward empty spaces by the sink that I could have put tiny nine inch cabinets in, but that would have called for more spacers. I thought it would look odd.
So instead I'll be building in some small shelving units. They'll be great for baskets or bins that we can store stuff in. I think this will add some interest on that wall too. (And I'm using scrap wood for it, so WAY cheaper than additional cabinets.)
On the left wall (the longest one pictured above), we'll have the two wine fridges with a pull out trash can in the middle. Later on I'll build a bar as well.
This is where I plan to attempt a curved design similar to this one from the Home-A-Rama tours I shared with you:

I was thrilled to see that in person because I've had this idea in my head for years. We'll see if I can make it happen!
I know those cabinet images are pretty basic, but hopefully they give you an idea of our layout. It will all make sense as it comes together. :)
After a TON of research (and being thisclose to building the cabinets myself), I decided on these unassembled cabinets from Home Depot:
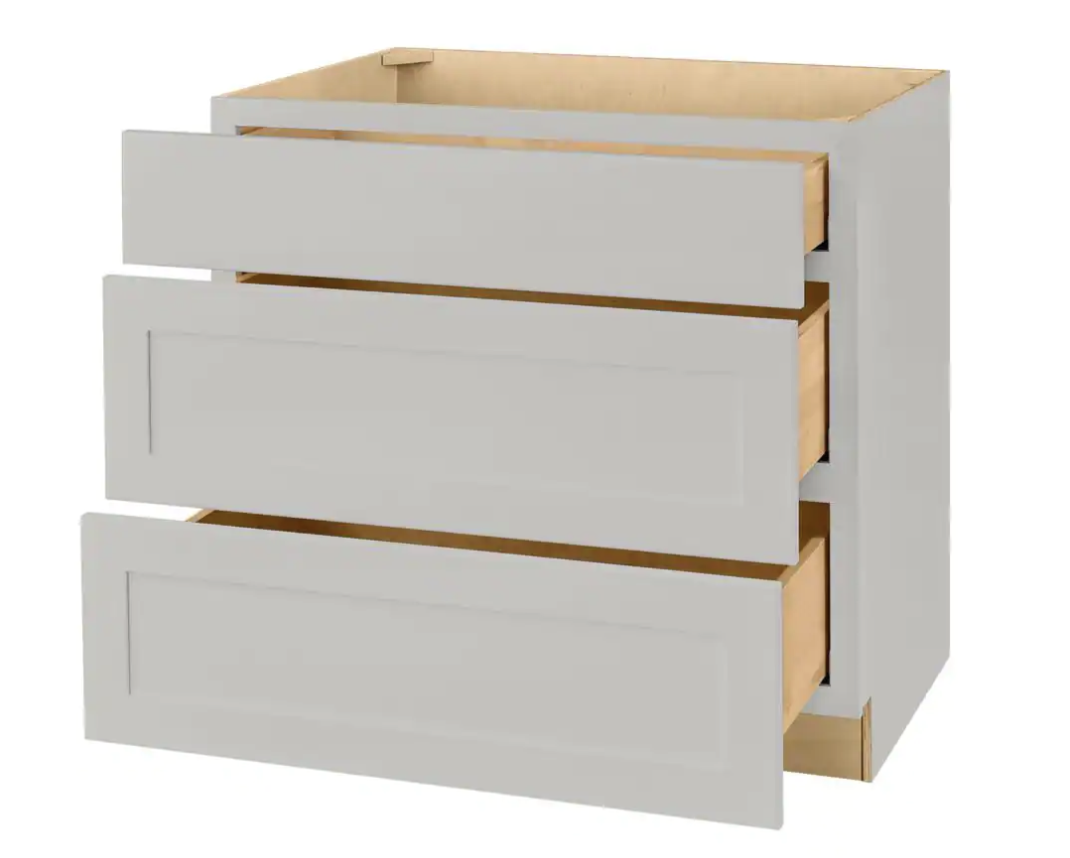
Because I have to assemble them, they are less than we'd pay otherwise. I'm VERY pleased with the quality so far!
I'll do a whole post about these soon, but overall the materials are better than standard in-stock cabinets and they come with full extension, soft close drawers and soft close cabinets. It will be so nice not to have to add those myself!
Before we could start anything in this space, I had to remove everything from the area so our electrician could get to work. Our builder wouldn't place the outlets at counter height (even our licensed electrician was confused by that), so they had to be added.
All of his drywall cuts were under the counter height thankfully, so I don't have to do much patching. When he was done, I removed all of the baseboards in this space:

Other than the cabinets, I ordered a few other items to get this room through the first phase.
My goal this month is just to get the room operational, with cabinets and countertops so we can have a sink with running water. :)
After that I can focus on the holidays and then tackle the fun finishes early next year. I have a feeling this one is going to take me awhile!
I ordered this black granite sink. We have the black upstairs and I love the look and low maintenance. This time I decided to do a single basin instead of two:

And I've been eyeing this Lifeproof LVT (luxury vinyl flooring) for the past year and finally purchased a few boxes for this space:

This is the dusk cherry color that is available in store.
I have a couple of other options in mind...I'll definitely share what we decide on.
We're just so thrilled that we'll have it functioning when we hibernate down there during the holidays and winter months. This will be such a wonderful addition and will be a fun project for me!
Never miss a post by signing up to get posts via email.
I say this often ~ you continue to amaze me with your skills. Is your hubby handy also? If not, I can just hear him say when you have company over ~ ya, my wife built all this herself. Ha!! Can't want to follow along. :)
ReplyDeleteLooks great! Your timing would give me hives but if you’re good with it that’s all that matters. You might want to look at Jenna Sue’s bathroom project where her husband created exactly the arches you are going to, https://www.jennasuedesign.com/how-to-build-an-arched-doorway-opening/. Good luck!
ReplyDeleteLove the ideas. Built and designed MANY homes. I always buy stone/quartz remnants for counters except kitchen. Can find anything from quartz to marble to granite, any type at fraction cost. It takes a little bit of hunting the stone yards but so worth the fun and effort to find. You small basement space would fit the bill to try and find a good deal.
ReplyDeleteI love this idea and enjoy seeing all that you do in your house. I have a gray granite sink and cannot believe anyone would buy anything else. I’ve never worried in the past 4 years that I’d damage it and it still looks brand new. I’ll be right here reading as you work on your new space.
ReplyDeleteThat curved wall .....swoon! So pretty, cannot wait to see how yours turns out!
ReplyDeleteThis is going to be amazing! Looking forward to tagging along as always!!! :)
ReplyDeleteI’m not sure whether you have chosen the Dusk Cherry floor or not, but I would encourage you to bring home a box and look at the color in your space. I made the mistake of bringing home 10 boxes and when I opened it and laid out several planks, it looked much pinker than the sample piece!
ReplyDeleteHome Depot accepted the return, but that was a true workout.