
My Thoughts on Our New LVP Basement Flooring
January 30, 2023
Share this
Review of Home Depot's Lifeproof LVP flooring in dusk cherry.
After more than five years, we finally have flooring in our basement
kitchenette! When we moved in, I figured we'd finish out that space sooner
than later, so I didn't have the carpet extended to that area.
I had big goals to add the flooring right away, but that did
not happen. Here we are five years later. :)
First of all, I should have known better -- it takes me forever to research
and decide on big purchases like this.
Also, I didn't consider that flooring should be installed after base
cabinets. So that spot has sat with cement and scrap carpet since we moved
in.
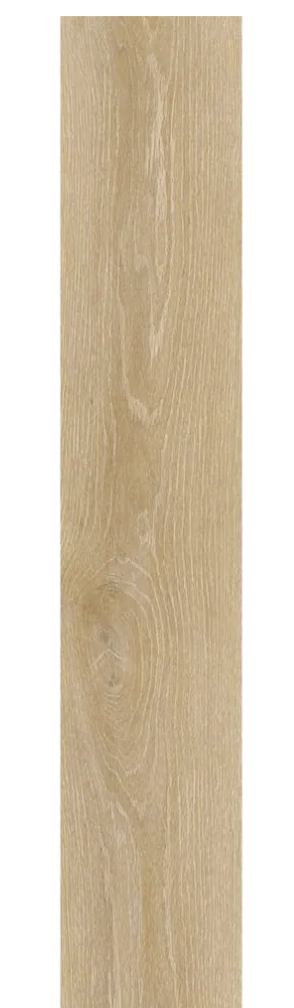
Years ago I saw this LVP flooring at Home Depot and fell in love with the
Dusk Cherry color:
This post may contain affiliate links for
your convenience.
I may earn a small commission when you make a purchase through links.
See my policies and disclosure page for more information.
The Lifeproof luxury vinyl plank flooring (LVP)
I picked is perfect for a basement, or anywhere you may have water issues.
They are waterproof and are incredibly easy to clean.
I've had the little sample of this flooring for YEARS (I actually used it as
a coaster on my desk to see how it would hold up to water!) and it was
finally time to purchase it last fall when we
started on this kitchenette.
There are so many great tutorials online on how to install click lock LVP
flooring, so I'll share the resource I used. Instead of a step-by-step
instruction, I want to share some tips about the installation and our
thoughts after we've lived with this flooring for awhile.
Important details about this Lifeproof LVP flooring:
- Each plank is about eight inches wide and four feet long and covers 20 sq. ft. per carton.
- This flooring is scratch and stain resistant.
- It is 100 percent waterproof. (Great option for pet owners!)
- The planks can be installed over existing tile, hardwoods, etc.
- No acclimation required. (This is huge! You can start installing right away.)
- There are a ton of color options.
This flooring isn't difficult to install...as far as actually laying the
flooring and clicking them together. Once you get going it goes quite fast
and gets much easier.
Physically it isn't the easiest DIY project -- but all flooring is
hard on the body in my opinion. I'm getting old! 😂
I watched this helpful Youtube video before starting the install. They share
some great tips that answered a lot of my questions!
Before I started anything, I scraped the concrete floor to remove any
plaster or paint splatters from the building process.
Once I got that cleaned up, I started in the left corner of the room with my
first plank.
Starting at the left is important because of the tongue and groove location on this flooring!
Your planks will not click together easily if you start at any other
spot.
You can use a regular miter saw or to cut this flooring (or use a razor to
score and snap it), but I was able to borrow one of
these vinyl flooring cutters:

It cuts the flooring quickly and cleanly, and it was much easier than
running up and down the stairs to my saw.
Since I was only doing this small space, I'm thankful I was able to borrow
it. If I was doing a larger space, it would 100 percent be worth the
investment to purchase this.
There are only a few other tools you'll need to install LVP flooring. If you
are planning installing it yourself, I highly recommend an
installation kit like this one. I wish I had seen it before I started!
It has spacers, brackets and a tapping block (that you hit to get the planks
right up against each other) that make the install much easier.
Make sure the seams on all sides of the planks are TIGHT.
I was surprised at how hard I had to hit the tapping block to get them tight
between lines of planks. Don't be afraid to use some force on your block to make sure those seams
disappear.
We already had a metal carpet transition strip installed, so for the last line
of planks, I cut them down to fit the width I had left, and then ran a line of
caulk between the strip and the flooring:
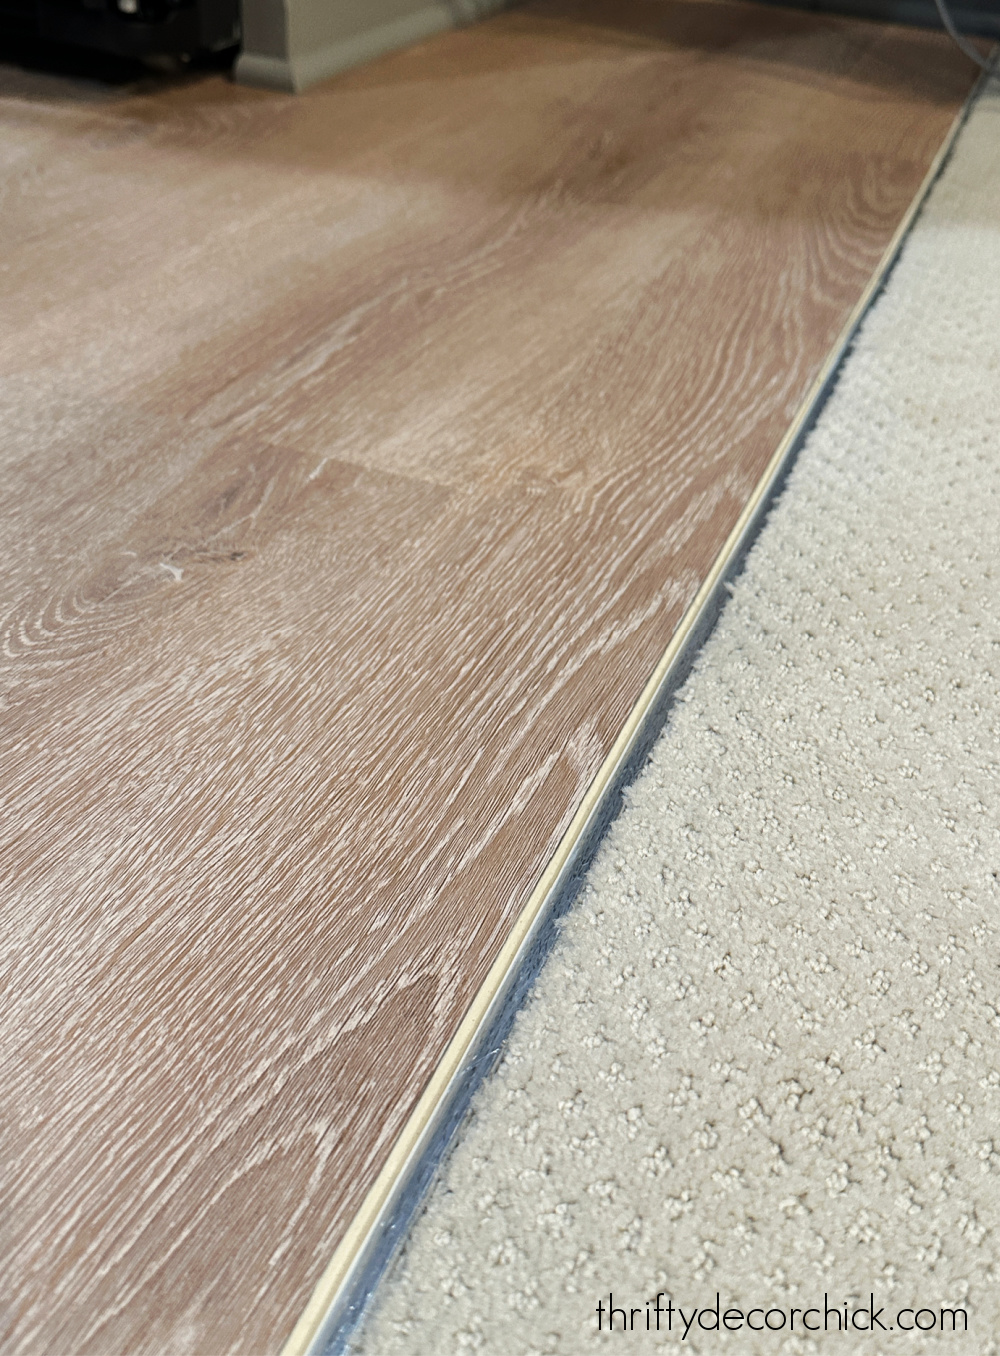
I need to find a darker caulk and do one more application, but it's held up
great! This is a floating floor and it surprises me that each line of flooring
lays so flat, even this last line that isn't attached to the concrete at all.
We may continue this LVP into the rest of the basement later, so I didn't want
to do anything permanent at that transition.
When complete, there's no movement or shifting in the planks, especially after
adding baseboards and quarter round.
Here's another view of how that transition looks:

As you're installing, make sure to stagger your joints. Once done with one
line, make sure to change up the lengths as you work across the room.
Staggering planks gives the flooring a more professional look, and keeps the structural integrity throughout.
My thoughts on these LVP planks.
We've had the flooring down for a couple months and LOVE it!
Years and years ago, we had laminate flooring installed in our family room and
kitchen in our old house. Overall it was not my favorite -- but this type of
flooring has come a LONG way in all those years.
The laminate we had before sounded very hollow when we walked on it, and did
not hold up to water at all. (We had to have all of it removed when we had a
refrigerator leak.)
This stuff looks, feels, sounds, and holds up better than the flooring we used
12 years ago. I've never installed this particular flooring before now, and
I'm very pleased with how durable it is so far!:
You can install LVP right over cement (or vinyl, tile or hardwoods!), and no
lining or underlayment is needed. It has a soft rubber bottom that cushions
just a bit.
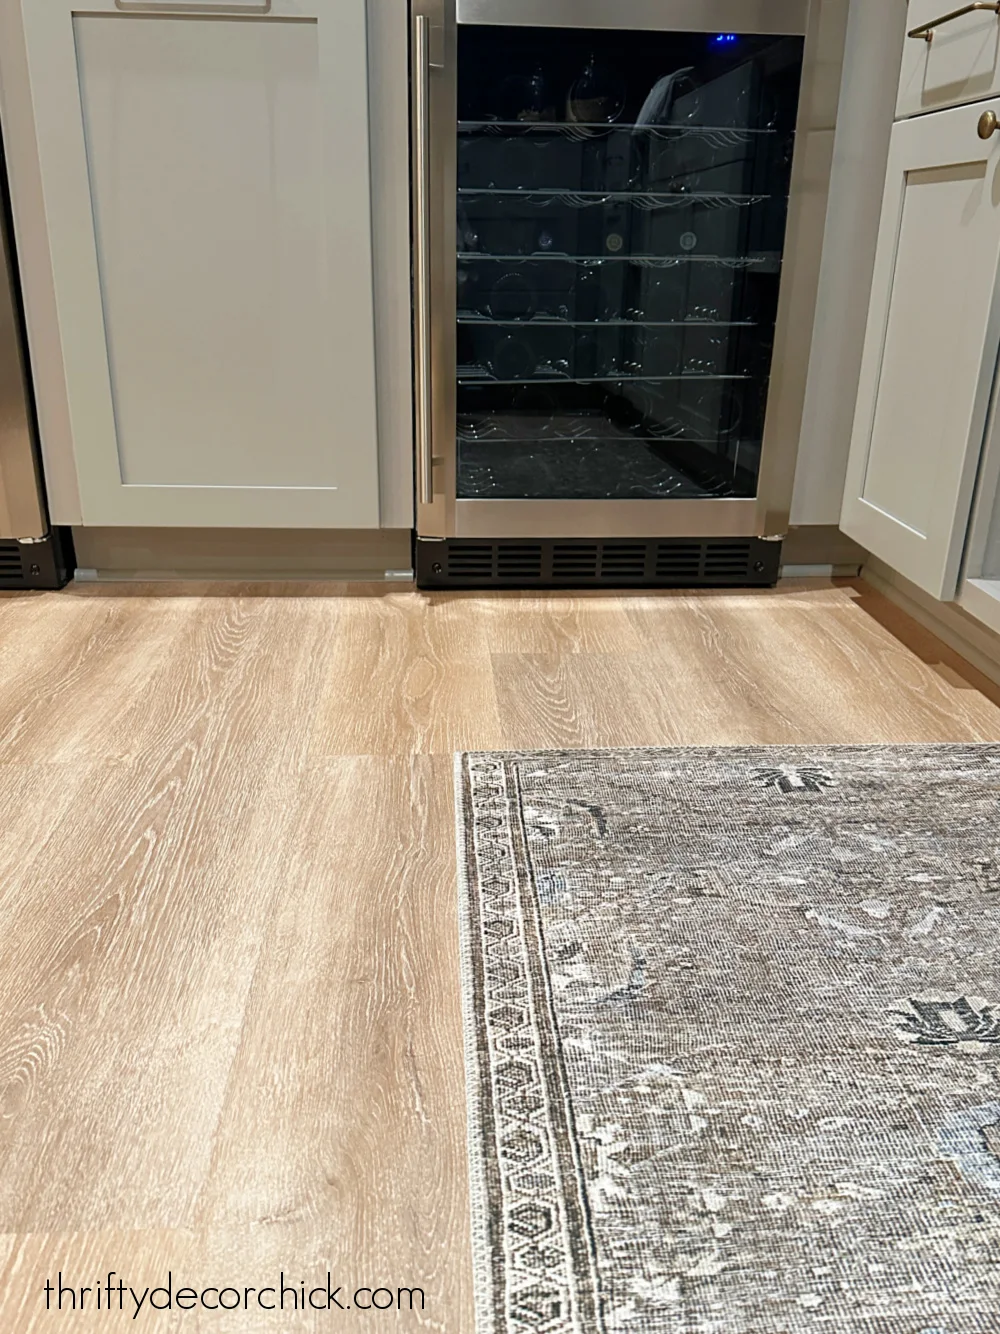
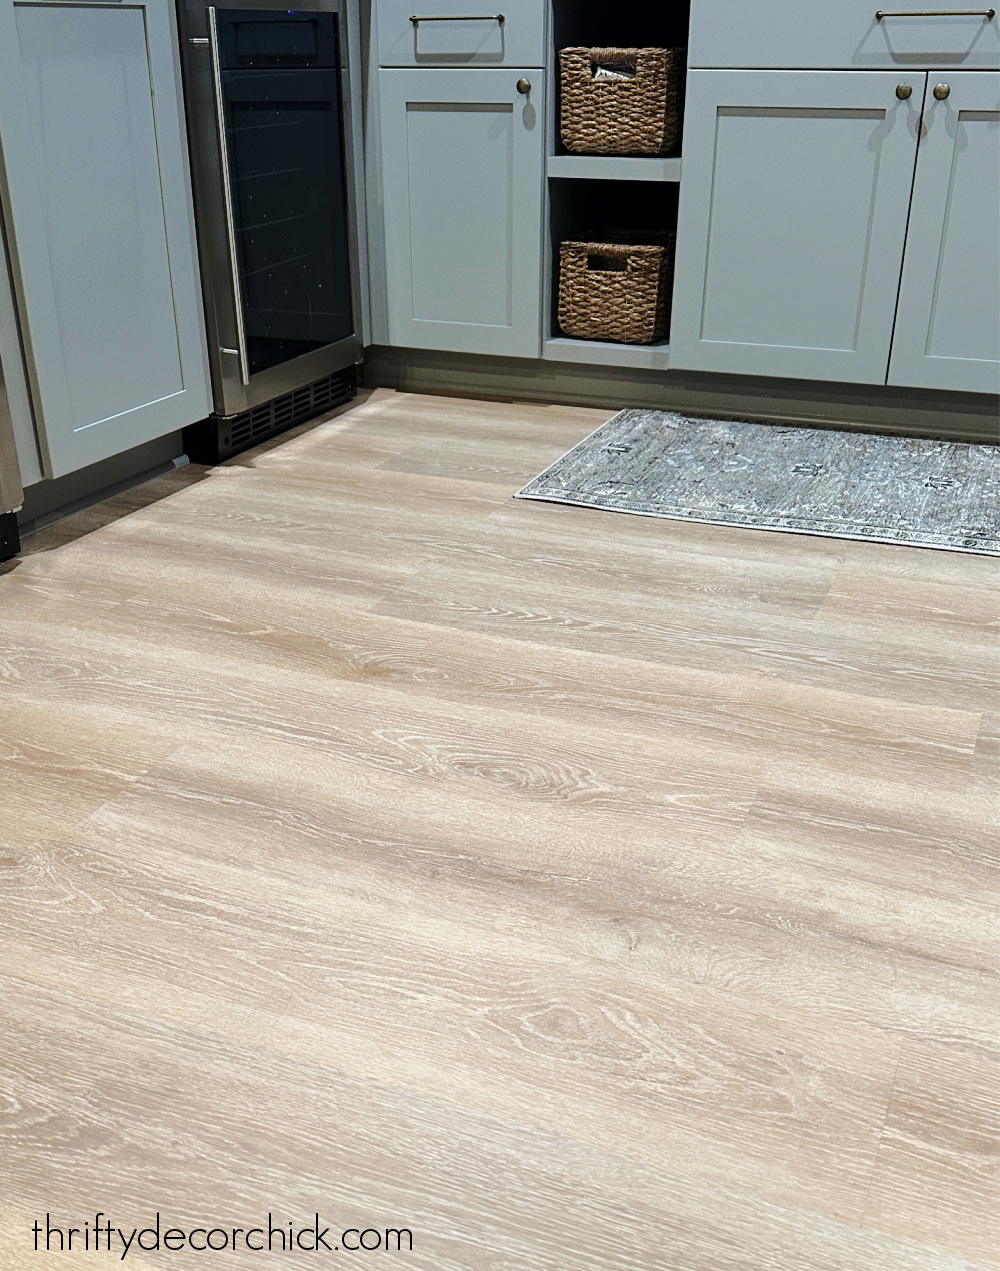
I love the color and look of this Dusk Cherry version:

|
| You can find that pretty rug here. |
I would think it was real wood if I didn't know otherwise! :) I love that each
piece looks slightly different, which gives it a more realistic look.
We've dropped things on it, dragged heavy items...so far so good. I'll be sure
to update you on how it holds up over time.
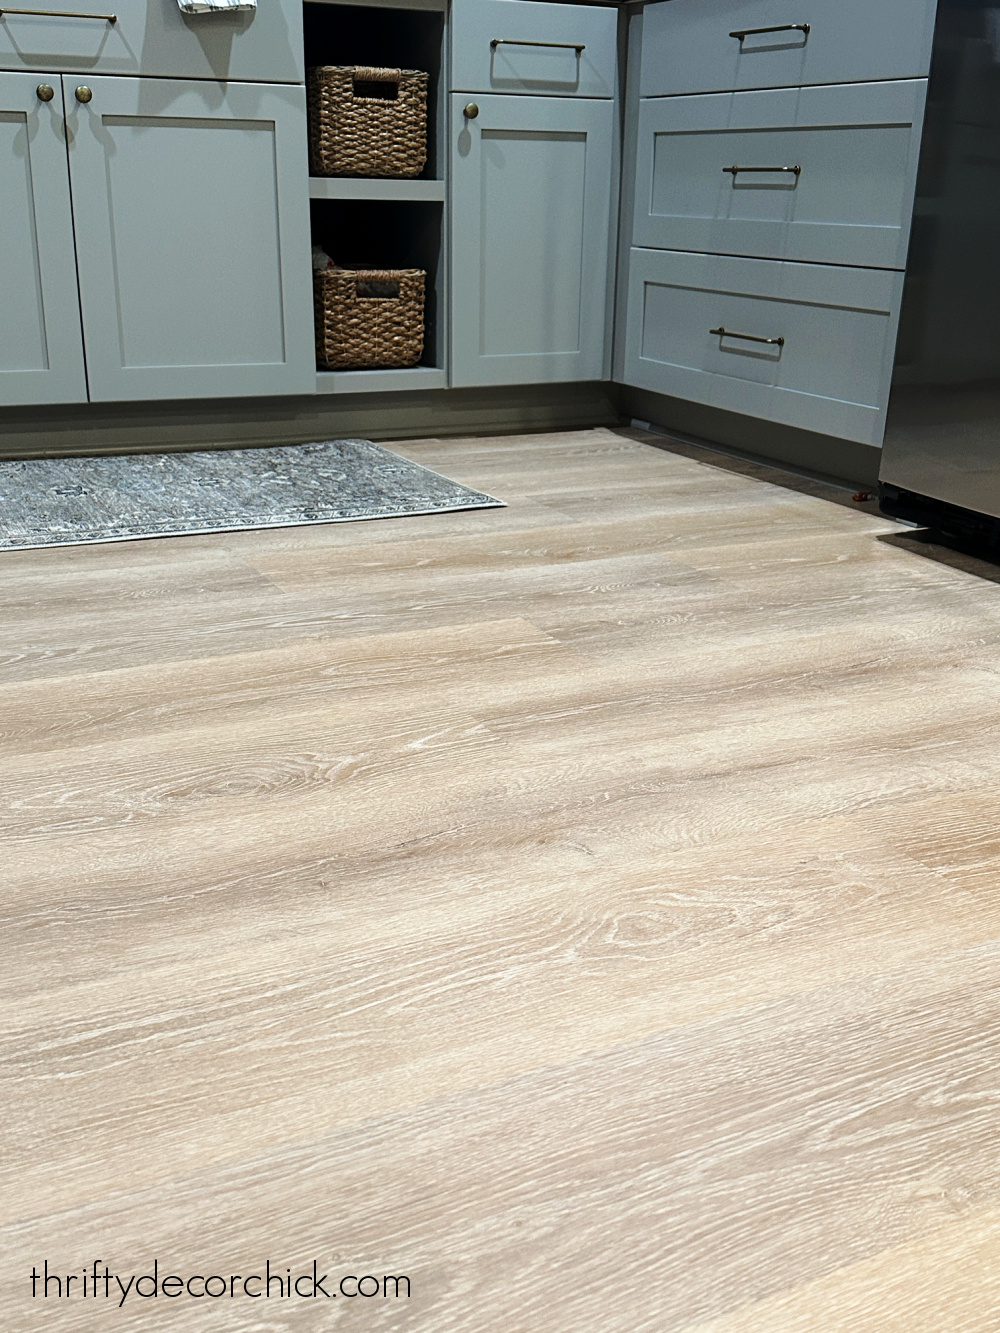
I promise these are the last views of the bottom half of the room only. I'll
share my countertop and backsplash picks soon!:
As far as LVP options go, the price of this one is priced on the lower end,
but I'm thrilled with the quality. We needed five boxes for this space, so the
total cost was $350. (And I used nearly every single piece!)
I'm so happy with how this room has come together! We absolutely love
it!
Never miss a post by signing up to
get posts via email.
Your transition looks really good! The wear layer on this is only 6mm. Will be interesting to see how it holds up to scratching over time.
ReplyDeleteYes! They have a thicker mm as well!
DeleteWe just had this installed in our entire basement. I love it!
ReplyDeleteYour new flooring looks great! I love the color. We will be in the market for new flooring soon so this post is very helpful. Thank you.
ReplyDeleteIt looks good! Did you find that the boxes had the "pattern" mixed up already or did you have to deliberately choose each plank so it wasn't identical to the one next to it? We're going to be going with LVP for our new flooring this spring and haven't decided on installing ourselves or hiring it out. If you were doing 1500sq ft do you think you would DIY it?
ReplyDeleteI just grabbed pieces and installed, no need to check the pattern! Personally I wouldn't do that much myself, just because flooring installation is so hard on the body. But if you're OK taking your time with it and doing one space at a time, you could absolutely do it yourself!
DeleteOMG, I installed the exact same one in my kitchen thru family room and it wasn't difficult at all. However, had I had all this great inf you provide, I'm sure it would have been alot easier. I must say this color choice is absolutely beautiful when laid out. It looks Beautiful. Found your site by chance but glad I did, you're Awesome❤
ReplyDeleteWell done! Beautiful choice so proud for you! Looks professional!
ReplyDeleteDid you do anything to be sure the cement floor was level prior to install?
ReplyDeleteNo, but we have a finished basement so they are nice and level. If your floors aren't perfectly level, these have some pliability so I think they would do well.
DeleteHi- I've been following you for years. Love all your work. What beverage center did you purchase? Do you like it?
ReplyDeleteHello. My husband and myself have been shopping for LVP and have found it very challenging to decide on a color. The Dusk Cherry has been one of our options but in some lighting it seems to have red tones on some of planks….at least according to family. Do you see this overall? Kindest regards
ReplyDeleteI see gray sometimes and I am still on the fence because of that. In these pictures I see gray and pink under stones. When I look at it is different lighting it’s either more gray and the perfect warm light brown. Why is it so hard? Lol
DeleteCurious how this has held up over time? Do you have pets? Also do you think this color has red undertones? I’ve poured over online pics and in some light feel it may pull some red undertones which I don’t want.
ReplyDeleteYes, three cats and a dog, they still look brand new! I don't feel like that in person, but I would recommend you pick some up and lay them out in your spaces to see how you like them.
DeleteVery nice look. Curious if you placed installed product directly on concrete basement floor or used any moisture barrier / underlayment?
ReplyDeleteA barrier isn't needed with this particular product so I installed this directly onto the concrete. Very easy!
Delete