DIY Cozy Cottage Inspired Main Bedroom Makeover
March 27, 2024
Share this
A beautiful DIY cottagecore inspired bedroom transformation.
I gave our dark bedroom a beautiful, cottage decor inspired makeover with a
bunch of fun DIY projects!
When I first started working on our bedroom years ago, I kept the
dark tray ceiling "mood" we created going and continued the gray down to the walls:
We loved how cozy it was, but I quickly realized the dark gray was hindering
my decor choices. I wanted to brighten and neutralize the space, but didn't
want to remove the wallpaper in the process.
For one, we still really like the
gray grasscloth wallpaper, and two...well it would have been a HUGE project to remove all of that
and/or replace it. Nope, not today. :)
So I wanted to work with what I had -- the wallpaper and chair rail I
installed a few years back. I love all of our furniture and the rug, so I knew
those would stay.
Almost everything got new DIY/decor touches and oh my...this turned out to be
one of my favorite makeovers ever!
I'll share a list of all of the products in this space at the bottom of the post.
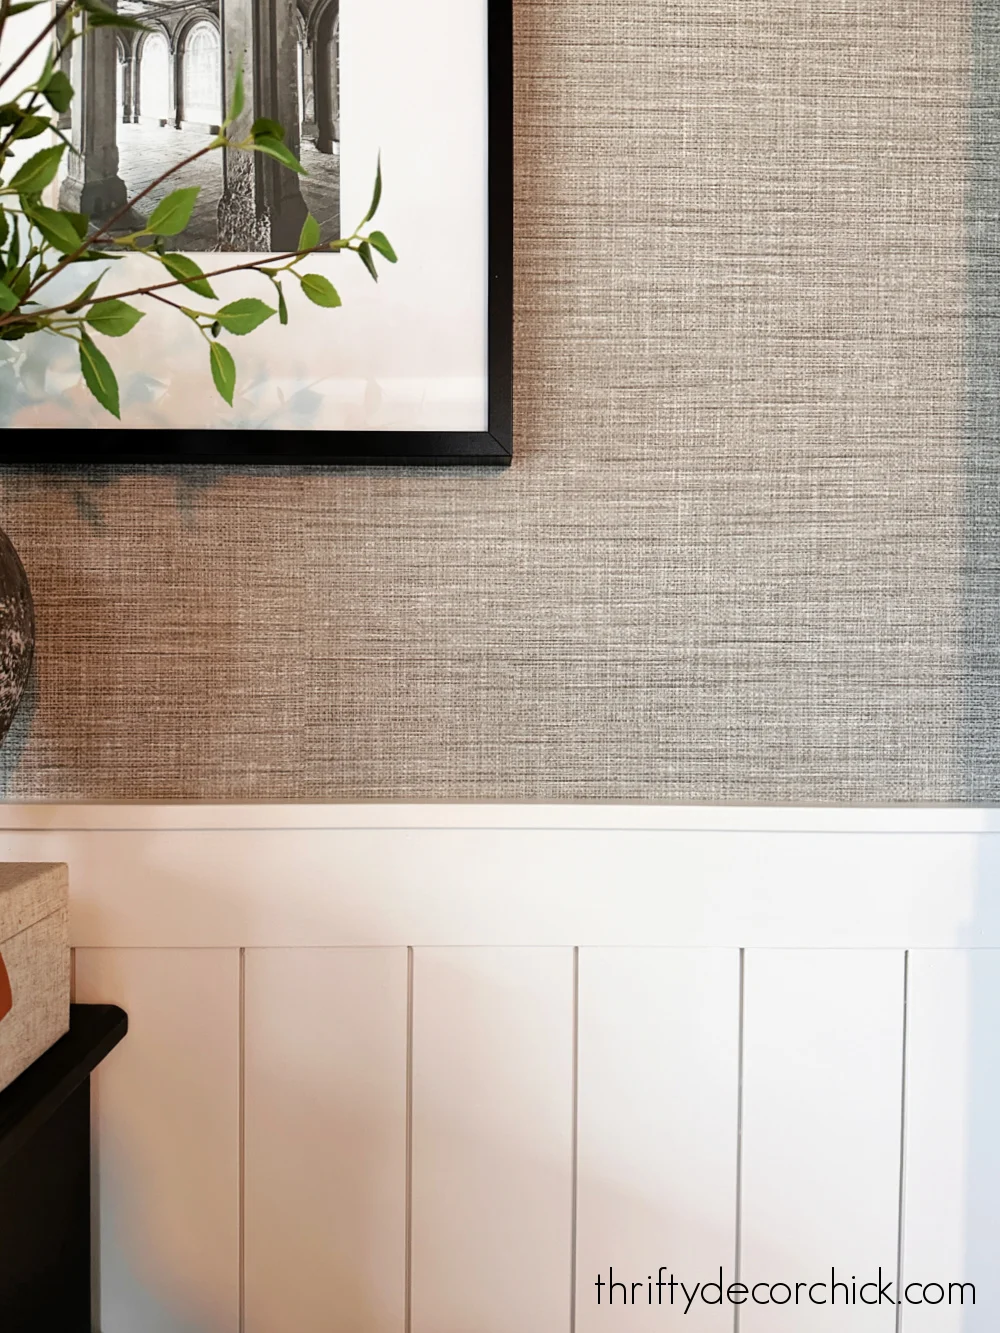
Tongue and groove shiplap walls
I started out by covering up the dark color (Westchester Gray by
Sherwin-Williams) on the bottom portion of the walls. I used a
tongue and groove shiplap, installed vertically:
This post may contain affiliate links for your convenience.
I may earn a small commission when you make a purchase through links.
See my policies and disclosure page for more information.
I've slowly been replacing the baseboards around the house, so I installed new
ones in here while I was at it.
I felt like the chair rail still needed something, so I later added a strip of
the backband trim (that I used on our windowsills in here) to the top of the
railing:
It was the perfect finishing touch! Check out that linked tongue and groove
project post to see pics and more details of that trim.
Here's that same spot now:
New neutral/lighter drapes
Next up was replacing the dark drapes. I have to have absolute DARKNESS when I
sleep, so they had to be blackout curtains.
I found
these blackout linen looking drapes
online and did my
pleat tape trick to make the curtains look more custom
and professional. I also added a "leading edge" to one side of the drapes with
some striped ribbon:
This is a little detail I remembered from my decorating days...it adds a
little bit of a custom touch to store- bought drapes.
The drapes made a HUGE difference in here! Let there be light! :)
I only used one curtain on each window by the bed, instead of two like before.
This definitely "lightened" the room -- all of that dark fabric before was
really weighing it down.
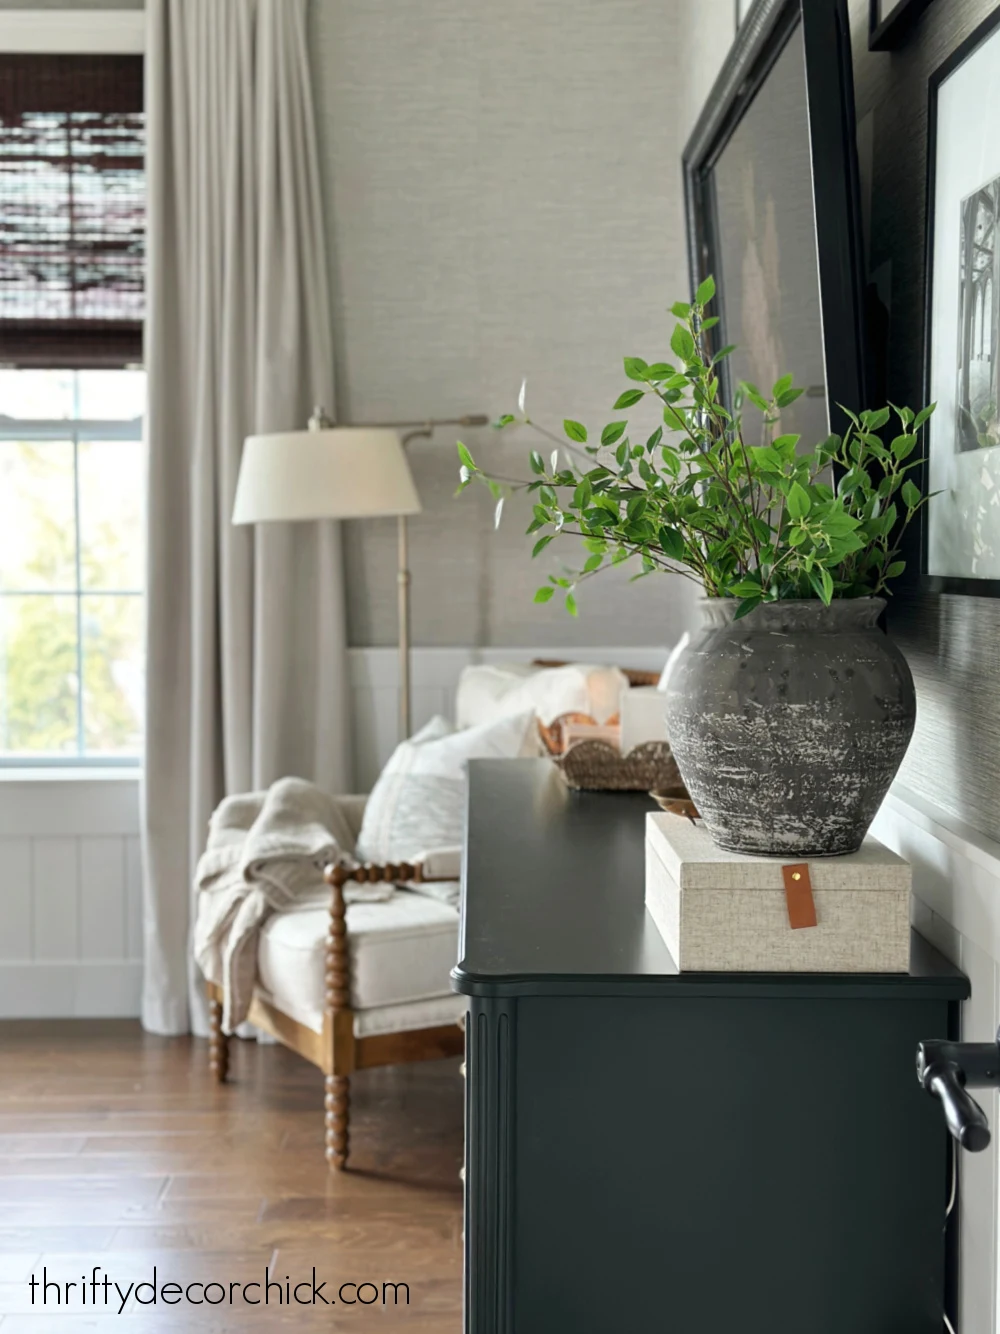
Painting furniture
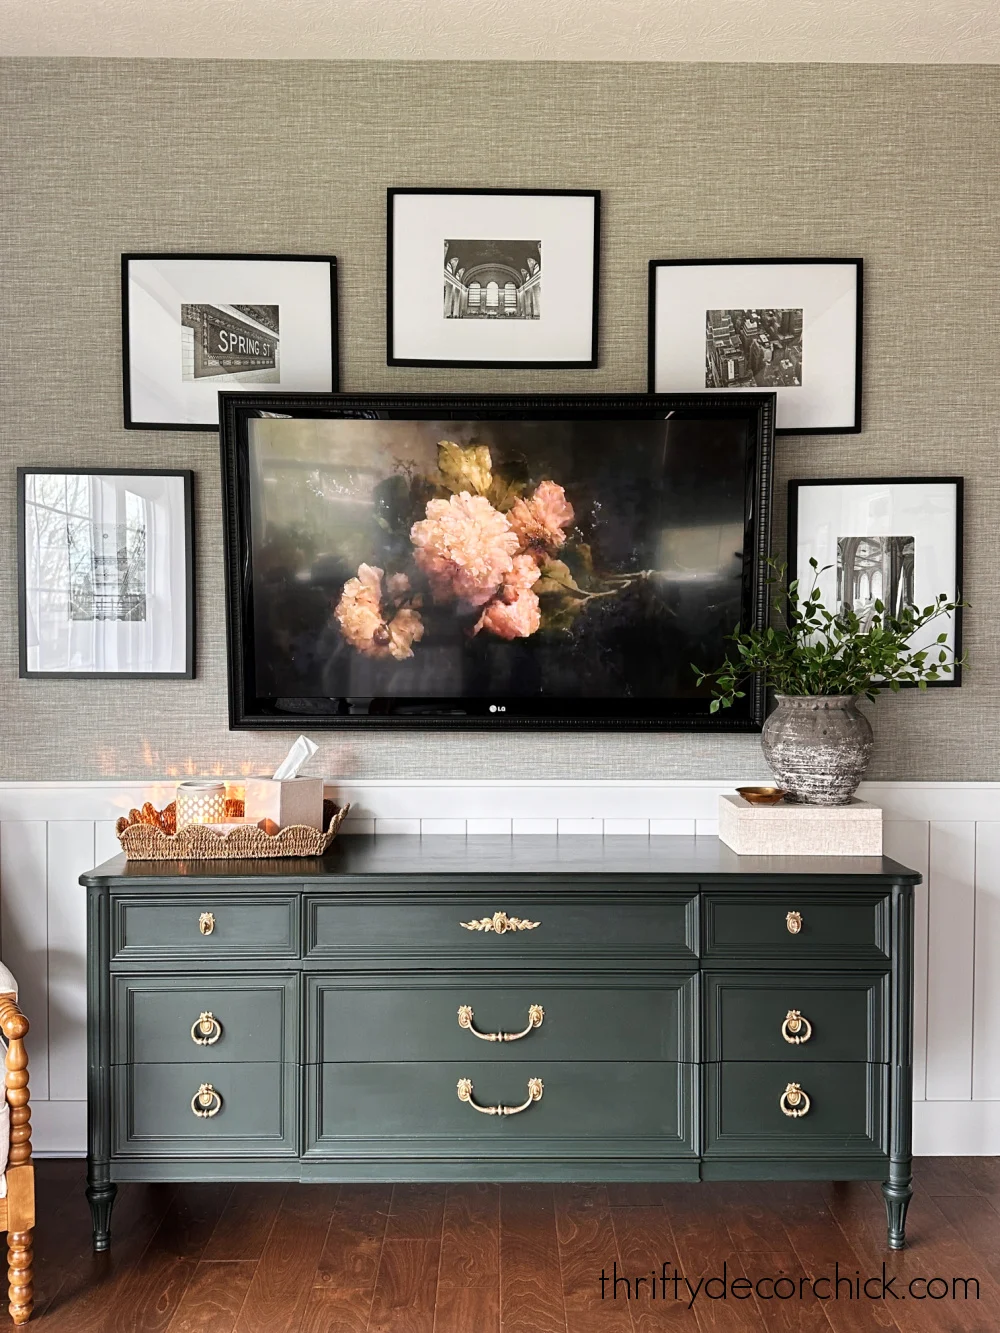
Next up was the dresser makeover that I had been thinking about for
years. I adore the lines of this vintage dresser, but it had an
orangish tone that I didn't care for:
So I transformed it with some paint! I shared
how to paint furniture without sanding here:
I also shared how I cleaned that brass hardware and made it shine again. I
love that beautiful green (Jasper by Sherwin-Williams) with the brass:
Small DIY updates
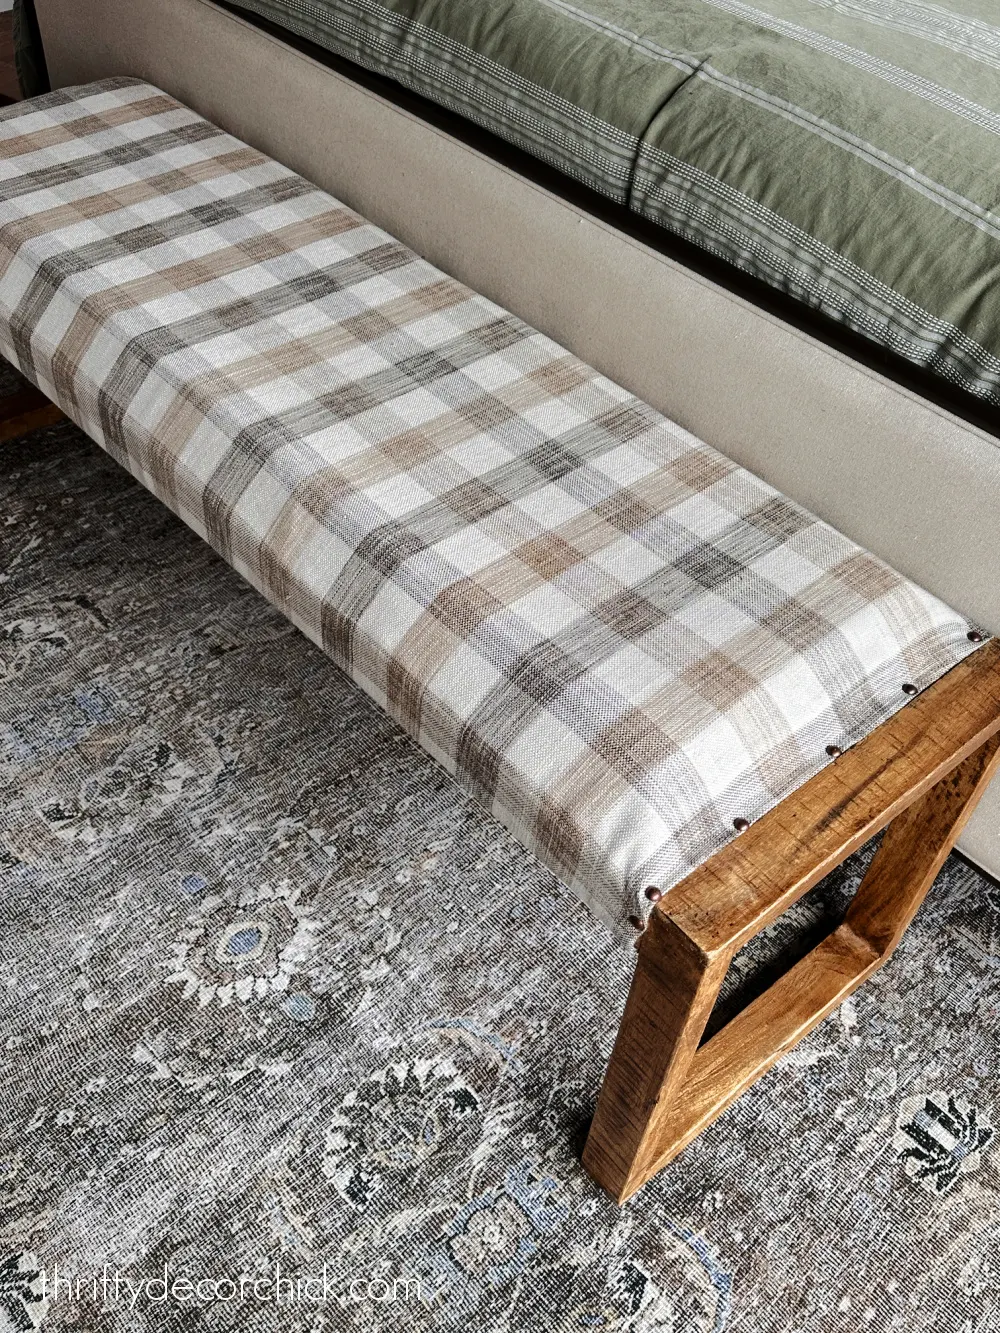
With the big projects out of the way, I could focus on the smaller ones. I
shared how I
recovered this bench with a rug
last year:
The color was blending in too much for my liking (and one of our cats LOVED
this fabric and destroyed it with her claws), so I found a scrap of this cute
checked fabric at Calico Corners and recovered it again:
I also
built a wood frame around the TV
for a decorative touch:
It's such a small thing, but it adds so much character to this space!
I painted our
IKEA dressers-turned-nightstands a couple years ago, and they work perfectly with the room redo:
New cozy bedding
The only new "decor" was the new bedding, and most of it was from Target. I
LOVE the
neutral floral sheets
with the
green duvet cover:
The
euro covers were online finds
-- these are my favorite pillow covers I've found on Amazon! They are
so pretty.
All of the DIYs took about five weeks to complete. The tongue and groove
treatment on the wall took the longest and was the biggest expense, but made
the biggest impact for sure.
Here's a look at the room with the dark gray accents before:
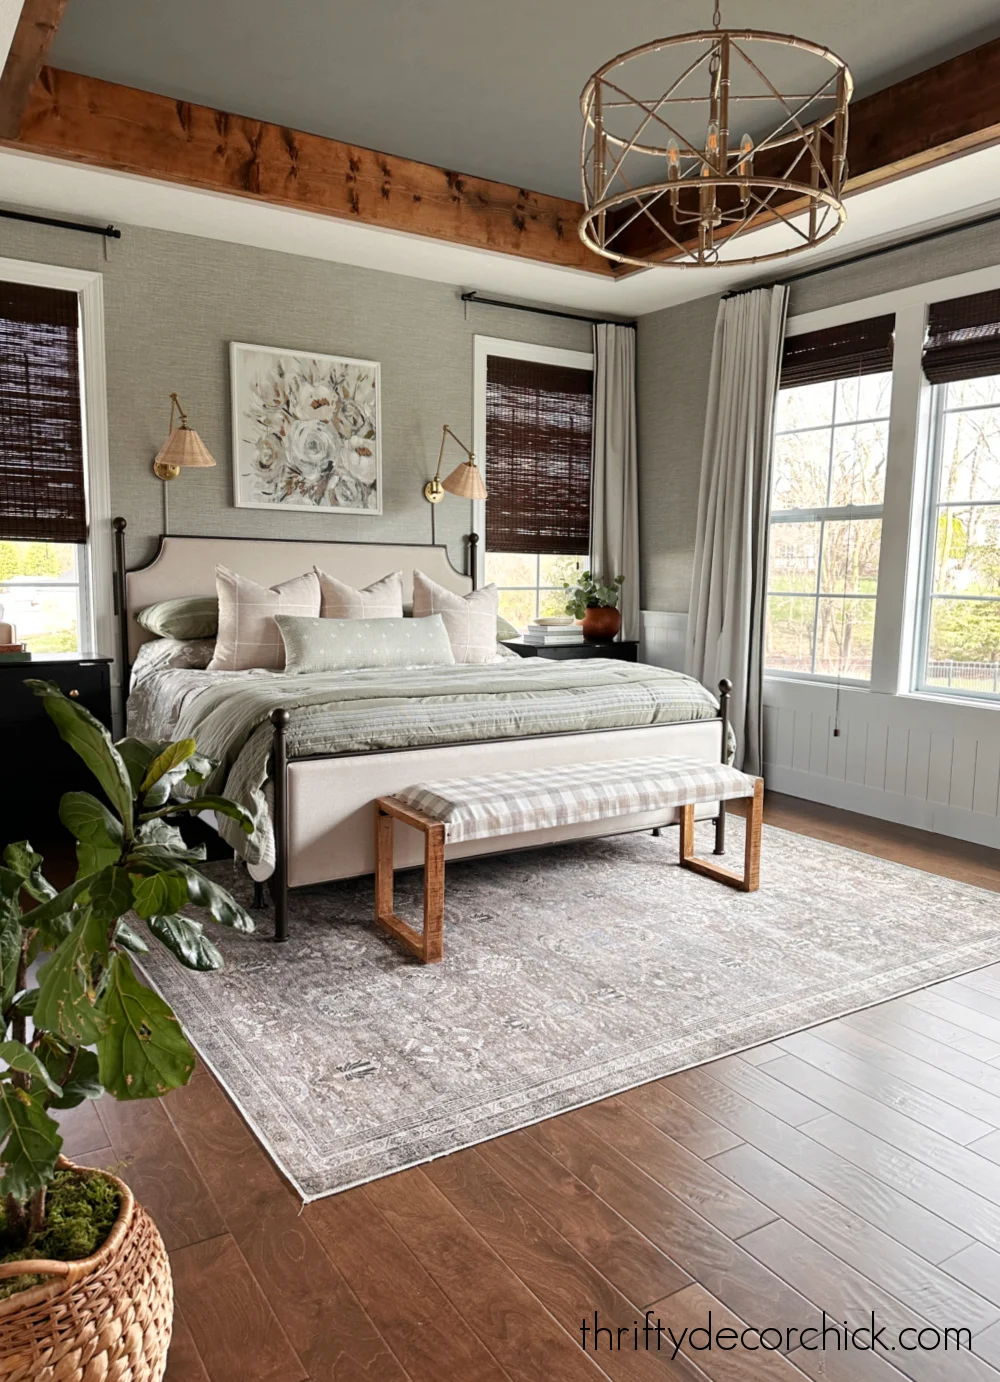
And here's that view now:
Another before and after of this dresser and TV wall:
I tried to add some color to this room before, but it never felt right:
It has green and a little bit of blue in it and is SO lovely.
I added a white frame around that artwork above the bed to beef it up a little
bit...it looks so much better:
As you can see...the cats LOVE this room. 😊 They've always napped in here,
but do so more than ever now:
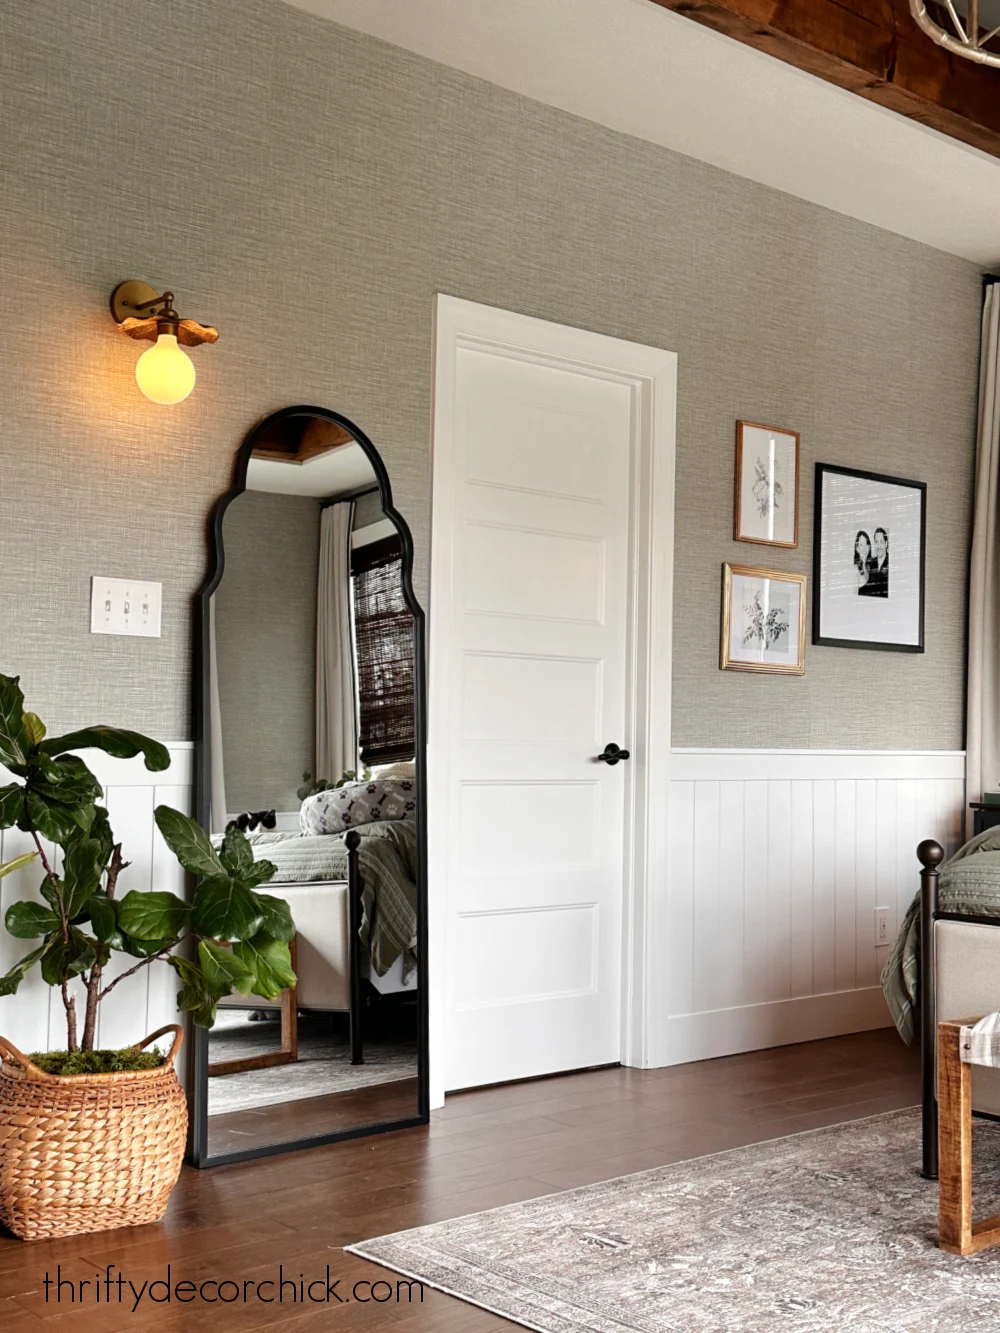
Here are a few more random pics of the space:
We love love LOVE how it turned out. It's still as cozy as ever (so pretty
with the lights dimmed at night!), but also fresh and pretty.
It turned out even better than I imagined. I find myself spending more of my
day in here...folding laundry or whatever. It's such a lovely room.
I hope some of these DIY ideas inspire you to try one in your home!
Here's a source list of the items in our bedroom. Let me know if I forgot
anything:
- Rug
- Bamboo light fixture
- Tissue box cover
- Euro pillow covers
- Wavy rattan tray
- Brass light sconce by mirror
- Black out curtains
- Similar floor lamp (mine is no longer available)
- Rattan wall sconces
- Knit blanket on chair
- Lumbar pillow on bed was from Target
- Duvet cover
- Floral sheet set
- Basket with plant
- Floor mirror
- Upholstered bed headboard and frame
Never miss a post by signing up to
get posts via email.










It’s funny that this would be one of the first posts I read this morning… When I woke up and looked around, I thought, “a goal for me this spring is to refresh the space”.
ReplyDeleteSo many good ideas here! If I do it (big “if” - you know, best laid plans and all) THIS will be my inspiration :)
It looks so bright now, Sarah. I love it! I have considered going with green for spring this year in bedding in our master bedroom. I love yours! My cats also love napping in our room during the day - and the dogs! I have to keep that in mind when I pick out bedding. No whites or creams. The dogs ruin it the first time it rains and gets muddy outside! Great to see new content on your blog too! I miss all your DIY's!
ReplyDeleteThank you so much! :)
DeleteYou've worked hard and it shows; a lovely master suite.
ReplyDeleteCan you please link the source for that cute little projecting light on the wicker tray on the dresser?
ReplyDeleteLove your refresh. Your wall vertical shiplap have my wheels spinning for a space around my house. Thanks for that 😜
ReplyDeleteI am looking at that same bed on Wayfair! It’s so helpful to see it in your room. The description says there is 7” clearance under the bed, but a reviewer says it’s only 4”. Can you clear up the debate? I need enough space for under-bed storage bins. Thk you!
ReplyDeleteIt is seven inches from the floor to the bottom of the rail! :)
DeleteWill you tell me a little bit about the Big Lots blue floral canvas (which I happened to purchase after seeing it here 🤣) and changing the color and style of the frame? I actually just ripped the original frame off mine because I had cracked it, and I _was_ planning in building another floating frame for it ... but thought I'd ask you more about yours here because you have way better taste than I do! 😊 Thank you for all the inspiration! Your work is so lovely!!
ReplyDeleteWhat color did you paint the night stands here?
ReplyDelete