
How To Install Tongue and Groove Planks on Walls
February 29, 2024
Share this
How to install tongue and groove shiplap on a wall.
Add character to your walls with this beautiful DIY vertical tongue and groove
detail!

As much as we've loved the darker, cozy feel of our bedroom, the colors I used
when I first decorated it years ago have really restricted the accents I could
use:

I like to add seasonal touches like warmer, richer colors for fall. Or pops of
red for the holidays. But nothing ever meshed well with the dark gray
tones.
I LOVE this dark Westchester Gray in our moody basement, but it was feeling heavy in our bedroom.
So. I had a plan for a little DIY makeover, and I finally got to work on it
last week. It involved vertical tongue and groove molding that I could
incorporate into the existing chair rail that I installed years ago.
Because I was adding new trim to the walls that was going from the floor up
to the chair rail, I needed to remove the baseboards all around the room:


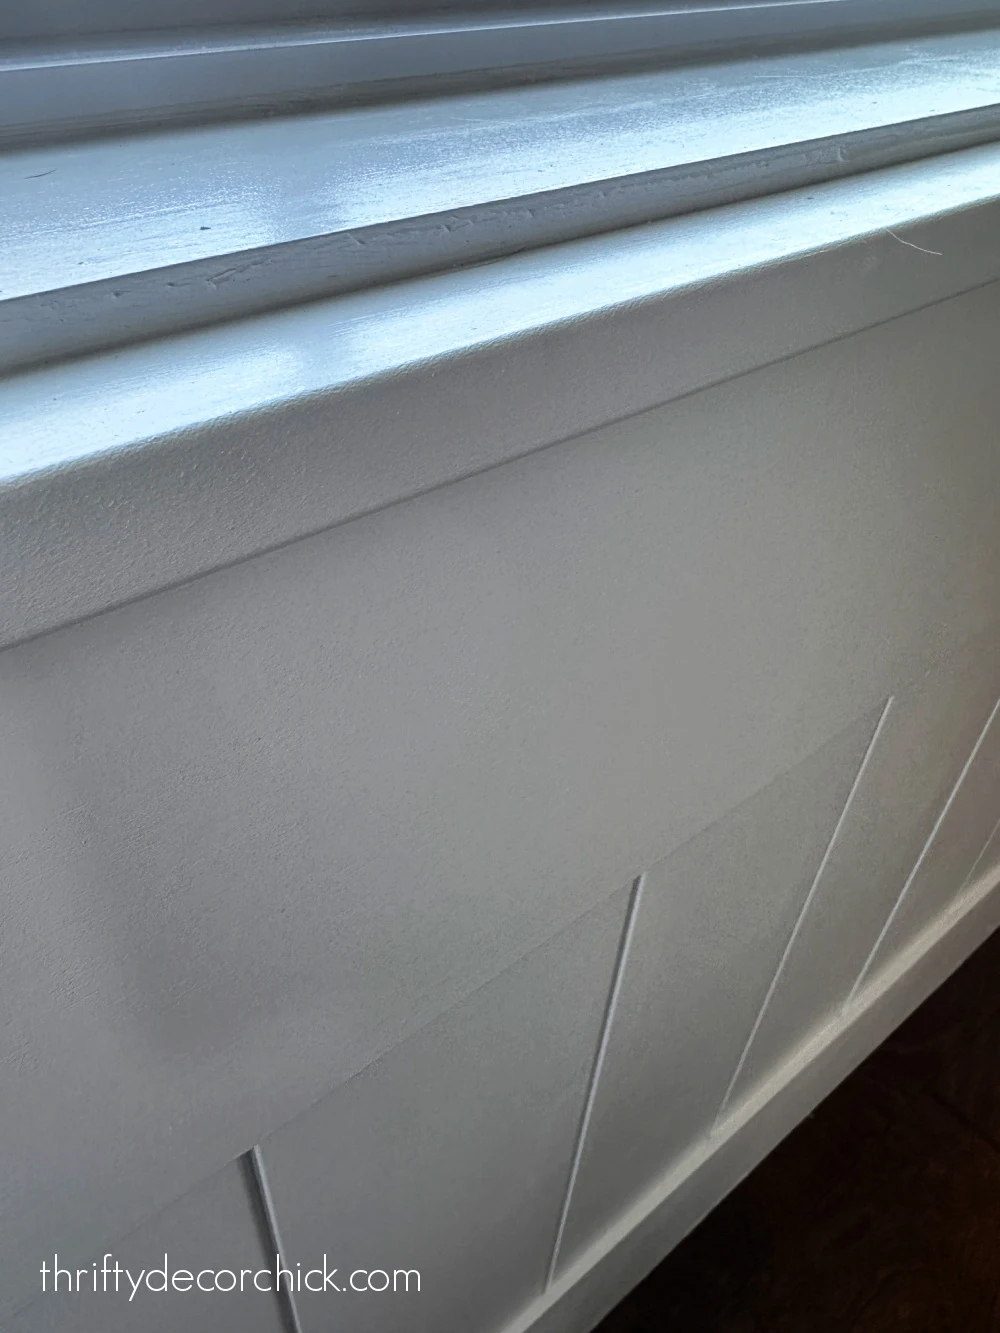
Because the left side of the boards isn't flush with the wall, I added more
nails into that side as well:


This post may contain affiliate links for
your convenience.
I may earn a small commission when you make a purchase through links.
See my policies and disclosure page for more information.
I shared my method for
removing baseboards without damaging the wall
years ago and it's still my go-to.
It's not always necessary to remove the baseboards when adding trim work to walls, but I highly recommend it in this instance.
You'll see why this particular trim accent looks better with thicker
baseboards in a bit!
Tongue and groove is the technical term for shiplap or planked walls. I've
done a lot of projects with this look over the years and the
shiplap method I've used in the past is cheaper
than the one I chose this time.
This time I decided to use actual tongue and groove planks from Lowe's. I
thought it was going to be way more expensive than it was -- but because
this was only going to go up about a third of the wall, it wasn't
too bad.
How to install tongue and groove planks
This
tongue and groove product
has two thinner sections on either side of the planks. You need to
consider these when deciding how you'll install it.
Tongue and groove can be installed both horizontally or vertically. I chose the latter for this project.
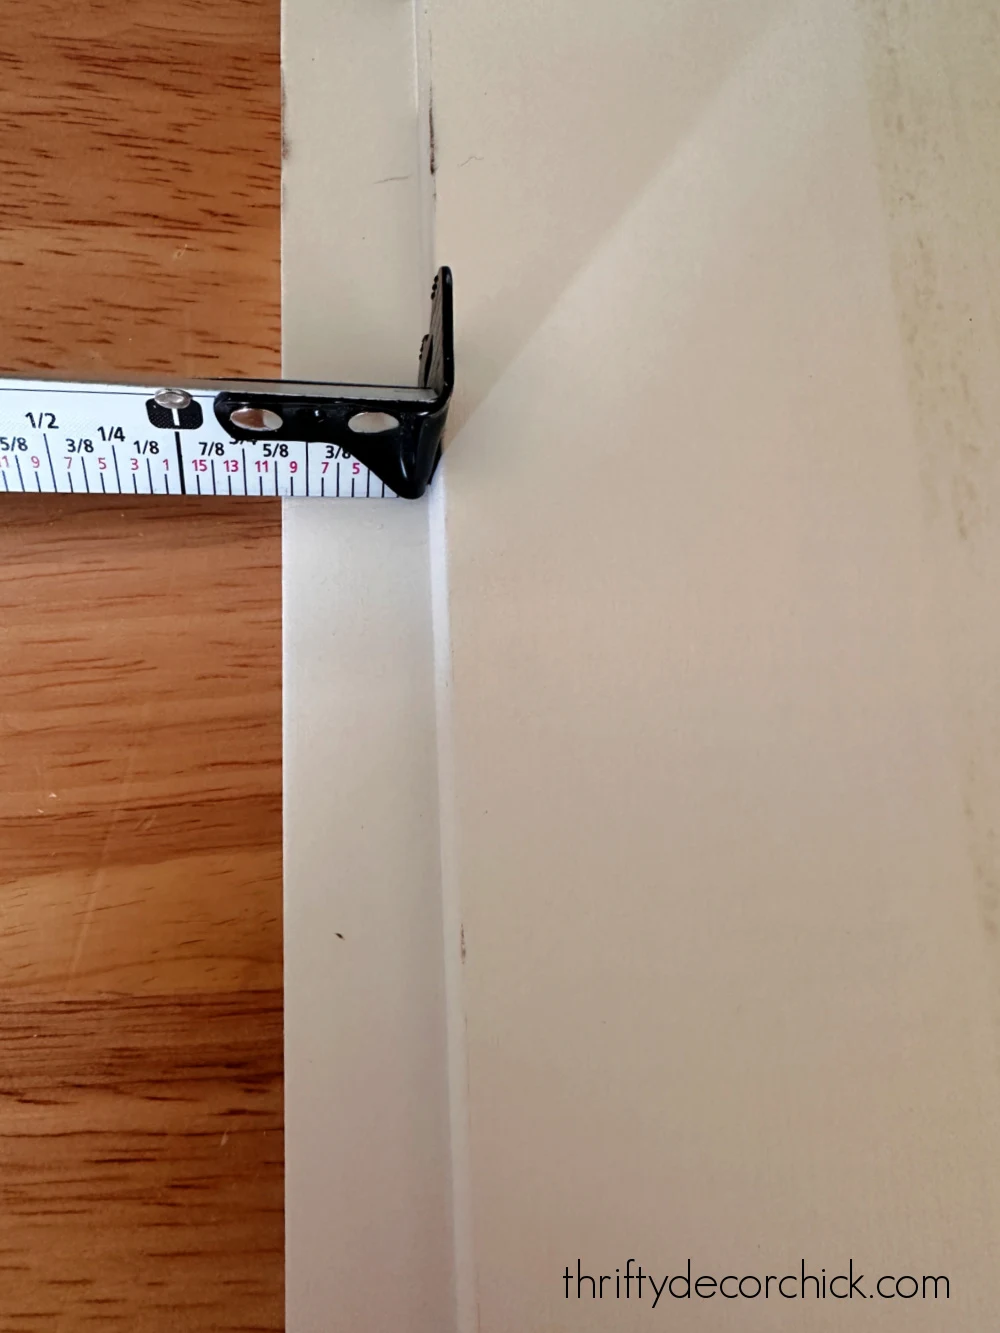
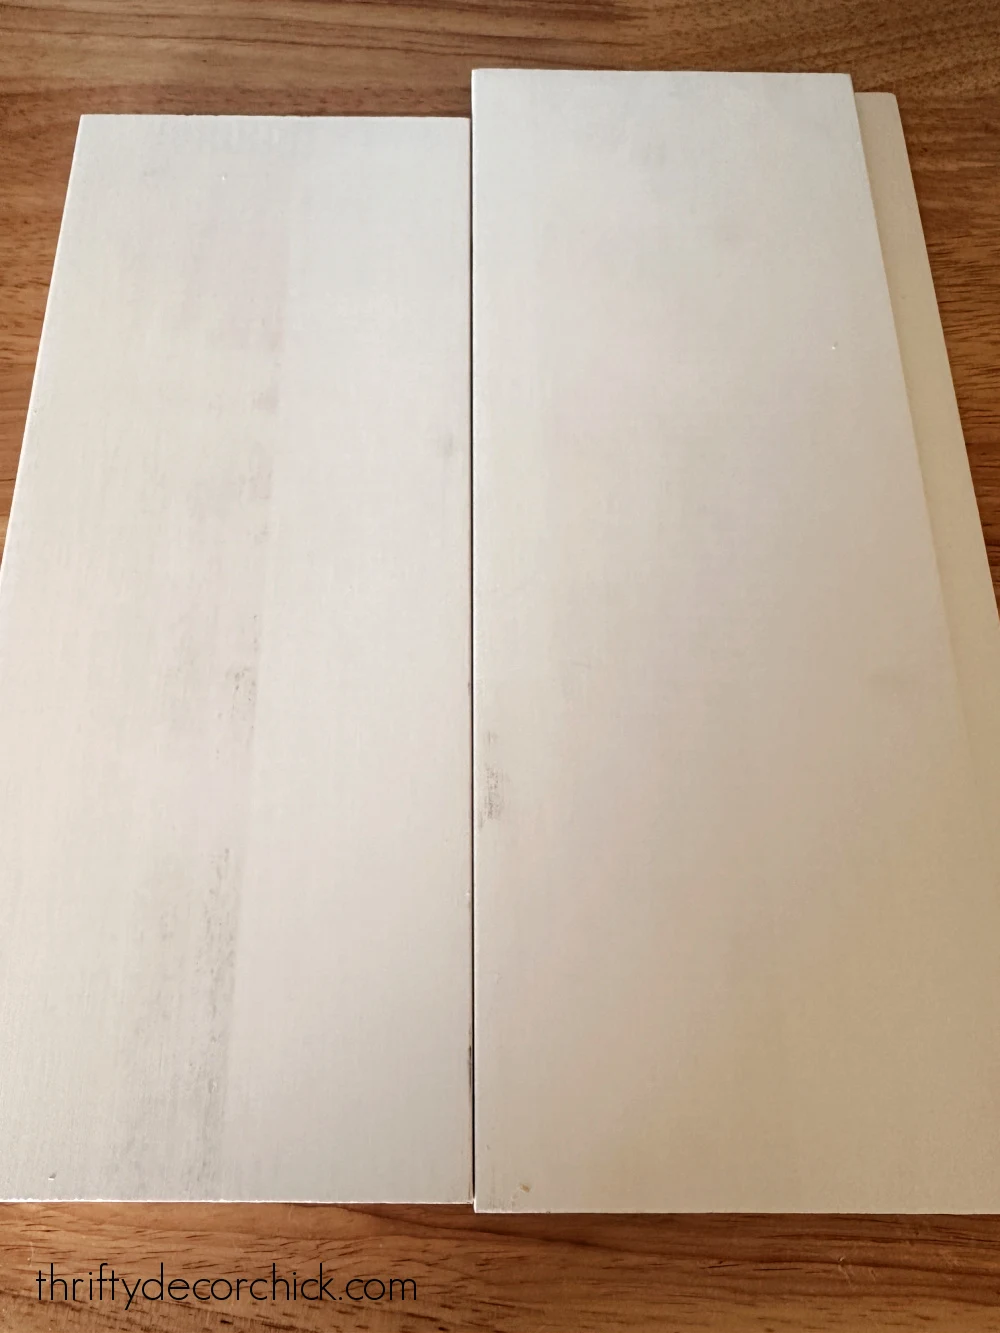
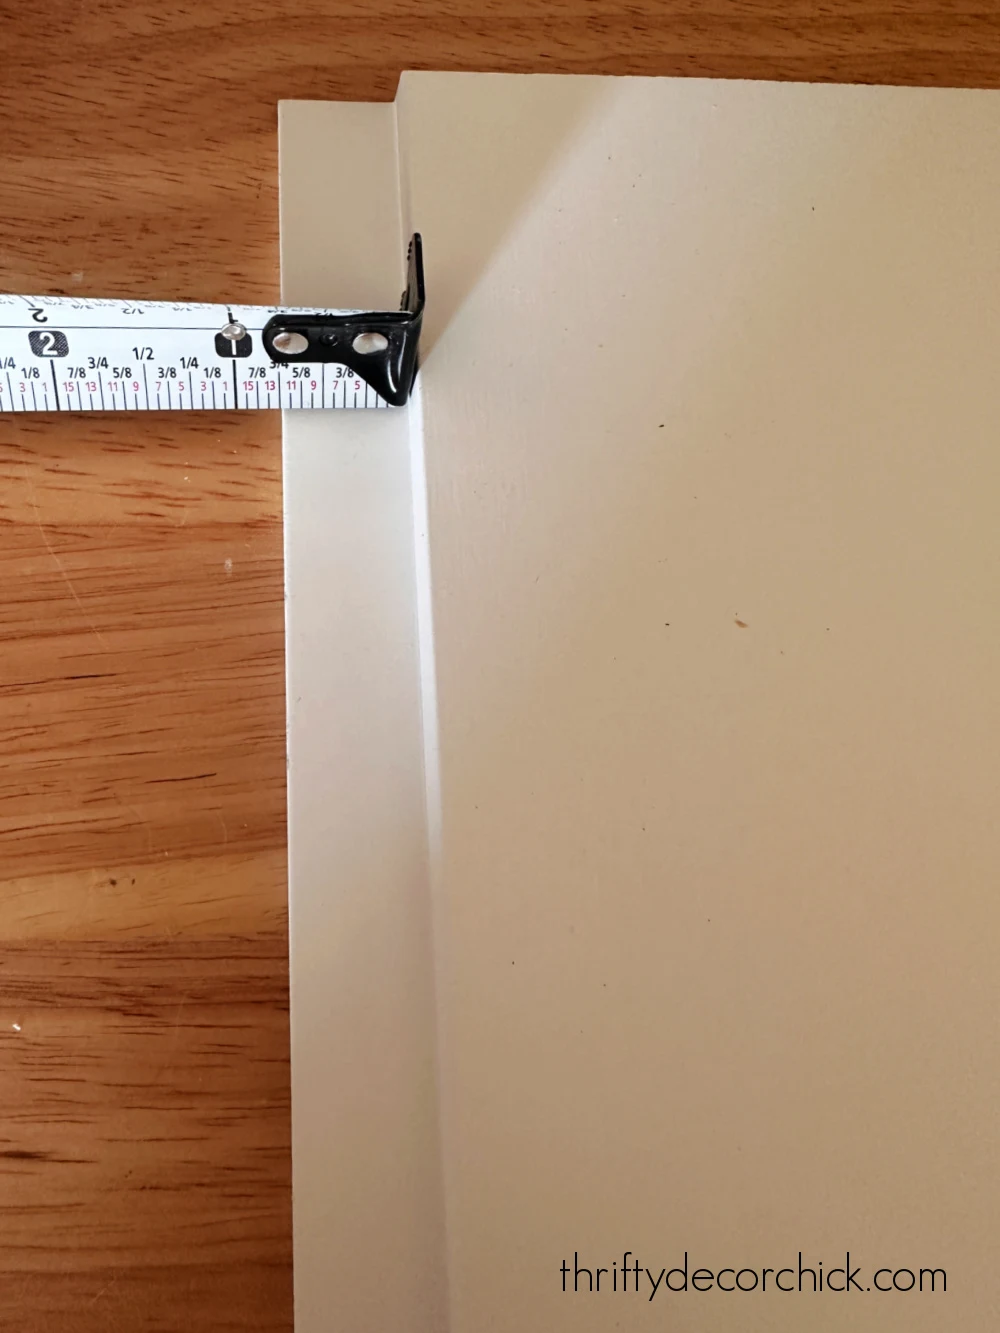
One side has a slightly smaller section that is about 5/8 of an
inch:

If you butt each plank up to each other using this smaller side, your
sections will go right against each other like so:

The other side is slightly larger, about 3/4 of an inch:

When you use this side while installing, it creates a small gap that gives
you that classic tongue and groove look:

This is the look I prefer, so I went with that.
Keep these in mind as you install these boards! You'll know as you're
working which one is right.
- If you have a wall that is wide open, I suggest starting from the middle of the wall and working your way out for a symmetrical look. This way you won't end up with a tiny piece at one end and a larger one at the other.
- I only did that method on one wall, because otherwise most were covered with furniture and/or drapes. Most of the time I started at the left and worked my way over.
- I never recommend using glue when installing any trim to your walls. If you ever decide to remove it, your drywall will be destroyed. Just say no to the glue, trust me!
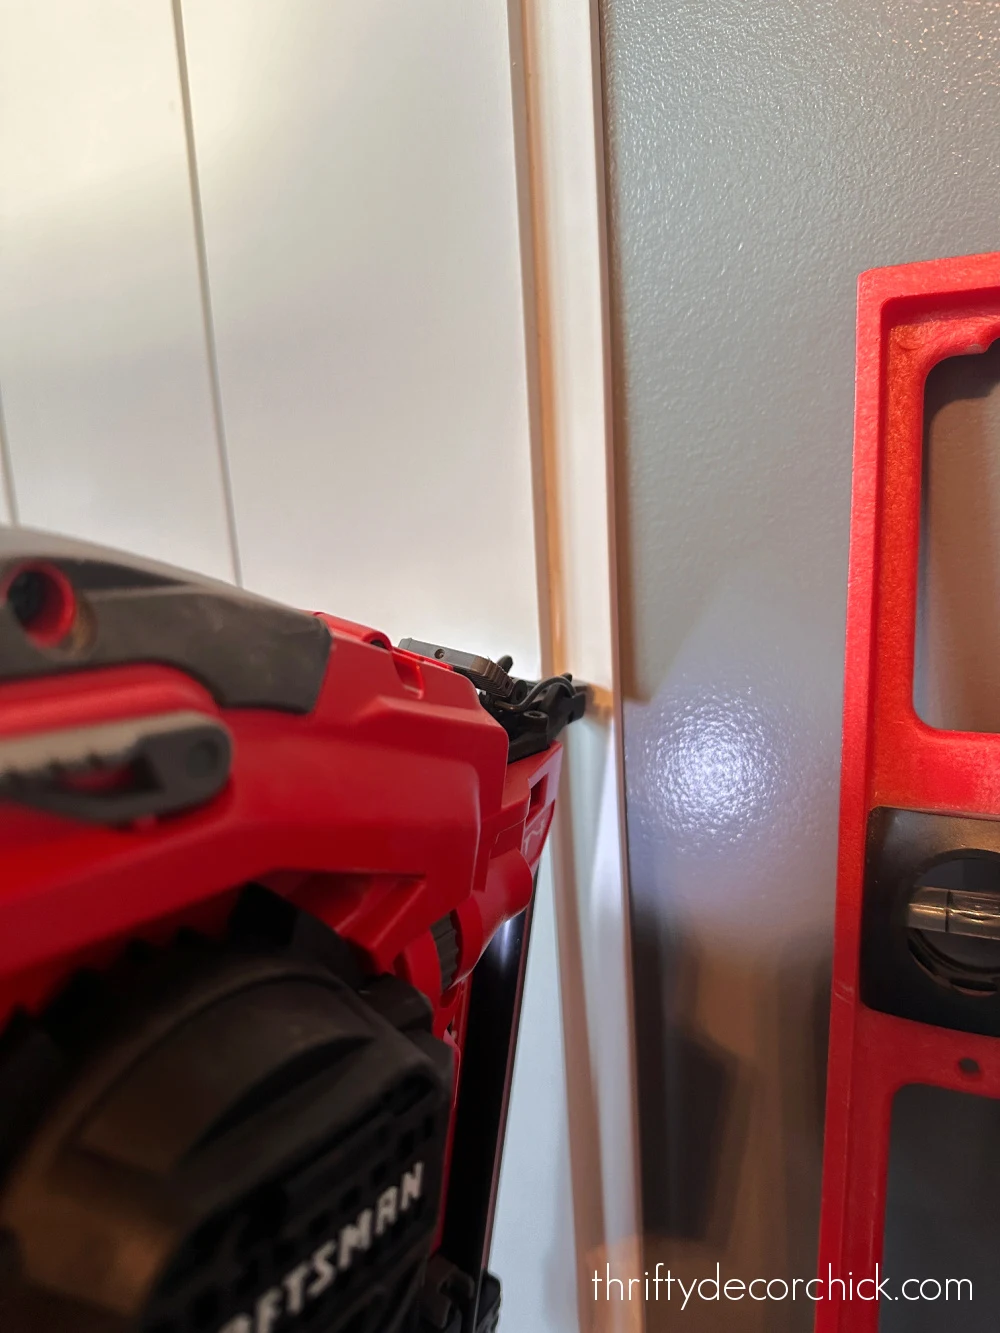
I used my
cordless nail gun
to attach the planks to the wall -- first into the thinner "tongue"
part:

I checked almost every board for level as I went -- even if you start out level things can get wonky fast.

How to cut around outlets and switches
When you get to a light switch or wall socket, you'll need to use a jigsaw
to cut a hole for them:

The jigsaw is my least favorite power tool, so when the outlet hit right
in the middle of ONE board, this was the best. ;) I only had to cut one
board instead of two!
You can see on that piece how I marked the height of the outlet box, and
then I held the wood above it (in the spot it would be on the wall) to
mark the sides of the outlet.
Draw straight lines from your marks to determine the size you need to cut
out of the middle of the board. I always mark that spot with an "X" so I
don't get confused while cutting.
By the way, I was able to scrap that dark gray paint off the outlets.
(After turning it off at the breaker!)
Working around windows and doors
I didn't do anything special around our doorways -- just butted the tongue
and groove up against the door trim.
Our windows were a different story. We had a standard window trim at the
bottom of our window sills that was too thin. The planks would have been
thicker than the window trim.
So I removed just the bottom section of trim under the window sill (and
left the molding on the sides of the windows):

I wanted to add the
DIY Craftsman window trim
detail that I've done so many times over the years, but didn't want
anything that would stick out too far from the 1x6 board.
So I did some searching at the hardware store and found
this PVC trim called backband:

It's perfect for around windows because it won't rot. This backband is "L"
shaped, so I placed the long side of it on top of the 1x6 and let the
shorter end hang over:

The backband and 1x6 inch board (that matches the baseboards) makes a
lovely chunky and thick window casing that I LOVE:

I was able to use scrap tongue and groove for almost all of the space
under the windows, so that cut down on cost significantly!
For around this window trim, I just held up my boards and marked where I
needed to cut using the jigsaw:

Since the measurements were all the same for each window, this didn't take
too long at all.
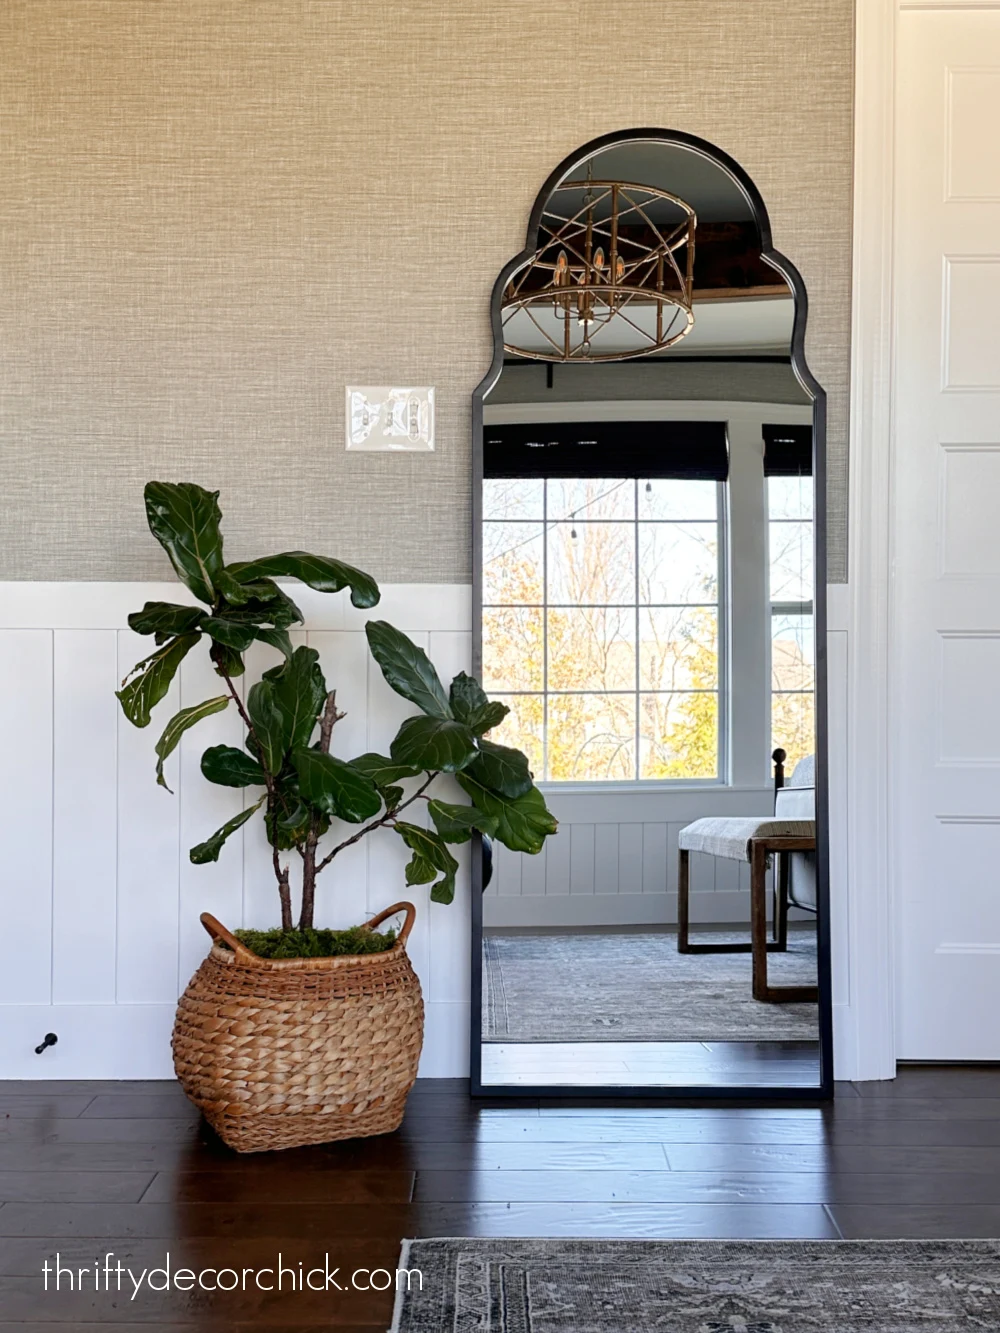
Oh my...I love how this turned out. It has absolutely transformed
our room. Here's a look at this part of the room before, with the gray
chair rail and walls:

And here's that part now:

I moved the small vintage cabinet to my office, and found
this tall curved mirror on sale.
With all of the lines in the room, I knew I needed some softer angles.
This pretty mirror was perfect!
Here's a look at one wall with both the before and after:

|
|
Find our rug here! |
The tongue and groove boards are painted in Eider White by
Sherwin-Williams here. I had it leftover from
our pantry makeover
and it looked great with the grasscloth wallpaper, but I really wanted to
get rid of all of the gray undertones.
Here's that same section now, with the trim painted in my favorite
white...Pure White by Sherwin-Williams:

Oh, I can't wait to show you how this room has been transformed! It's so
beautiful, I can't even believe the difference this vertical shiplap has
made.
I hope this helps you out if you are considering this look for your home.
It's a classic addition that will stand the test of time and looks great
in both white or dark and moody colors.
If I missed anything or if you have questions, please let me know in the
comments! I'll be back with a full reveal soon.
Never miss a post by signing up to
get posts via email.
Beautiful!
ReplyDeleteSo pretty!!!! Love it
ReplyDelete