How to Install a DIY Board and Batten Wall
December 05, 2014
Share this
Step by step tutorial on how to add DIY board and batten trim.
A simple tutorial on how to add this classic board and batten trim work to your walls!
I've added this look many times throughout both of our homes and still love it! It's a traditional trim, but there are so many ways to change it up to fit your home and style.
First up, a quick lesson! The horizontal trim is considered the "boards" and the vertical pieces are the "batten":
 |
| See how I added this simple trim on our fireplace wall. |
This is what I started with:
Now that I’ve done this a few times I always start with the top horizontal board.
This pic really shows the difference in the new and old paint colors! The bottom is the Sisal color we had up for ten years, the top is Analytical Gray that we’ve recently painted throughout the main floor of our house.
Before I install any additional trim, I paint the wall first: 
You'll need to touch up around the boards later, but overall it's easier to paint the wall without the trim on it.
It takes me three coats to get it covered well. I just use the base white from Sherwin Williams – I believe it’s called Pure White. I will also use a basic semi gloss white off the shelf at the hardware store.
Start with the top board
Here’s a close up of the top piece – it’s actually three pieces of wood/mdf:
The mdf is the main piece along the bottom, there’s a 1x2 on top (either wood or mdf – I usually use mdf but I was using what I had in my scrap pile) and then a small decorative trim piece in the corner those two create.
I don’t always add that little corner trim – in our mud room board and batten with bead board I did a similar 1x2 topper and just left it without for a simpler look: 
Here’s a side view of how it comes together:
I haven’t touched it up yet, obviously. ;) You can do a nicer “return” at the end and most of the time I do that, but I’m not sure if I’m adding this trim around the bay window area with the window seat or not.
So I just did a straight cut and I think that’s fine too.
Determine if baseboards need to be removed
The bottom of our board and batten wall is a little more complicated for a few reasons. But stay tuned, because it doesn't need to be this complicated.
I did the baseboards like this in a connecting space so had to match the rest of the room to it when we took the wall down:
I did it this way because our original baseboards are impossible to remove -- so I just cover them up.
I shared how I’ve installed new baseboards over old ones before. Here, the contractors removed the base when they installed the new door so I had to use scrap behind it to mimic the look around the room.
So that’s why it’s so busy down there. All of these extra steps are so the vertical boards have a flat surface to butt up against at the bottom. Otherwise they will most likely be thicker than your baseboards and hang over the edge a bit.
You can avoid all of this at the bottom by just removing your existing baseboards and replacing them before installing the trim.
If your baseboards are already thicker than the vertical boards, you're in luck! No need to remove them.
Determine the spacing of your vertical boards
- Five feet= 60 inches
- Vertical battens are 3.5 inches wide, so if you'd like to use three, take away 10.5 inches
- You're left with 49.5 inches you can divide into as many sections as you'd like
- If three sections, each one will be 16.5 inches wide
It's helpful to cut a scrap piece of wood to use as a spacer between battens as you work around the room!
Install your vertical boards
Measure the distance from the top of your baseboards to the bottom of your topper piece:
I’ve done this both ways – the longer boards first and the topper second, but I find I can get a tighter fit if I do these second. (I can get it just right so I don’t have gaps.)
I use a standard, 18 gauge nail gun to install this trim.I never recommend using a construction adhesive or glue like Liquid Nails to attach trim to walls. If you ever decide to remove it later, you'll be left with a LOT of drywall repairs.
Brad nailers are more than sufficient, and you don't have to hit wall studs for every board. Angle your nail gun into the wall a bit if your trim is not holding.
As you'll see later, paintable caulk and nail filler will hide any imperfections beautifully!
For a traditional board and batten look, you'll want some horizontal trim pieces to finish off the look. Those go on last:
My spacing around the room has been 10 inches down from the topper. Of course that was brilliant spacing because it hits every. single. switch. :)
Do as I say, not as I did on this particular project, and check the height of your switches first.
Working around light switches and electrical outlets
It's nearly impossible to miss all of these obstacles around a room.
When I hit a switch or outlet, I install the trim around it. Some prefer not to, but in the end everything is (ideally) the same color, so you'll barely notice it.
You can use a jigsaw to notch out a spot for the outlet or switch plate.
I prefer to cut small sections of the trim do that section in three pieces instead. I measure the small sections, install them around and then use wood filler to touch it all up.
Finishing touches with caulk and paint
Caulk makes all the difference in a project like this! If you have any gaps behind the boards, this will make everything look seamless.
If you're new to it, I share some caulking tips here!
You'll want to fill your nail holes and any gaps or seams between boards as well. This is my favorite nail filler.
After caulk, nail filler and two coats of paint on the boards, your wall is ready!:
The baseboards will continue to the window seat so that area is undone for the time being. I’m finishing up the crown extension this weekend so that wall will be completely done!
Board and batten trim is not a hard DIY project -- it just takes time. I used some scrap and some new mdf boards for this section. One eight foot piece gets you one board (more if you’re making yours shorter) and at least one batten. ;)
And of course this wall now matches the living room finally!:
Have you done this treatment on your walls? If you have any questions please let me know!
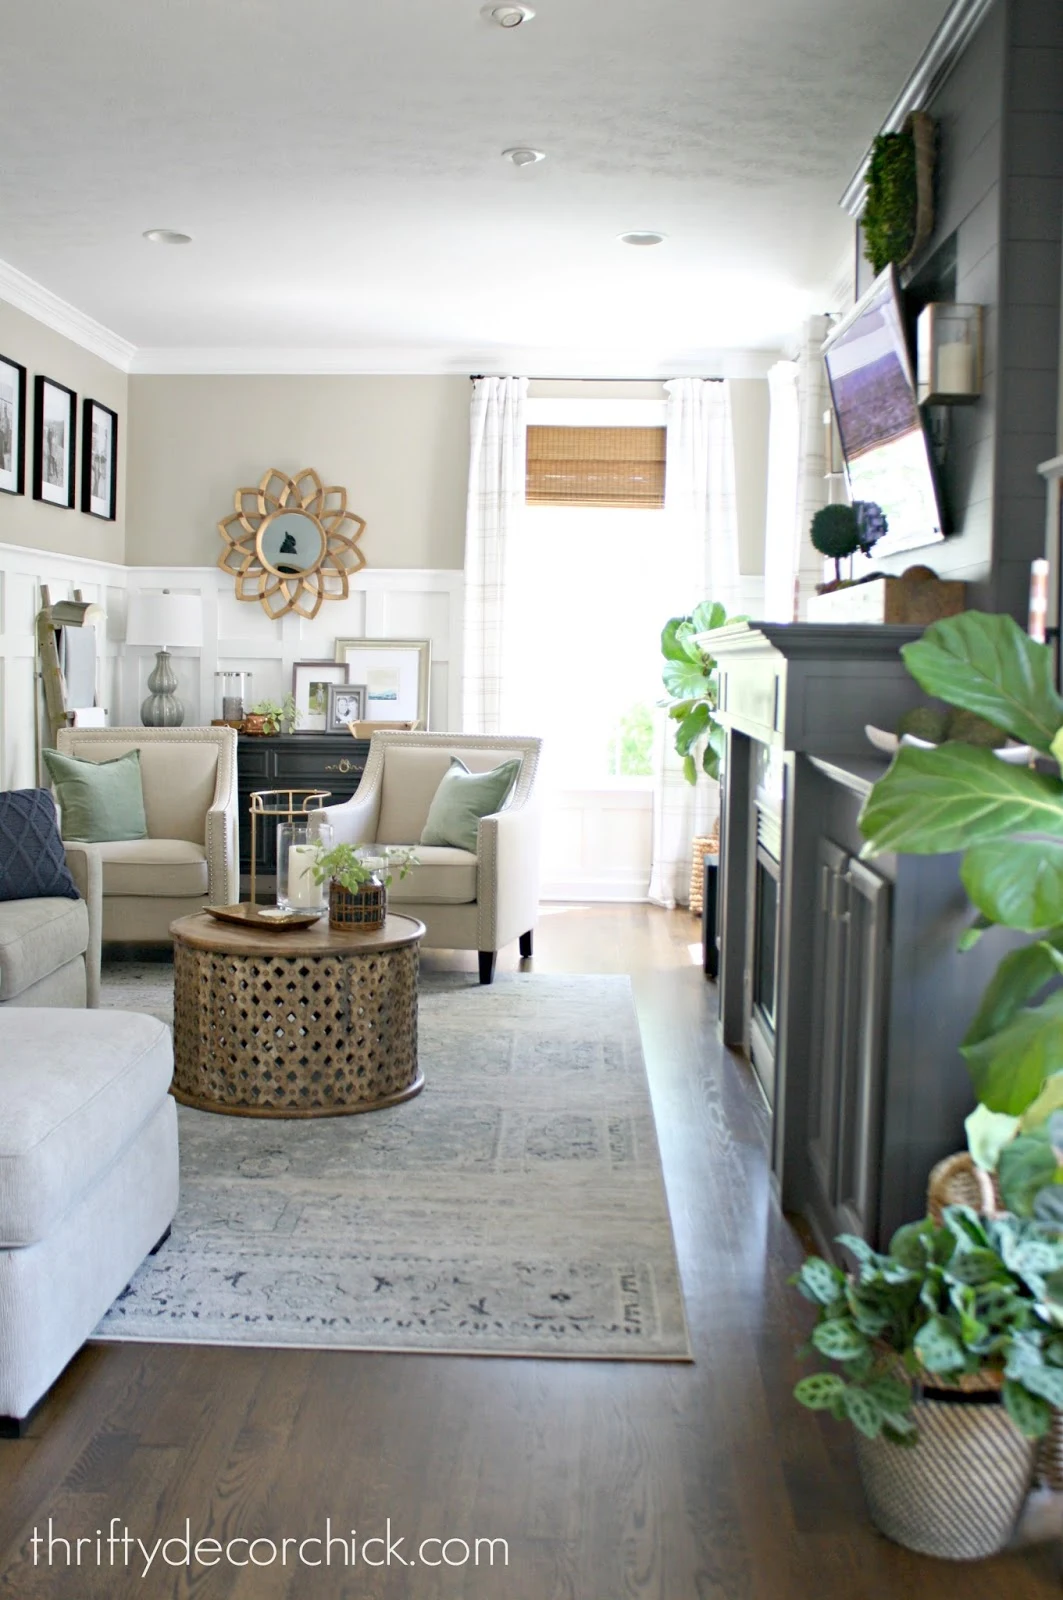
Here are a few of the ways I've used this trim in our homes:
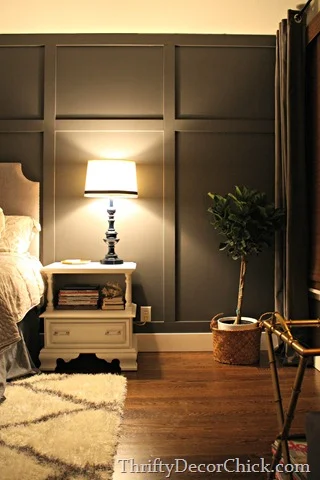
I created a dark gray board and batten accent wall in our last bedroom:
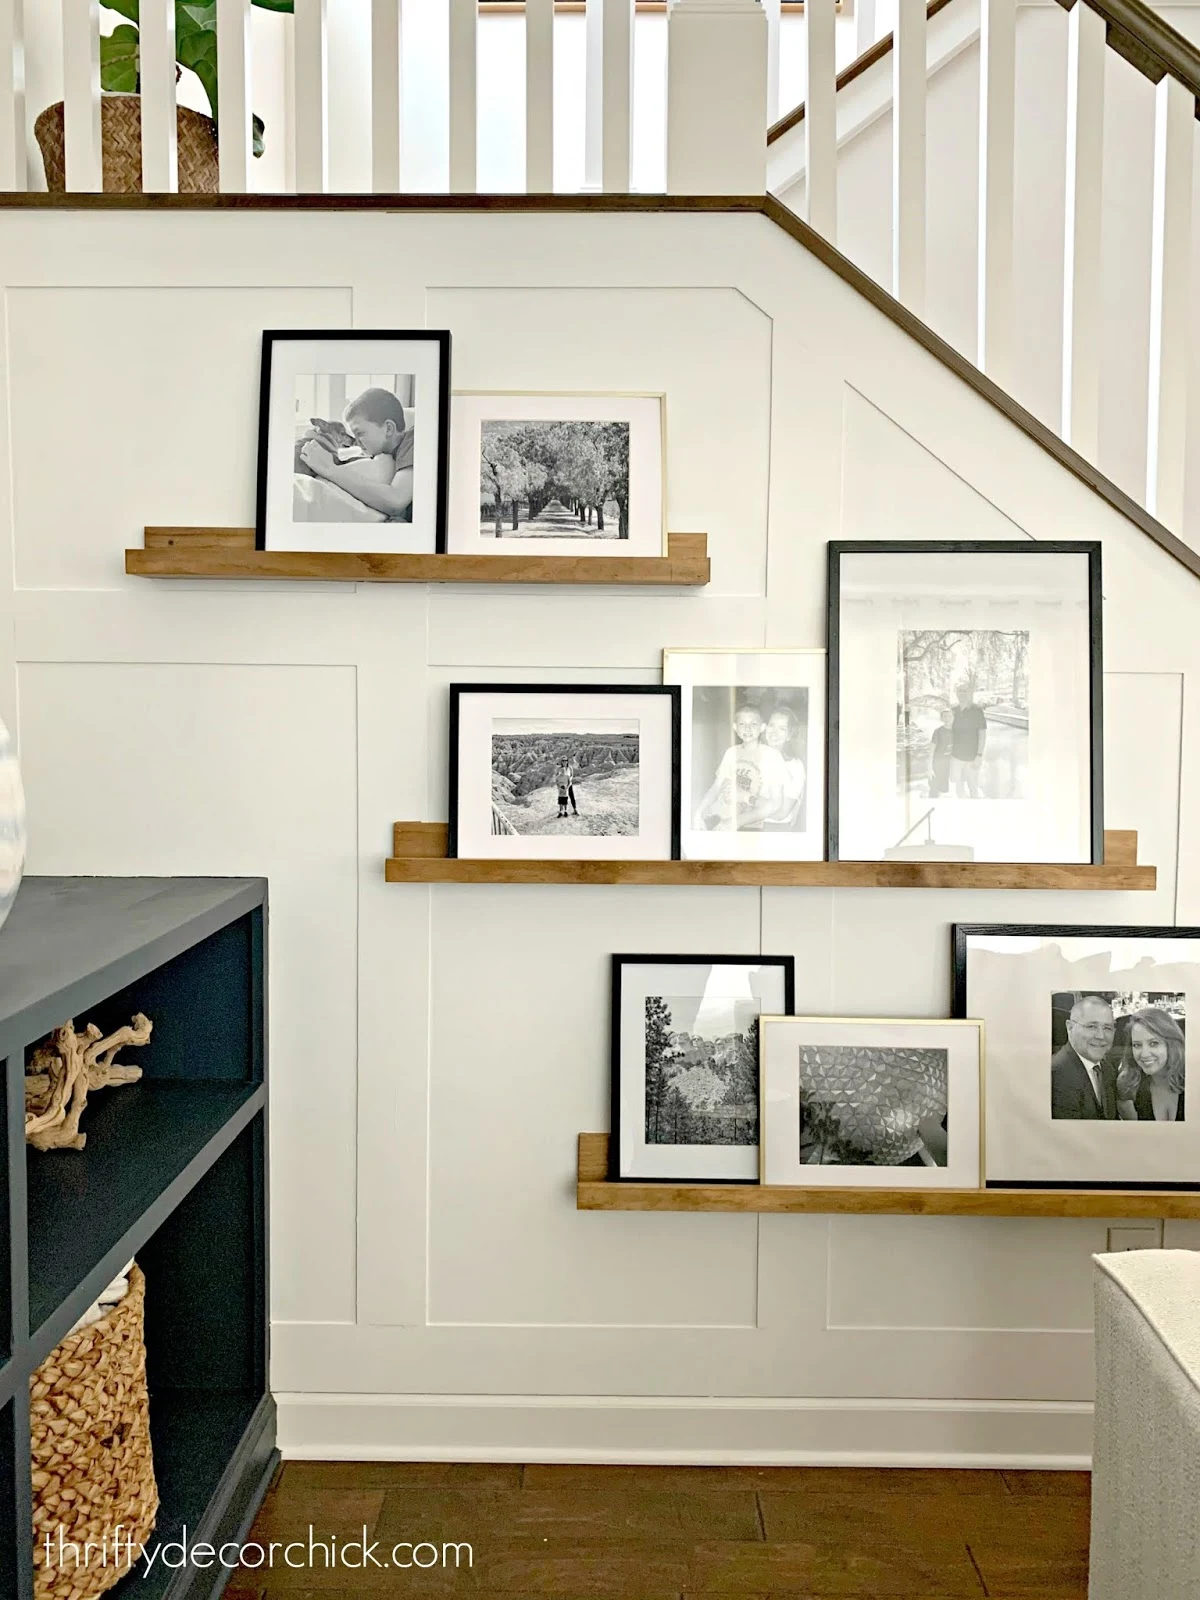
A pretty board and batten accent wall under our staircase:
I used just the battens from top to bottom in our entryway (for super cheap!):
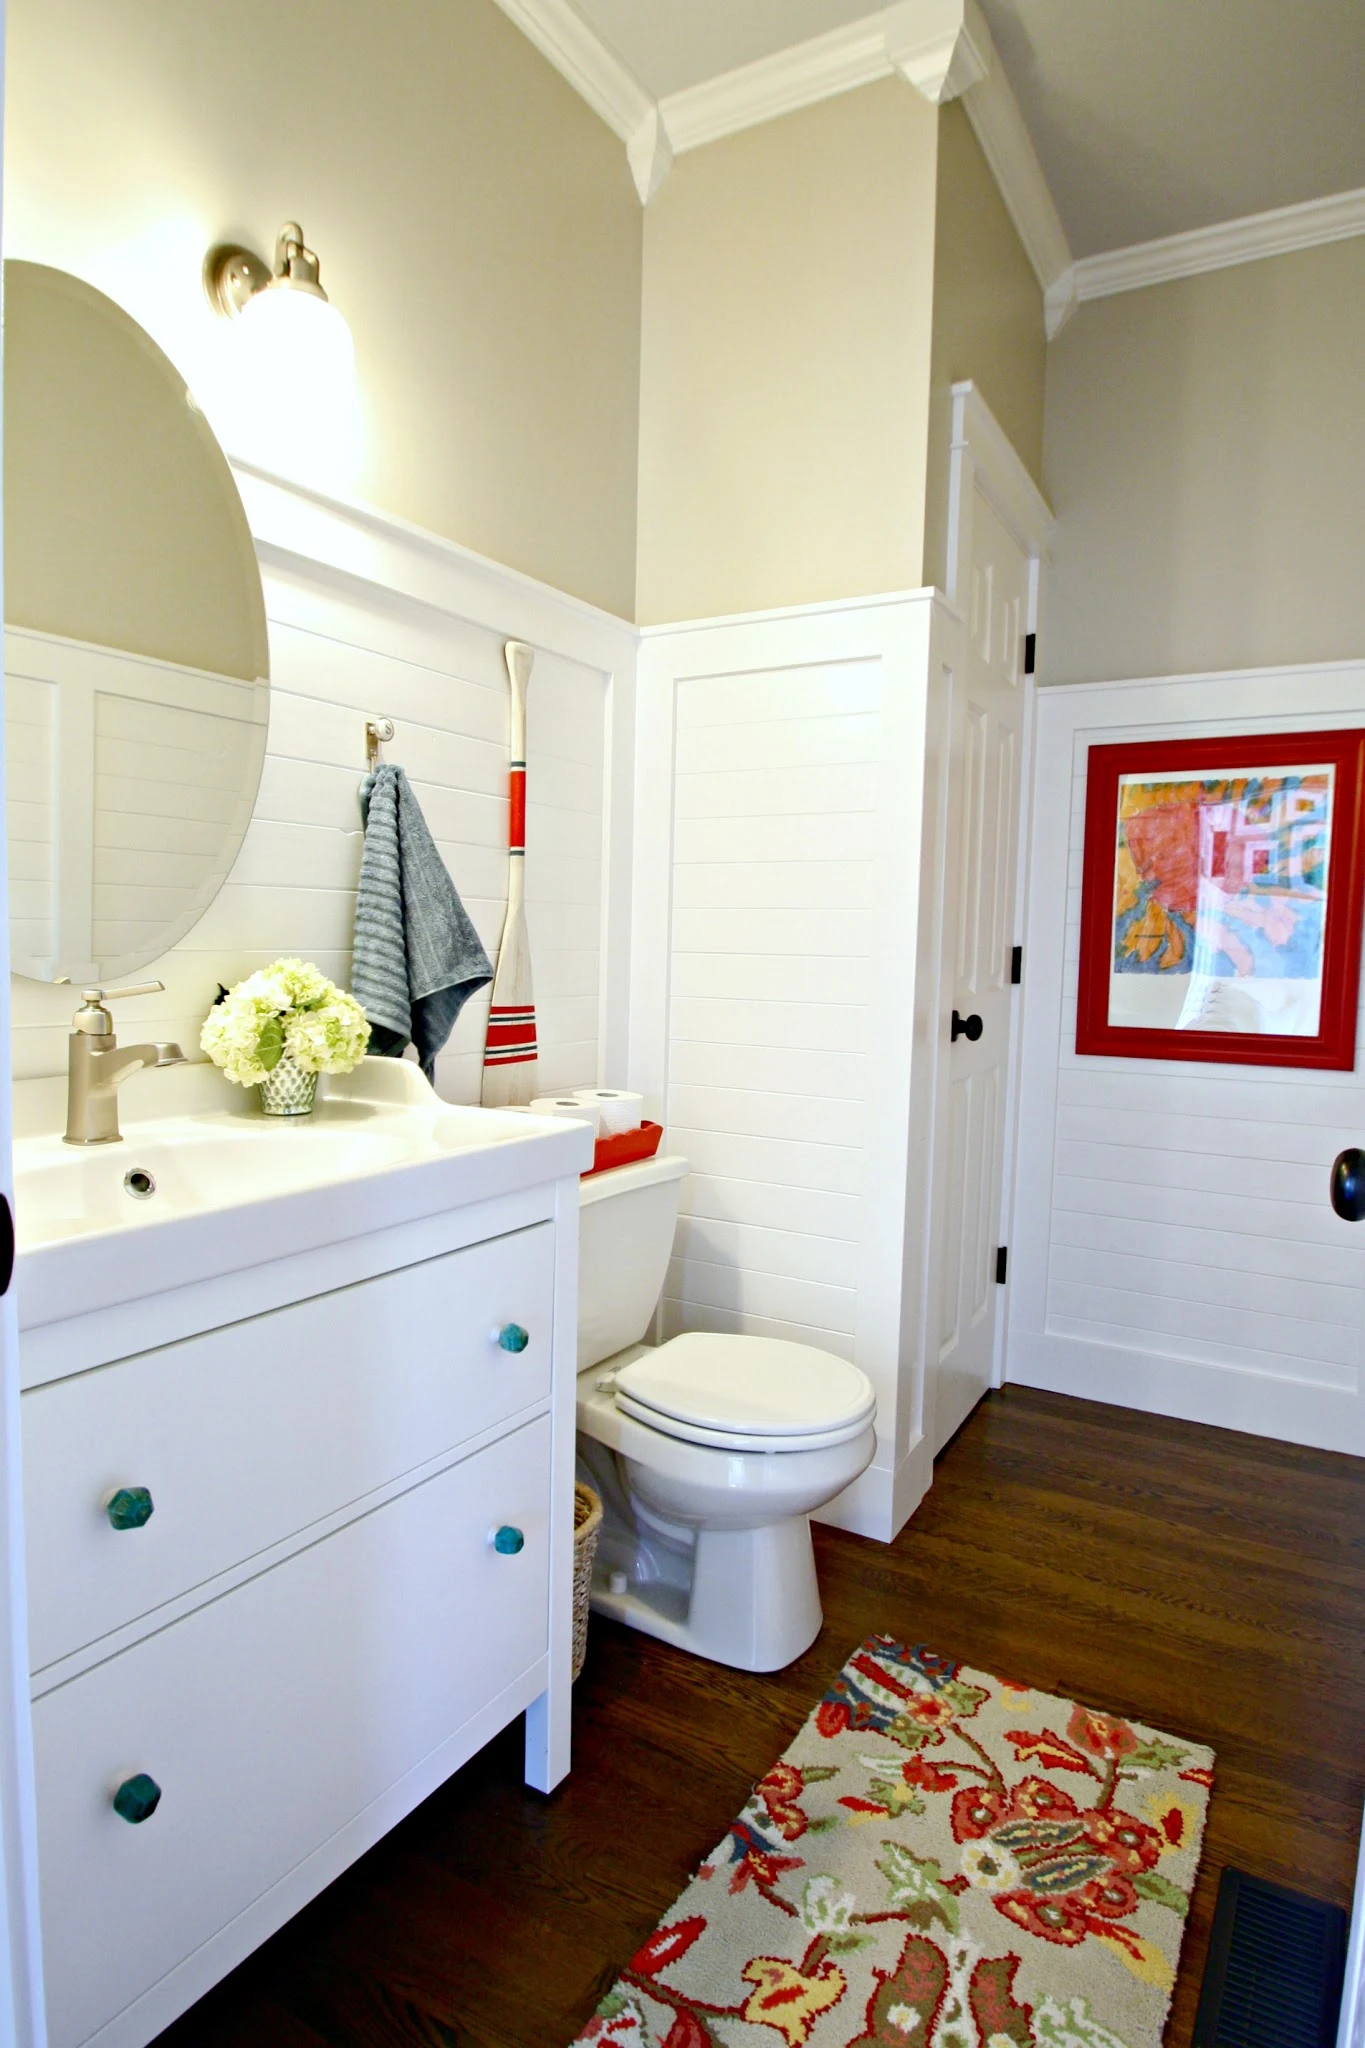
And I framed out our shiplap walls in our old powder room:


It turned out great! So funny that you tackled that before guests came over! Where do you get the energy?
ReplyDeleteKim ~
Thank you! I love to sleep. :)
DeleteIt looks so pretty! I plan on doing our upstairs hallway soon--I like your tip about painting the wall first :)
ReplyDeleteThanks for the tutorial! I am hoping to tackle this soon in our entryway. A couple questions: How tall are your ceilings? how tall is the board and batten? are you happy with the height? Would you change it if you could?
ReplyDeleteOur ceilings are nine feet and this trim is about five feet high. I love the height -- the only thing that's harder with this look is putting art above it. Not everything looks right, you have to find what works.
DeleteLove this and everything you do. When you attach the battens, do you use any adhesive or just nails. I'm sure you caulk, but how do they stay with only nails and no studs to attach to?
ReplyDeleteIf you are 100 percent sure it's staying like that forever glue is fine. But just regular (long) nails are enough to hold them in place without studs. Make sure your boards are straight -- that will help them stay in place as well. :)
DeleteI have a soft spot for board and batten! If I had it my way I'd have it in every room of the house! Your house looks beautiful as always!! Love seeing what your next project is!
ReplyDeleteXo, Kathy@The Daily Nest
Your board and batten looks fabulous. I'm a huge fan of board and batten and have DIY'ed a lot of my house in a similar way. Love it!!! :) Julie
ReplyDeleteSo pretty! Do you use semi-gloss paint for the wall and boards? Thanks!
ReplyDeleteThank you! Yep, for both.
DeleteLove this look - What's the height measurement (floor to top) and what is the spacing measurement you used between battens? Perfect timing for this tutorial because I'm going to be doing this treatment to my dining room. Love your blog
ReplyDeleteThank you! The height is about five feet and the spacing depends on your wall. When I first did this I did the spacing the same throughout the room, but now I prefer to just tackle each wall individually. If you do the former you can end up with weird spots near doors and windows. Most of mine are about a foot apart, but on some walls they are slightly more.
DeleteJust in time! I've been thinking about giving this a try, starting with my powder room. I just wonder how much practice I'll need before it comes out looking as nice as yours. Thanks!
ReplyDeleteExactly what I want to do in my dining room. You house is amazing. Thanks for the tutorial!
ReplyDeleteAlso, may I ask where you purchased the black shelving unit in the picture. I love it! Thank you!
Thank you so much! I talk about that and link to it here: http://thriftydecorchick.blogspot.com/2014/12/christmas-in-kitchen.html
DeleteI love it!
Thank you!
DeleteWow! That adds a lot to the room.
ReplyDeleteReally nice! I have a suggestion, on the first pic could you have put 2 battens in center and the outer 2 reaching floor. Thought it would look even more uniform. All very inspiring!
ReplyDeleteLinda
Thanks Linda! I only have the one by the door going all the way down because it's the door trim. Otherwise I like them to butt up against the baseboard. :)
DeleteIt looks great! In fact, I love your wall color. I'd like to paint my foyer this color. Did you use Sherwin Williams for the wall? Is it a grayish/tan? Thanks so much for answering my questions and by the way, I LOVE your blog!!:)
ReplyDeleteThank you!! Yes it's a SW color called Analytical Gray and it's lovely!
DeleteHow wide are the boards? I can't decide between 3" and 4" wide for a project I'm tackling later this week.
ReplyDeleteSarah, I love board and baton and am considering this for a large wall in our living room (spring/summer project : ) ), do you have textured walls and did you just paint white over the area or add a thin board to make it smooth?
ReplyDeleteThis is exactly what I want to do in my foyer. I do have a question. How do you finish the open edge? My edge would be at the end of a wall that would be visible into the living room and the board and batten wouldn't continue around. I'm stumped as to how to make the edge look nice and finished. Thanks!
ReplyDelete