
How I Made a {BIG!} DIY Square Wood Coffee Table for Less
December 07, 2025
Share this
Reusing metal table bases to create a HUGE square wood coffee table.
I built a large wood coffee table using the black metal bases from the smaller coffee tables we already had. This DIY tabletop has held up beautifully!
A few years ago I was looking for a large, affordable coffee table for our family room. I wanted something around four by four feet -- the space is big and the tiny table we had there was getting swallowed up.
I ended up going with two inexpensive tables that I pushed together to make a big one:
It worked perfectly! We got the size we wanted for only around $200 -- WAY less than anything I found online.
Each table had a faux wood top that was surrounded with trim:

This post may contain affiliate links for your convenience.
I may earn a small commission when you make a purchase through links.
See my policies and disclosure page for more information.
I'd been thinking recently about changing this up a bit and making a new tabletop...something in one solid piece that would look a little more custom.
We didn't mind the two tables, but I knew it would be easier to have everything on an even surface. The faux wood has seen a little bit of wear over the years as well.
And I could just see the big wood top in my mind and knew it would look GREAT in our family room.
So I finally got to work. I took the two tops off the existing table legs (you know I kept those for a future project!) and got to work on the new top.
1. Measure and cut
I determined the size I needed for the new wood table first. I made sure to measure the width of the metal bases together (not the tops that were already on the tables) because I wanted my new tabletop to be flush with the metal frames.
My plan was to add some wood trim around the edges for a traditional look. The size of your top is totally up to you -- have it extent out a big from the metal to make an even bigger coffee table!
My final size was 44x44 inches, so I had a big 4x8 sheet of birch plywood cut down at the hardware store. Most large stores will cut wood down for you -- it is such a great service that I have relied on numerous times over the years!
2. Prep and stain
There's usually a "good" side of the wood (most often the side that doesn't have a sticker). It's normally pretty apparent from the look of the wood too.
If you're new to DIY or staining, I suggest trying out your process on the "wrong" side or a scrap piece first. This will help to perfect the process and you'll be able to see what your stain will look like on the wood.
I laid my 44" square down in our garage and did a light sanding of the edges and top first. Nothing crazy...you just want to knock down any texture or splintering.
If you are staining, this step is by far the most important. Using a pre-stain conditioner on your wood before staining will make the whole process go SO much easier!:

It goes on clear and is super easy to apply -- literally just slap it on. :)
The conditioner penetrates the wood so that the stain will go on more evenly.
When you apply stain without conditioner, you need to work pretty quickly to ensure that there are no 'stop and start' spots.
This example gives you a good idea of what I'm talking about:

If I had applied the stain like that without the conditioner, the heavier overlapped parts would show on the final project.
You can stain a piece without the conditioner (I did for years before I discovered it!)...but you do have to work quicker and be sure to keep things smooth and even as you apply. Also, inexpensive wood species like pine are notorious for not staining as evenly.
See how the uneven appearance disappears when I wiped the excess stain away?:

The conditioner only adds a few minutes to the project and you can stain almost immediately. I usually find one coat of stain to be sufficient, but if you'd like deeper tone you can do multiple.
Make sure to let the stain dry well before adding a protective coat. I like a semi-gloss polyurethane:

This was actually my second coat. At first I thought I had grabbed my wipe on poly that you can apply by hand with a clean rag. Turns out it was a traditional version that needs to be brushed on.
I quickly realized my mistake because it was not going on well at all. But I had to let it dry and then sand down the messy parts before I added a final coat of brush on polyurethane.
I've done staining and DIY projects for years and still mess up plenty! 😁
3. Attach to the metal bases
After the poly was dry, I brought the tabletop into the family room and laid it face down on the floor. I placed the original table frames on the back and made sure they were as even as possible before attaching them: |
| You can find this beautiful rug here! I LOVE IT! |
Always pre-drill your screw holes to ensure there is no splitting in the wood.
I like to mark where to stop with painter's tape so I don't drill all the way through the wood:

Also, make sure to use screws that are shallow enough that they won't penetrate the finished side of the tabletop! (The screws that came with the original tops were too long, so I used some out of my stash).
After all the screws were in, I flipped it over and was already SO thrilled with how it looked!:

4. Finish up the details
If you like a simpler, more modern look, you can iron on veneer edging to unfinished sides of the wood. Make sure it is in the same wood finish as your tabletop!
You can sand or paint that edging to match the rest of the wood.
I prefer a traditional detail, so I cut down 1x2s to wrap the edges of the wood top:

I used a little bit of wood glue and nailed them in as well. Take care as you attach so that your nails don't come through the top or bottom of your tabletop!
Don't use excessively long nails and be sure to hold the nailer straight and level as you go.
These 1x2s have a very sharp corner, so I like to soften them up a bit. If you haven't stained yet, you can use a sander to knock down the corners a bit, but I prefer to just take something round like a screwdriver and pull it along the edges:

By the way, my 1x2s for the frame around the tabletop were pine, the top was birch. I gave the pine two coats of stain (one coat on the birch table) and they matched up really well.
I did take a sander to where the mitered cuts met up at the corners. Just a light sanding is all they needed to cut down that sharp edge.
Make sure to reapply the stain conditioner before you touch up your stain on any sanded parts! If you don't you'll have a slightly uneven stain application.
Not the end of the world if you forget. I've done that plenty and I like to say that it adds to the character. ;)
Here's my dirty little secret -- I rarely fill my nail holes. I've tried a bunch of stainable fillers and they just don't take stain how I'd like. If you have one you like please let me know!:

I find the nail holes are not that noticeable in the end...with a filler they are more pronounced.
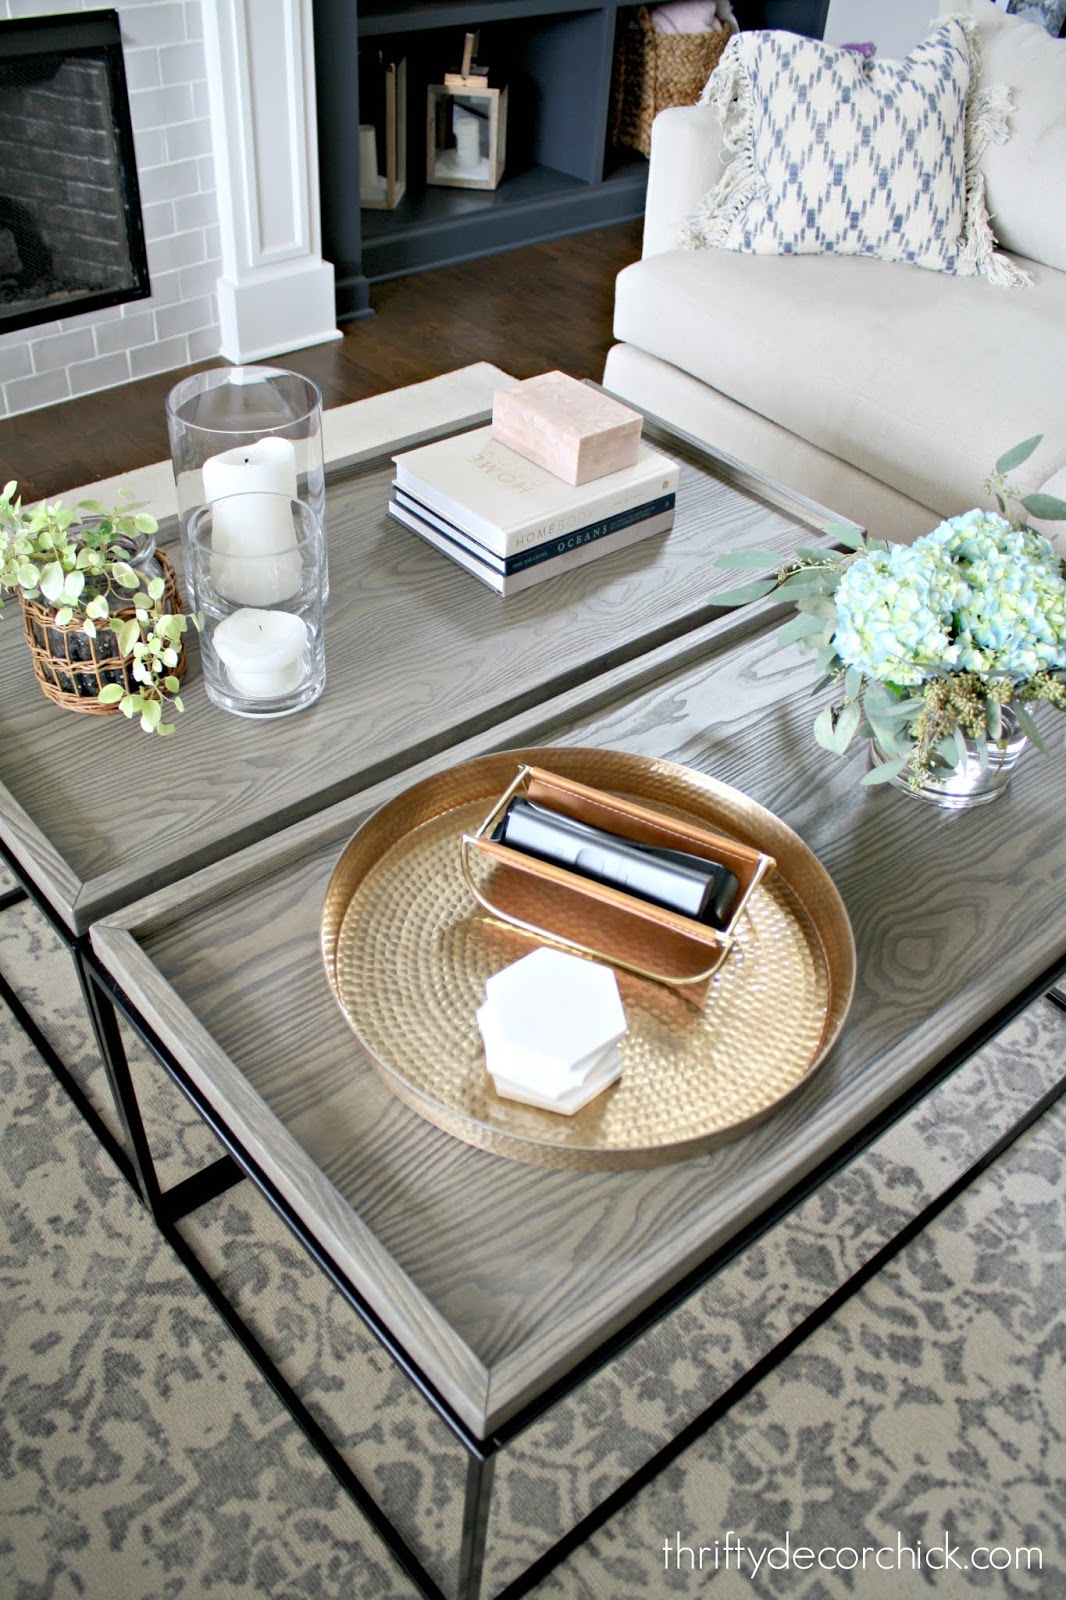
After all the touch ups were done and dry, I applied a coat of poly to the 1x2s around the edges as well. Let it all dry fully before putting any items on the wood:

Other than my little mess up with the first polyurethane coat, this was a really quick and easy project!
We LOVE it! I know it's a great project when the family comments on much they love something!:

The wood adds so much warmth to our family room. I just LOVE that lovely Provincial stain.
The two tables together were great, this just makes more of a statement. Our great room is pretty spacious and can take large furniture:
 |
| See how I added the grid look to the fireplace wall. |
I hesitated for months on this project because the price of wood has gone up so much. The 4x8 sheet of plywood was $80...I think that's double what I used to pay!
But I came in under $100 for all the materials and I have some leftover for future projects. It was totally worth it in the end! I feel like it upped the cozy factor in here big time:

The stain color ties in so nicely with the wood frame on the Target mirrors by the fireplace and the DIY picture ledges on the staircase wall.
Since I got the two coffee tables on sale, overall the whole coffee table was $300...but that's still way less than any I found for this size.
**I found this coffee table in a similar size as my original at a great price -- two would be even better if you wanted to make a custom top!
Now we have a much bigger surface for games, food...whatever. I'm so glad I finally tackled this quick project:

PROJECT DETAILSStain: Provincial by MinwaxWood tabletop: 3/4 inch birch plywoodWood edging: 1x2 select pineProtective coat: semi-gloss polyurethane
Never miss a post by signing up to get posts via email.
Great j
ReplyDeleteOh, as always!
Love it!!!! It really makes the family room look great
ReplyDeleteLove it! The color of the stain looks great with your floor also. I'm always so impressed with your projects. I'm not at all handy, but my husband is. I have saved many of your posts for future inspiration!
ReplyDeleteI recall when you purchased those tables and I thought you were clever to put them together but I like this idea even more. Plus I learned you can use wood conditioner before staining. Thanks for all the great ideas.
ReplyDeleteI remember when you bought the two tables and put them together, and I thought, "Wow, I wouldn't have thought of that!" Now you've taken this to the next level, and I love the large surface and color of the stain. It looks so nice, adds warmth and so usable without the gap in the middle. Congratulations on a great DIY project!
ReplyDeleteI second that!
DeleteThank you so much!!
DeleteJust lovely. Love the colour, and the size. Can you share where you purchased your couch?
ReplyDeleteThank you! We got them at Macys and this is the second time we've purchased -- here's the whole post. https://www.thriftydecorchick.com/2021/04/macys-radley-best-sofa-review.html
Delete