
DIY Brass Decorative Gallery Rail for Shelves
February 24, 2023
Share this
DIY "brass" gallery/tipping rail for a shelf (for way less!).
I've loved the look of these delicate brass gallery rails for years! They're
usually installed along the front of shallow shelves as a pretty decorative
accent, and they prevent items from sliding off the shelf.

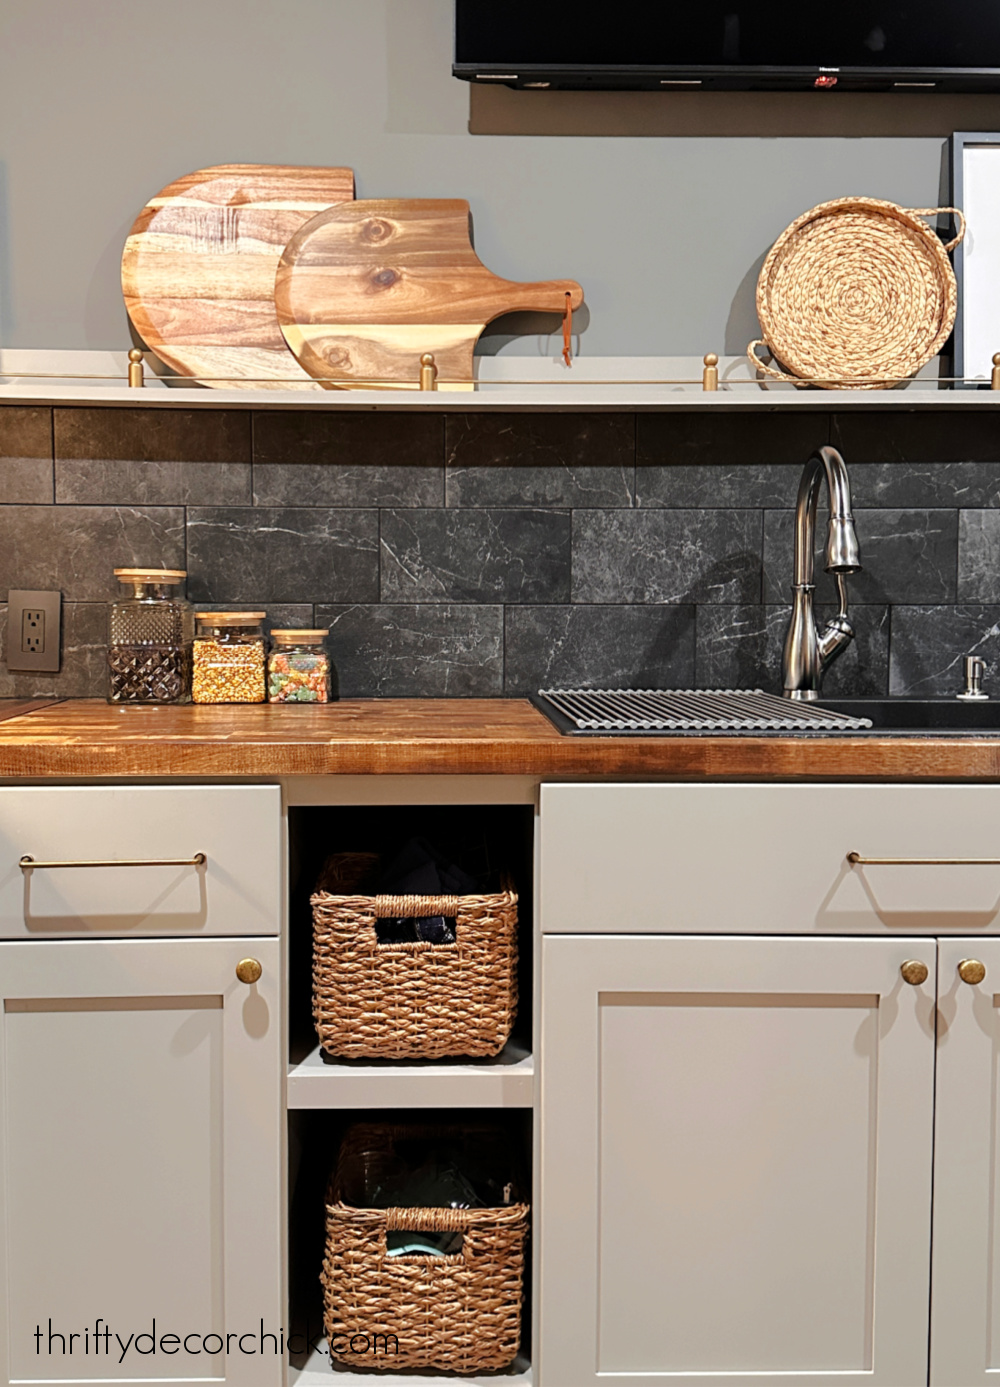
These gallery rails are great for shelves with limited space, like the
skinny shelving I added on the side of our fridge
that holds platters and cutting boards. They're often used on bar shelves
for glasses and bottles as well.
You know I love anything brass, especially a beautiful little detail like
these posts and rails. I knew I wanted to incorporate them into our basement
kitchenette, but the real brass options are not cheap!
I ended up creating my own version that I think looks pretty great, and functions just as well!
Last I left you, I shared the
butcher block countertops, sink and faucet
that I installed in this space:

This post may contain affiliate links for
your convenience.
I may earn a small commission when you make a purchase through links.
See my policies and disclosure page for more information.
The next project on my list was the tile backsplash. I chose this
dark gray marble looking porcelain tile
with gray veining from Lowe's:


They make the tile install so much easier and quicker, with much less mess!
They do cost more than mortar though, so you pay for the convenience.
I shared
how to use these tile setting mats to install a tile backsplash
-- be sure to check out that process if you're interested in some tiling
tips!
After the tile was up, grouted and caulked along the countertops, I
installed a long but shallow shelf right on top of the tile backsplash:

I used poplar wood for this project knowing my plan to drill into it. I
usually use pine, but pine is softer and more prone to splitting.
This is the same design as the
DIY picture ledges
I've shared with you many times:

They only take three pieces of wood, but for my latest version I only used
two -- the back piece (that I attached to the wall) and the bottom
piece.
I priced out the brass posts and rails for my long shelf (it's nearly nine
feet long) and the total was going to be $200! I'm all for splurging, but I
kept hesitating to order them...figuring I could make something similar for
way cheaper.
Then I saw
this post by my friend Carli, and the wheels started turning. I went to the craft store to see what
wood pieces I could find to make this work.
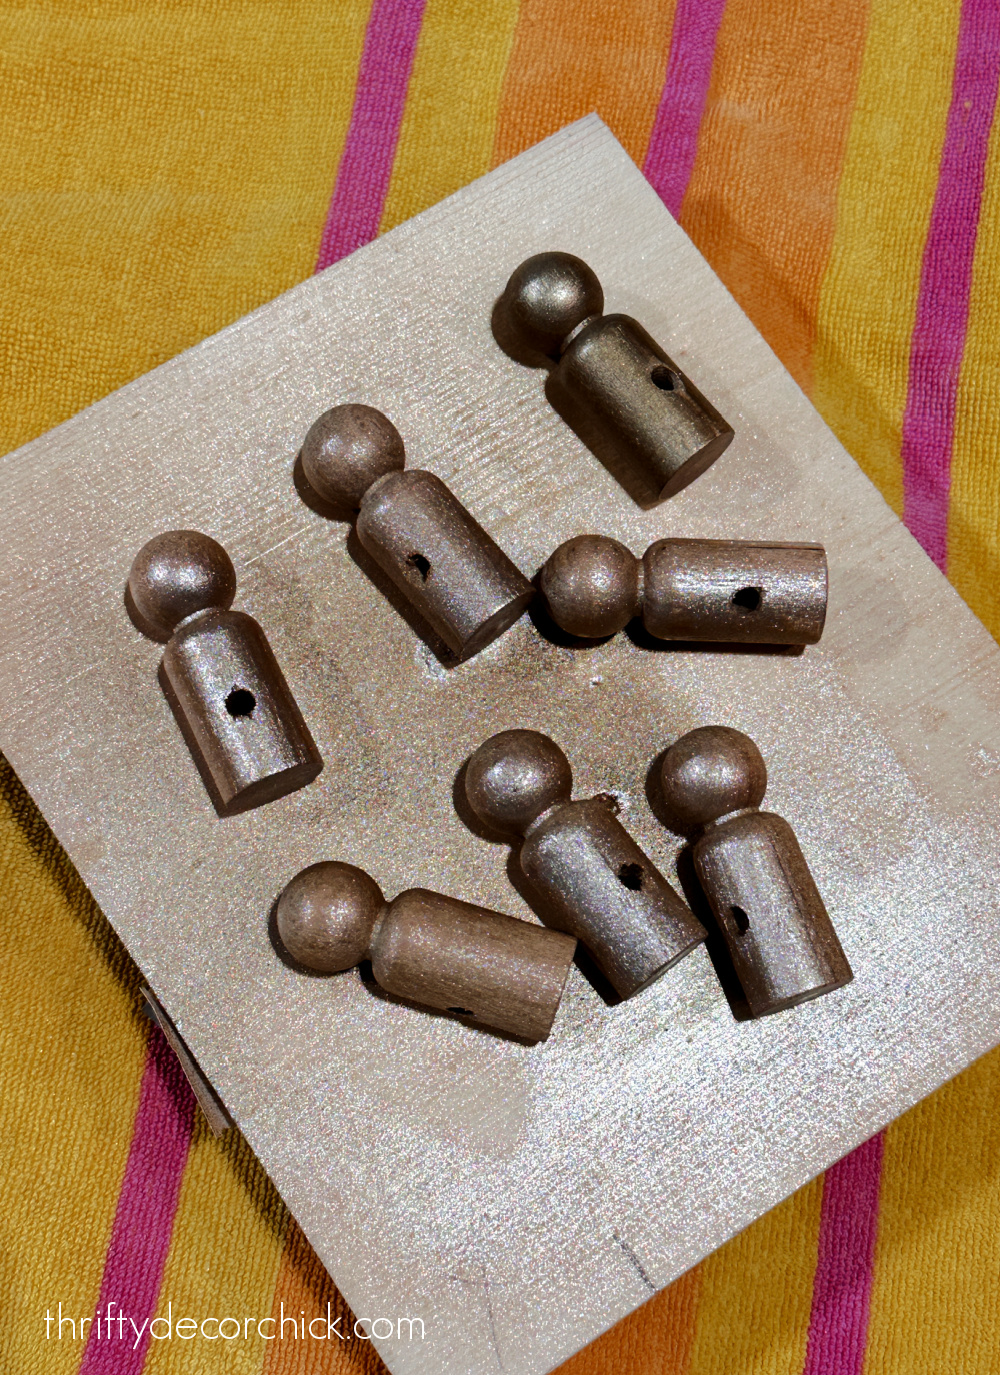
I found a pack of
these wood peg men
(they look like the old Little People toys) that are about 2.5 inches tall
at Hobby Lobby, then grabbed three of
these metal rods
at Lowe's.
To make this DIY version work, I needed to be able to drill a hole straight
through the wood pegs. I tried it out just holding one and drilling into it,
but I couldn't get the hole quite straight enough.
So instead, I made a little holder/jig for my little men. :) I nailed a few
scrap pieces of wood tightly around one so it fit snug in there:

I wrapped them with painter's tape to avoid the wood splitting at the entry and exit of the drill bit.
The height of the hole needs to be consistent on all of the pegs, so the
rail is level across the finished shelf. I marked the same spot on each one
and used a 1/4 inch drill bit to create the holes:

Once the little men were all finished, I made sure the holes were a
consistent height:

The one on the left was my test piece, and I didn't end up using that
one.
I sprayed them in
Rust-oleum's Metallic Champagne Bronze brass spray paint:
A couple years ago
I compared a bunch of brass spray paints, and this one was one of my top two picks. It's a warmer, darker brass
tone and looks so good on this project!
Because these are wood, I did a light sanding of the pegs before the final
coat so the wood grain would be less pronounced. It definitely helped to
make them look more like solid metal.
After cleaning the metal rods, I sprayed those as well:

I think spraying those took longer than installing the whole dang thing.
Spray a little, dry, turn. Spray a little, dry, turn. 😂 I recommend just
holding them and spraying half at a time.
When everything was dry, I took everything down to the basement to figure
out my spacing. I had seven pegs, and two of those were placed at the ends.
So I had five to space out equally in between.
I used a small drill bit to make a hole in the bottom of each peg:

Take some care to not split the wood as you go. The key to doing that is
going slooooow as you drill and starting with smaller bits and working up to
larger ones if needed.
I used that same small bit to put my initial holes into the ledge, and then
followed up with a slightly larger one:

For this project, I would err on making the hole plenty big for your screw
so it doesn't crack your wood as you install the pegs.
I installed the screws from underneath the ledge, into the bottom of each
peg.
Again, be patient and go slow as you attach the poles. I didn't have any
issues at all with the shelf or pegs splitting because I took my time and
drilled holes first.
I held up each metal rod to see where I needed to trim them down, and then
used the metal blade on my oscillating tool to cut them. It only took a few
seconds to get about halfway through the rod, then I snapped the excess
off.
If you plan to do this project and will have to make a lot of cuts,
this inexpensive hacksaw
is a worthwhile tool to have on hand.
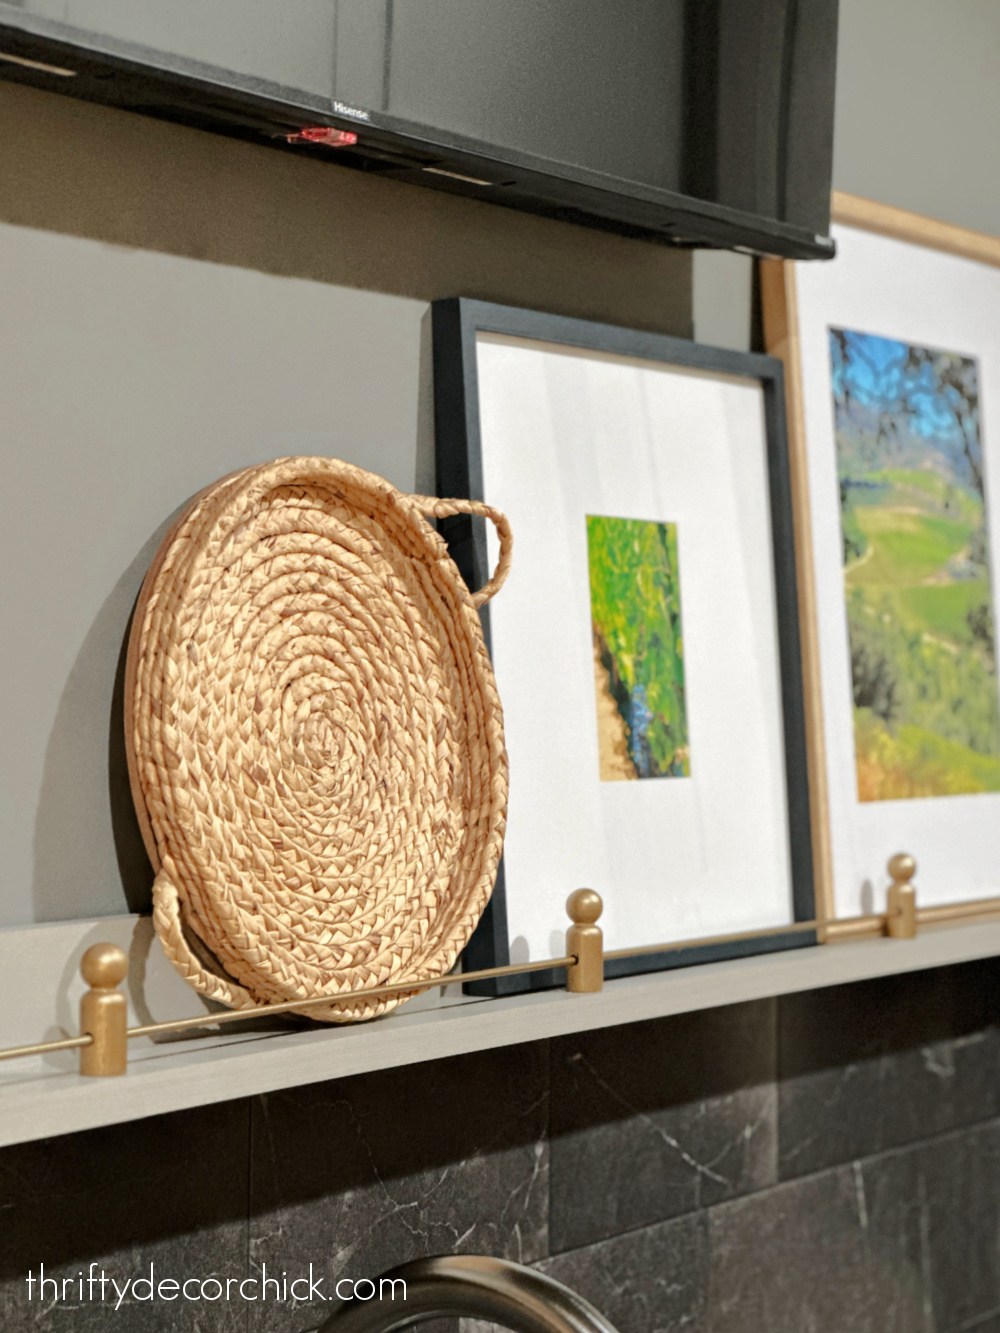
Once they're all installed, the rails aren't going anywhere! It is
incredibly secure and will hold up well to the frames and boards I have on
this skinny shelf:
You could also use wood dowel rods for the rails, but they won't be quite as
sturdy, especially if you have more than a food or so between the
posts.
We LOVE it! We had friends over this week and I got so many compliments on
my cute DIY tipping rail. :)
It took a little work, but I saved more than $180 doing this on my own. The
three rods were $12 and the wood pegs were $4:
If you get up realllll close, you can tell the "brass" posts are wood, but
it would take some inspection. Unless you're an expert on brass gallery
rails, I don't think anyone would think a thing about them being wood
anyway. ;)

Just a few more projects to finish up and share in here, and then I'll do
the full tour of this space:

It was SO worth the time creating my own version of this gallery rail
project! Now I'm thinking of where else I can add these around the house. I
just love the little decorative detail.
Never miss a post by signing up to
get posts via email.
The railing and shelf add so much to the wall. Everything looks so nice. What a wonderful basement space.
ReplyDeleteI love your determination to spend less but still create a beautiful project. You are so inspiring! I made the shelves for my Grandma brag wall and filled them with photos of my grand girls. Thank you!,
ReplyDeleteSo pretty!!!
ReplyDeleteAmazing, love this!
ReplyDeleteFlippin' brilliant! That looks so good and it adds so much for so little cost. I also appreciate your detailed instructions and step by step pictures.
ReplyDeleteThis looks really good!
ReplyDeleteSo clever!!! I've been online for an hour or more just now, trying to find a way to do just what you did!!! Until I read your stuff here, I thought I would have to give up on my beautiful gallery rail, but you showed me how to both make it and afford making it, too! Thank you!
ReplyDelete