
How to Plank a Shiplap Accent Wall for Cheap
January 04, 2022
Share this
How to add a beautiful DIY shiplap wall for way less money!
Shiplap walls look lovely in both modern contemporary homes and those that have a more traditional farmhouse style -- they are so versatile!
True shiplap is made with tongue and grooves and is more expensive than I like to spend. I've found a way to create these wood plank walls with a MUCH less expensive wood option.
I'm sharing this easy shiplap tutorial and more examples of this planked wall look here!
This is the same shiplap look made with thicker tongue and groove boards, but for waaaaay less.
It's funny that this look is called shiplap now -- it has been around forever but many of us called it planked walls for years.
I've planked the walls around our homes in a few different ways, and this method is by far the cheapest and easiest to install.
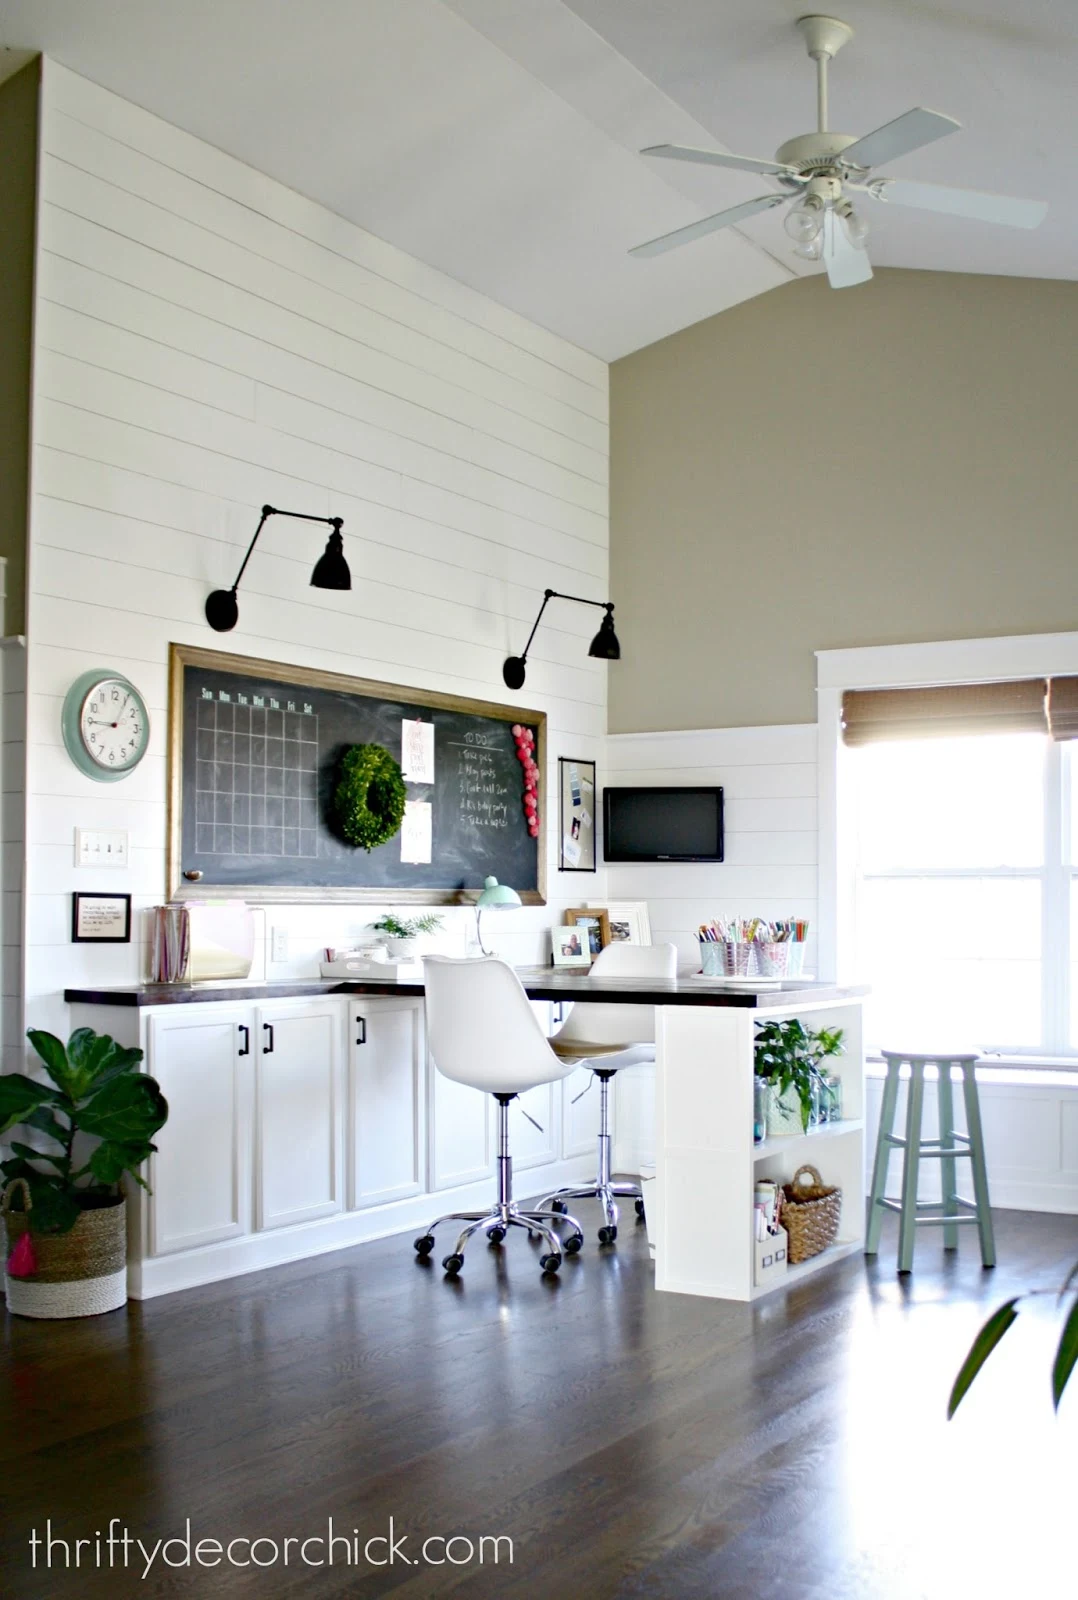
Years ago I added a HUGE shiplap wall in our upstairs loft turned craft room and office.
Here's a look right after installation:

I love it!
Now REAL shiplap is not cheap:

This is 12 feet so in terms of trim or wood, that price isn't too bad.
But that wall above would have at least $150 and it only cost about $65 to do that huge wall with my method.
Real ship lap is thick and has tongues and grooves that "lock" them together:

This post may contain affiliate links for your convenience.
See my policies and disclosure page for more information.
Instead I use wood underlayment, or luan, to create my shiplap accent walls.
It comes in 4x8 foot sheets so you'll get WAY more by cutting them down, opposed to buying them individually.
Also, this stuff is so thin, it's just less expensive overall:

You can see here that luan has a bit of a wood grain look that looks great when painted.
You can also find thin plywood sheets with a stainable wood surface if you want the look of true wood grain. (See my examples below for one that uses that option.)
I love that it is very thin and lightweight -- it is really easy to work with.
Step 1: Prep and cut down the luan sheets to create your shiplap.
You'll need a table or circular saw to cut down the long lengths if you do it at home.
Thankfully the big box stores have large saws that will cut these with ease.
Most hardware stores will cut these large sheets into strips for you -- as long as they aren't too narrow.
Some stores have added a small fee to do numerous cuts, but it's worth it to me!
You will also need a hand or miter saw to cut down the boards to the lengths you need. I find if I cut them to around 5 3/4" width, I can get get a full eight strips out of each board.
You'll want to do a quick sanding down the side of each board to eliminate any splinters from the saw.
I use a thin, bendable sanding sponge to quickly knock that off -- it only takes a few minutes.
The face of the wood is smooth and does not need sanding before paint.
Step 2: Prep and paint the wall behind your shiplap
I finished up the DIY thick door trim in this spot before installing the shiplap:

That's our closet turned book nook, one of my favorite spots in our house!
Then paint the wall you'll be covering the color (or a similar color) of the planks.
I'm never picky about this because you won't see much of it -- one coat and done for me:


If there is anything I didn't cover that you have questions about please let me know!

Step 3: Install your strips of shiplap
I usually start my shiplap at the top, so I can hide any shorter pieces behind the baseboards.
When I install my boards I use a level to make sure each one is straight, but the first board is the most important!
Make sure that first one is perfectly level. After that use the level and adjust certain areas as needed.
For spacing I usually use a coin:

You can use anything as your spacer in between the boards -- this helps to keep them all consistent.
I find a penny, quarter or nickel give the perfect amount of spacing!
I use a nail gun to attach shiplap to the wall. I do not recommend using any kind of adhesive unless you are positive you will never take them down.
You'll be left with a mess if you do!
Here's another tip -- if you have a long expanse to cover, I suggest cutting some pieces at the length of the studs.
I marked on the wall where the studs were with painter's tape and then cut numerous pieces to each length needed.
Use a stud finder to locate and mark your studs before starting!
I created a very simple pattern based on the studs and kept it consistent -- one long piece, one cut about in half (at the stud) and then would rotate from left to right with a long piece/short one on the next row.
I repeated that pattern all the way down:

Cutting your wood will usually make it go further -- if you install full lengths you'll often end up with a lot of scrap that will go unused.
I find cutting them to hit at studs allows me to use almost every bit of the luan.
If the end of your cut is not at a stud then the wood may not hold flat against the wall. Again, this stuff is pretty thin so that's not a huge problem.
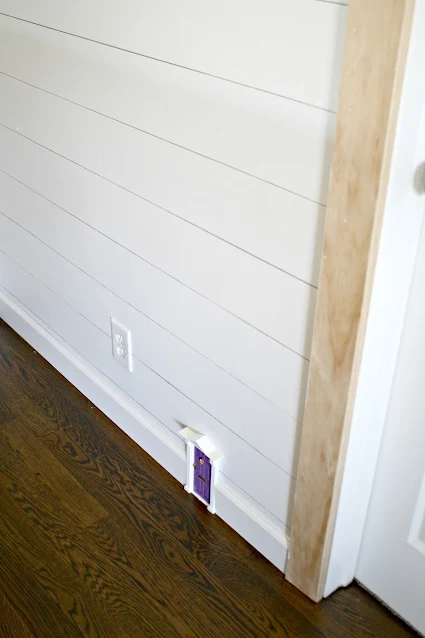
You will need to cut out your boards to fit around outlets and light switches.
To do that, measure where the hole for the outlet is, then measure or trace the size onto the luan with a pencil.
Use a jigsaw or small coping saw to cut that portion out of the luan.
Your boards should be placed behind the outlet or switch mounting bracket, against the wall. Not in front -- you won't be able to remove the outlet later if you cover the screw and/or bracket.
Step 4: The finishing touches
Add wood filler in the nail holes (sometimes I leave them without because I don't mind the look) and let dry.
Then roll on a few coats of paint to finish it off:

I later added a couple of smaller trim pieces up on top to finish off the wall as well.
I love this look and it's become extremely popular over the years because of Joanna Gaines and her Fixer Upper television show!
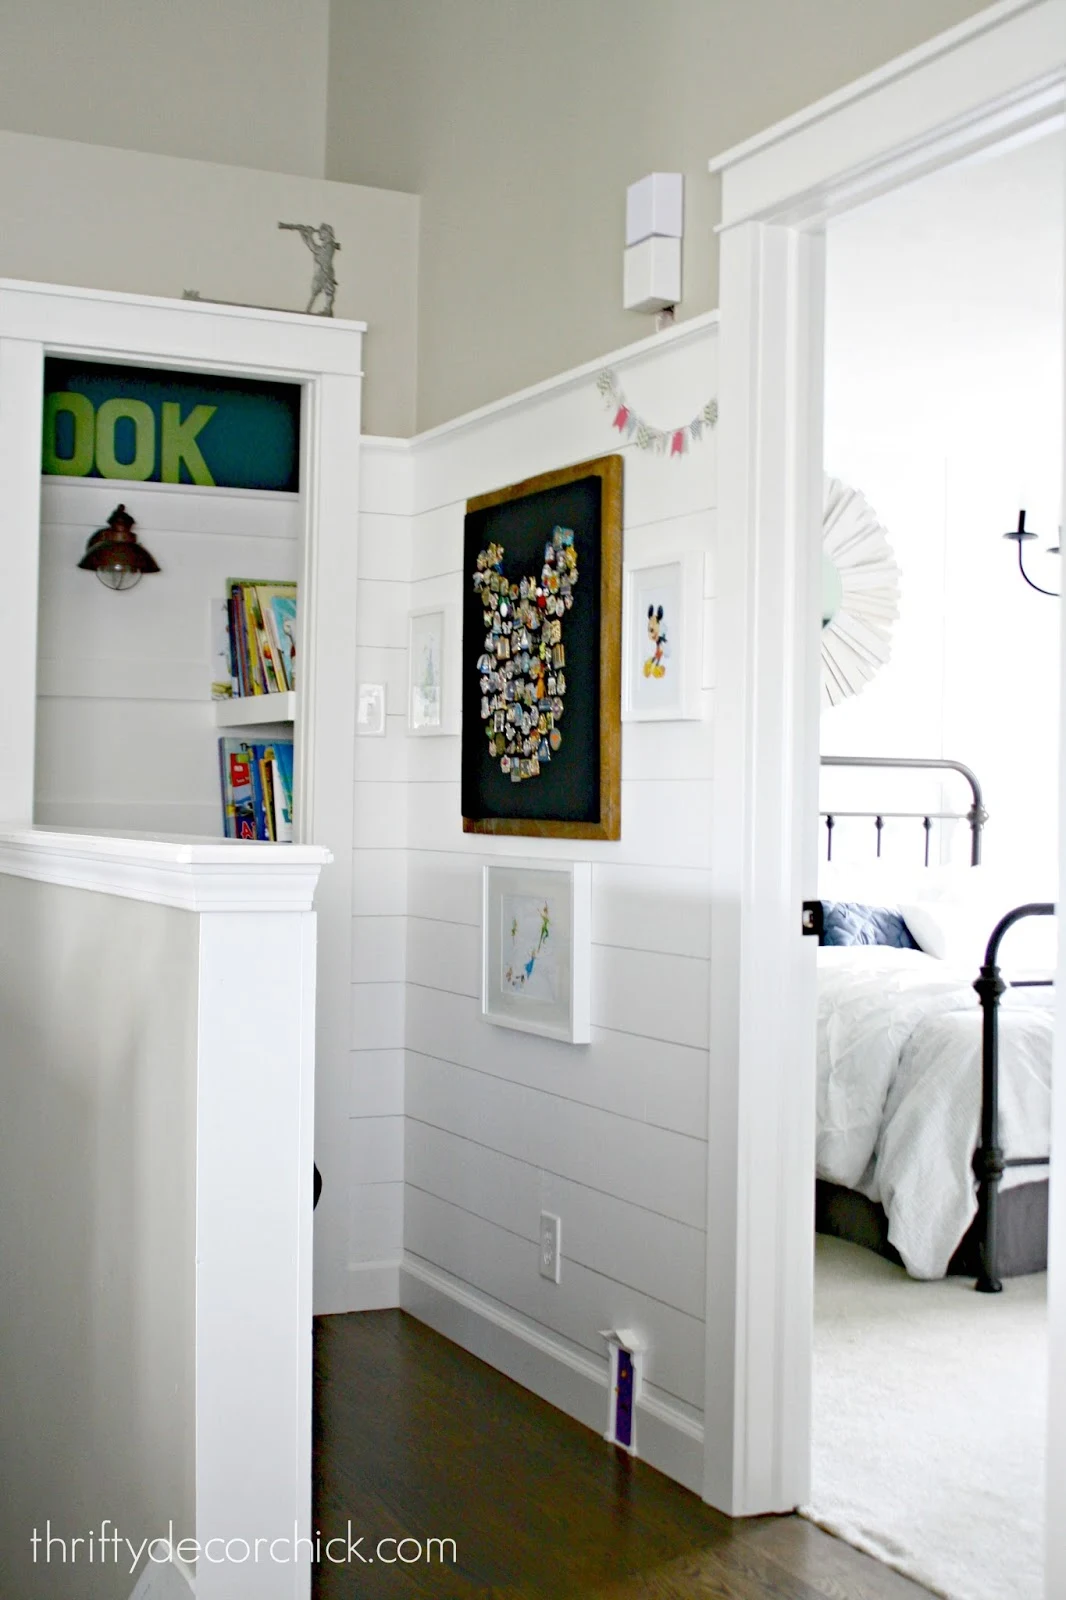
Here's a look at that corner with our Disney art wall:
Do you see my cute little addition down at the bottom?
I found a fairy door online and had to get it:

Here's a look at the other side of the room with the finished "shiplap" walls, huge DIY chalkboard and window seat with storage:
Overall this is a simple DIY project, it just takes time.
Here are some other shiplap/planked wall projects I've completed over the years...
These thick, stained wood planks make a great accent wall on our stairs: 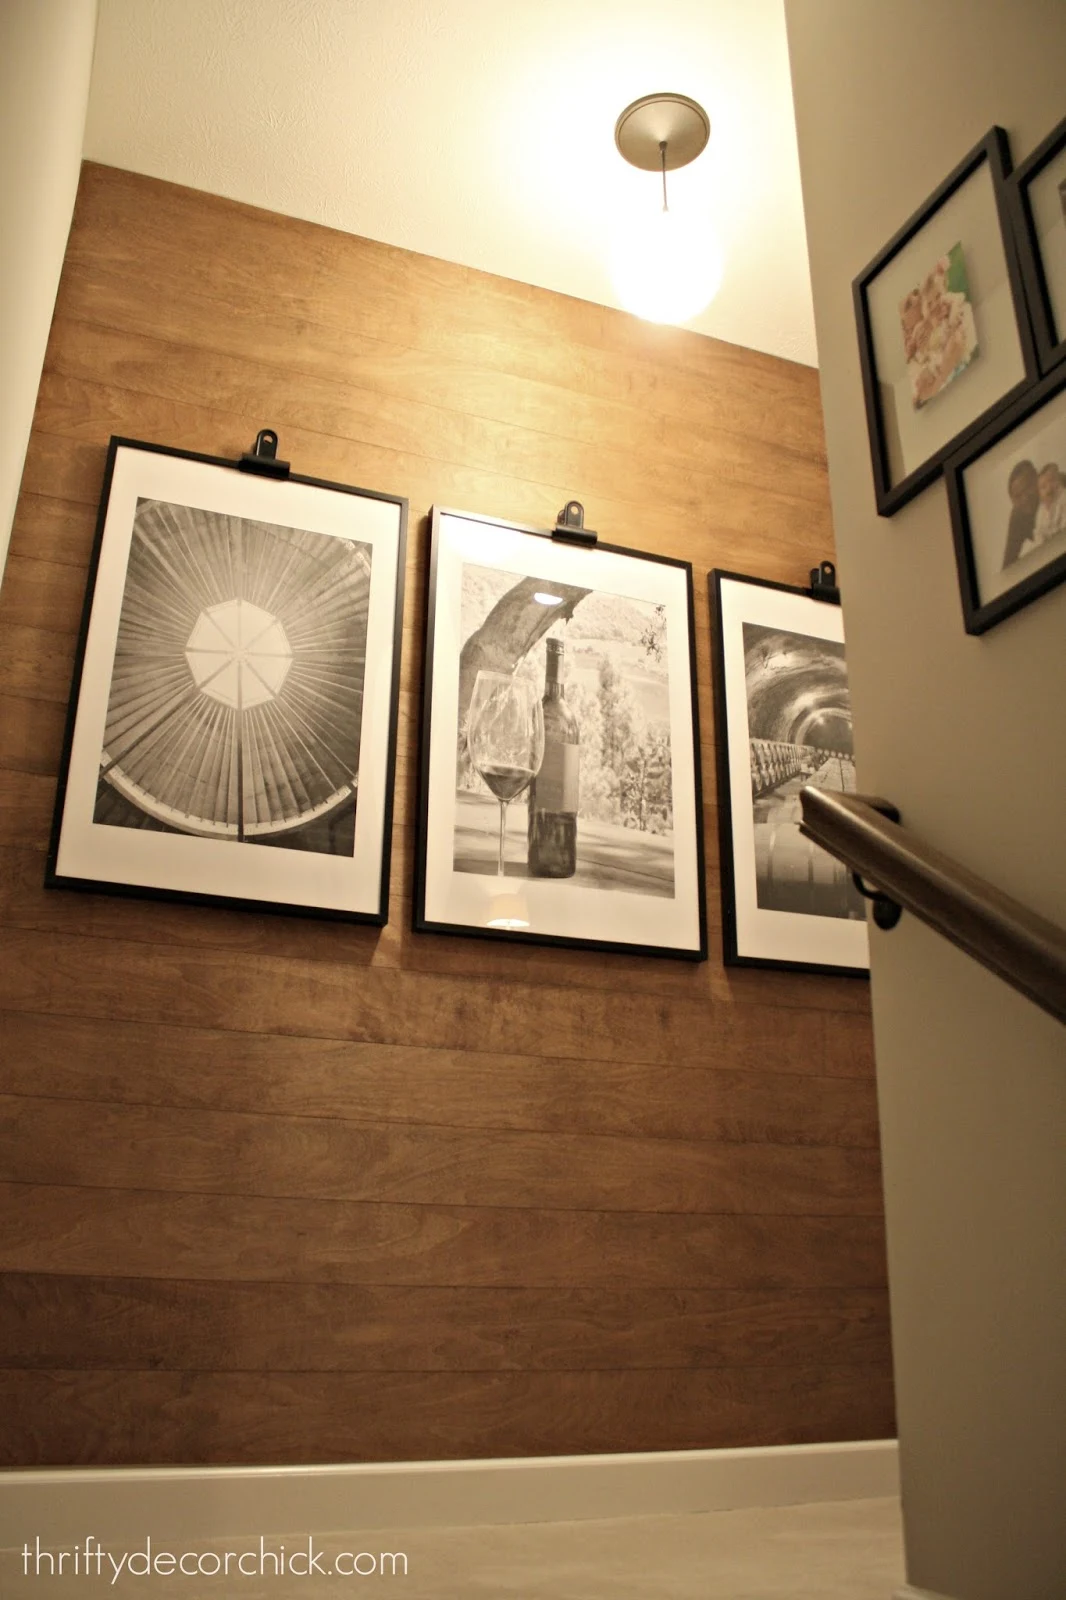
Our old family room fireplace:


Our old family room fireplace:
A stained wood accent wall over the basement kitchenette:

(That's one of my favorites!)
On our old stair landing I used simple wood planks that come in packages (these are thinner widths):

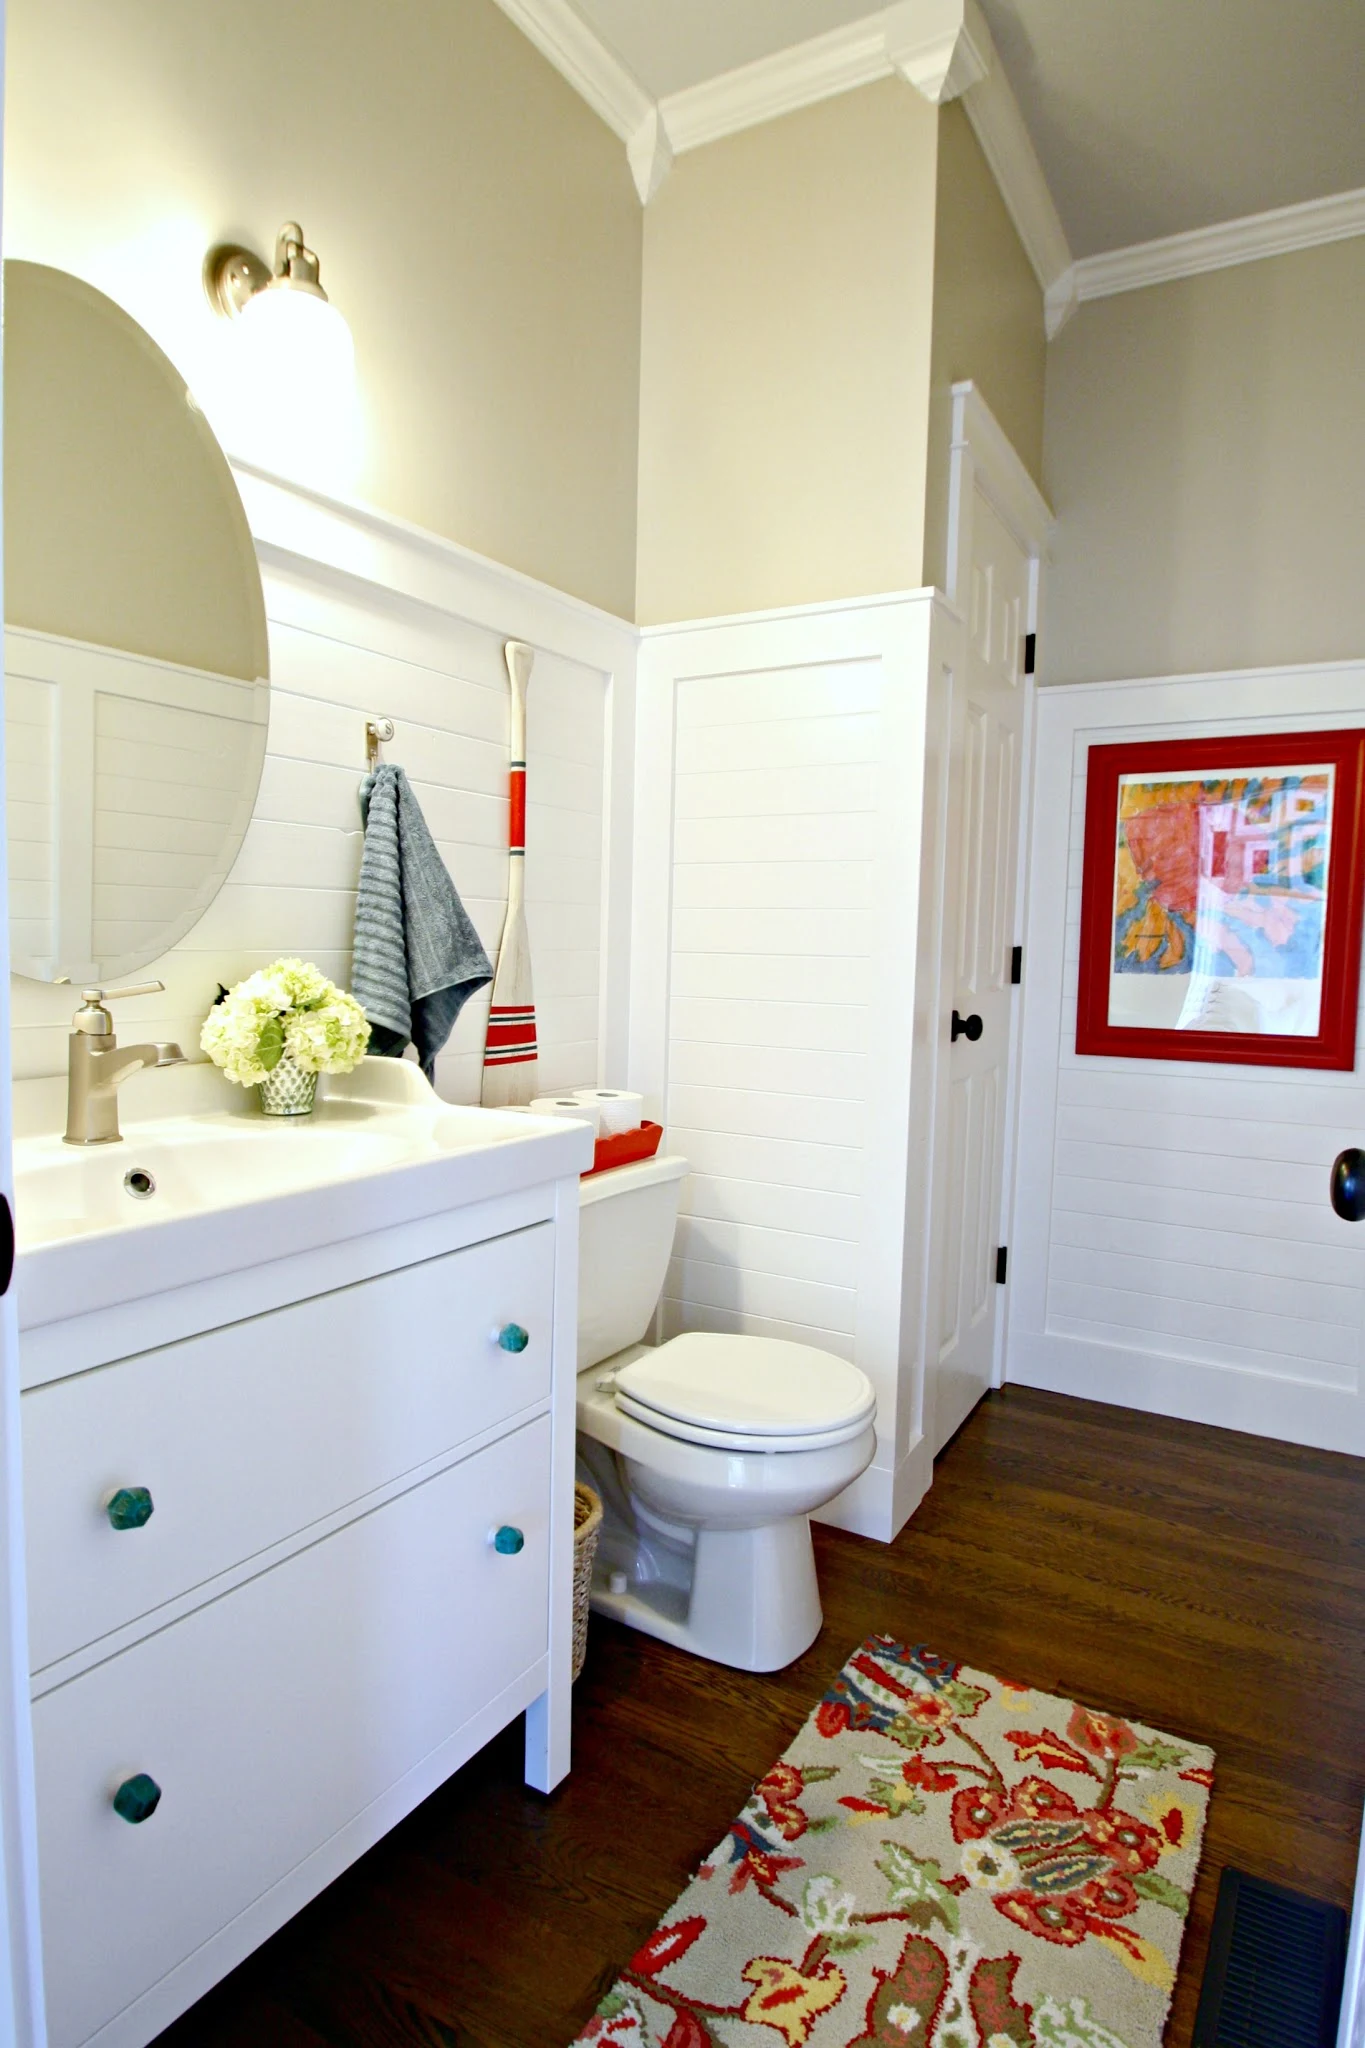
I also used these in our powder room renovation:

Those are easy to use as well but often many of the pieces have huge knots in them and I end up taking a bunch back.
The luan gives you the look of shiplap and is much cleaner and easier to work with. :)
Have you added a planked wall treatment to your home? You can see this entire beautiful craft room/office reveal here!
Save this accent wall project by pinning this image for later:

Never miss a post by signing up to get posts via email.
Invaluable info - thanks so much! I am doing this in my son's room very soon so really appreciate all the details. Your space is looking so great! :). Sending a link of this to my dad now - aka my 'plank cutter'. Ha!
ReplyDeleteThanks for the tutorial! I'm wondering if you have any problems with paint filling in your spacing gaps. Worried about that!
ReplyDeleteWhat size nails did you use to get through the luan and drywall and into the studs far enough to be secure? Trying to convince my skeptical husband this can be done without glue. Thanks!
ReplyDeleteLove! I'm eyeing our garage hallway for some planked walls - it's a dark space so hoping to lighten it up!
ReplyDeleteI am laughing about how everyone calls it shiplap now instead of planks too! I still call it planked walls! I love how your loft turned out!
ReplyDeleteYour loft looks so incredible, love plank walls. As I type my comment am printing out project. Would so love to put those up in our mudroom, would be good room to practice in as would only do 3 small walls, break up just having painted walls. If I have to buy luan little at a time for our budget. Love idea of doing that in our mudroom. Also wouldn't that be a kind of insulation for a room? Mudroom gets really cold in winter, our back door is in this room.
ReplyDeleteThink nailing boards is much better idea than gluing as you said.
Hope you have fantastic time at Haven. Happy daze
Thank you so much for this! I love this look and really want to do a wall in our bedroom, similiar to the one in your basement kitchenette. Just found you...I think through Pinterest...really love your posts and blog! Have a good day.
ReplyDeleteI love the look of planking and the clean lines of painted woodwork and trim.. Unfortunately, my husband is 'anti-painting" I'm also not sure how it would translate in our 1970's rambler. Sigh... maybe in our next home when we are empty nesters...
ReplyDeleteI've done this in our powder room, essentially using the same technique. I love the look! (Not sure the link will work...couldn't seem to paste a pic)
ReplyDeletehttp://pin.it/Kn8EeTu
Oh my goodness Sarah. You have just saved my sanity. I am wanting to do a "shiplap" wall in my dining room but didn't want to use thicker boards. Why didn't I think of luan?! That will be perfect. I love all the projects you've done with the shiplap! Oh and I love the fairy door, such a cute idea.
ReplyDeleteWhat stain did you use for the gray on your basement wall?
ReplyDeleteI love this idea... Maybe for the entryway. I love your blog and would love it if you could check out mine! Www.theuglydresser.blogspot.com
ReplyDeleteQuestion for you- where does the first board go? If you are doing the entire wall, do you start at the bottom and work up and then use a molding around the edges to hide the shorter plank at the top or visa versa and at the bottom?
ReplyDeleteI love plank walls! Just adds so much character. We recently remodeled our master bathroom, I wanted to plank the whole bathroom...hubby vetoed that idea, but I did get one planked wall. I love how it turned out!
ReplyDeletehttps://www.dropbox.com/sh/kzg50znvp82wouf/AACgyWUMK7dDBEZZNgn4bFiia?dl=0
We did this in our master bathroom - we painted the walls black prior to installing the planks to help show the space between each plank. It turned out fantastic!
ReplyDeleteHi, this looks great, but I have a question - did you have to sand it down and prime it before painting or did you directly apply the paint?
ReplyDeleteYou can do either! I usually just paint.
Delete