
How to Make a DIY Fluffy Bunny Easter Wreath
April 03, 2022
Share this
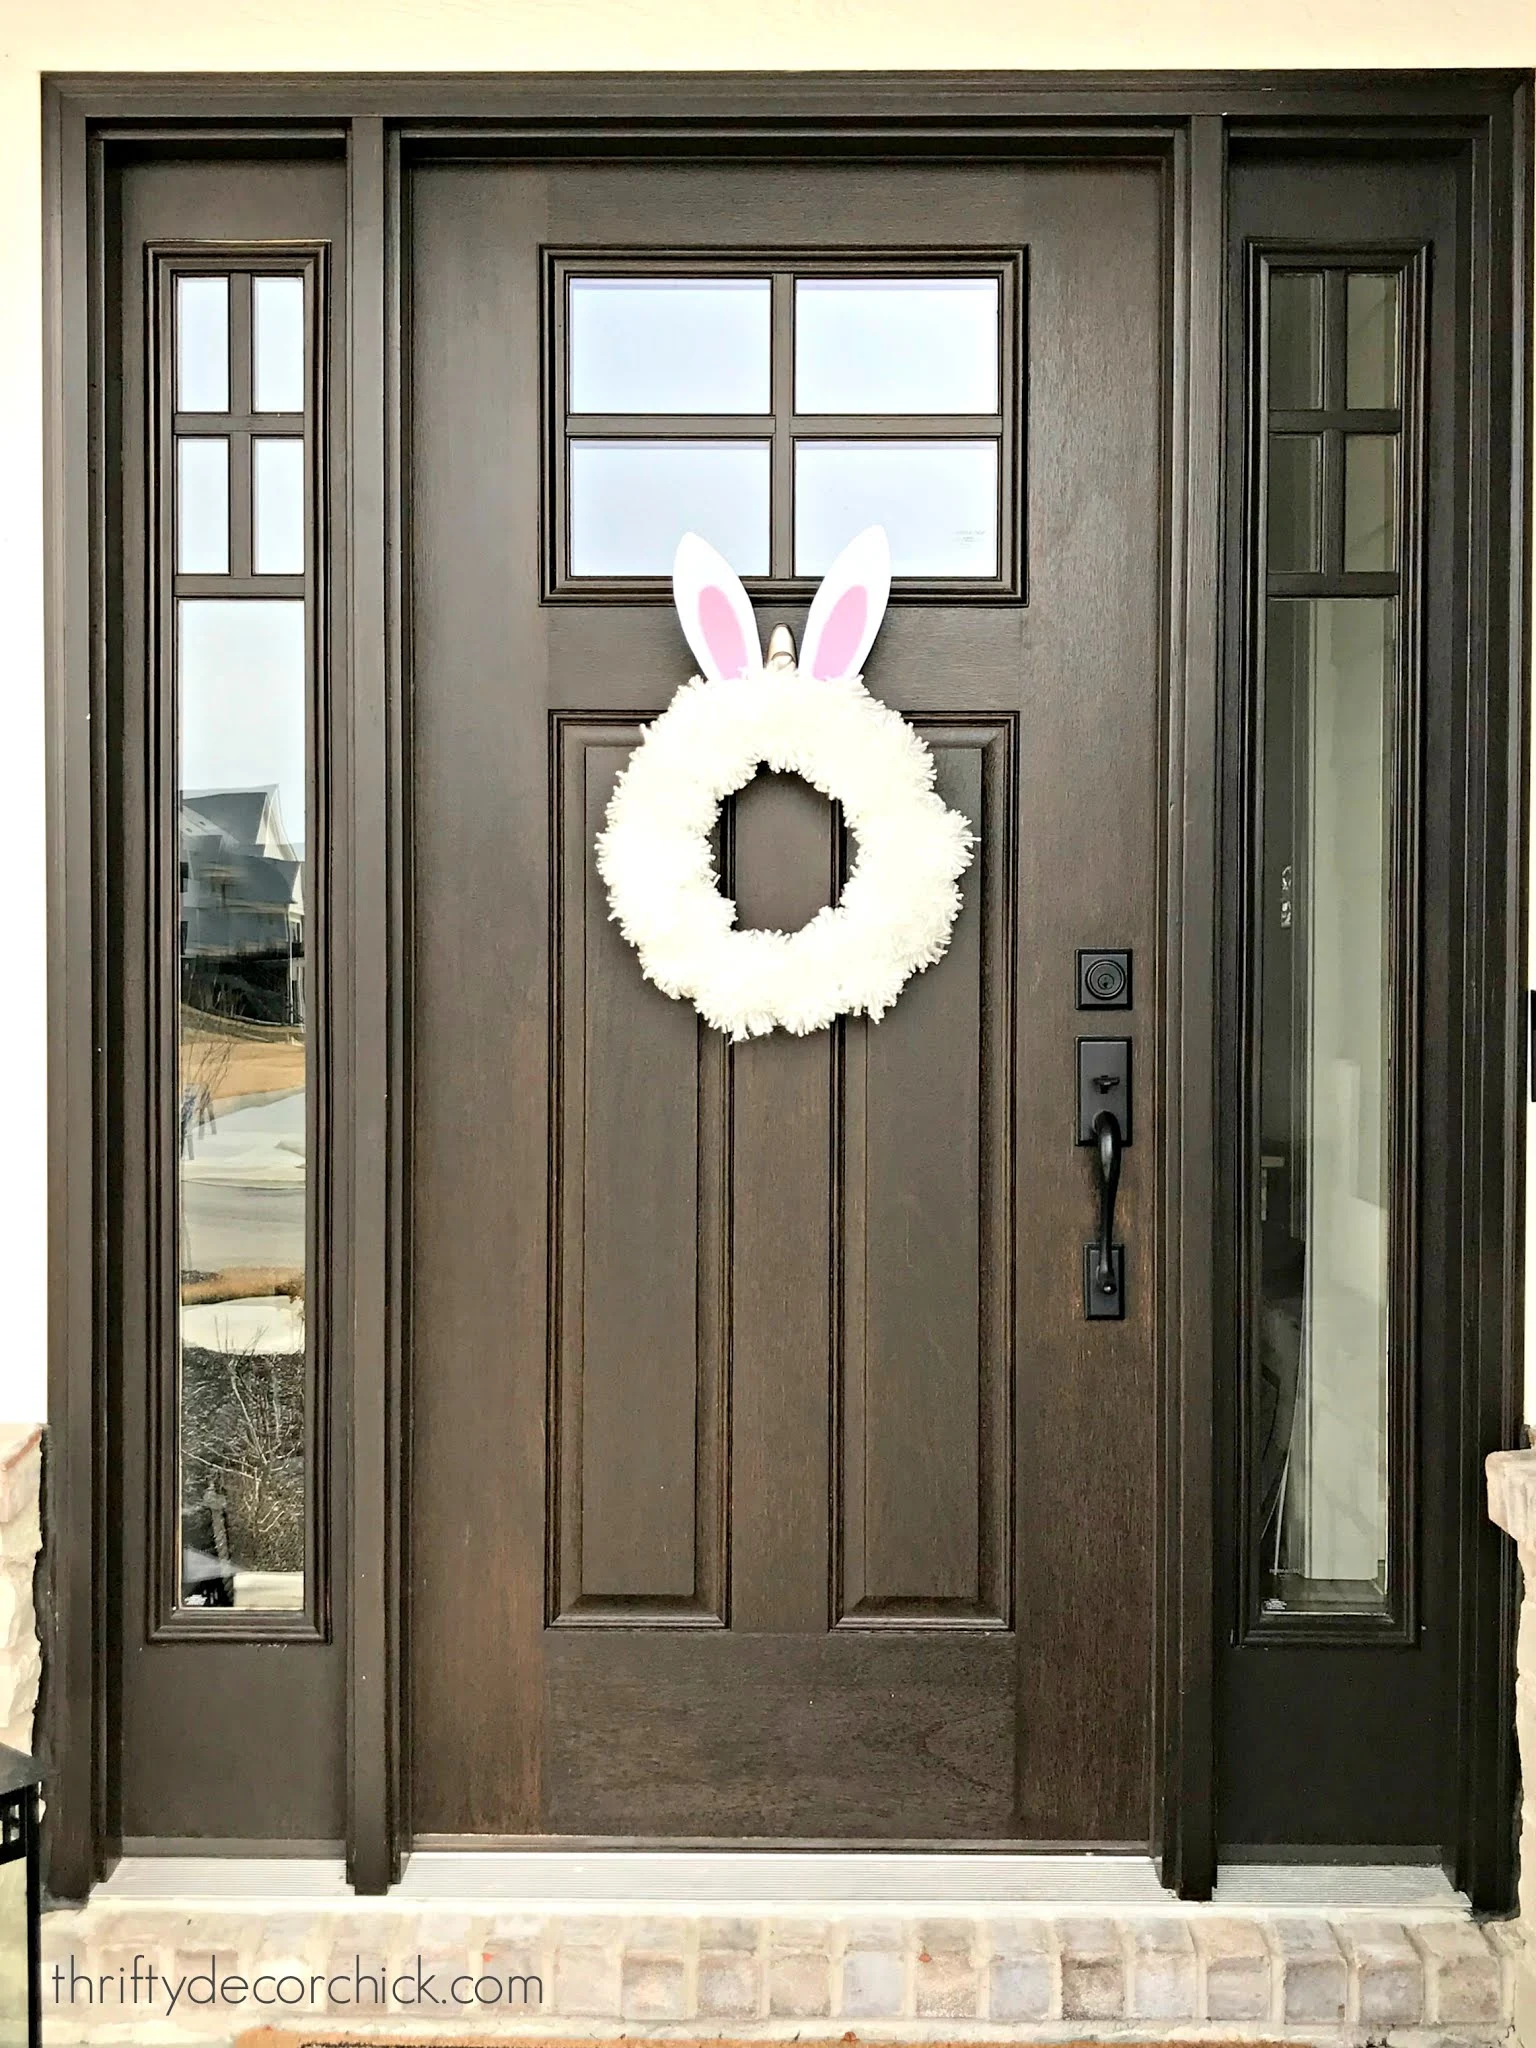
How to make a fluffy Easter bunny wreath for the front door.
This CUTE and fluffy pom pom bunny wreath is the perfect Easter decor for your porch (or inside!) but will work all spring long.
I got this idea when I was browsing online recently. I can't remember where I found it, but I found the cutest bunny wreath -- and I knew I could replicate it for less.
Turns out I spent a little more, but mine is double the size. I call that a win! And it's just stinking adorable. Or adoyable as my niece would say.
This post may contain affiliate links for your convenience.
See my policies and disclosure page for more information.
I'll list all of the craft supplies I used on this project at the bottom of the post, but here's how it came together! I started with this 14 inch foam wreath form from the craft store:

A pool noodle cut to size and taped at the ends also makes a great wreath base!
You can usually find inexpensive (but smaller) wreath forms at Dollar Tree.
Then I found some soft yarn in white:

I quickly realized I needed something that was the same size all around. I grabbed my level and used that to wrap the yarn:

To get the fluffy look, you cut the yarn with scissors as I show above.
You're left with a fluffy white pom poms. Usually you'd trim these down a bit so the pieces are even, but I didn't worry about that just yet:


Never miss a post by signing up to get posts via email.
You're left with a fluffy white pom poms. Usually you'd trim these down a bit so the pieces are even, but I didn't worry about that just yet:

I could have hot glued these on, but I knew that would be a mess, so I opted for these floral pins instead:

They worked like a charm! You'll probably need to change your spacing as you go, so I highly recommend these instead of glue.
I don't know how many poms I made, but it was two skeins worth.
I thought it would take me MUCH longer to make them than it did. I wrapped them as I watched TV and it was easy work.
I needed some bunny ears, so I searched for a pattern and found a bunny ear pattern here.
I cut it out, and then cut out the middle (pink) part of the ear. I used a stiffer felt for the white, or main part of the ears so they would have some structure:

And then I traced and cut out the pink part of the ears and used my hot glue gun to attach those on:

You could free hand them as well, but the pattern is handy!
I attached the ears to the back of the wreath form with the floral pins, and then used a tack and some hot glue to create a hook for the door:

I used scrap fabric, but a ribbon would work just as well.
We have a brushed nickel 3-M hook on our door and that felt piece was the perfect way to hang this!
When I was done with the wreath I may have squealed like a little girl:

I mean...come on! It's so FLUFFY!!:

I ended up trimming some scraggly pieces of yard off before I hung it.
It took me about an hour to finish up the whole wreath and I just LOVE it. I think the texture of the yarn is perfect for a project like this.
More ideas for this wreath and cute additions:
- For an even easier version, try wrapping white feather boas around the foam for another fluffy option.
- Some white faux fur fabric would also be adorable!
- You could use the ear templates and leftover fabric to make a foot for each side coming out of the bottom.
- It would also be cute if you did the ears in just white, and then added a pink or gray pom pom as a a bunny tail on the bottom of the wreath.
I made the family come out and check it out too. I may have also driven by our house a couple times already just to see it on the door:

Mine is the front view, but a back view would be fun too. :)
I spent about $17 for my DIY Easter bunny wreath, but if you could grab your yarn for half off you'd spend more like $13. (I used a coupon for the wreath form.)
It's it the cutest? I love it so. I wouldn't recommend yarn for a door that gets exposed to the elements, but you could always bring it in if needed.
Here are the Easter bunny wreath supplies you'll need:
Foam wreath (I like that this one is white, no worries about the green showing through.)
I've made SO many cute DIY wreaths over the years! See the simple how-to for this easy spring tulip wreath here:

I LOVE using grapevine wreaths -- see all the ways I've reused grapevine for seasonal wreaths here.
And the tutorial for my green grass Easter wreath with cute little faux flowers:

Never miss a post by signing up to get posts via email.
So cute! I'd just make a white one to get me from winter to spring lol
ReplyDeleteThis made me chuckle. I originally found your blog because a friend shared a post on FB (a very long time ago) of a wreath. Hence my introduction to my first blog!
Aww! You know I love my DIY wreaths! I always love your sweet comments! :)
DeleteThat is the cutest wreath evah! Anything "bunny" is cute, really.
ReplyDelete